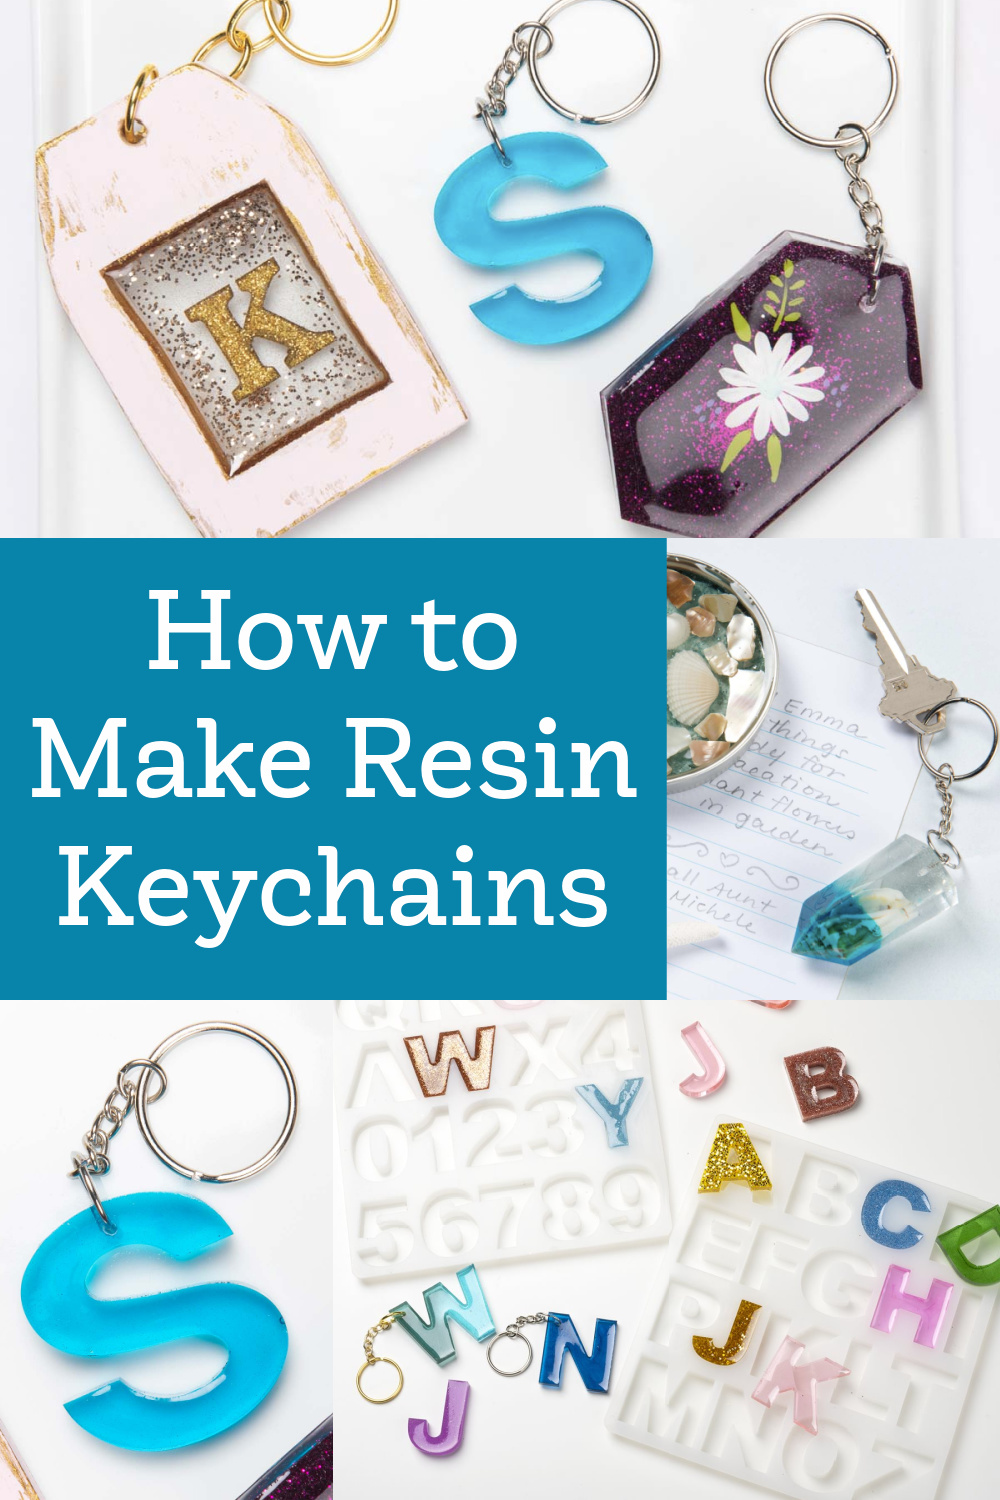
A DIY resin keychain makes a great gift! Learn how to make DIY resin keychains in a variety of styles using these simple tutorials.
Skills Required: Advanced Beginner. I recommend having some experience with resin since you’ll be mixing colors as well as glitter. BUT a keychain is a great place to start because it’s small.
I’ve made lots of keychains over the course of my life. I think if you’re a crafter, it’s inevitable. Maybe a keychain was the first thing you ever made? I know that when I went to church camp at age 8, I branded a leather cross keychain that my mom I believe still carries to this day. She did for years.
One of the great things about making a keychain is that it’s perfect for beginners, and they make great gifts as well. In fact, I’m about to take your handmade gift giving game up a notch! I’m going to show you how to make DIY resin keychains!
If you’re wondering how to use resin, it’s not hard, but you do need to make sure to 1) wear protective gear if you are concerned about any respiratory irritation and 2) observe mixing instructions carefully.
I’ve made coasters and a frame amongst other projects, and I’m hooked on using resin in crafts. I can’t wait to show you how to make a keychain.
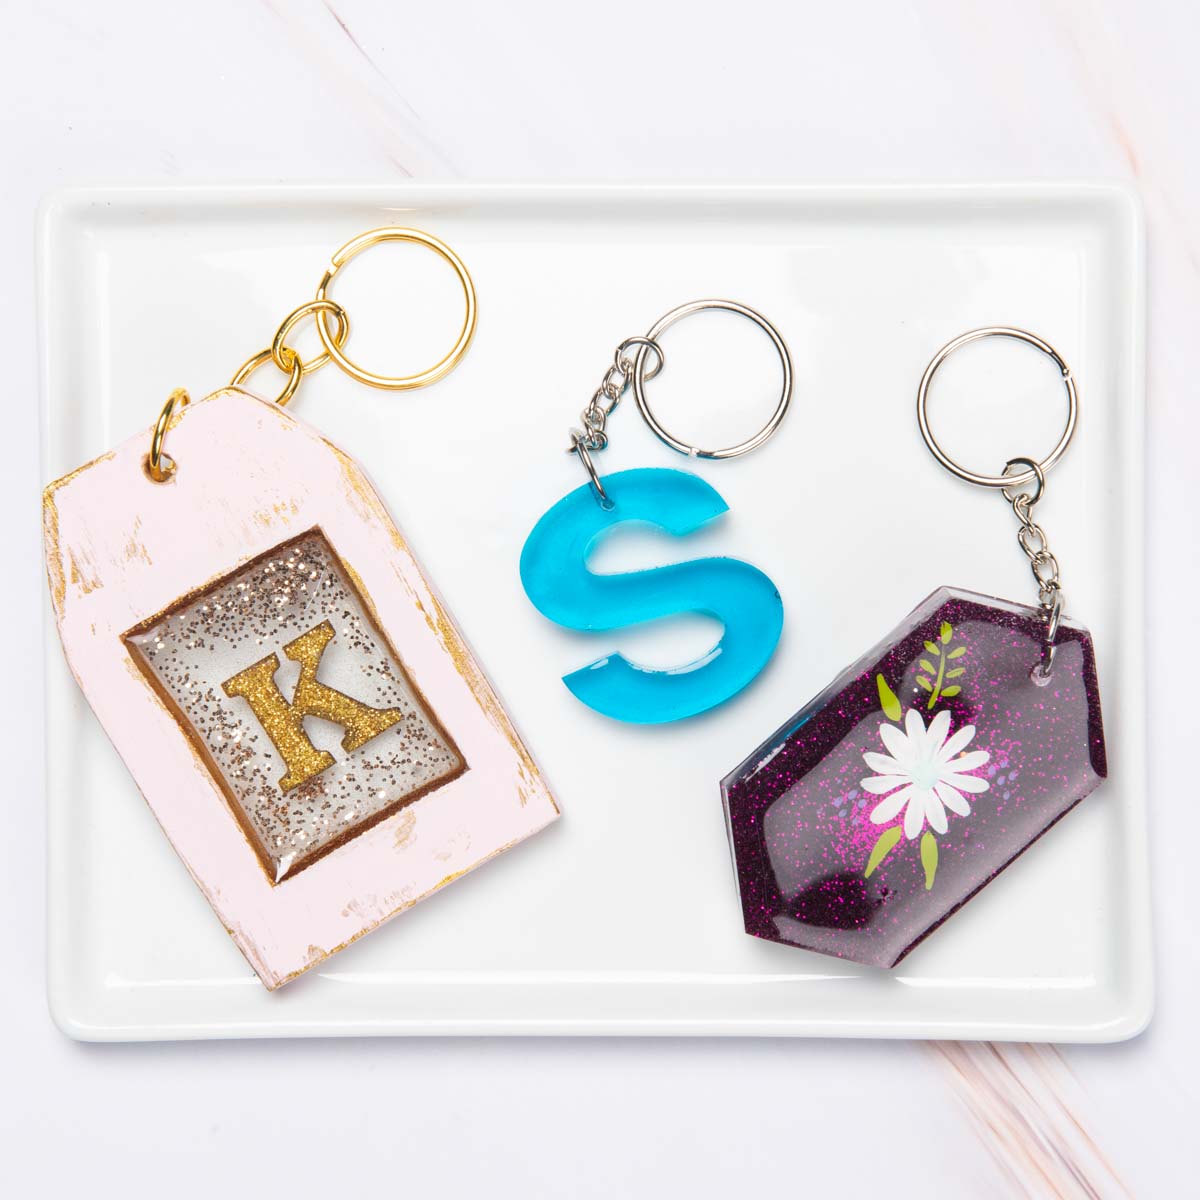
Making Resin Keychains
To make keychains with resin, you’re going to need: epoxy resin, a mold, embellishments (alcohol ink, glitter, stickers, etc), keychain findings, cups, sticks for mixing, protective equipment, and a drill with a small bit.
The most important part of the process is mixing the epoxy resin correctly, so let’s talk about that first. If you mix properly, the rest of your project is pretty much guaranteed to be a success.
How to Mix Resin
To mix Mod Podge Resin, begin by measuring out equal amounts of resin and hardener – (measure by volume not weight). Use a separate measuring cup for each part. Once equal amounts of both parts are measured, pour them into a mixing cup. Gently stir the two parts together for 3 minutes. When you start to stir, cloudy swirls will appear.
While mixing, make sure to scrape the sides and bottom of the mixing cup to fully incorporate the two parts. Continue to mix until the cloudy swirls no longer appear and the mixture is clear. NOTE: it is best to only mix the amount that will be needed for each project, one project at a time.
Note: it depends on the mold how much epoxy you need to mix. Usually 1 – 2 oz. is what you’d need for a keychain.
Are you ready to dig into the projects? Learn how to make some different versions below!
Mod Podge Resin Beach Keychain
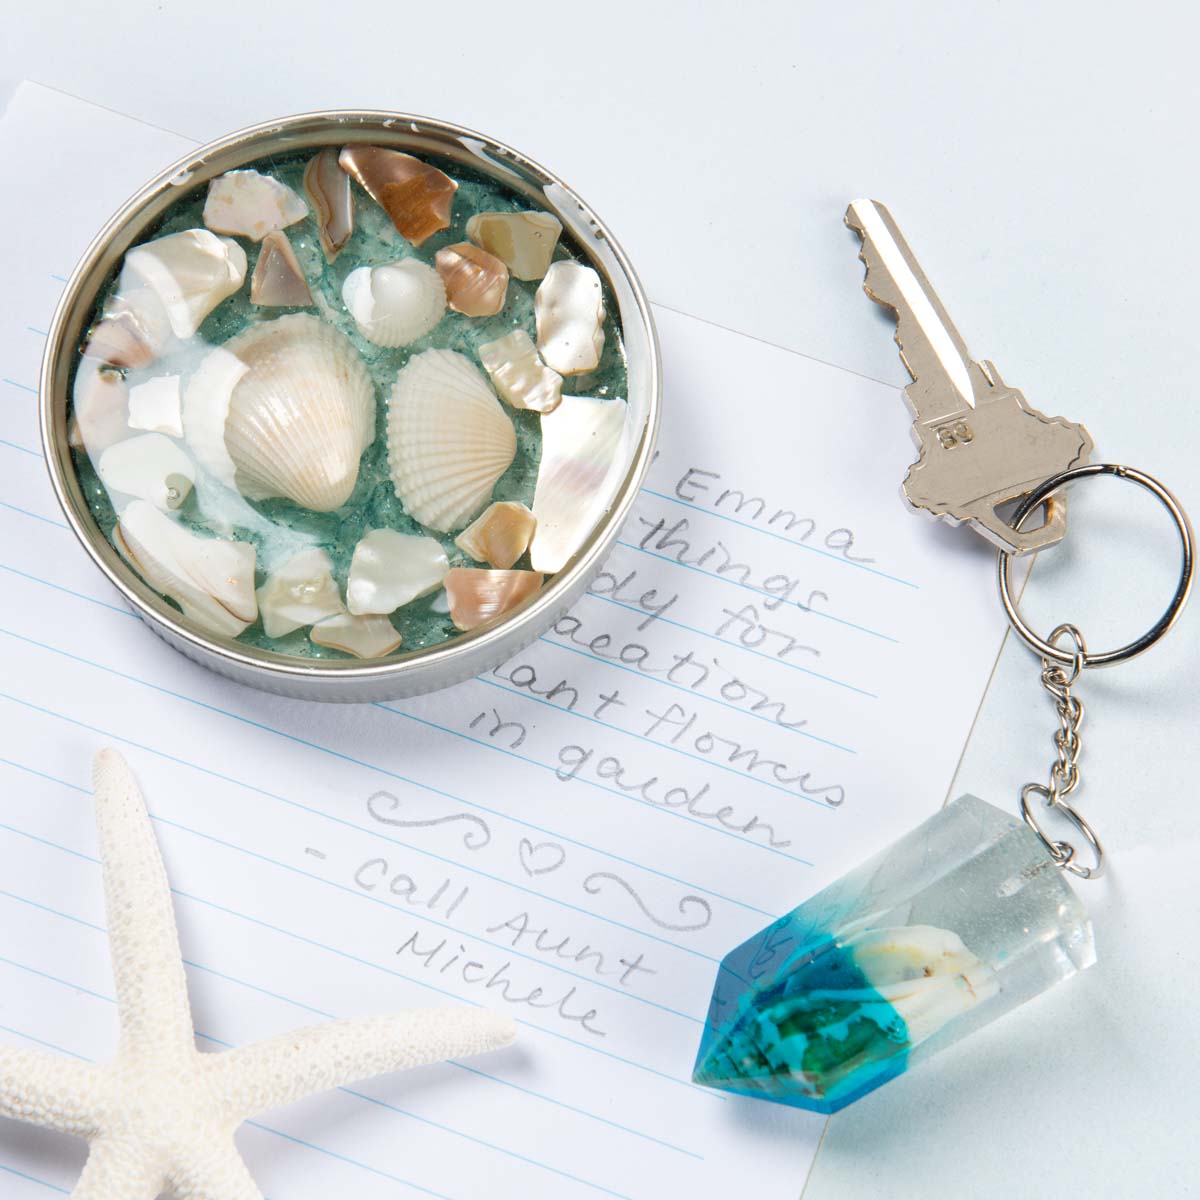
Gather These Supplies
- Resin
- Alcohol ink – blue
- Large crystal mold
- Small eye screw
- Large jump ring
- Keychain
- Seashells
- Drill with small bit (or hand drill)
- Respirator
- Gloves
- Craft sticks
- Small cups
- Pastry torch
- Mix resin according to the instructions on the packaging. Divide into two equal cups; one will be left clear. Mix the other with a few drops of blue alcohol ink.
- Using the blue epoxy resin, fill the mold halfway. Place the shell into the blue resin. Use torch to remove any bubbles. Allow the resin to sit for an hour.
- Pour the clear resin over the blue resin. Use torch to remove any bubbles. Let cure for 24 hours.
- You can sand and polish the resin keychain using the instructions here.
- Once dry, screw the eye screw into the end of the crystal. Attach the jump ring to the eye screw and keychain.
Alphabet Keychains
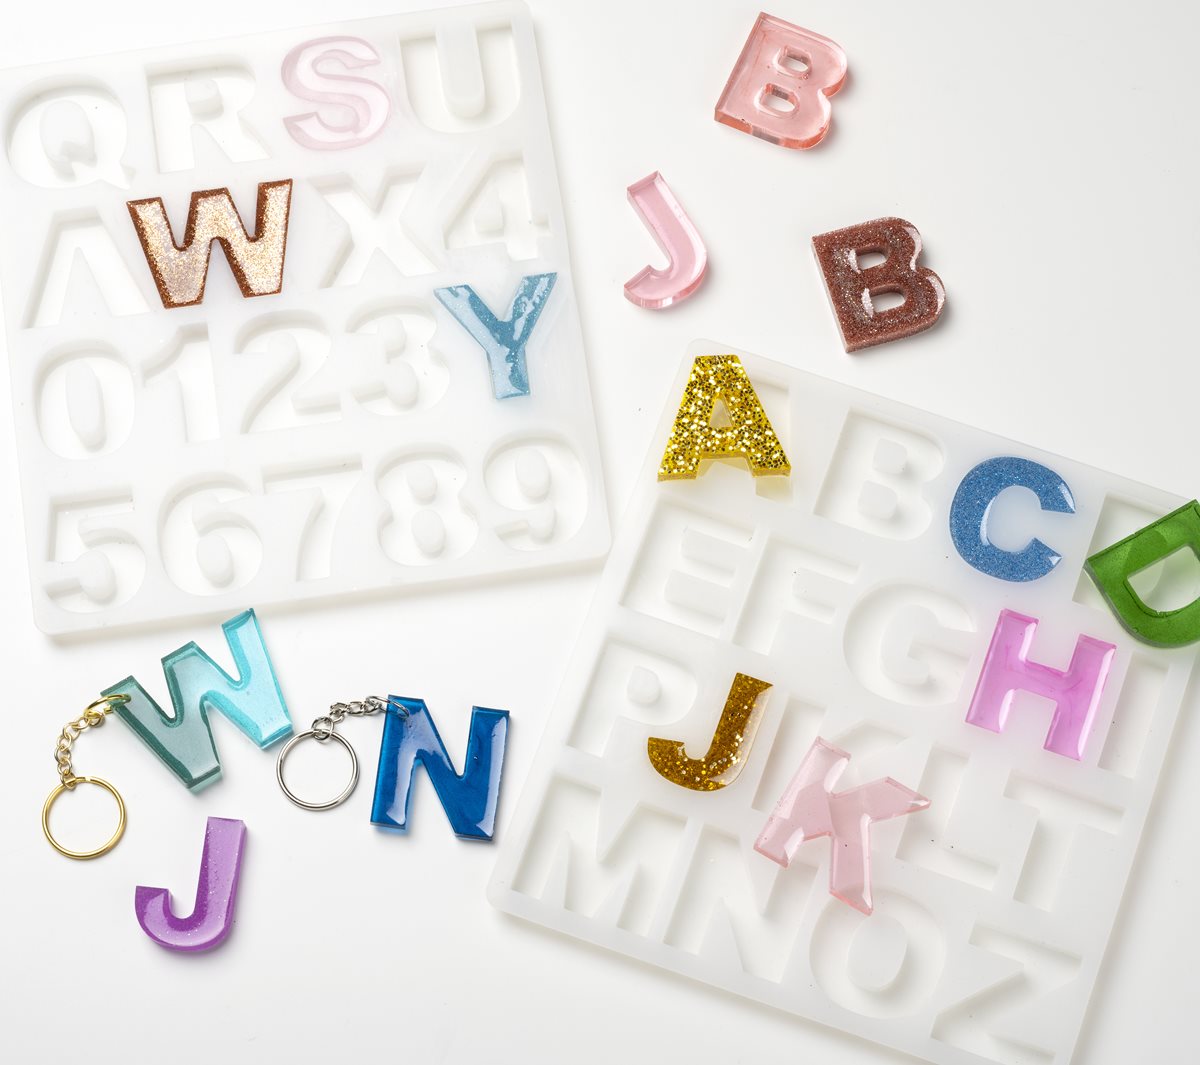
Gather These Supplies
- Resin
- Alcohol ink – colors of your choice
- Glitter
- Alphabet mold
- Small eye screw
- Large jump ring
- Keychain
- Drill with small bit or hand drill
- Respirator
- Gloves
- Craft sticks
- Small cups
- Pastry torch
- Mix resin according to the instructions on the packaging.
- Divide resin into small cups and add your alcohol ink and glitter into the individual cups.
- Pour the resin into your alphabet molds. Use the torch to remove any bubbles.
- Allow to cure for 24 hours and remove the letters from the mold.
- Drill holes in the letters to make keychains. Add the jump rings, chains, and keychains to finish.
Blue “S” Keychain
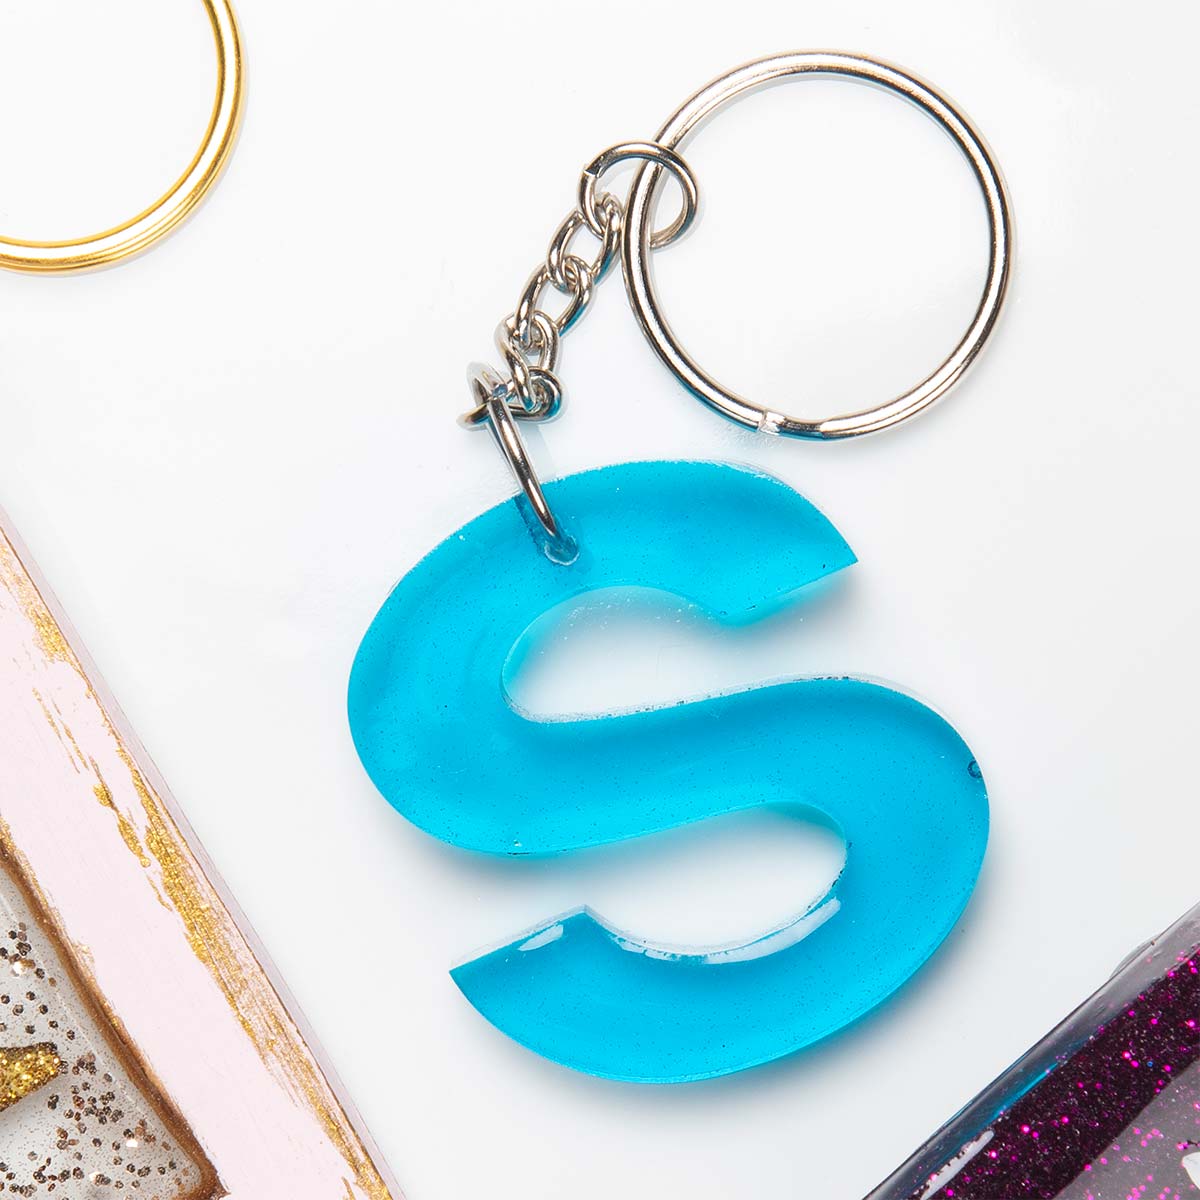
Gather These Supplies
- Resin
- Alcohol ink – aqua
- Alphabet mold
- Small eye screw
- Large jump ring
- Keychain
- Drill with small bit or hand drill
- Respirator
- Gloves
- Craft sticks
- Small cups
- Pastry torch
- Mix resin according to the instructions on the packaging. Mix a few drops of aqua alcohol ink into the resin.
- Carefully pour the resin into the desired alphabet mold.
- Allow the Mod Podge Resin to cure fully (24 hours). Remove the letter from the mold.
- Using a small craft drill, make a hole in the resin letter.
- Add keychain hardware to complete the keychain.
Painted Flower Keychain
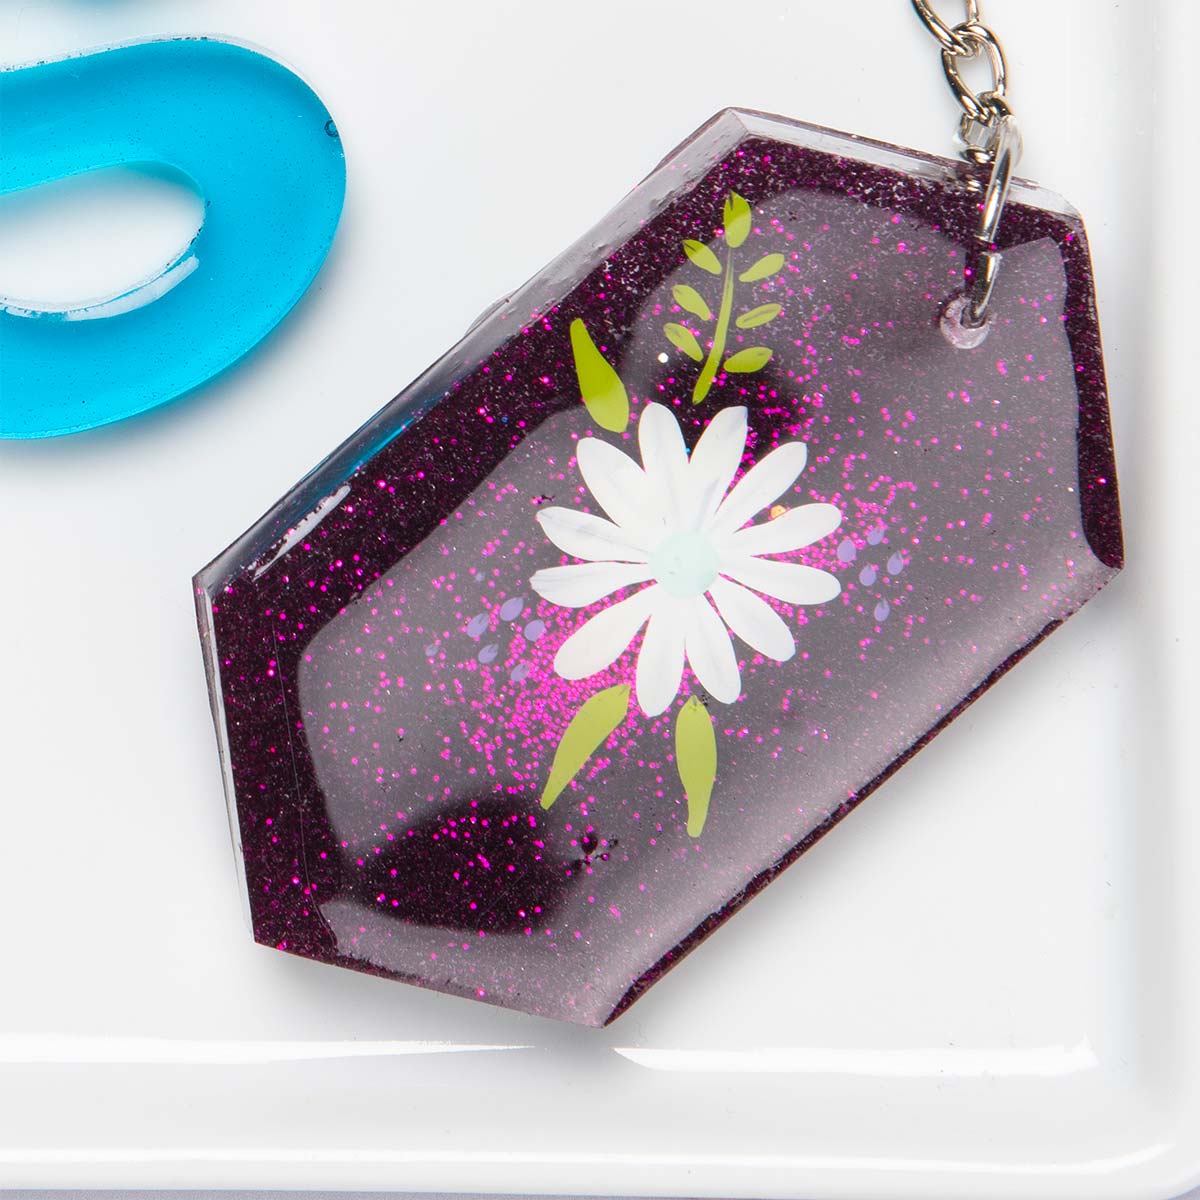
Gather These Supplies
- Resin
- Fine purple glitter
- Small geometric resin mold
- Acrylic paint – colors for your flowers
- Paintbrush
- Small eye screw
- Large jump ring
- Keychain
- Drill with small bit or hand drill
- Respirator
- Gloves
- Craft sticks
- Small cups
- Pastry torch
- Mix resin according to the instructions on the packaging. Add a small spoonful of fine purple glitter into the resin and mix thoroughly.
- Pour the resin into silicone mold and fill it halfway. Allow to cure fully (24 hours). Do not remove from the mold.
- Using a liner brush and FolkArt acrylic paint, paint a small flower on the surface of the resin.
- Mix more resin and fill the rest of the mold with clear. Allow to cure another 24 hours.
- Remove the resin from the mold. Drill a small hole in the resin with a craft drill and add keychain hardware to complete the project.
Wood Frame Resin Keychain
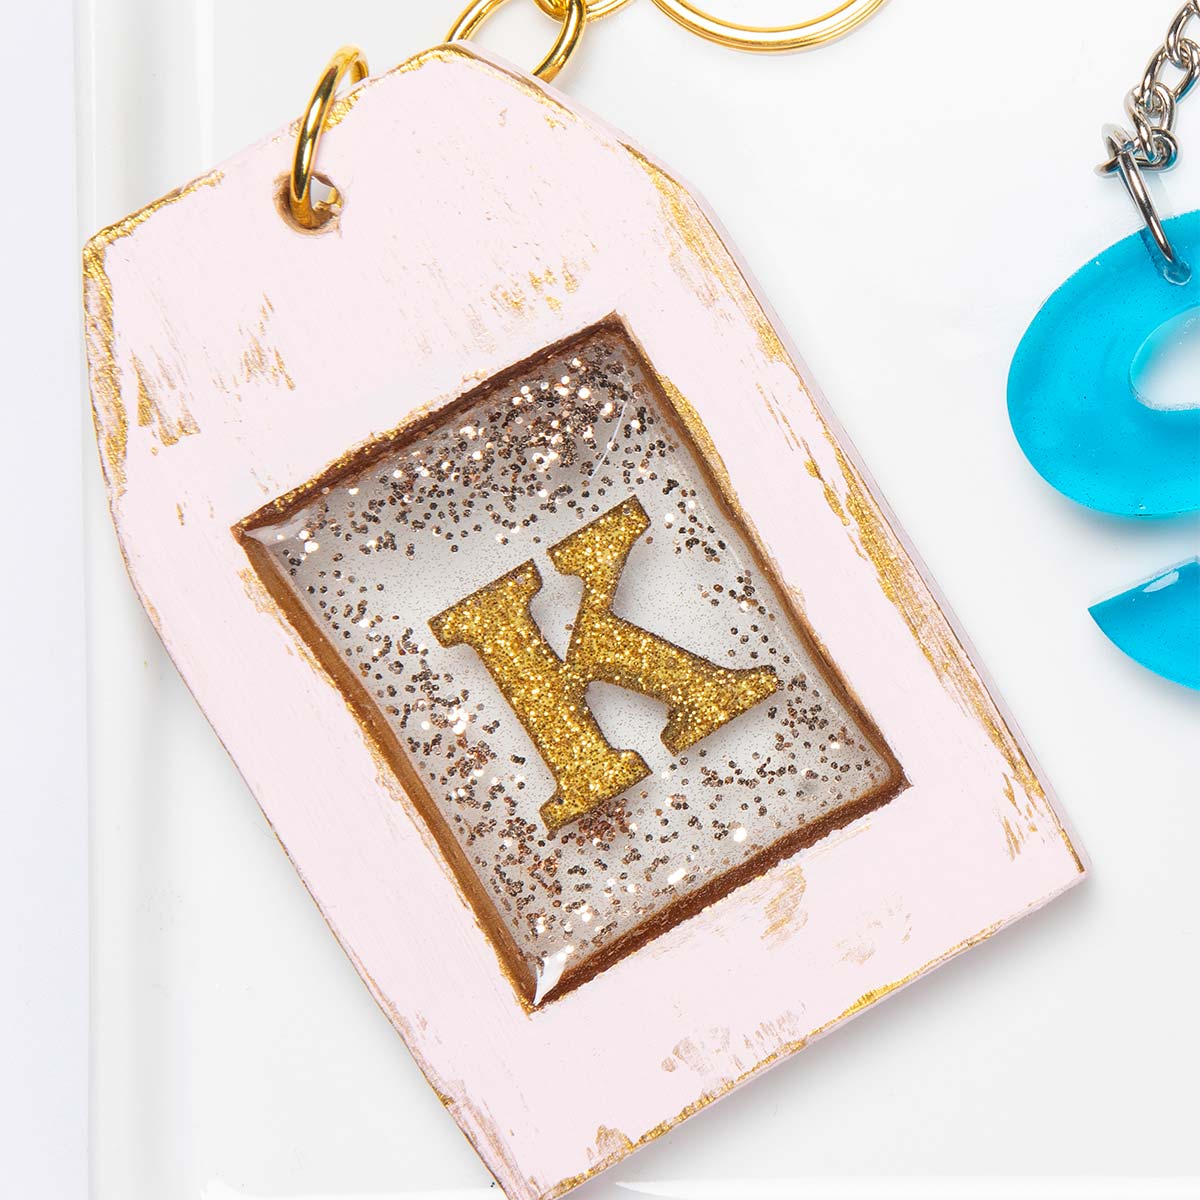
Gather These Supplies
- Resin
- Wood frame keychain
- Scrapbook letter (we used glitter)
- Glitter
- Painter’s tape
- Keychain hardware – if needed
- Drill with small bit or hand drill
- Respirator and gloves
- Craft sticks
- Small cups
- Pastry torch
- Sandpaper
- Mix resin according to the instructions on the packaging.
- Cover the back of the frame keychain with painter’s tape. Make sure there is a tight seal so the resin won’t leak out.
- Pour a small amount of resin into the opening. Place a small scrapbook letter and sprinkle some glitter. Pour more resin on top to fill the space.
- Allow the epoxy resin to cure for 24 hours.
- Remove the painters tape and use sandpaper to remove any leaks or inconsistencies. Attach the hardware if it isn’t already.
I hope you enjoyed these DIY resin keychains! If you’d like to see some other related projects, check out the following tutorials:



Great stuff,
Please help me because I want to make key chains ( square, rectangular, round and odd shaped) as well but I want to use nice text, images etc printed with my deskjet printer.
Please advise me.
Errie