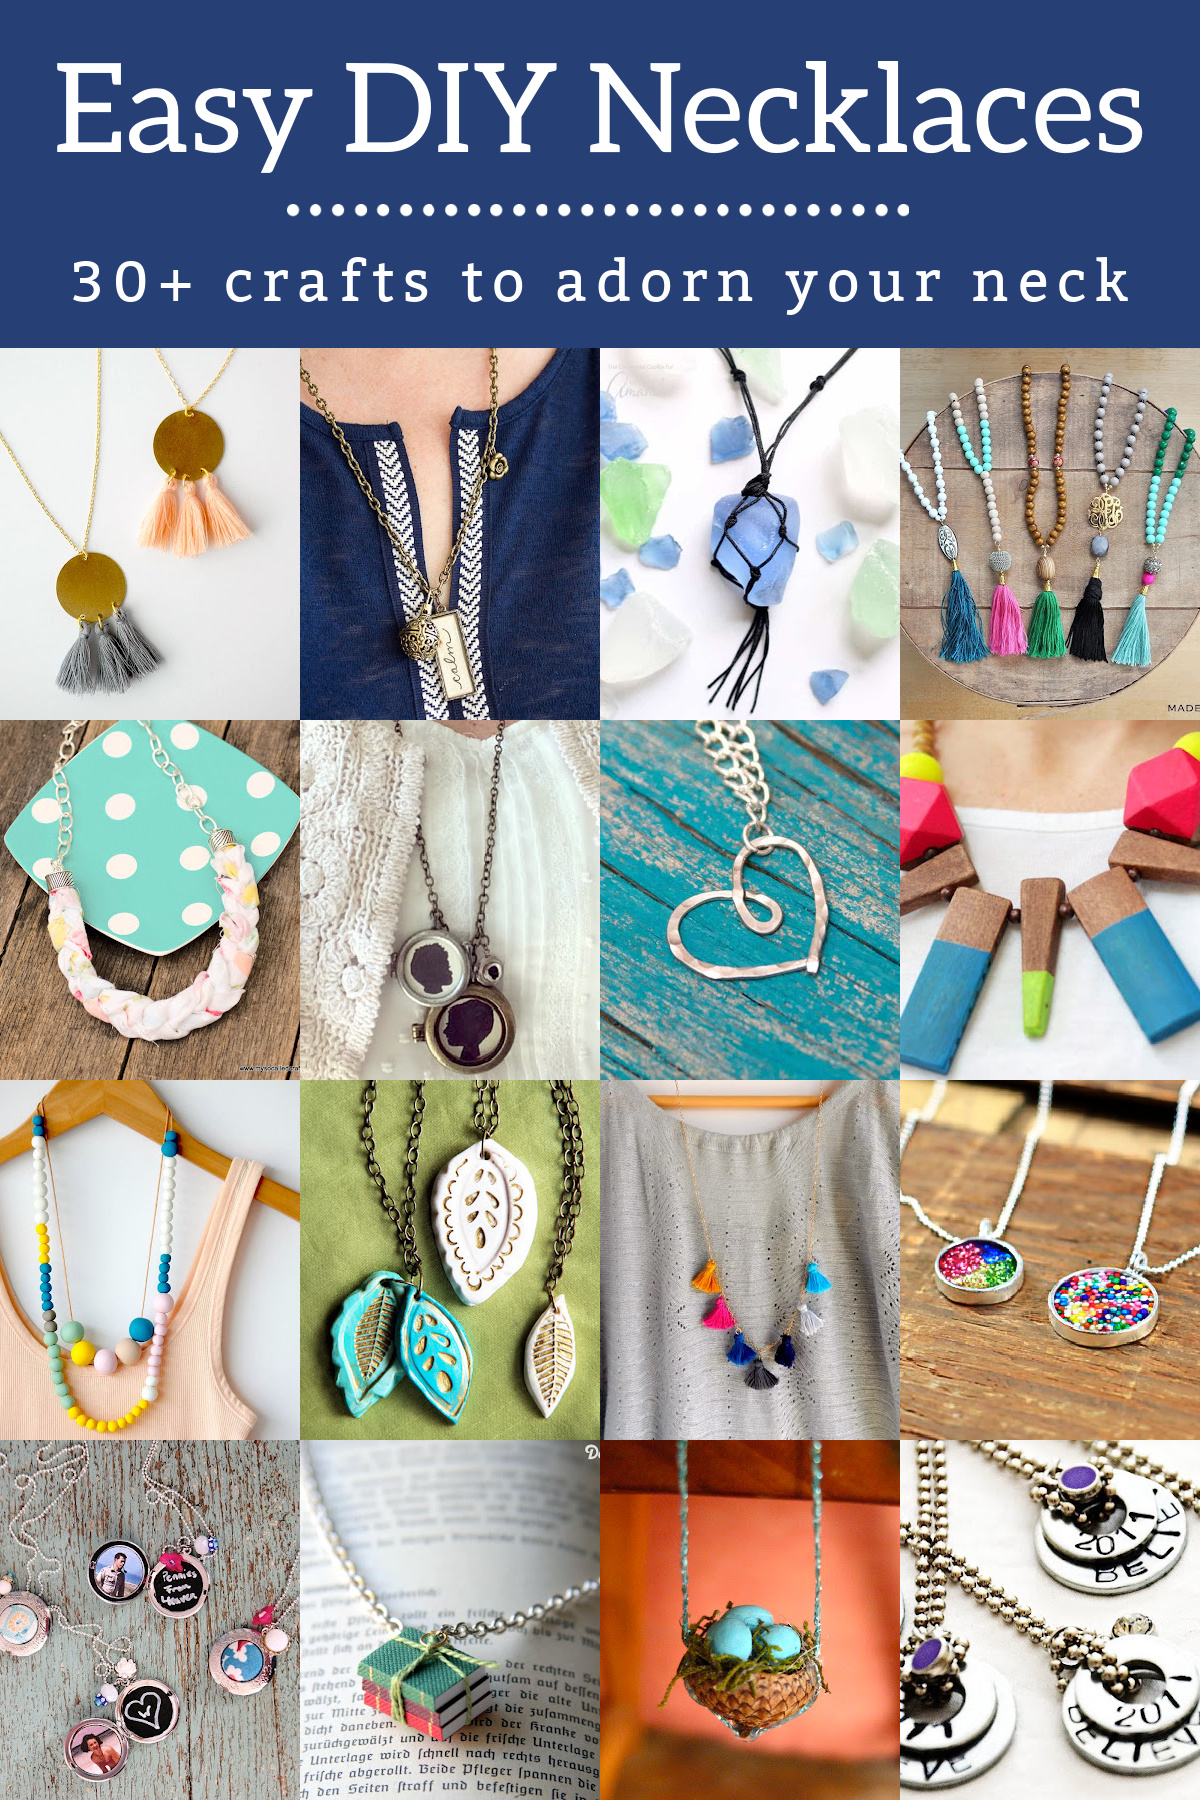
Learn how to make over 30 DIY necklaces using these easy step-by-step tutorials! All of these necklaces are perfect for beginning crafters. These are perfect to make for yourself, as gifts, or to sell.
I’ll be the first to admit – I go through phases with necklaces. And earrings. And bracelets. Sometimes I wear them and sometimes I don’t, and I repeat this behavior for long periods of time.
For example I might wear necklaces for two years in a row, then stop wearing any jewelry at all for six months.
I don’t know if it’s strange or not.
But it doesn’t change the fact that when I get into a necklace phase, it’s like discovering jewelry all over again! I love making new pieces to add to my collection. I love DIY necklaces, so I put together a collection to share with you.
Some of these are necklaces that I would like to try, and some of them I have made. All of them are pretty and I can’t wait for you to see the list of tutorials!
One thing that’s important to know when making necklaces – perhaps the most important thing – is how long you’d like the necklaces to be.
Because of that, I’ve provided a necklace size chart below. Most necklaces can be customized to the size you like, so this chart will help you decide.
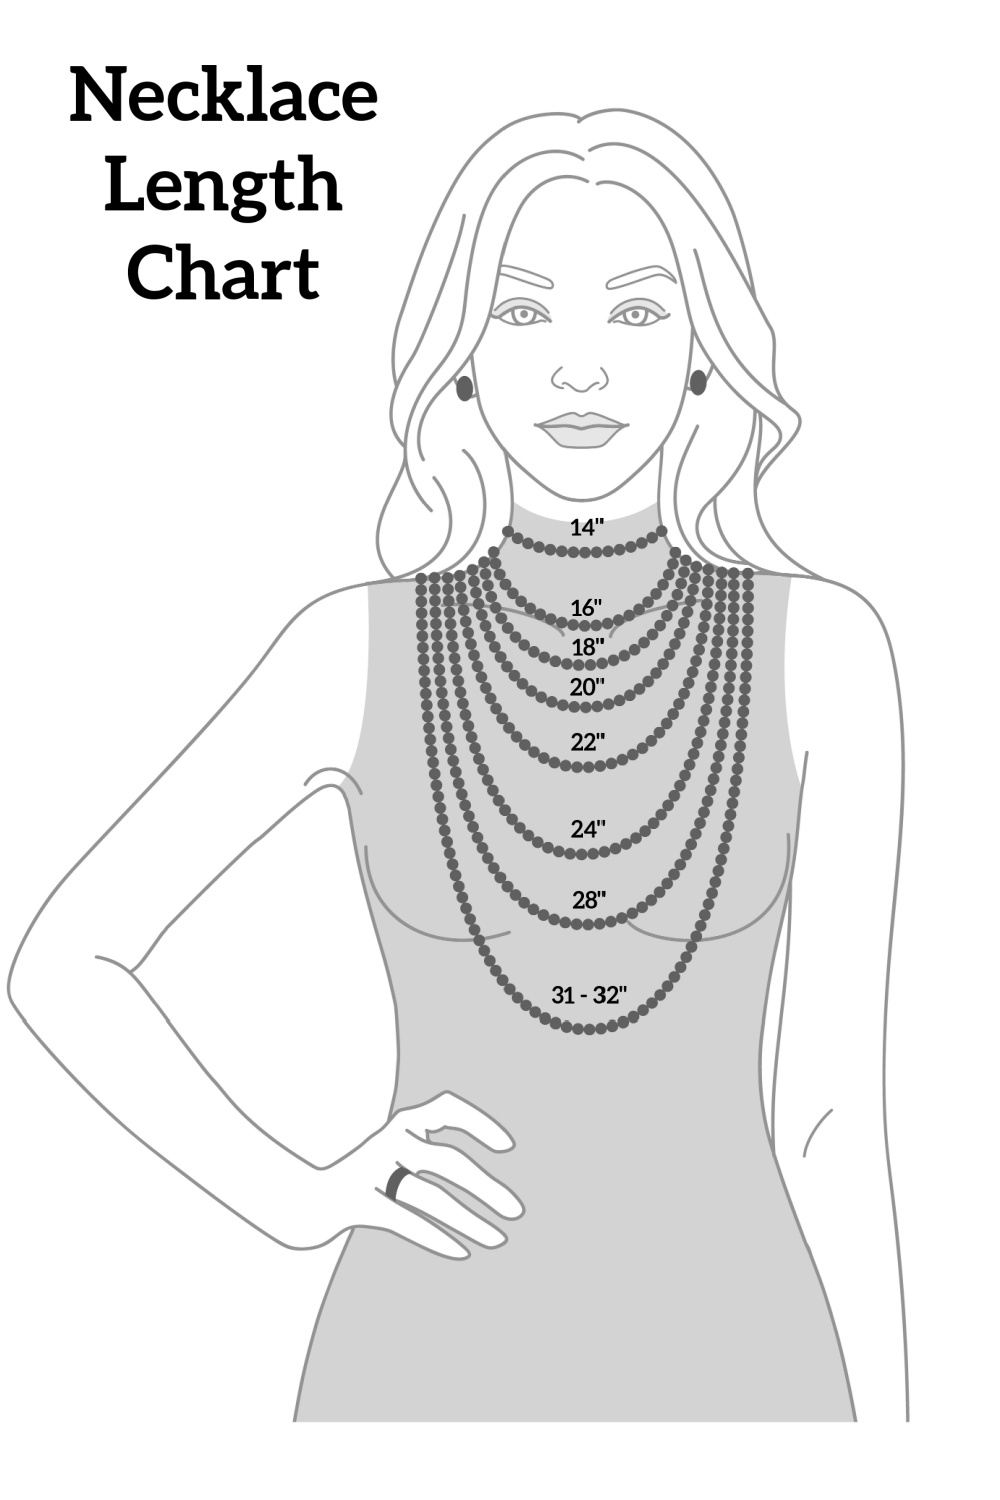
Necklace Length Chart
Keep in mind that this necklace chart is a guideline for reference only. The true fit of a necklace depends on a variety of factors but most importantly, your individual body type.
If you want to have a more accurate idea of where a necklace falls on you specifically, cut a piece of ribbon or string in the length and slip it over your neck.
14″ Length – fits more tightly around the neck, like a choker.
16″ Length – falls right around the base of the neck, above the collarbone. If you’re wearing a shirt, it will fall above the collar.
18″ Length – if you would like the necklace to hang below your throat at the collarbone, this is a good choice. Pendants are commonly added to this length as well.
20″ Length – falls a few inches below the collarbone. This works well for lower necklines.
22″ Length – hits at or above a low neckline.
24″ Length – necklaces at this length are below the lowest necklines and are at the top of the breast area.
28″ Length – hangs over the top of the bosom.
31 – 32″ Length – will hang below the bosom area.
Are you ready to check out the DIY necklaces? Scroll down and enjoy the list below. Let me know your favorites in the comments!
1
delightedmomma.com
DIY Polymer Clay Bead Necklace
This is s great project to start with if you are a beginner or polymer clay seems intimidating to you. You can't mess this one up.
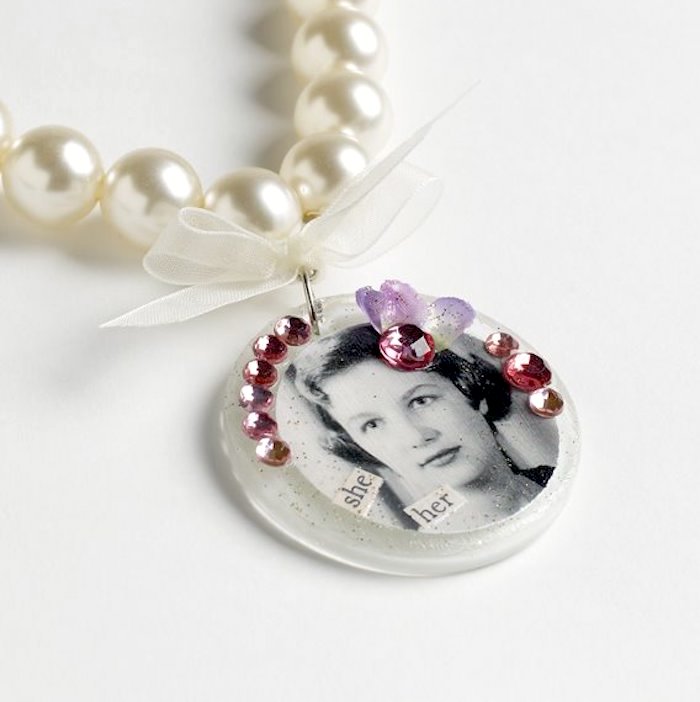
Learn how to make a photo pendant the easy way! Attach to a necklace or bracelet for simple DIY jewelry that also makes a great gift idea.Get more photo crafts.
There is something special about a jewelry piece that doesn’t come from your average store – plus it’s so fun to make things that are a little more personal. That’s just the case with this little “Hello” embroidered pendant necklace!
Bending wire takes some patience, but anyone can do it! Debi gives you a tutorial, including a video to show you how it's done. Customize with the embroidery floss colors of your choice.
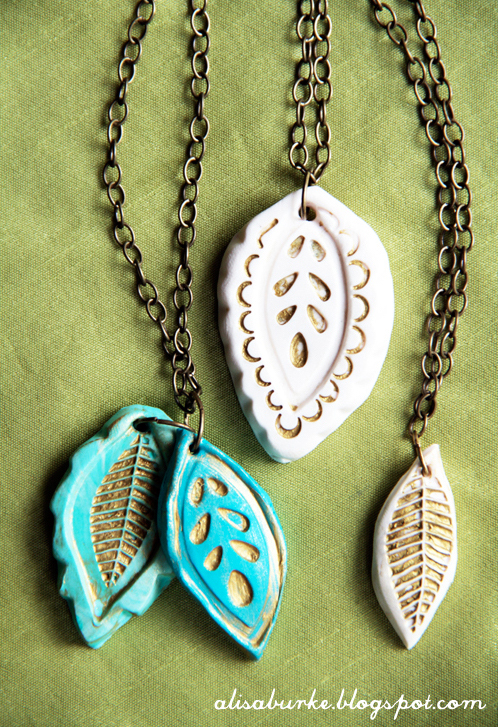
Press clay into silicone molds to turn it into any shapes that you like! Once the clay has hardened, you can paint and gild the shapes, then string them to make some pretty homemade necklaces.
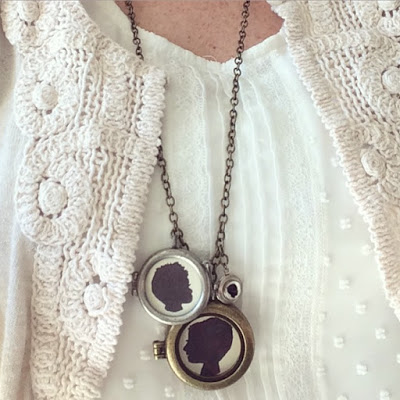
It's not hard at all to make DIY necklaces featuring silhouettes! This project would be a fun way to show off your kiddos, or be a sweet gift for your favorite mother.
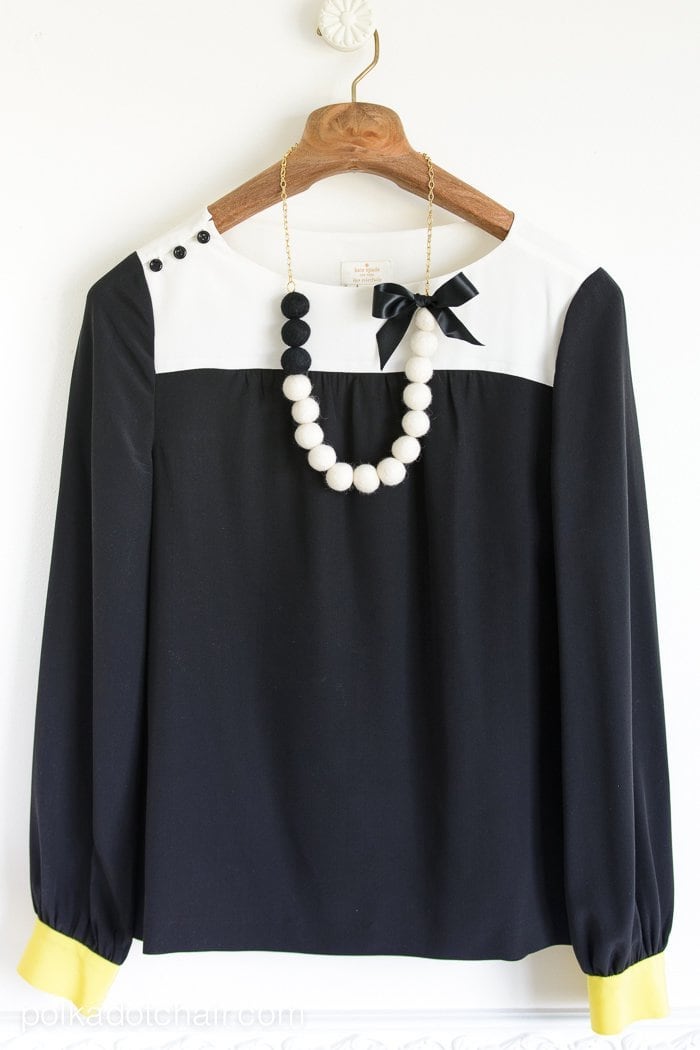
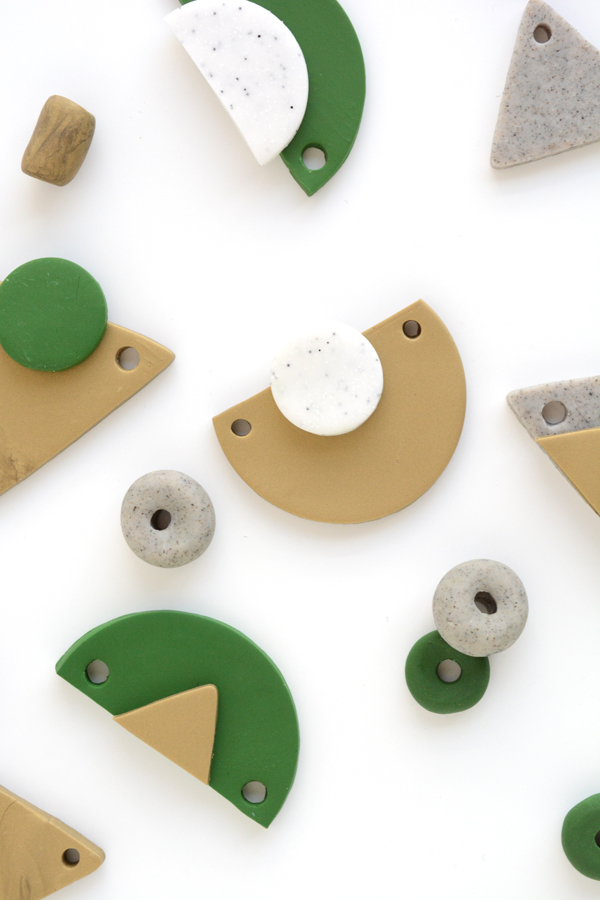
These little chunky geometric necklaces are going to be one of your favorite new accessories. Pair these with a t-shirt and your favorite jeans, and you're good to go!
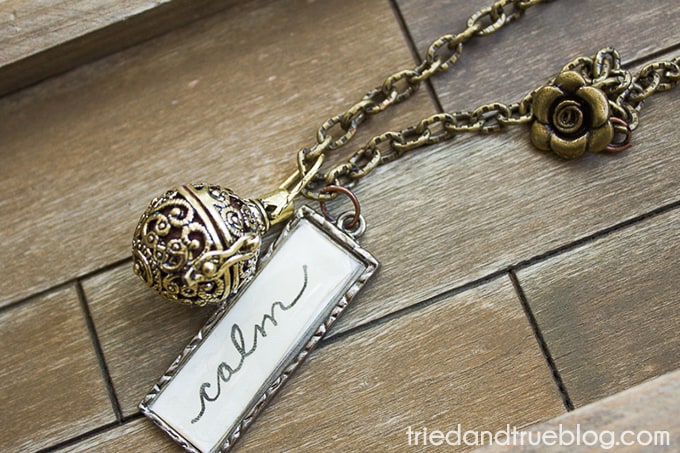
If you want to enjoy essential oils on the go, this diffuser necklace is perfect! Vanessa uses hers with lavender and peppermint for headaches, but you can add any of your favorite scents.
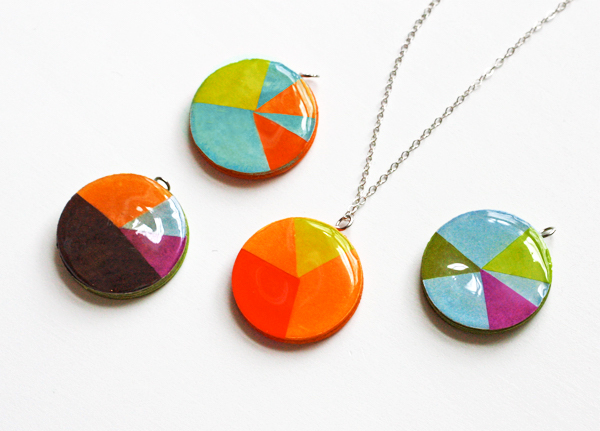
These cute little necklaces are made entirely of paper. Oh, and a little glue, thread, and a jump ring if you want to get technical. Which you probably do, if you're the kind of person who likes pie charts.
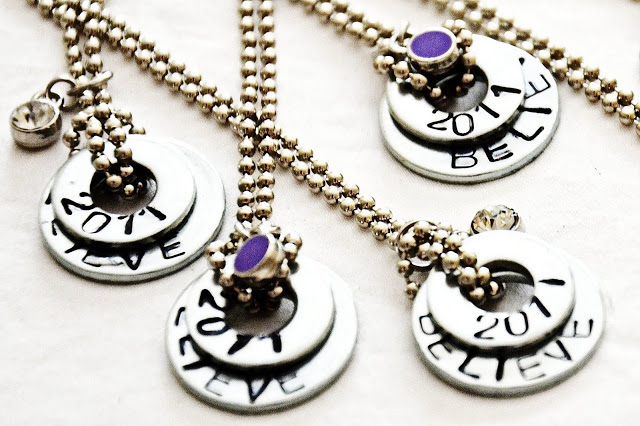
If you've never hand stamped metal, you'll be surprised how easy it is! You can use the stamps on washers and make beautiful jewelry by adding beads and chain.
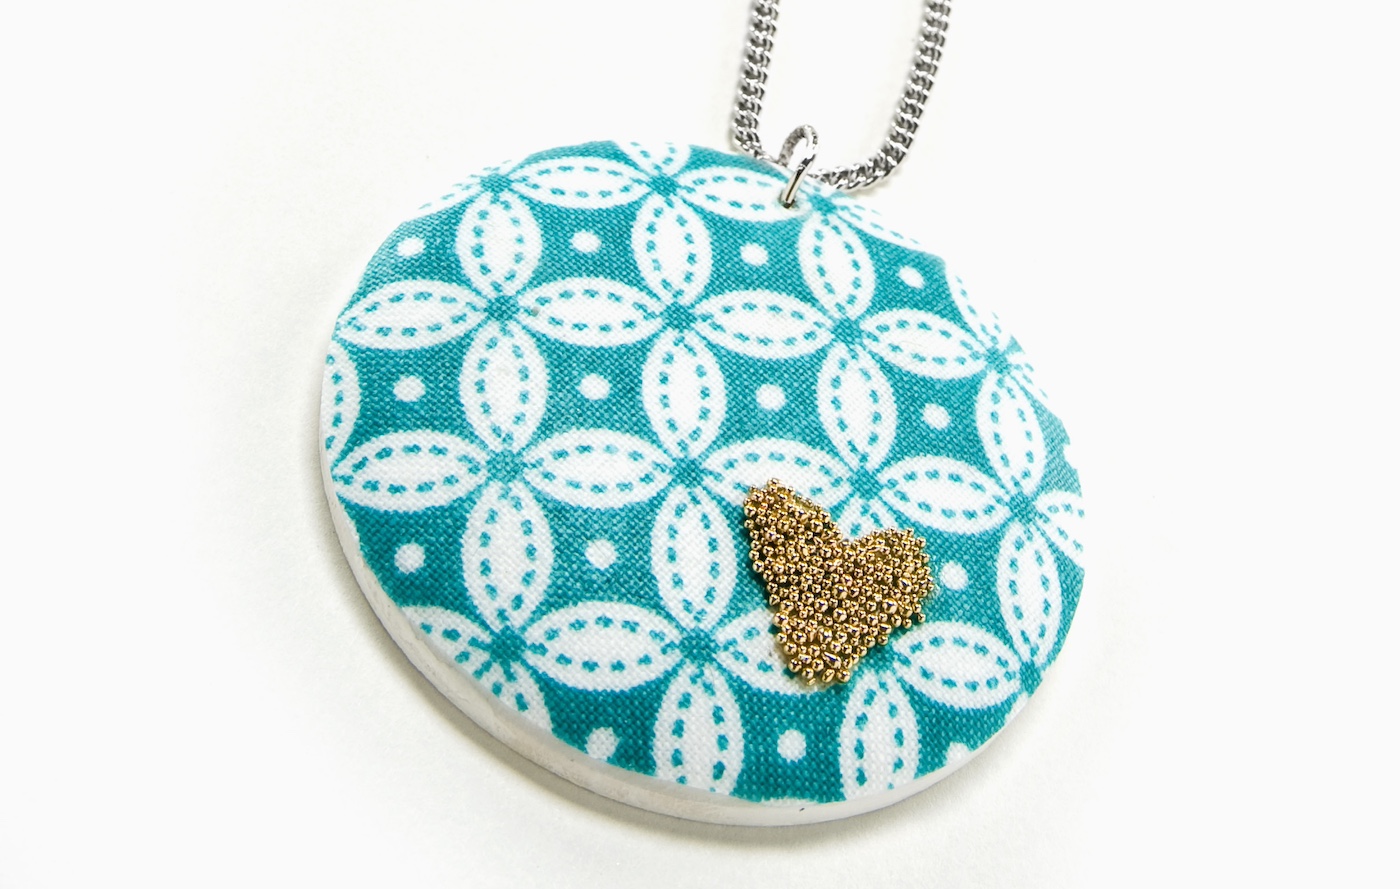
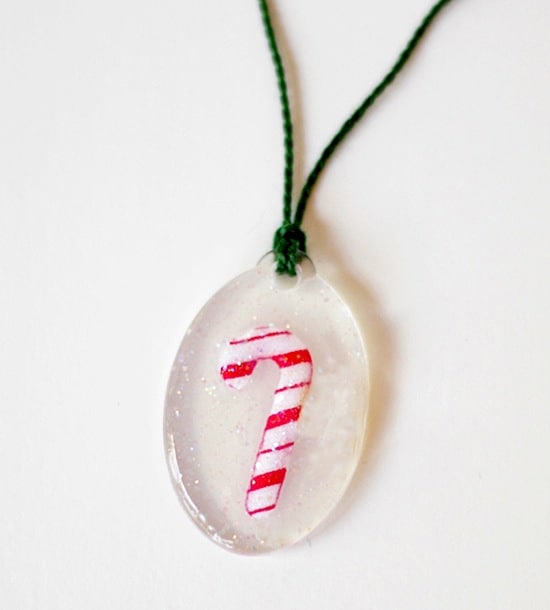
Make beautiful resin jewelry using wood pieces and alcohol ink or food coloring and resin. You can make a beautiful pendant set using the mold of your choice.You can see the dried flower version here.
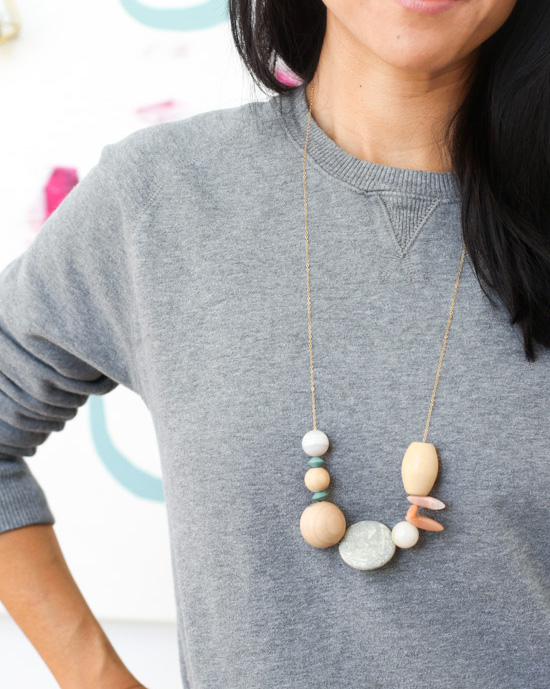
Brittni designed a long, asymmetrical necklace that can be worn during the day or at night. I love the combination of beads with color and then plain wood beads to make a simple yet beautiful piece of jewelry.
Do you enjoy taking out your frustrations on wire with a jewelry hammer? You're going to love this beautiful hammered necklace! It's way easier than you think, and perfect for beginning jewelry crafters.
It's hard to believe that dryer lint can turn into beautiful homemade necklaces. I know – but it's true! Cathie will show you exactly how the faux turquoise is made.
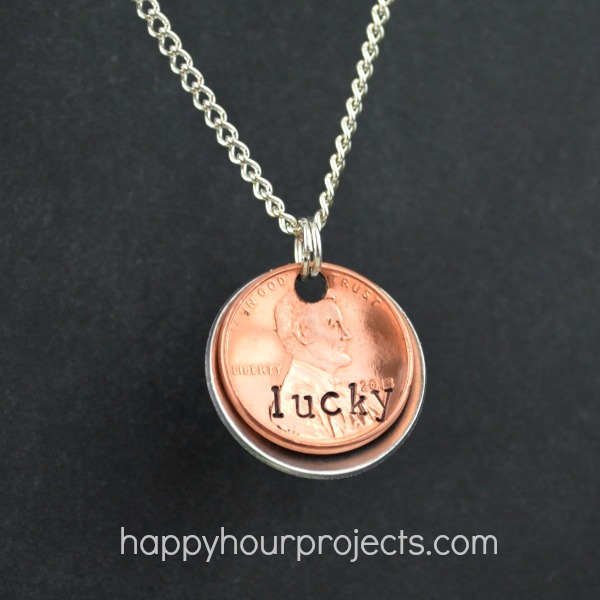
Could you use a little luck and positive energy? This fun lucky penny necklace will be perfect for you! This piece is hand-stamped, but if you aren’t into stamping, you can still make a non-stamped version of your own!
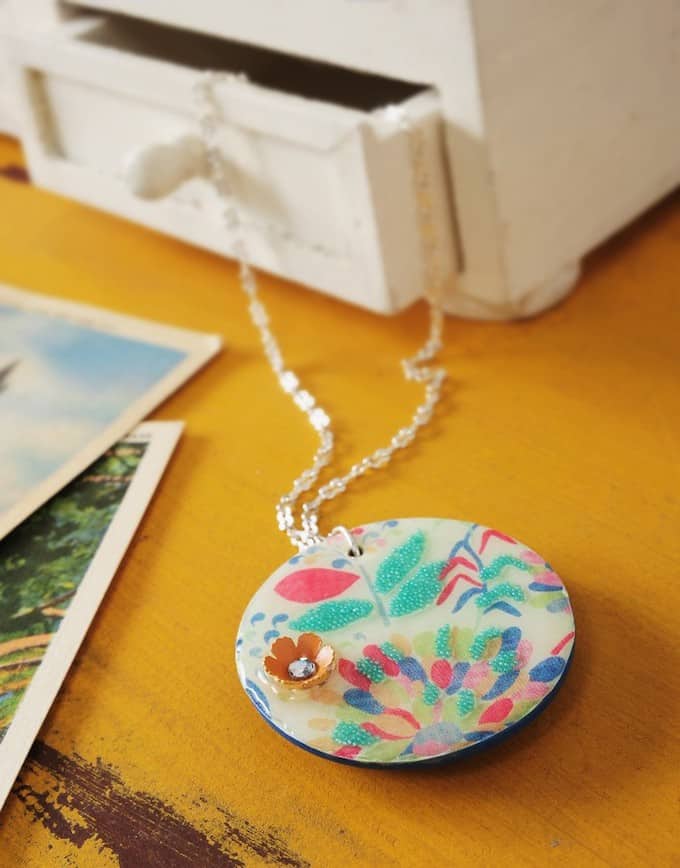
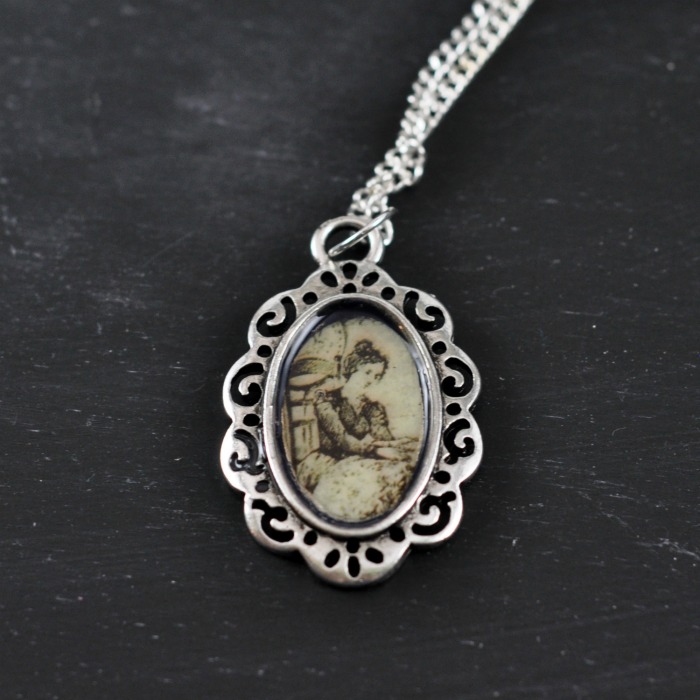
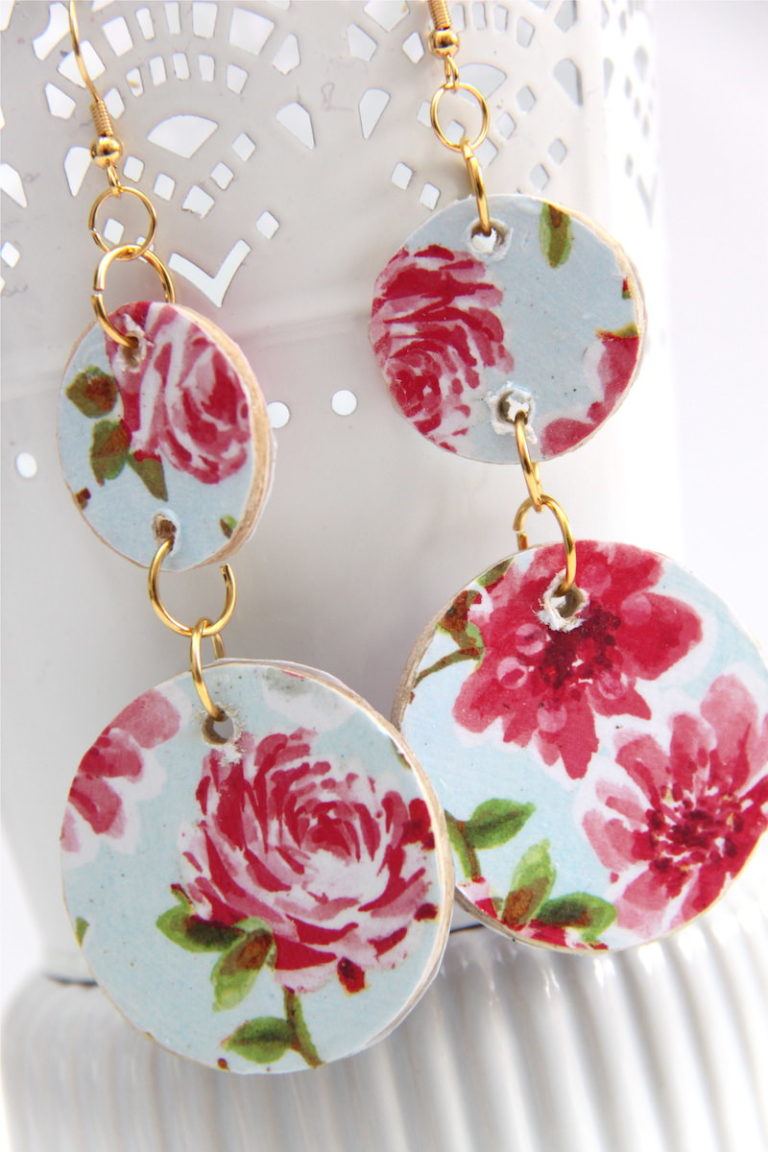
Mod Podge Dimensional Magic is a great way to create faux cabochon jewelry! Tara will show you how to make a cool necklace with a vintage style image in a few simple steps.
Add a little glitz to your wardrobe with these beautiful handmade gold leaf pendants. These necklaces make great gifts and are perfect for customizing to fit your style.
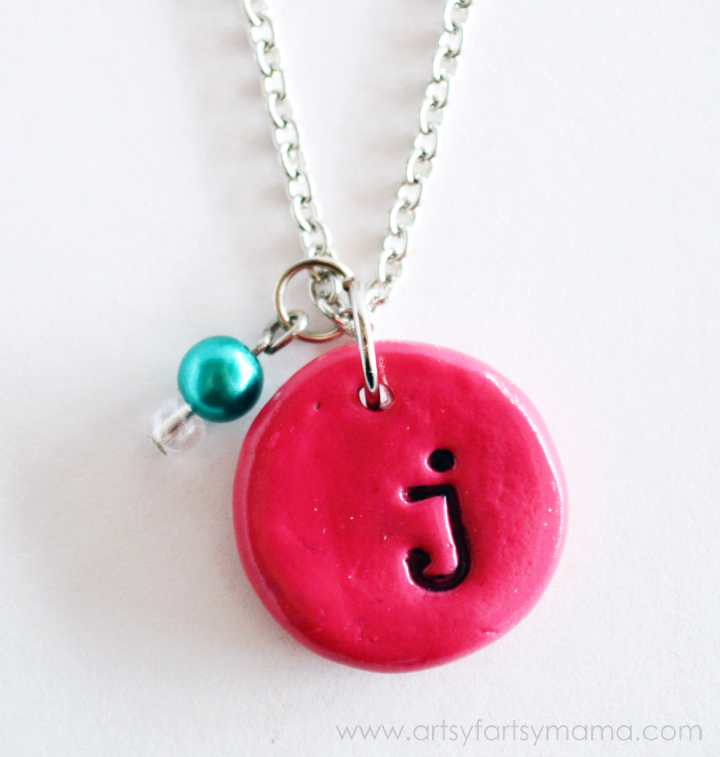
This DIY stamped monogram necklace is easy to make, and can be customized for anyone you want to make one for. If you loved playing with play dough as a kid (or as an adult – I know I do!), you'll love creating this necklace!!
A tiny set of books makes the perfect pendant for book-lovers, librarians, teachers, and bookworms. This book necklace DIY is so simple to make with the help of some miniature books for a dollhouse!
This tutorial shows you how to use a tiny piece of your wedding dress to make a quick and easy pendant. Looks gorgeous and a great thing to do with your dress after the wedding!


Another great Post.