
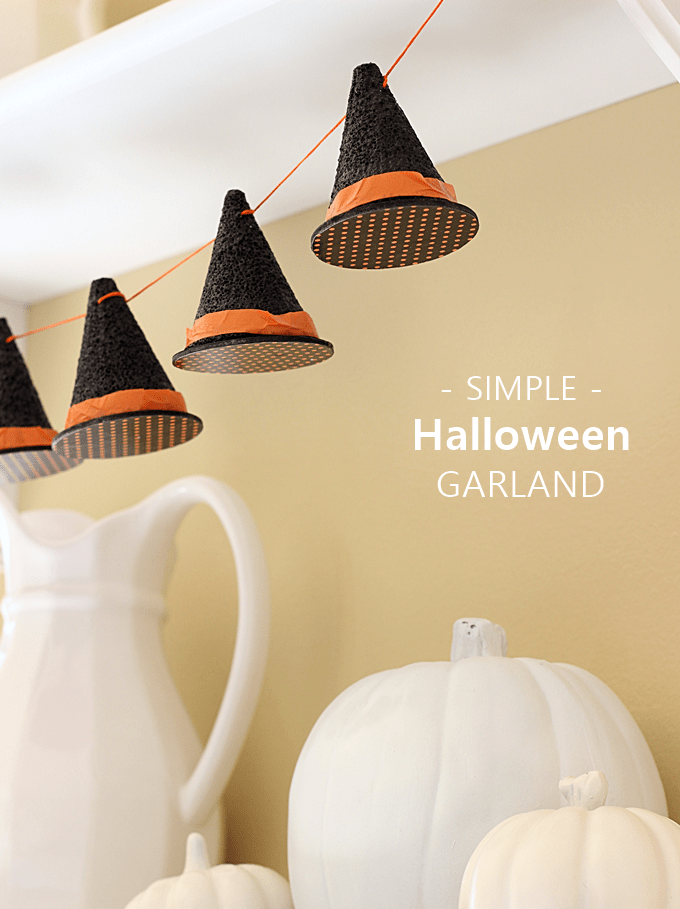
Use wood circles, foam cones, and paint to make the cutest little Halloween garland ever! It’s made of little witch hats. Fun for kids too.
Skills Required: None. Even if you’ve never Mod Podged before – or crafted before – you can accomplish this project. This witch garland is simple enough for anyone to try!
Halloween is right around the corner! Are you looking for a unique, slightly spooky way to decorate your mantel or shelves this fall?
I’ve got a cute idea for you that is easy to make using a little decoupage, black paint, foam cones, and, of course, black glitter! If you like Halloween garlands, you’re going to be very excited.
Let me show you how I made this fun and festive DIY Halloween flying witch hat garland. It’s a great Halloween craft for kids OR adults. I feel that kids of all ages can easily make this for DIY Halloween decorations.
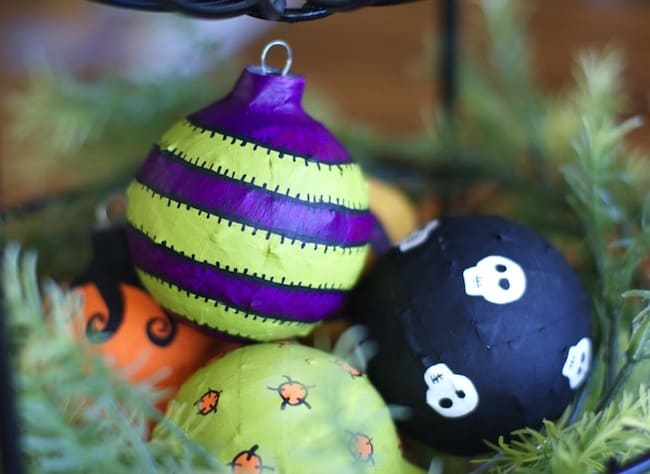
I love how it looks against my white shelves in my kitchen. With a couple of white pumpkins, I have a simple, yet slightly whimsical, display for the holiday.
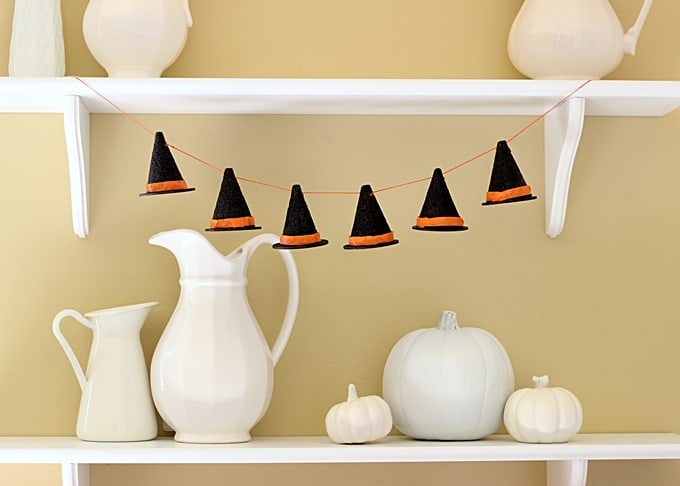
Witch Hat Garland
Learn how to make this cute Halloween craft for adults below!
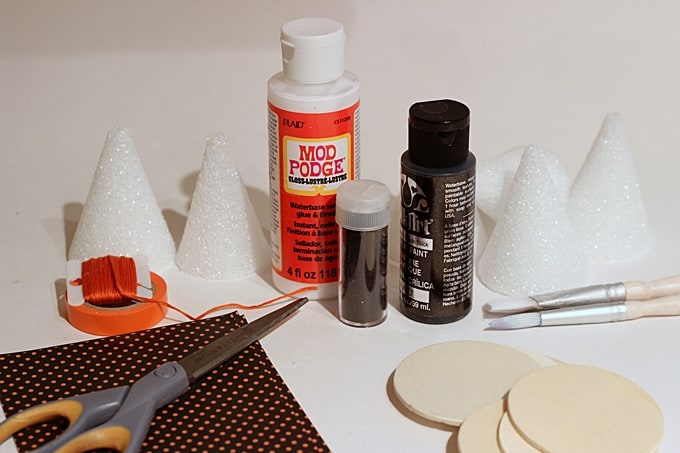
Gather These Supplies
- 6 small foam cones
- 6 small wooden circles
- Black craft paint
- Black glitter
- Mod Podge Gloss
- Decorative craft paper
- Orange washi tape or ribbon
- Orange colored embroidery floss or thin ribbon
- Thin wire
- Scissors
- Pencil
- Brushes
- Bamboo skewer (or other thin, pointed tool)
Instructions:
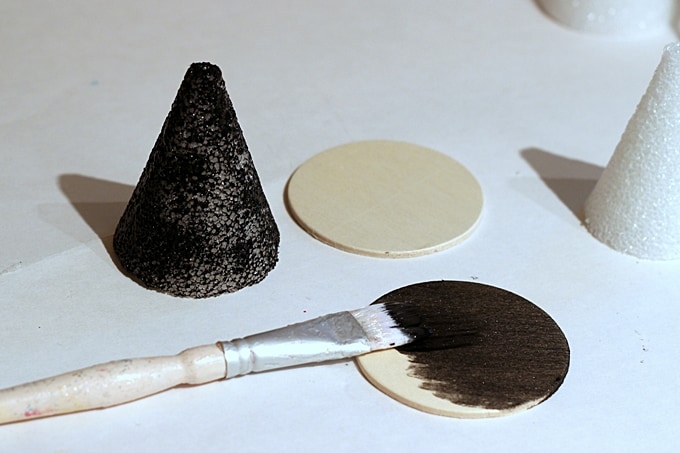
Paint the foam cones and wooden circles with 1 – 2 coats of black craft paint. Allow that paint to dry.
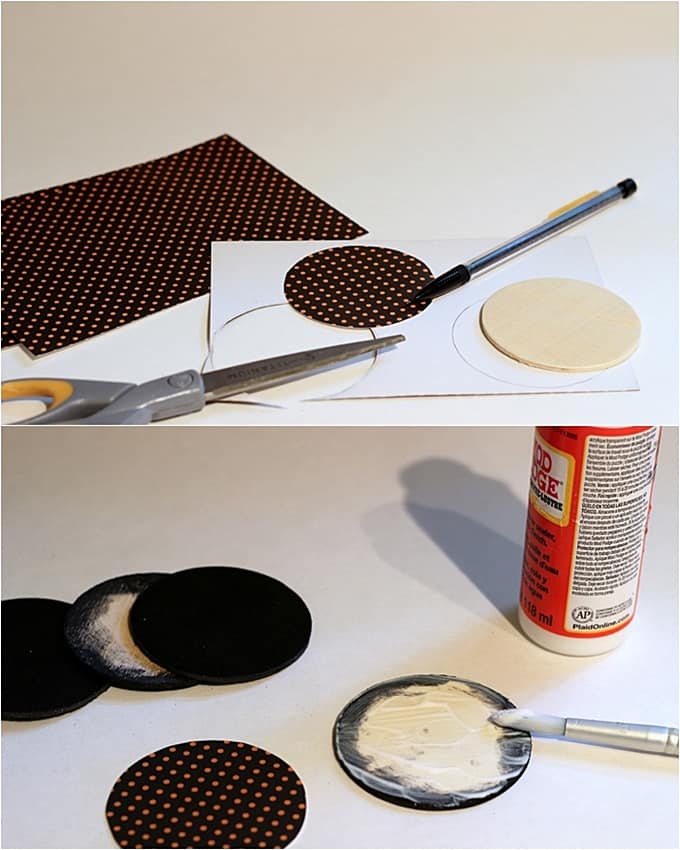
Using your wooden circles as a template, trace and cut out circle shapes from the craft paper. Apply a coat of Mod Podge to one side of the wooden shapes and press the paper circle down on top of the wood surface.
Smooth out any bubbles as the glue dries. Apply another coat of Mod Podge over top of the paper to seal it down.
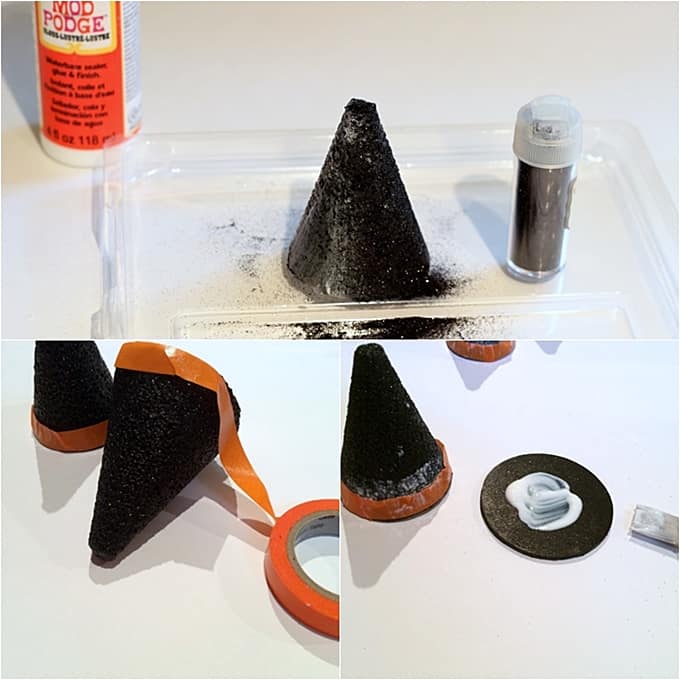
Brush a coat of Mod Podge over the foam cones and sprinkle with a coat of black glitter. Allow your Halloween garland to dry, and then apply another coat of decoupage over the glitter to seal it down.
If you desire a band on your witch hats, wrap yarn, ribbon, or washi tape around the base of the cone and secure it to the cone with a coat of decoupage.
Brush a liberal amount of Mod Podge onto the center of the wooden circle (on the side withOUT paper). Press the glittered cone shape down onto the glue and allow it to dry.
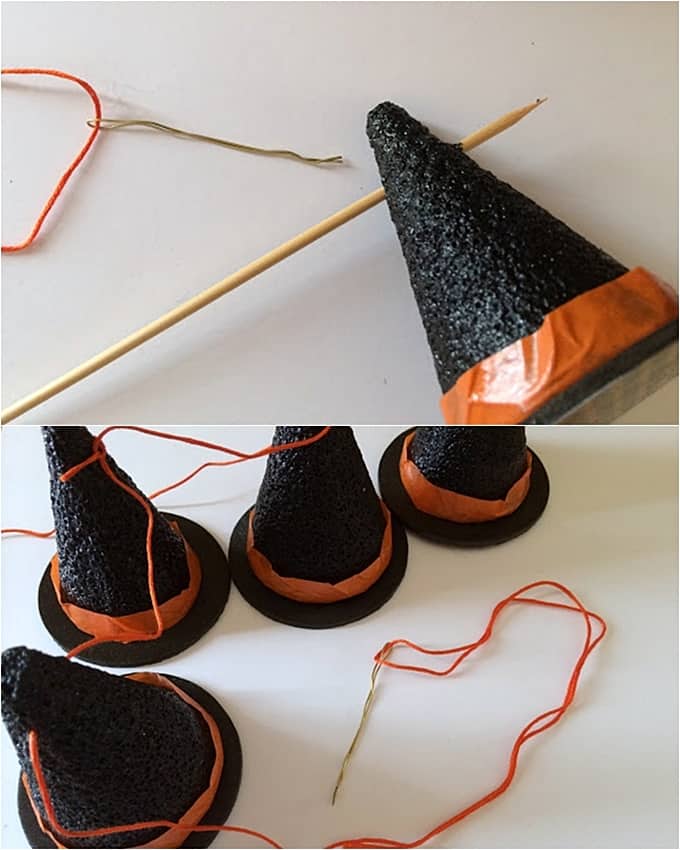
Take your skewer and poke a hole at the top of each witches hat. Create a needle using a piece of wire and use that to thread your embroidery floss or ribbon through the holes. Tie the floss loosely after you thread it through each hat before you add the next one.
Hang your Halloween garland and enjoy this holiday season! If you have a chance, leave me a comment, and then go and check out these other craft ideas:


I love this idea. I would love to make something similar with recycled materials… And it combines perfect with our printable banner… Great!!
@rocknprint
Very cute idea! Sharing.
Love this garland.. Such a cute idea!