Get the look of copper coasters on a budget – with paint! These are so easy to make using wood squares. Perfect for entertaining.
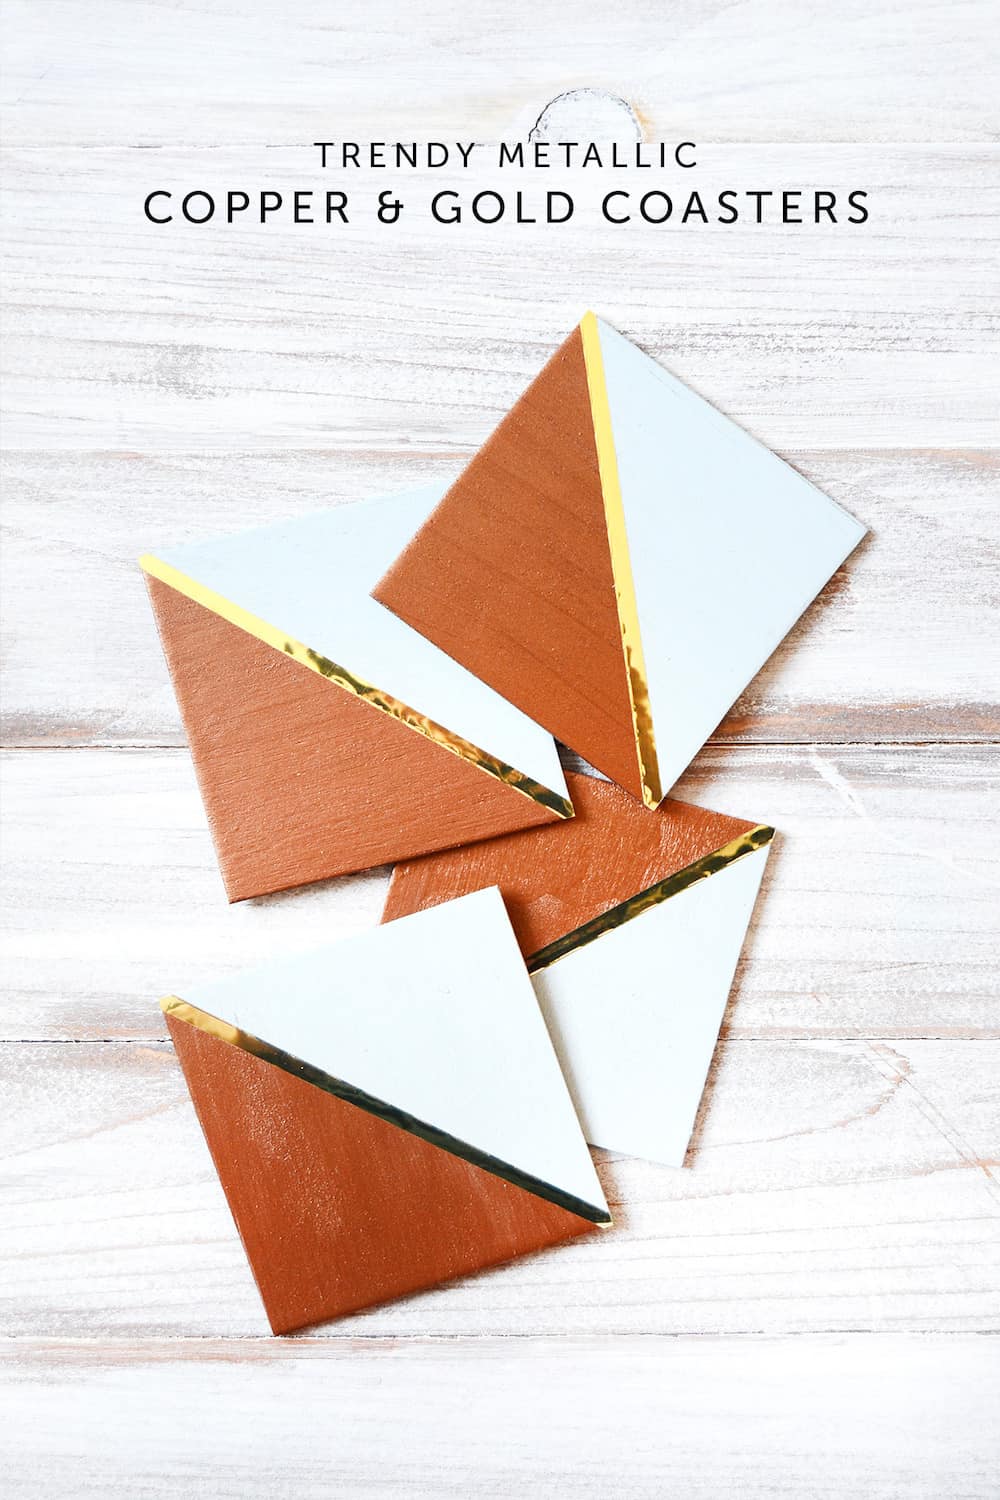
With just a few weeks till spring, I thought I would create some new DIY coasters using the trendy copper and gold colors, since around Spring time we tend to entertain more people – no one really likes going out much in the winter.
I love how these turned out and I think I would be making a set for my mom as well. See how I made these copper coasters so that you can create your own!
DIY Copper Coasters
Supplies
- Wood squares
- Mod Podge Hardcoat
- Paintbrushes
- Pigment Powder
- Metallic Gold Vinyl
- Scissors
- Chalk Paint
- Sandpaper
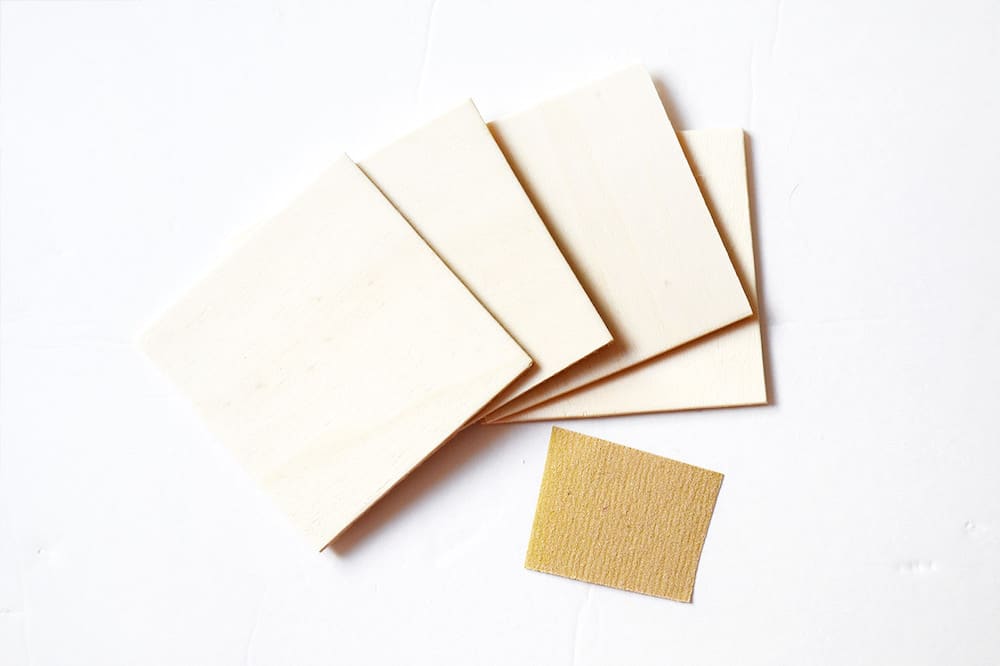
Step 1. Sand your wood squares to give them a smooth finish and edge. You want to remove splinters and rough surfaces and smooth them down as much as you can. If needed, use a palm sander for convenience.
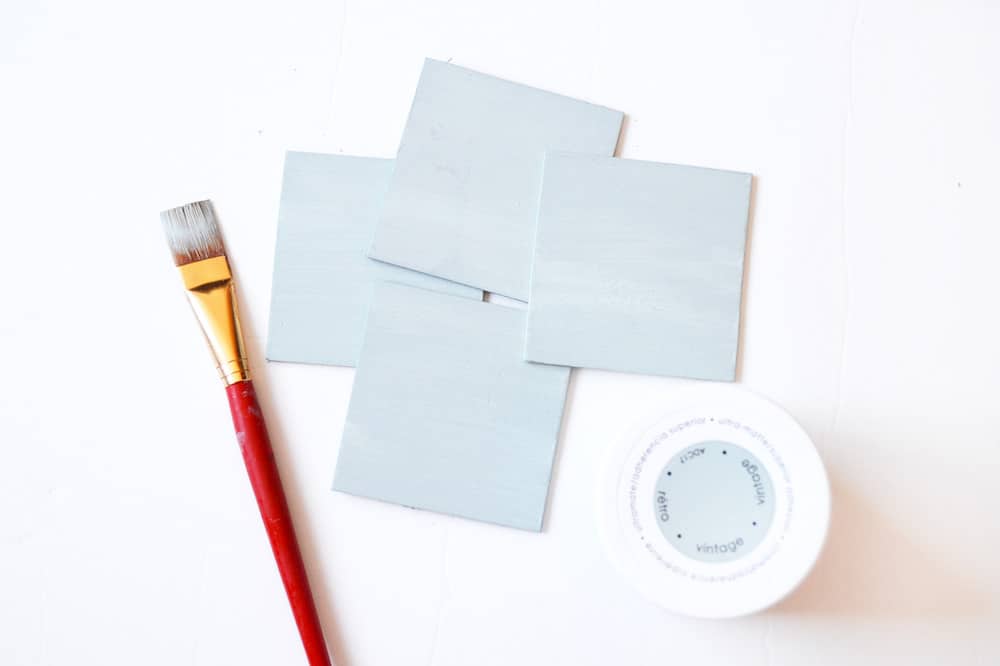
Step 2. Paint your wood squares. I chose a vintage blue gray chalk paint as my base as I felt it would complement the metallic colors – but you can also use black or any fun pastel color.
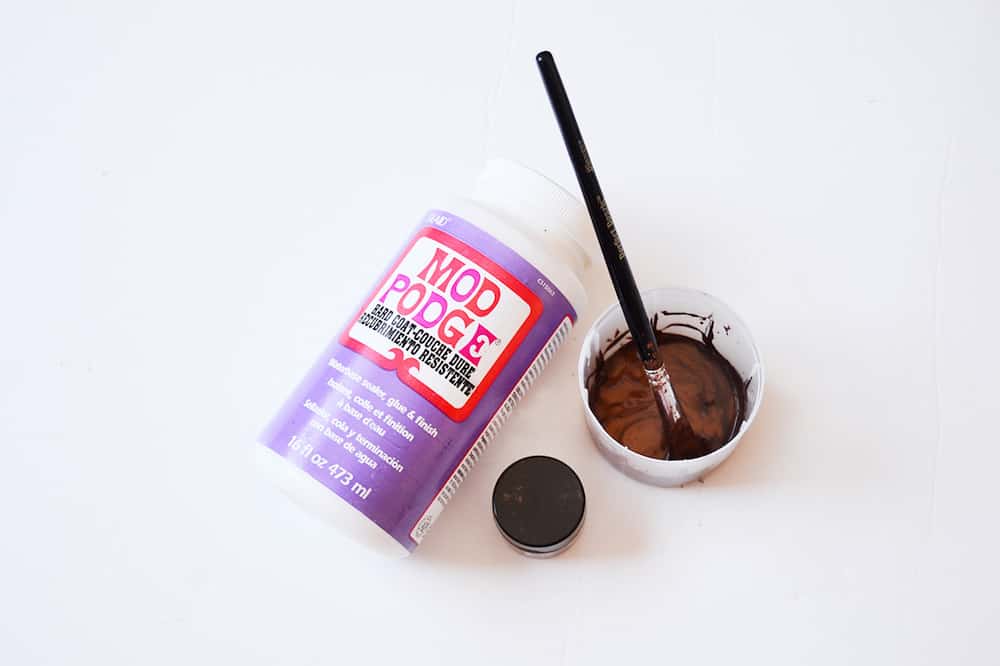
Step 3. Colorize your Mod Podge by mixing it with some pigment powder – I love Jacquard Pearl Ex for this as it is very pigmented.
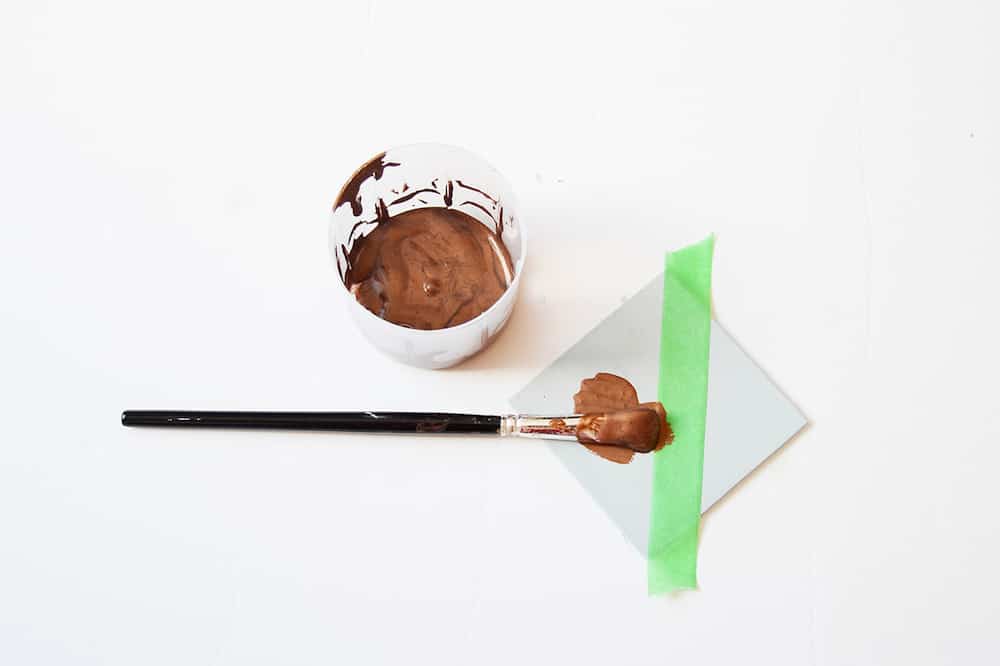
Step 4. Mask half of the coaster and paint with the Mod Podge mixture, making sure you only paint in one direction.
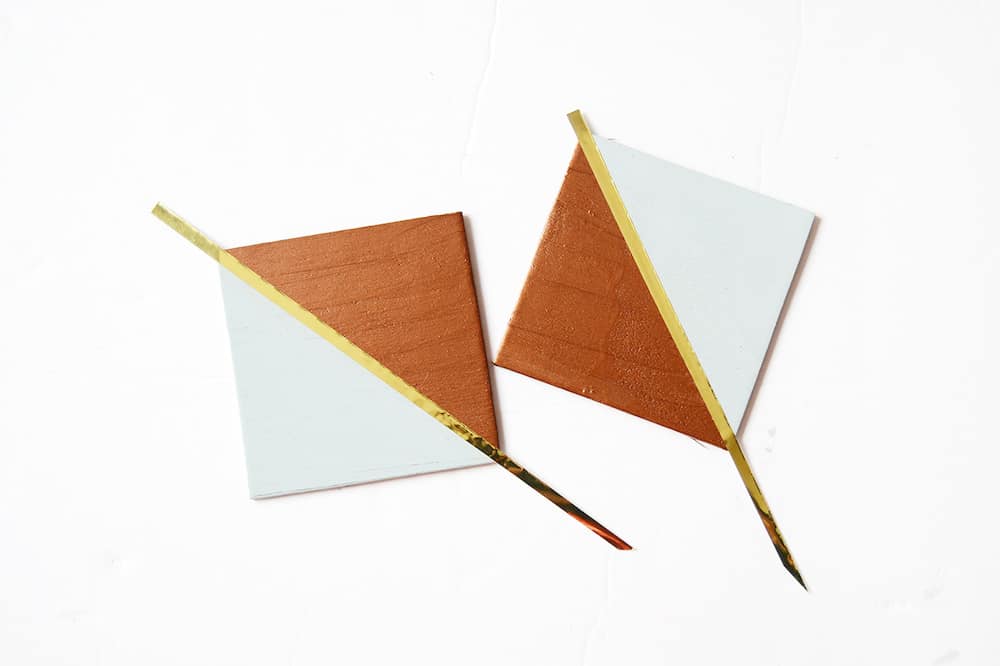
Step 5. Once dry, add a strip of metallic gold vinyl to your DIY coasters and cut the excess. You can seal it with another layer of Mod Podge to protect it from wear and tear.
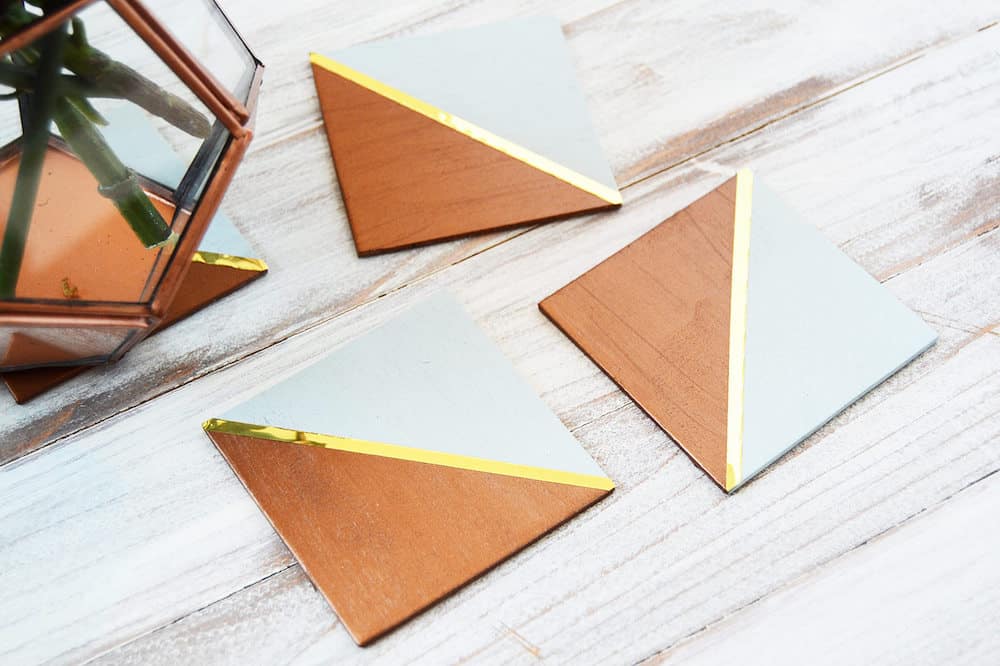
Optional: You can attach felt or cork to the bottom of the coasters so they don’t scratch your furniture.
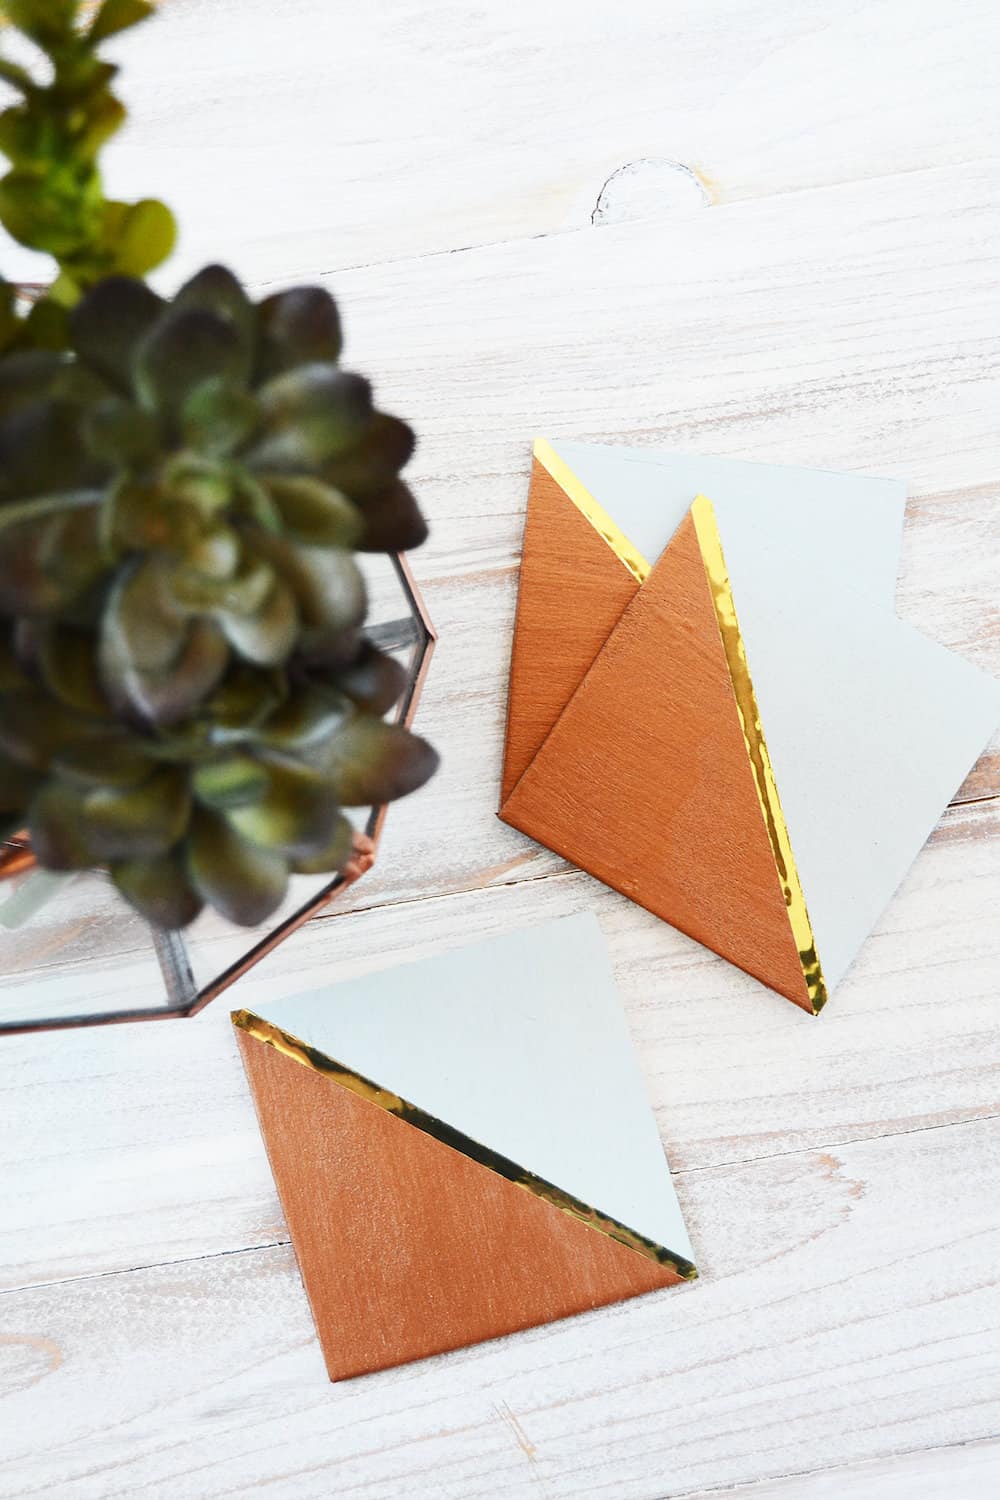
And you’re done! Entertain away with these chic and trendy copper coasters that only takes minutes to make.
What are you looking forward to come Spring? Don’t forget to check out the following post to get some additional inspiration! Happy crafting, friends!


