Transform a plain stool into a stylish piece with Mod Podge and your favorite scrapbook paper! This easy decoupage project is perfect for adding charm to your space.
Skills Required: Beginner. If you haven’t Mod Podged before, just make sure to use thicker paper to avoid wrinkles. You’ll also want to use enough Mod Podge; be sure to wipe away any that comes out the side.

I have to admit – I love decorating stools. I’ve done it many times before, and I never get tired of it! I wanted to decorate a stool for my new place; something a little different and brighter than what I’ve done before.
I’d say this decoupage stool fits the bill. I “patchworked” scrapbook paper on the top and attached it with Mod Podge, then I painted neon on the legs to coordinate. It’s so fun and one of my favorite projects ever (of course, until my next project)!
If you want to learn how I decorated this wood stool, you’ll first need to get your supplies.
Gather These Supplies
- Unfinished wood stool
- Acrylic paint – white, neon pink
- Mod Podge Hard Coat
- Scrapbook papers – I used a small American Crafts stack from Target
- Tracing paper
- Pencil
- Paper cutter or craft knife and mat
- Ruler
- Scissors
- Scotch tape
- Painter’s tape
- Paintbrush
You definitely don’t have to patchwork your paper, or you can pattern it differently (stripes, etc). The paper template you will make in the first step allows you to cut the paper perfectly to fit the top of the stool. So you have a lot of options!

I have the coolest decoupage stool in the world right now! Or at least the coolest stool in my condo, which is good enough for me.
Decoupage a Stool
Equipment
- Paper cutter or craft knife and mat
Materials
- Wood stool unfinished
- Acrylic paint to match your paper
- Mod Podge Hard Coat
- Scrapbook papers I used a small American Crafts stack from Target
- Tracing paper
- Scotch tape
- Painter’s tape
Instructions
- Make a template of your stool using the tracing paper. Lay the tracing paper over the top of the stool and rub around the edge with the pencil to create your pattern. This helps you cut the scrapbook paper accurately later.
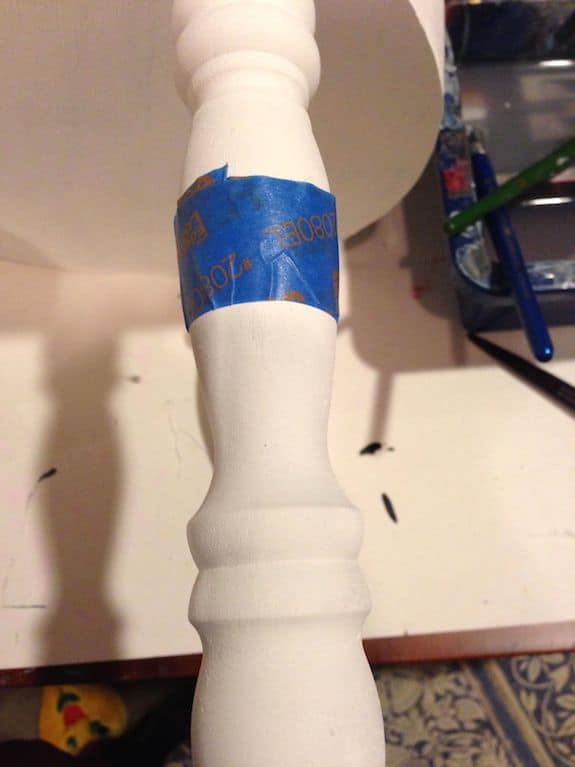
- Paint the unfinished wood stool with white acrylic paint. Give the entire thing with several coats and let dry. Then measure up several inches on each leg and tape them off with painter's tape.
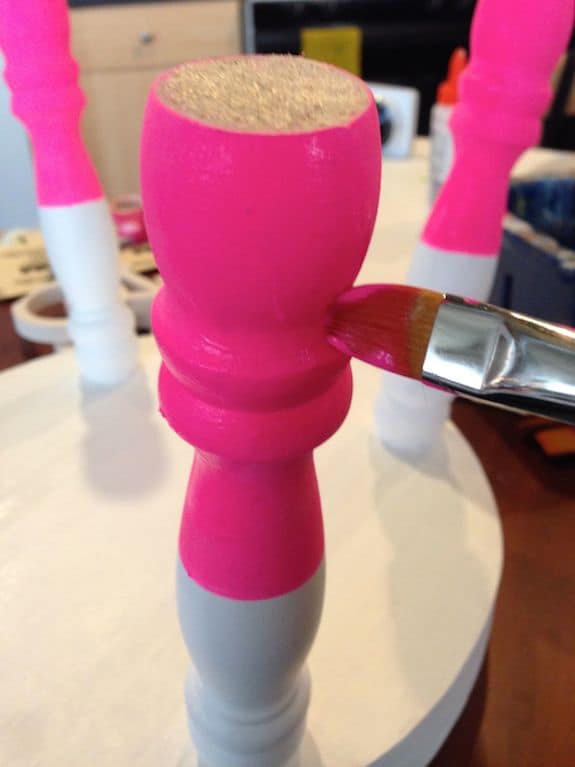
- Paint several layers of the paint color of your choice onto the legs, and then remove the painter's tape. Touch up in the areas you need to and let dry.
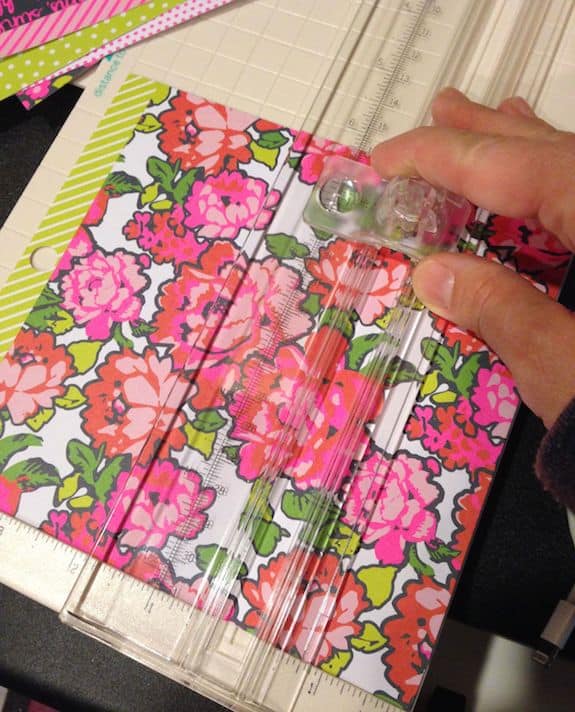
- Choose the papers that you are going to patchwork. You need to cut your paper into 32, 2-inch squares. The paper cutter makes this really easy . . . but you can also use a craft knife and ruler if you don't have a paper cutter.
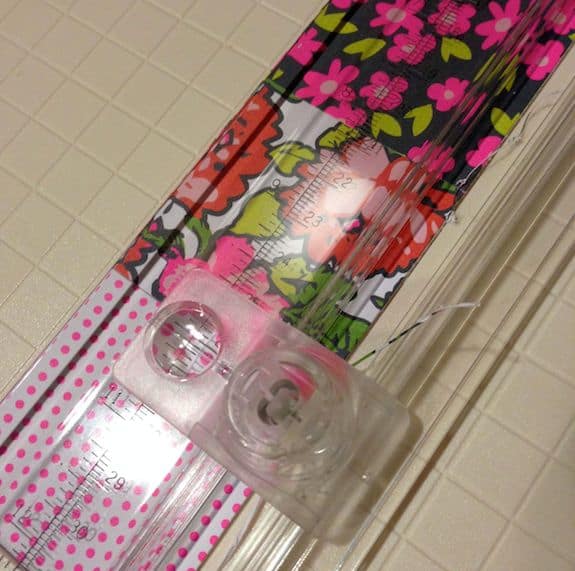
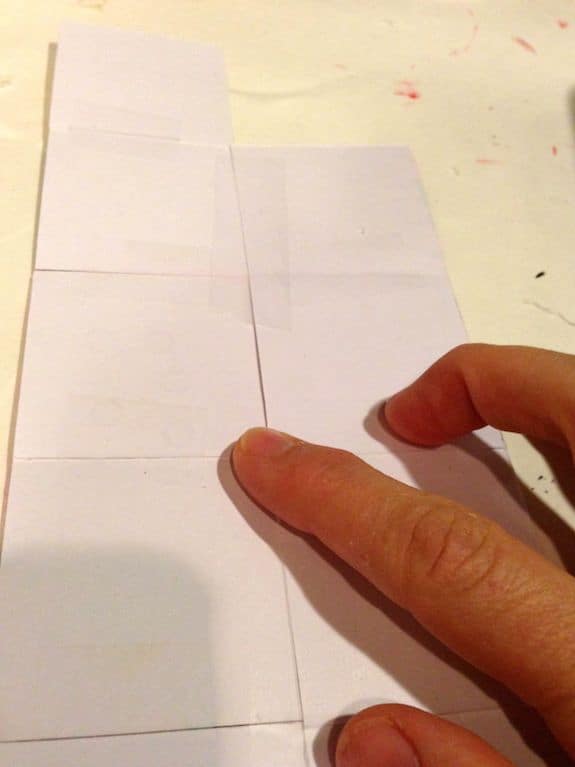
- Once you are done, use Scotch tape to make 4 row of 6 paper squares, and 2 additional rows of 4 squares. Tape on the BACK of the paper. My cutting wasn't perfect, so I had to trim down the paper strips to the 2" width to make them fit together nicely. You can still do this with a ruler and craft knife.
- Turn the strips over and tape them all together to make a large mat. Tape the strips of 4 paper squares at each end.
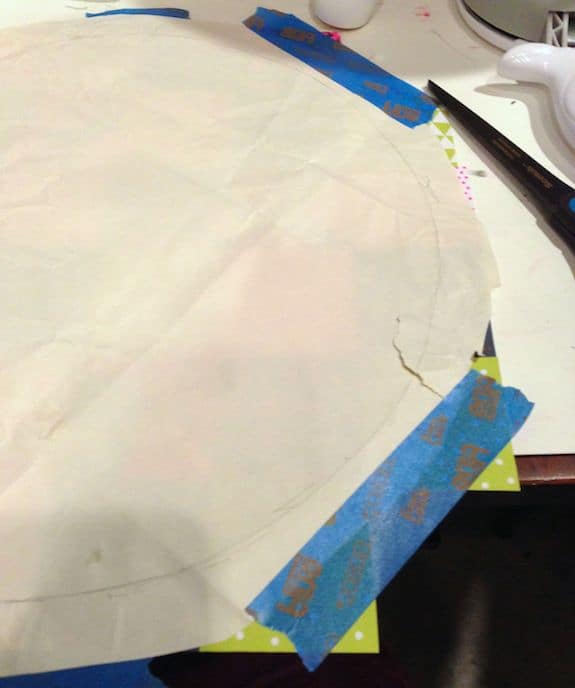
- Place the template on top of the paper and use the painter's tape to attach it. Cut the circle from the scrapbook paper using the scissors.
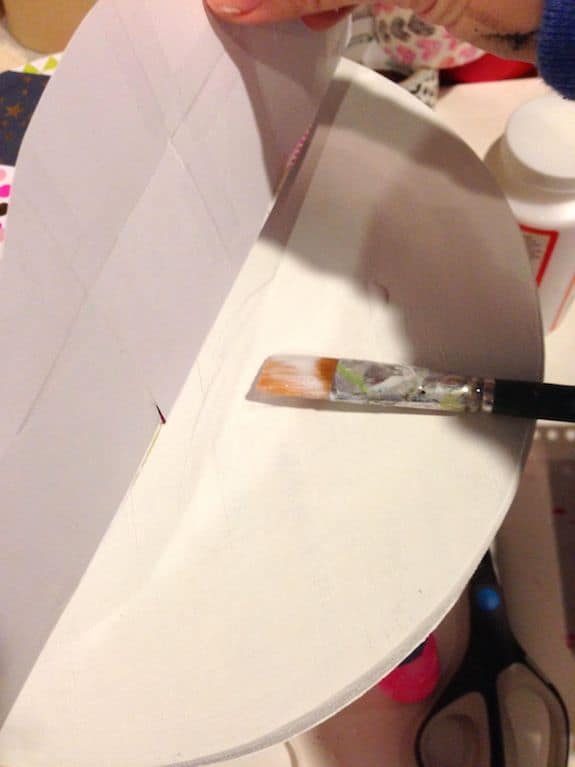
- Add Mod Podge to the top of the stool – don't be stingy – and smooth down the paper on top of the stool. Smooth carefully and wipe away any decoupage medium that squeezes out the side. Let dry 15 – 20 minutes.
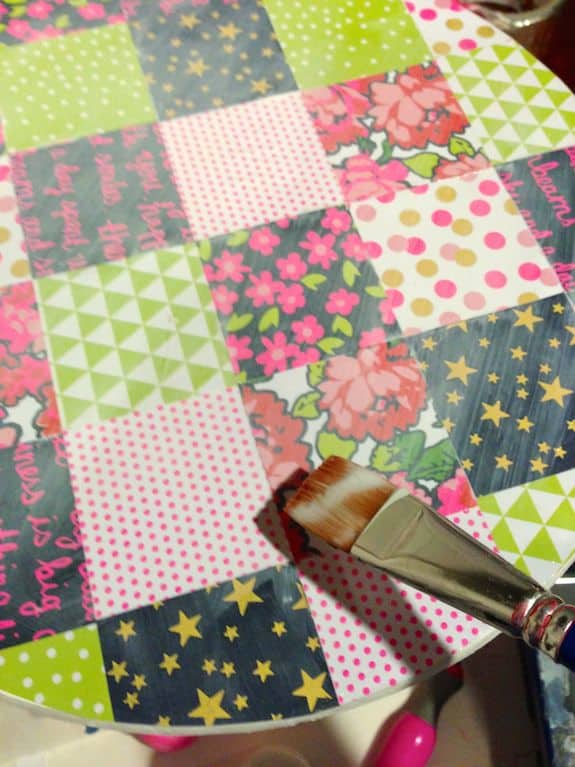
- Decoupage over the top with Mod Podge and let dry. Let dry and give it a few more coats over the entire stool. Let dry before using.
Notes
If you enjoyed this decoupage furniture project, I’d love for you to check out these other ideas:


Just love it! Easy n colorful! Exactly my style..:)
Awesome job at keeping the scrapbook paper extremely smooth when attaching it to the stool. I find that to be the hard part when using Mod Podge, as I often get air bubbles along the way. Any advice?
Hi Allie! I have some videos here – youtube.com/modpodgerocks – check them out. It’s easier than you think!
Hi! Learning a lot from your blog! I’m trying to mod podge fabric on to a black dresser. Unfortunately I can’t sand it down. So I got thicker decorators fabric but then I coated it with the fabric mod podge first, it’s gotten really blotchy as some areas of the top of the thick fabric got a little see through and others didn’t. Any way to remedy that?
Also I am considering using hard coat mod podge to attach the fabric and then just spraying with acrylic sealer to try to avoid the upper layer of fabric fibers from getting see through and getting blotchy. Do you think that will work?
Thanks a million
Hi Anum! There isn’t a way to remedy that because the black is showing through the fabric like you said. Here’s what I did to prevent that: https://modpodgerocksblog.com/decoupage-a-table/
I painted the top white. You can do that with Kilz!
Hi Amy,
Greetings from Down Under.
What a cute, sweet fun project! But I’ll be honest with you, putting little squares on a large circle will have me tearing my hair out & cursing to the moon!!😉😉😉
So, I’ll try & find a square wooden stool, which will make things a little easier.
I want to also thank you for the wonderful newsletters, & the tutorials they contain, i always look forward to receiving them.
With kindest regards
Rita