Make lace mason jars for a fun spring project! You can add lace to jars with Mod Podge for home decor or party/wedding favors.
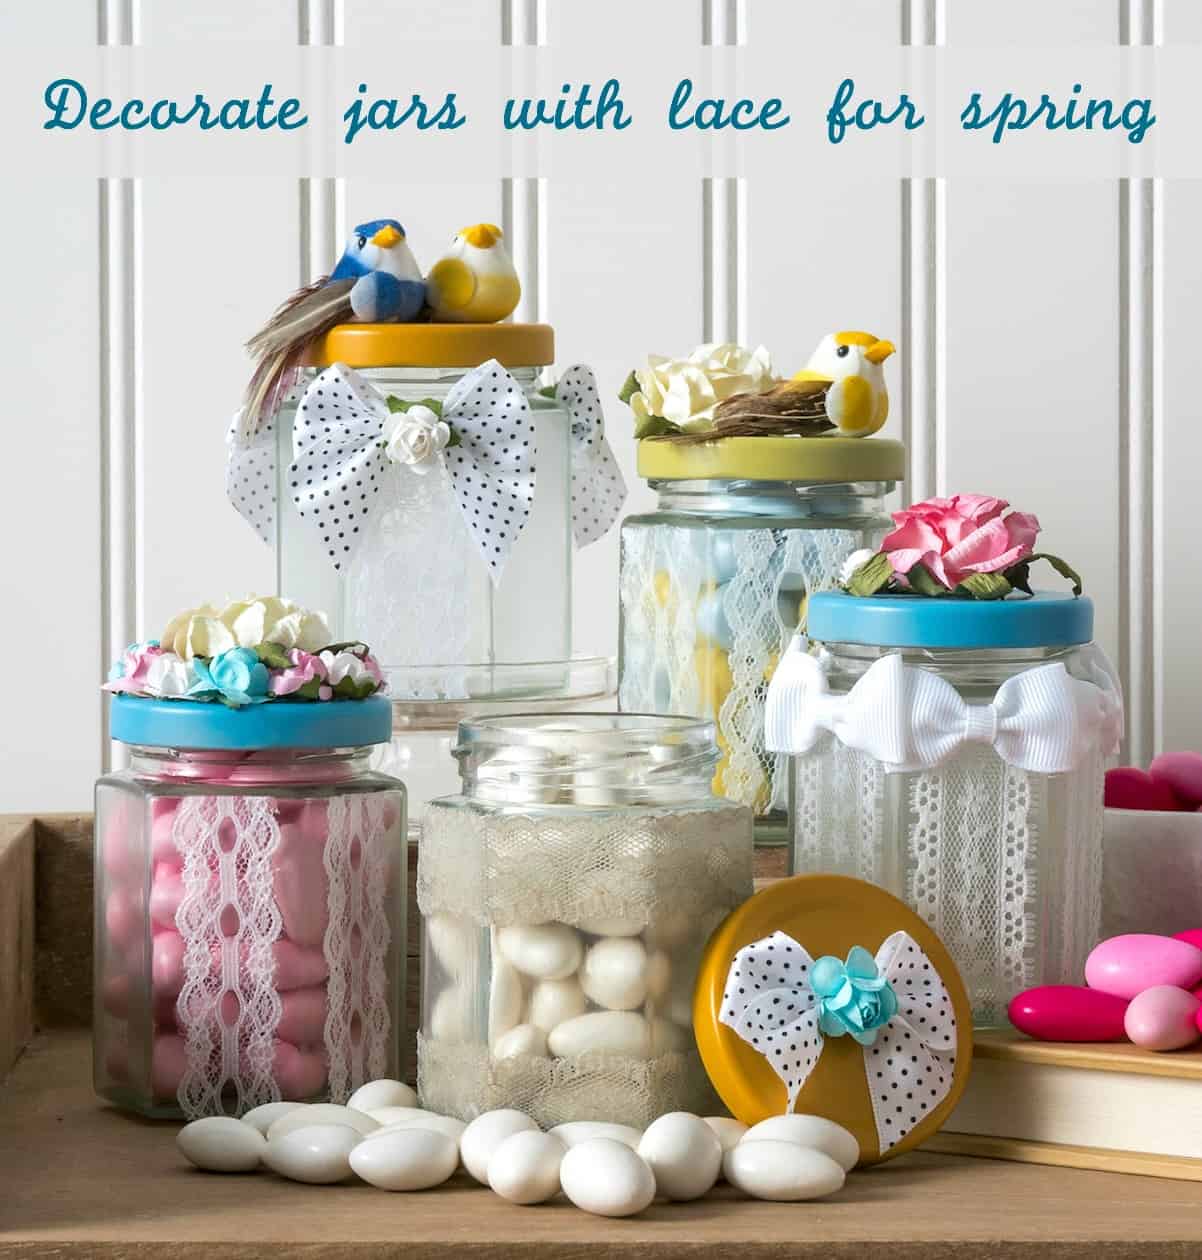
I have a good friend that is getting married in about a month, and she’s recruited to help me with some wedding crafts. With the warmer weather around here, I’ve been in spring crafts mode – so I knew exactly what I wanted to do for her favors, and it included some florals, birds, and happy colors!
Recently Paper Mart contacted me about a partnership, and after browsing their AMAZING selection of “packaging for less” online, I knew that I wanted to work with them to make this party craft.
Once you go onto their site and see the gift boxes, lace, ribbons, flowers, fabric bags, tape, ribbon, etc . . . if you don’t immediately pass out, you’ll certainly want to get creative right away.
Lace Mason Jars
I’ve never decoupaged lace onto mason jars (hanging head), so I decided that would be really pretty for a wedding. These would make great wedding favors, but they would also be perfect for any spring celebration or even just home decor.
Before we dive in to our lace mason jars tutorial, I want to give you a few tips for success! These are important, especially if you are using them for wedding mason jars – you’ll want them to look nice.
Preparing the Jars
To start preparing the jars for crafting, you’ll want to make sure all of the labels are removed (try our DIY sticker remover methods; they’re non-toxic!). After the labels are removed, you need to clean any grime or oily fingerprints off the glass.
You have two methods you can use here. You can wash the jars with a mild soap and water and let them dry. You might want to do this if you are going to put food or candy inside the jars. This does take longer.
Method two involves a cotton ball or pad and rubbing alcohol. Simply put the rubbing alcohol on the ball/pad and clean the glass. Let dry (which takes less than a minute). Your jars are ready!
Choosing the Lace
The type of lace you pick is really up to you. Both cotton and poly blends work to cover mason jars, because lace just isn’t that thick. It’s easy to seal it in a coat of Mod Podge.
My only advice for you here is that you choose a lace that fits around the jar either horizontally or vertically. That means if your jar is 3″ tall, don’t choose a 5″ lace that you’ll have to cut. It just makes more work for you, and it’s a pain to fuss with (at least in my opinion!). I’d rather use a few 1″ widths of ribbon than have to cut up lace. I can never get lace to cut very straight (maybe it’s me?).
Type of Mod Podge to Use
You’re going to love our formula guide to help you select the right Mod Podge. I’ll give you a short cut though – you can use any formula you want. I typically use Gloss on glass, but for this project I went with Matte. I like the flat look of the Matte finish, especially for wedding mason jars.
I just want you know there are no limitations. All of the Mod Podge formulas work on glass, so whatever you choose is fine. The real focus should be the look of the finish (whether you want gloss, satin, or matte). You can see what the various formulas look like when they dry right here.
Ready to dive into the project tutorial? Here’s how these lace mason jars were made.
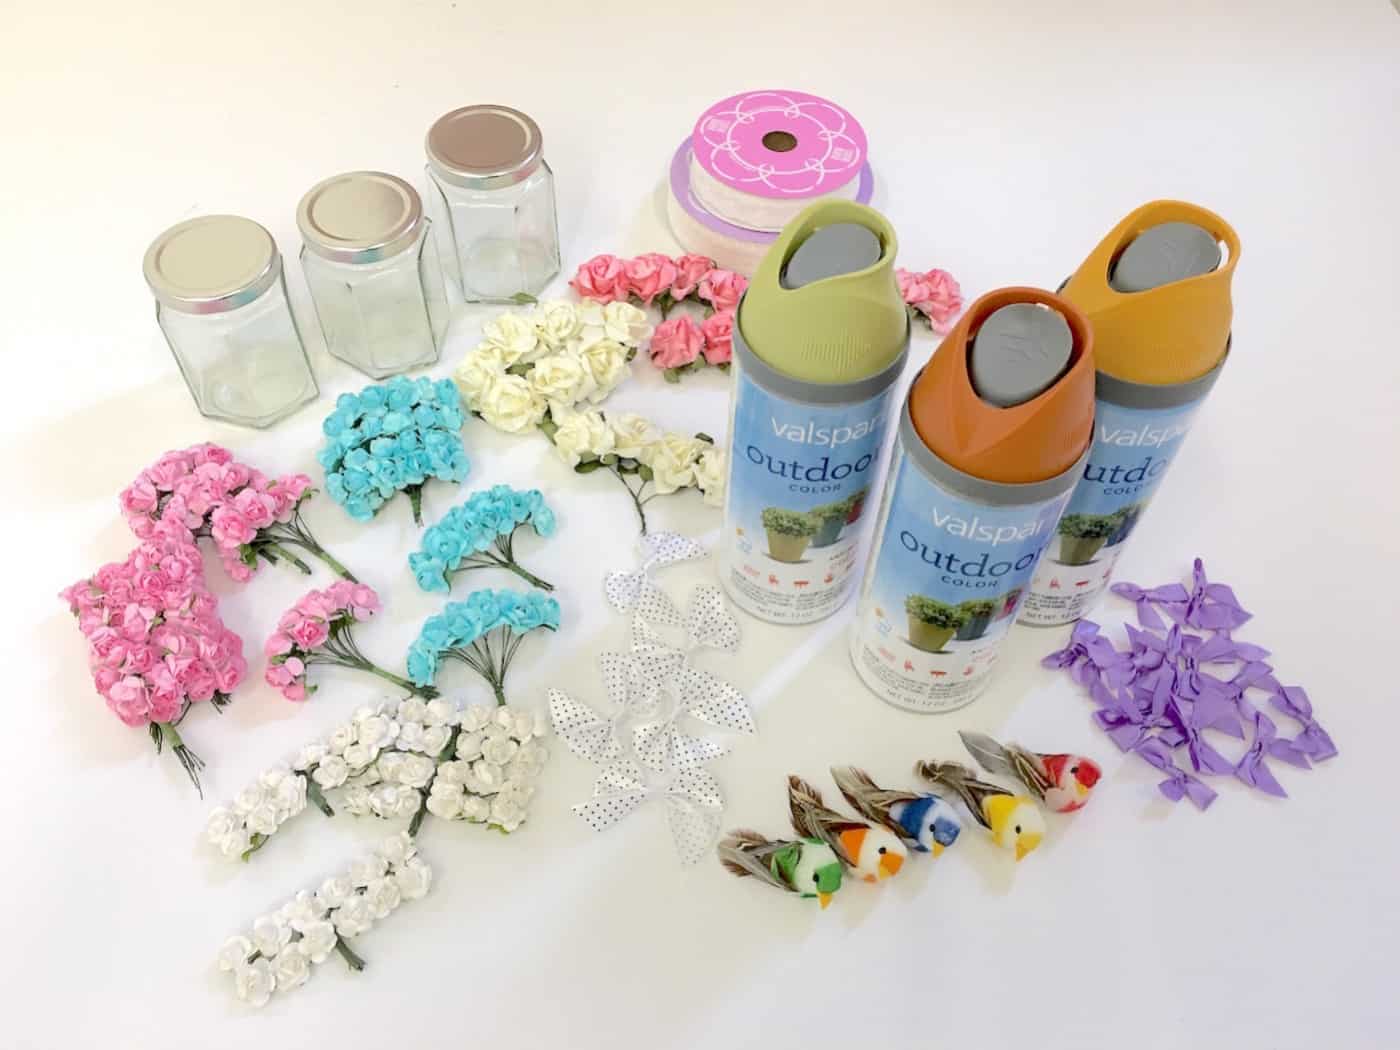
Gather These Supplies
- Paper Mart hexagon and octagon glass jars
- Mod Podge Matte
- Spray paint in assorted colors
- Paper Mart assorted lace ribbons – Lisa, Lana, Leta, Jonii, Jodi, Juliet, Jana, Linda, Laura
- Paper Mart small flowers – assorted colors
- Paper Mart small cute bird decor
- Paper Mart pre-tied tiny bows – assorted colors
- Hot glue gun
- Scissors
Spray Paint the Lids
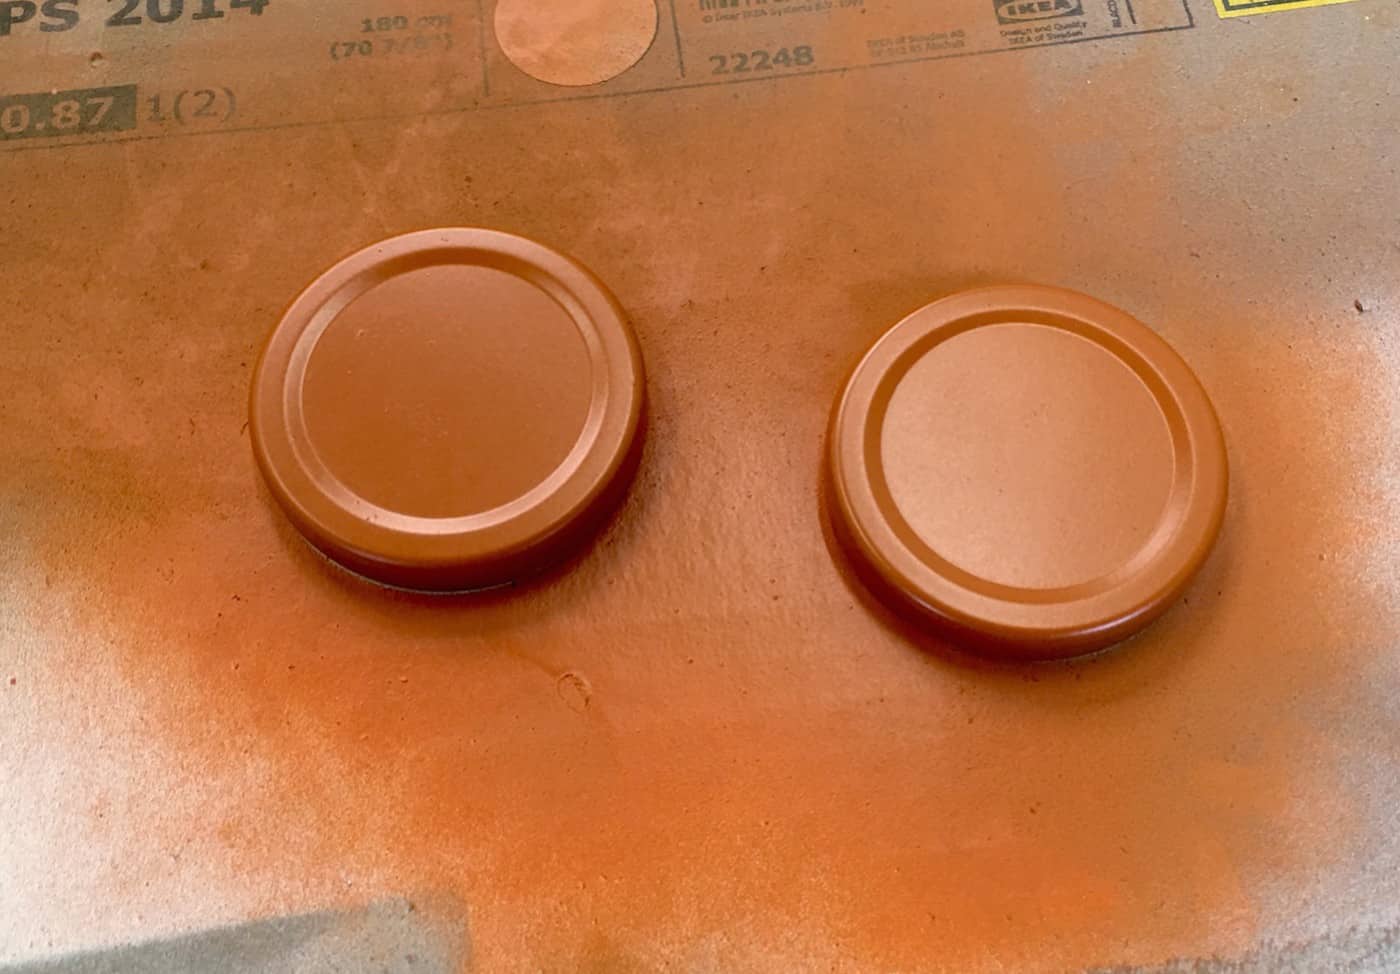
Your first step is going to be spray painting the lids. You can leave them silver, but it’s fun to give them a bit of color with some spray paint. Remove them from the jars, spray paint, and let dry.
Cut the Lace and Mod Podge
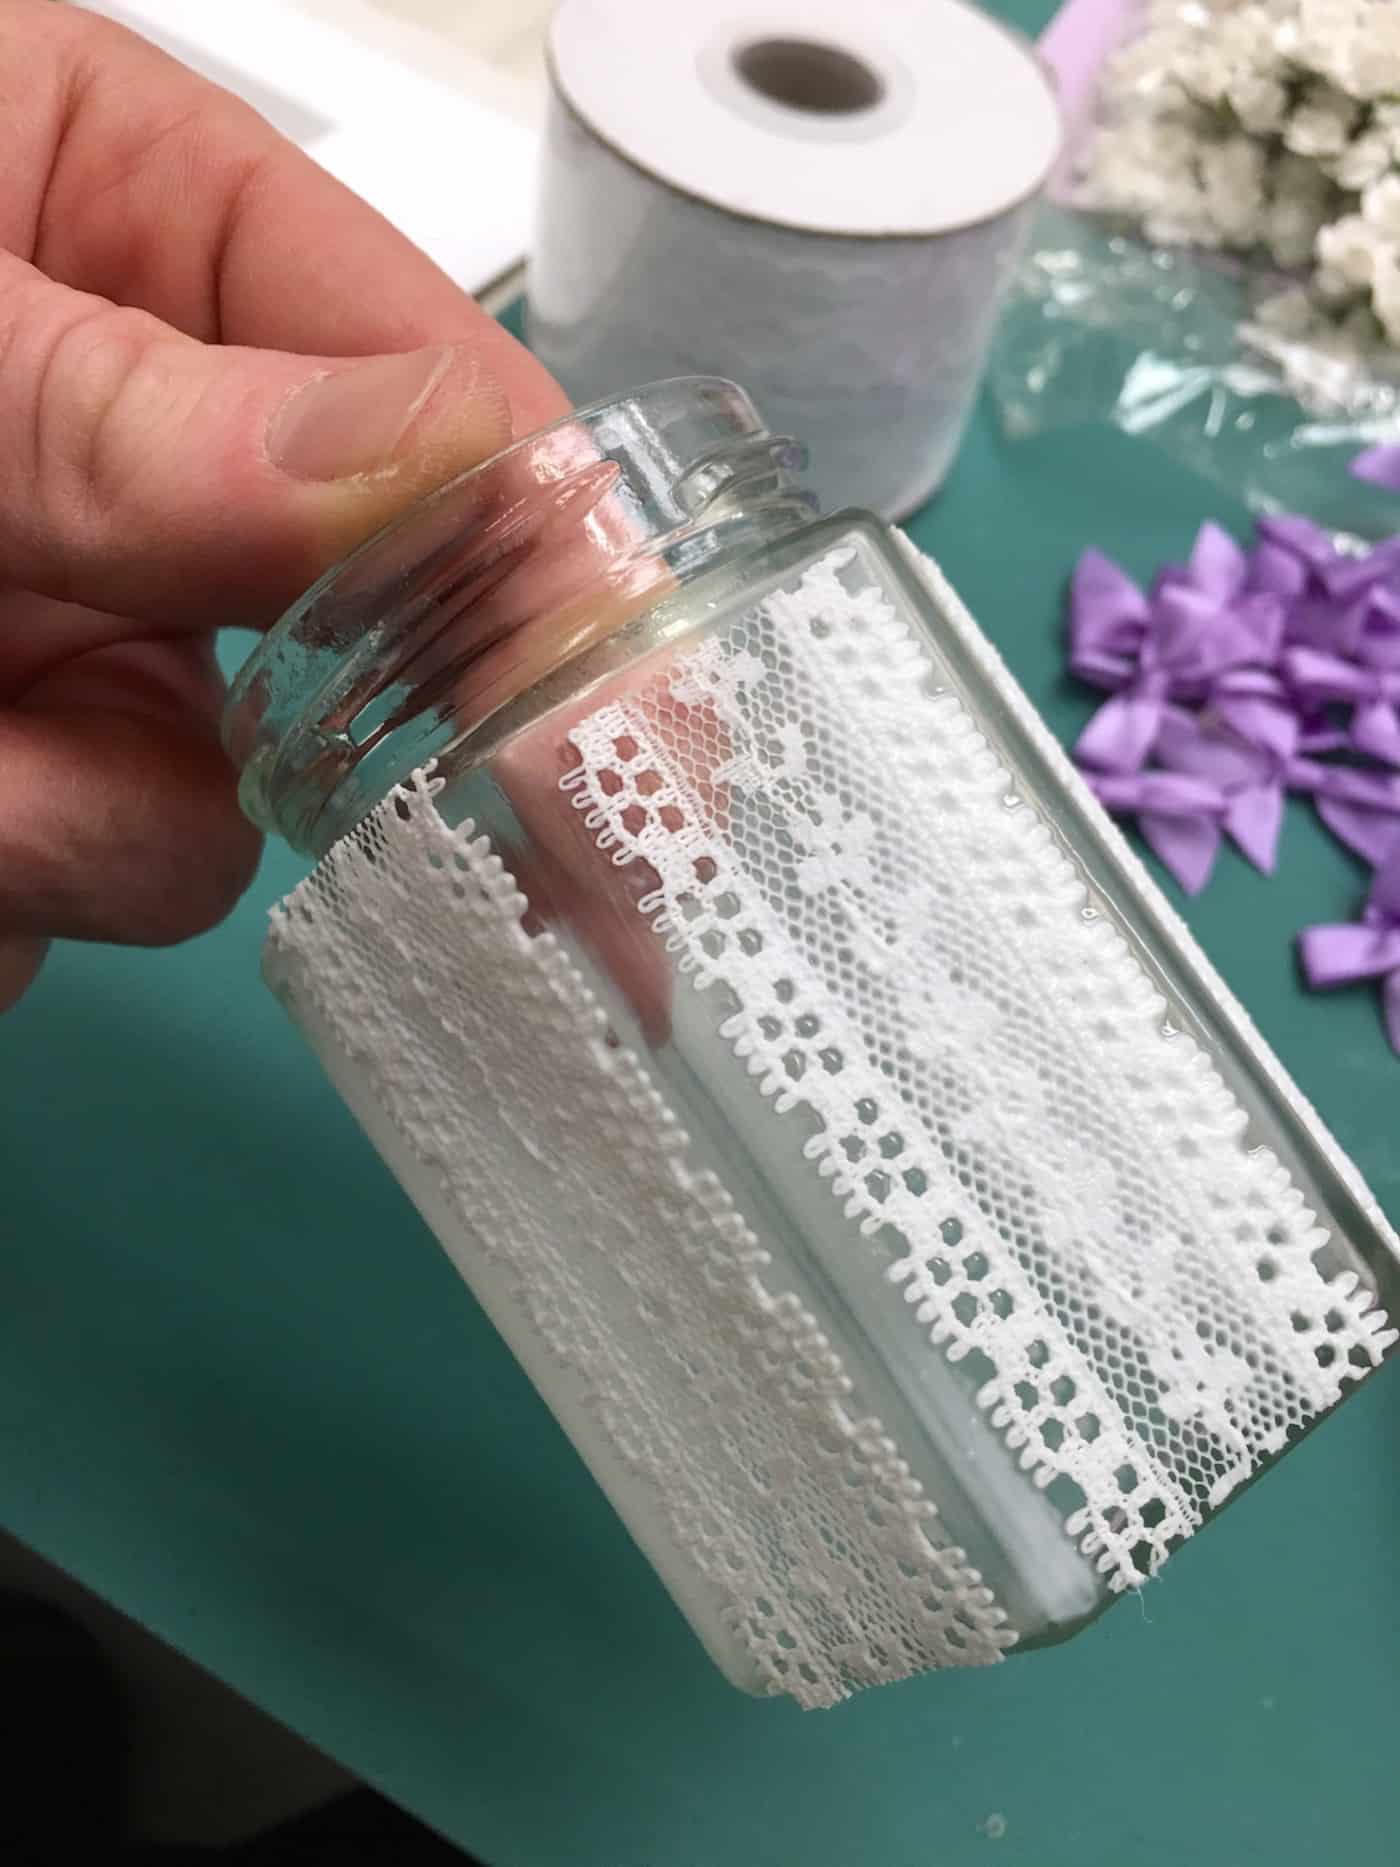
While your lids are drying, cut the lace to fit the sides of your jars and then decoupage down. Let dry.
Can I tell you how obsessed I am with these hexagon and octagon jars? I LOVE the shape, and it’s different (more interesting) than the standard round jar. Plus it’s the perfect flat crafting surface!
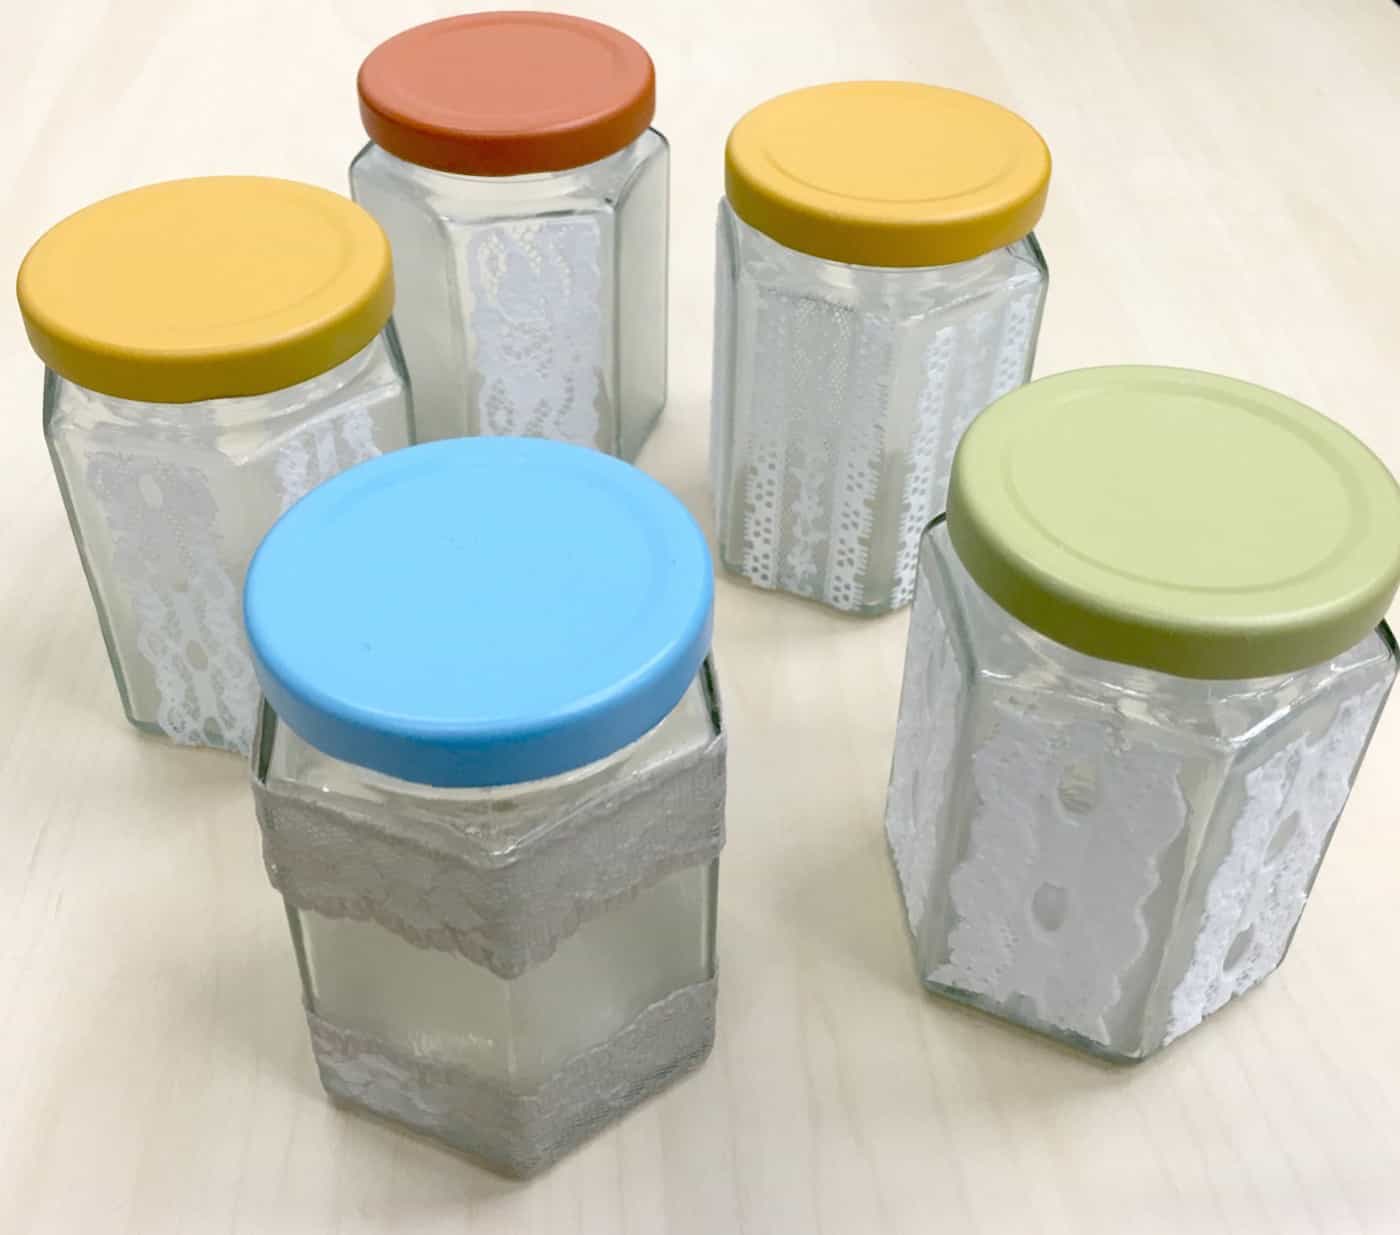
When the jars are dry, which takes about 30 minutes, screw the lids back on.
Add Embellishments
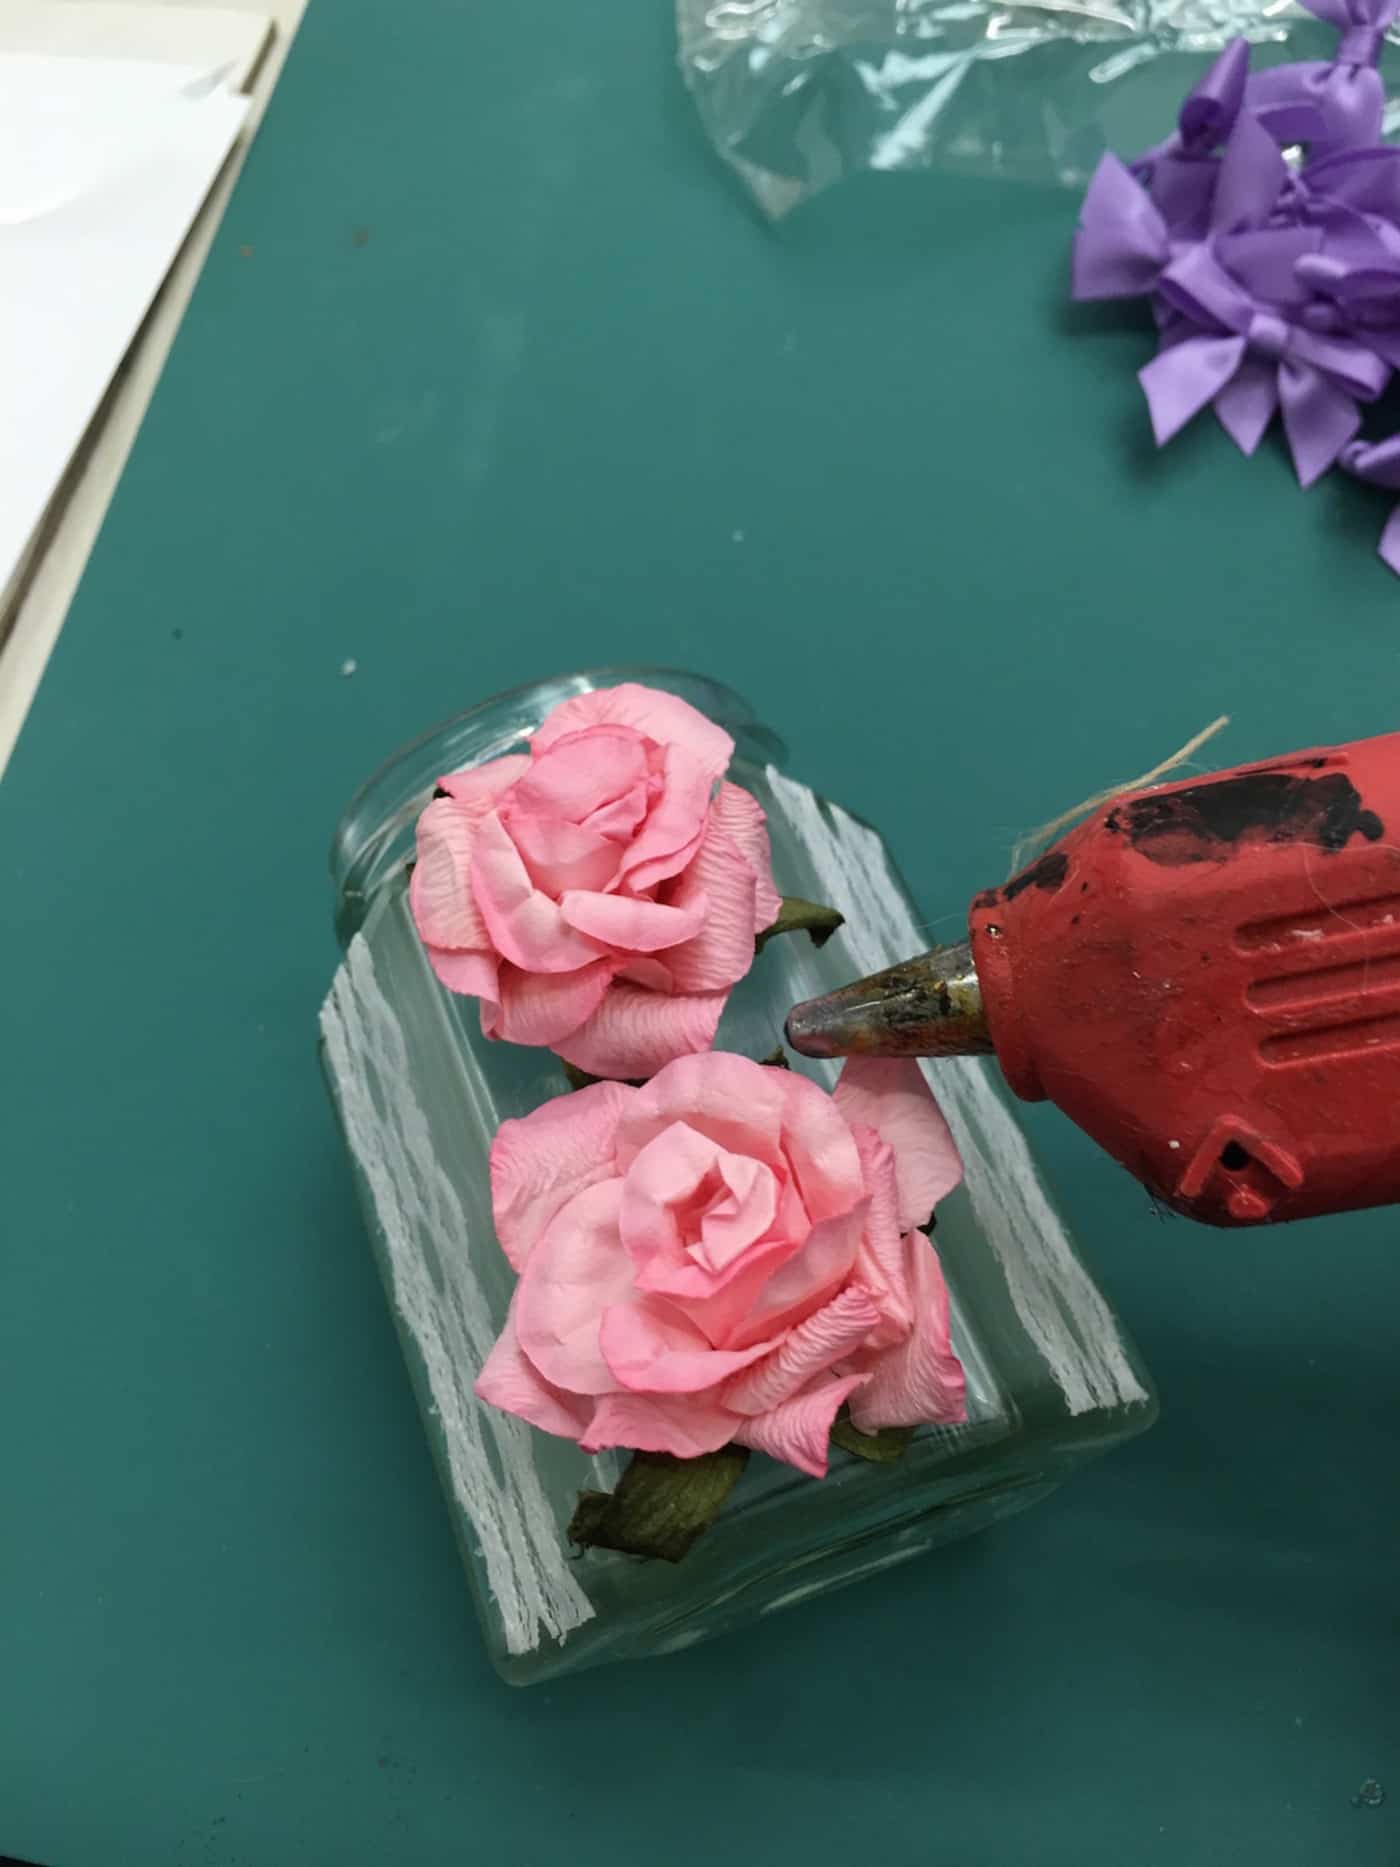
Then begin decorating the jars – both the sides and the lids – with your embellishments. Hot glue down some flowers and bows – then hot glue flowers on top of those.
Don’t forget to add some birds. Aren’t they cute? Peep peep! Paper Mart has the best stuff! Of course if you’re using these for wedding mason jars, you’ll want to customize to the look and feel of your theme. I’m just showing you the possibilities!
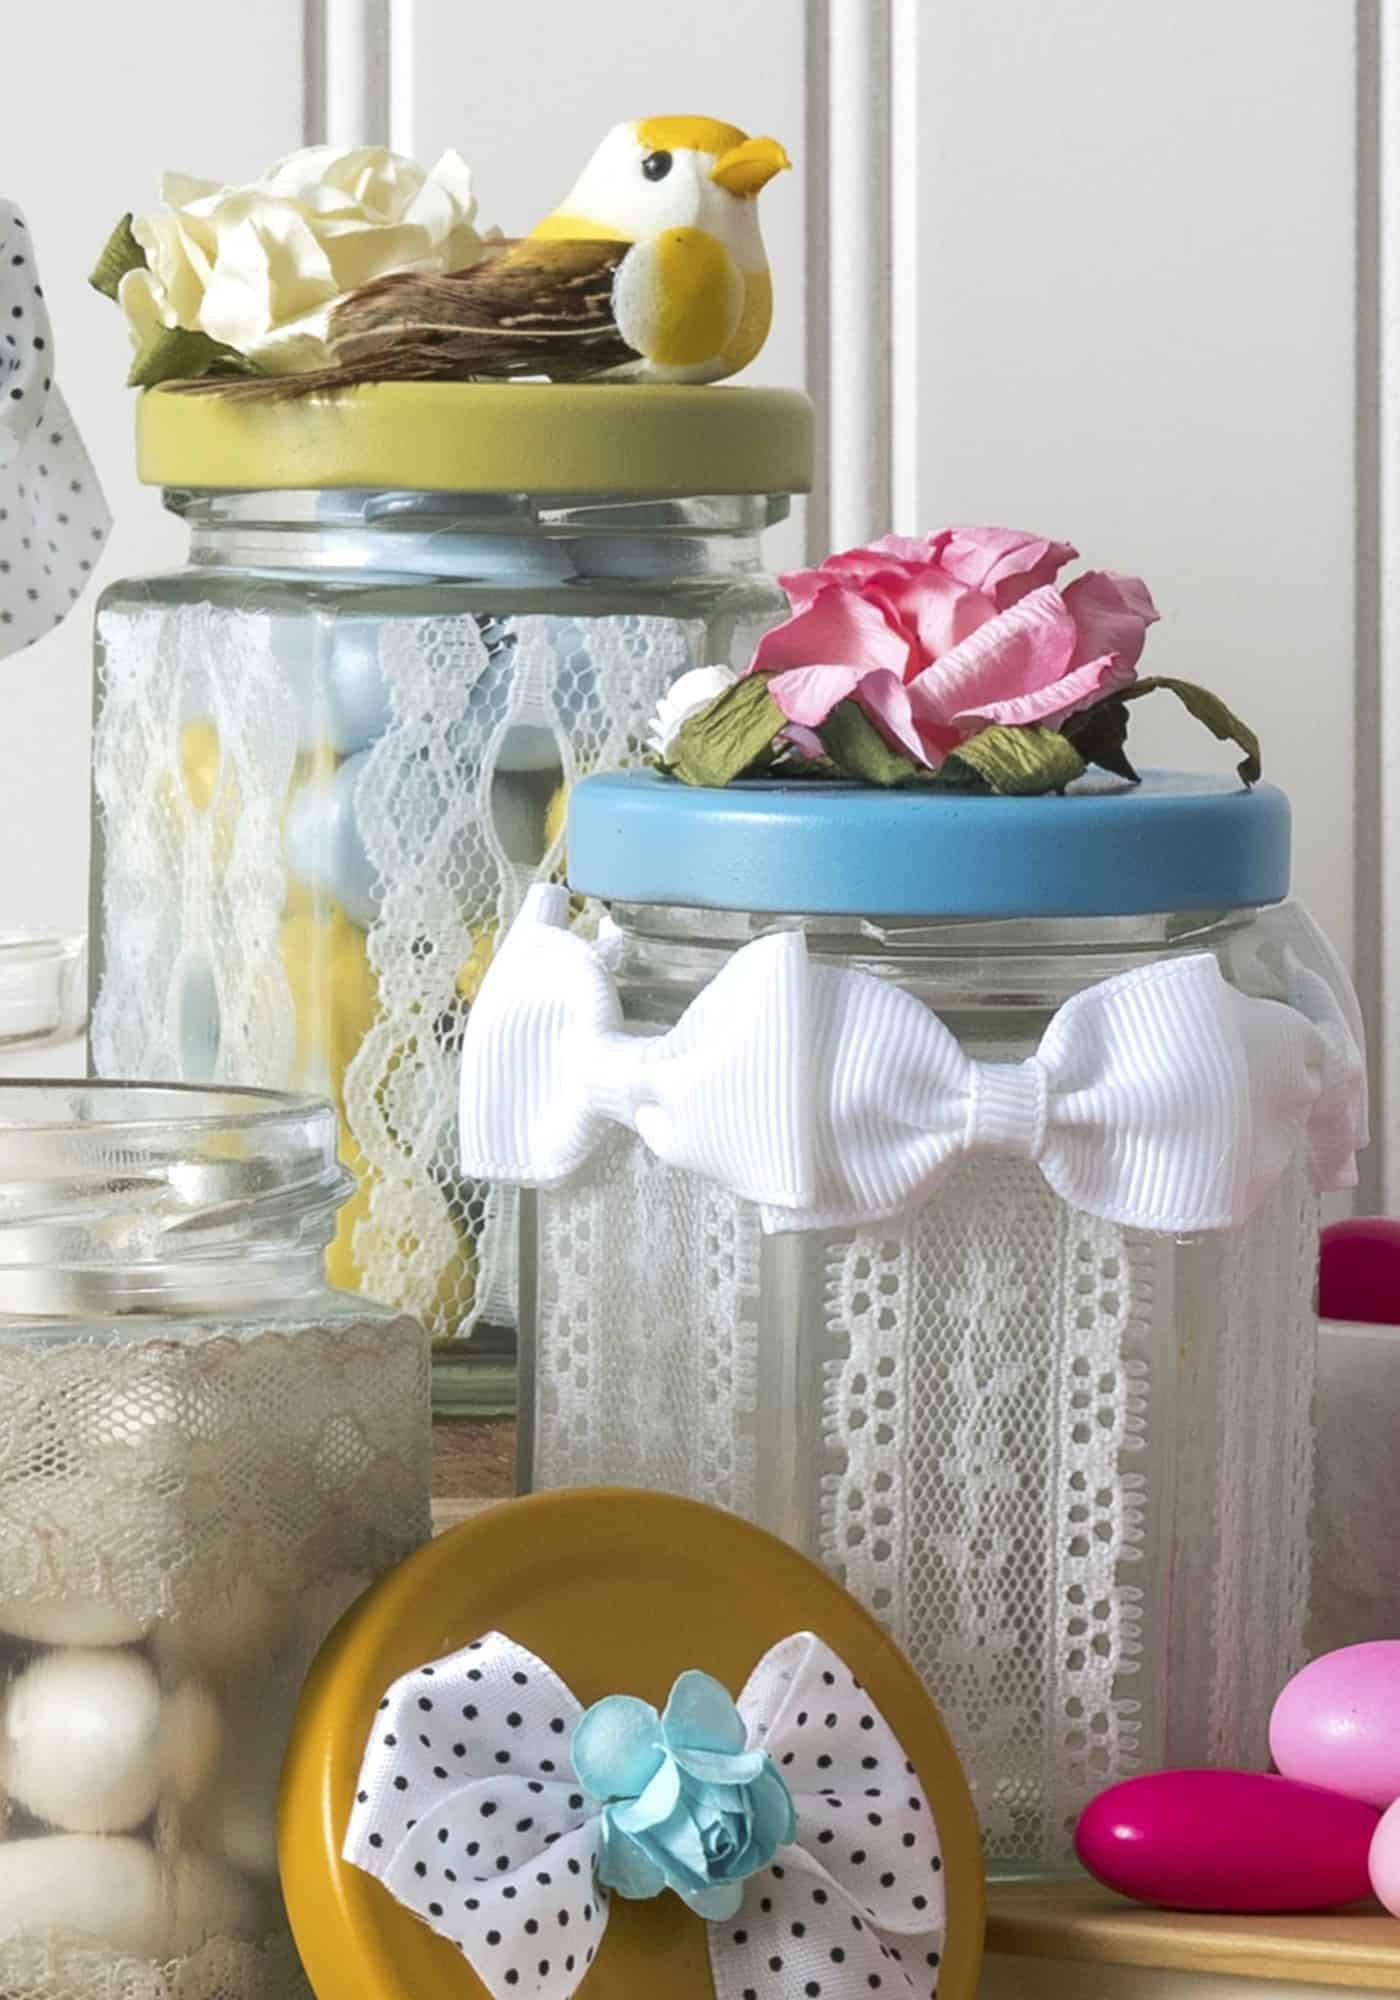
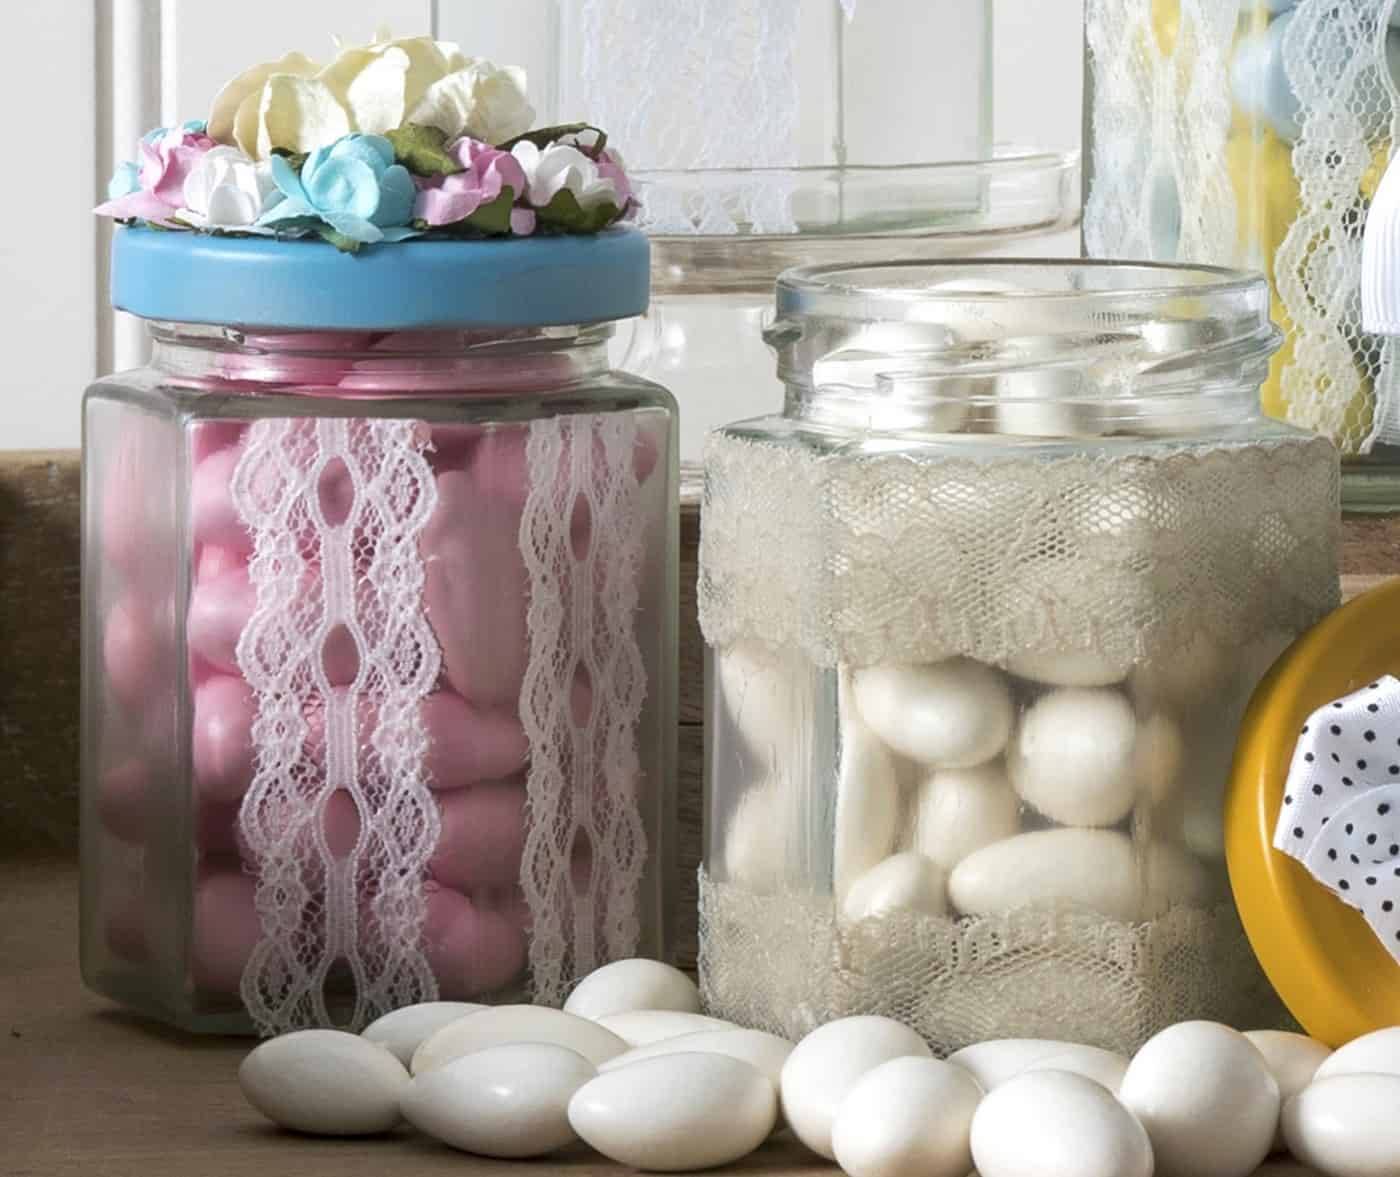
You can fill your lace mason jars with anything you like.
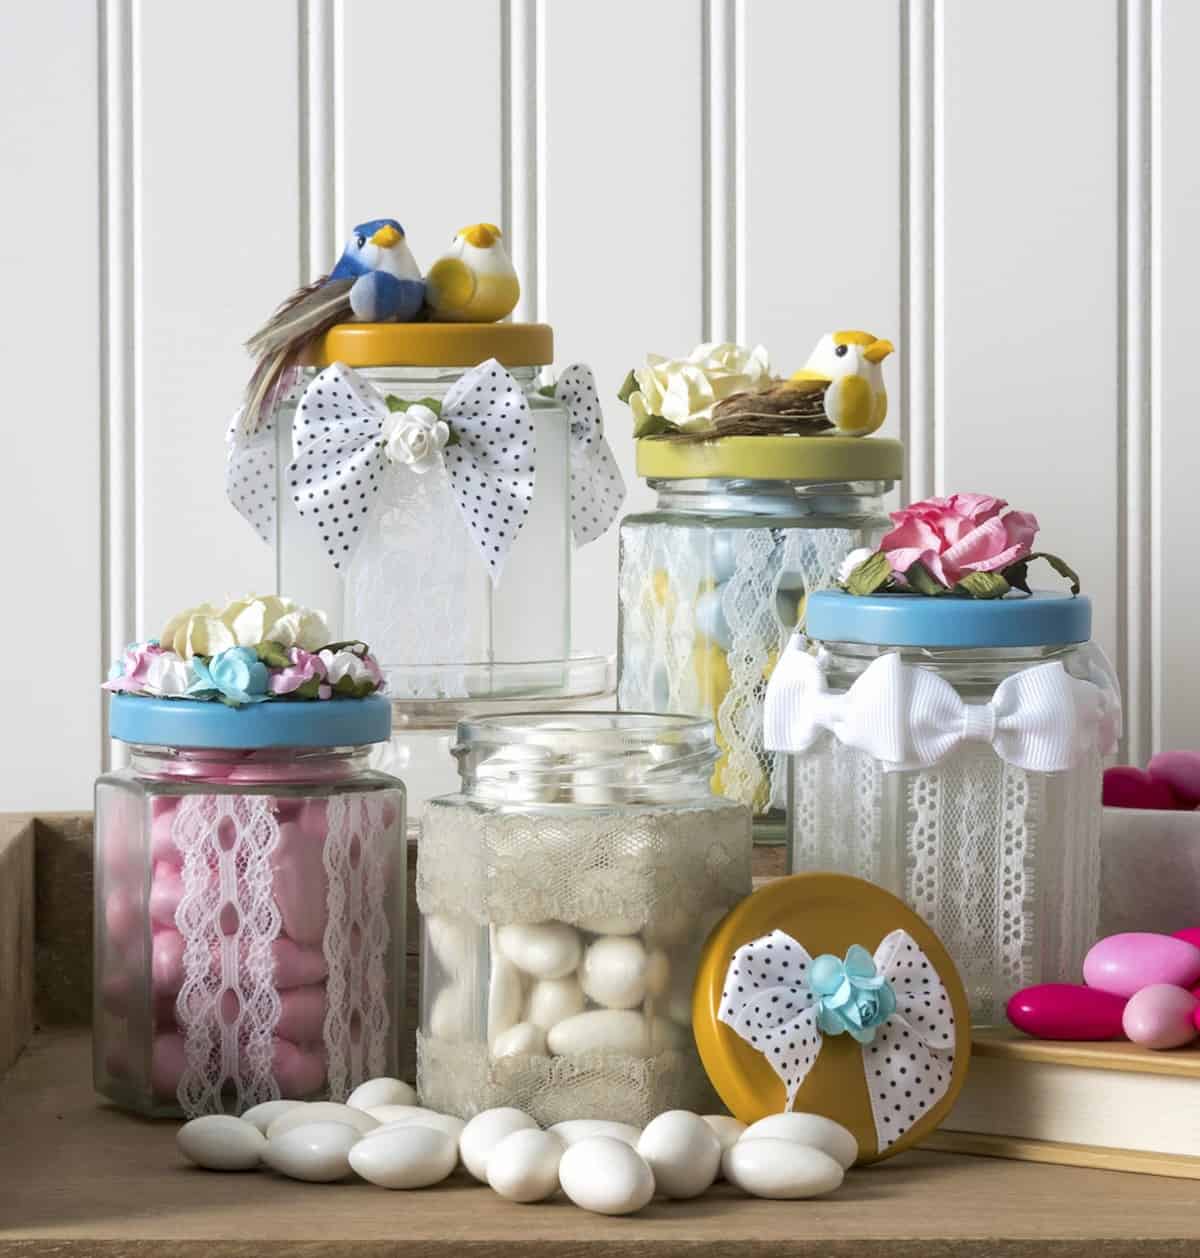
What do you think of our lacy wedding mason jars? We’re so happy with how they turned out. I’d love for you to visit these other wedding craft ideas:
Now let me know in the comments – what wedding or spring crafts are you working on right now?



Just darling. I’m sucker for any project with lace! Thanks!
http://www.sistersweetly.wordpress.com
Great idea! Going to make these for my upcoming grand baby. Will be filled with baby
Novelties,
I have lots of lace in my stash, and a few of those octagonal jars, but will be looking for more now! Love this idea – thanks for posting it 🙂