Discover the art of decoupage in this informative post! Learn the history, how to decoupage, the supplies you need, and more. Use this method to transform everyday objects into beautiful, personalized decor and gifts.


I’ve been running this Mod Podge blog for over 15 years, and I get asked a few questions from newbies on a regular basis. And keep in mind, I love the questions. Everyone has to start somewhere with a new craft!
The first question I get asked is, what is Mod Podge? The second question comes shortly after the first, what is decoupage? And honestly, I love talking about it. I’ve been a crafter my entire life, and decoupage is definitely one of my favorite activities.
It’s an easy craft for adults, as well as for children. The mediums are non-toxic, inexpensive, and simple to use. Does it take practice? Yes. Can you do it? Absolutely! But first you need to learn all about it. Read this post before you begin your first project.
Table of Contents
What is Decoupage?
I’ll admit that decoupage seems like a more complicated concept than it really is, partially because the word sounds fancy. “Decoupage” actually comes from the French word “decouper,” which means to cut out or cut from something else.
This word has its origins in East Siberia, where nomadic tribes used cut-out felt to decorate tombs. The practice spread to China around the 12th century, where paper cutouts were used to decorate lanterns, windows, and other objects.
By the 17th century, decoupage had become popular in Europe, particularly in France and Italy. It evolved into a sophisticated art form known as “the art of the poor” due to its affordability compared to traditional painting.
If you are a “decoupager,” that means that you engage in the artistic pursuit of gluing items to a surface. Which – although it might sound like something kids do in kindergarten based on previous experience – is absolutely NOT THAT AT ALL.
Decoupage is an Art Form
Decoupage truly is an art form. Sure, you can make it more basic if you like (and I do), but many a fine artist has used a decoupage medium to create a unique piece that could be considered artistic.
Projects are enhanced not only with papers and fabric, but with painting effects, gold leaf, ink, embellishments, and even other mediums.
I’m constantly amazed at what people are doing with Mod Podge in my Facebook group, and generally impressed with the level of talent. It’s not just a craft.
If you want to see what people are doing, check out these 75+ decoupage ideas to get inspired before you begin.

The Basics of Decoupage
If you want to engage in the art of decoupage, it’s very easy to get begin. You’ll need three things: 1) a base surface and something to attach to it, 2) a decoupage medium, and 3) tools.
Choosing a Base
You’ll start by selecting a base. Here are common surfaces that you would start with:
Once you decide on a surface, you’ll pick something to adhere to the surface. Here are a few ideas. This isn’t everything, but these are the most common:
Picking a Decoupage Medium
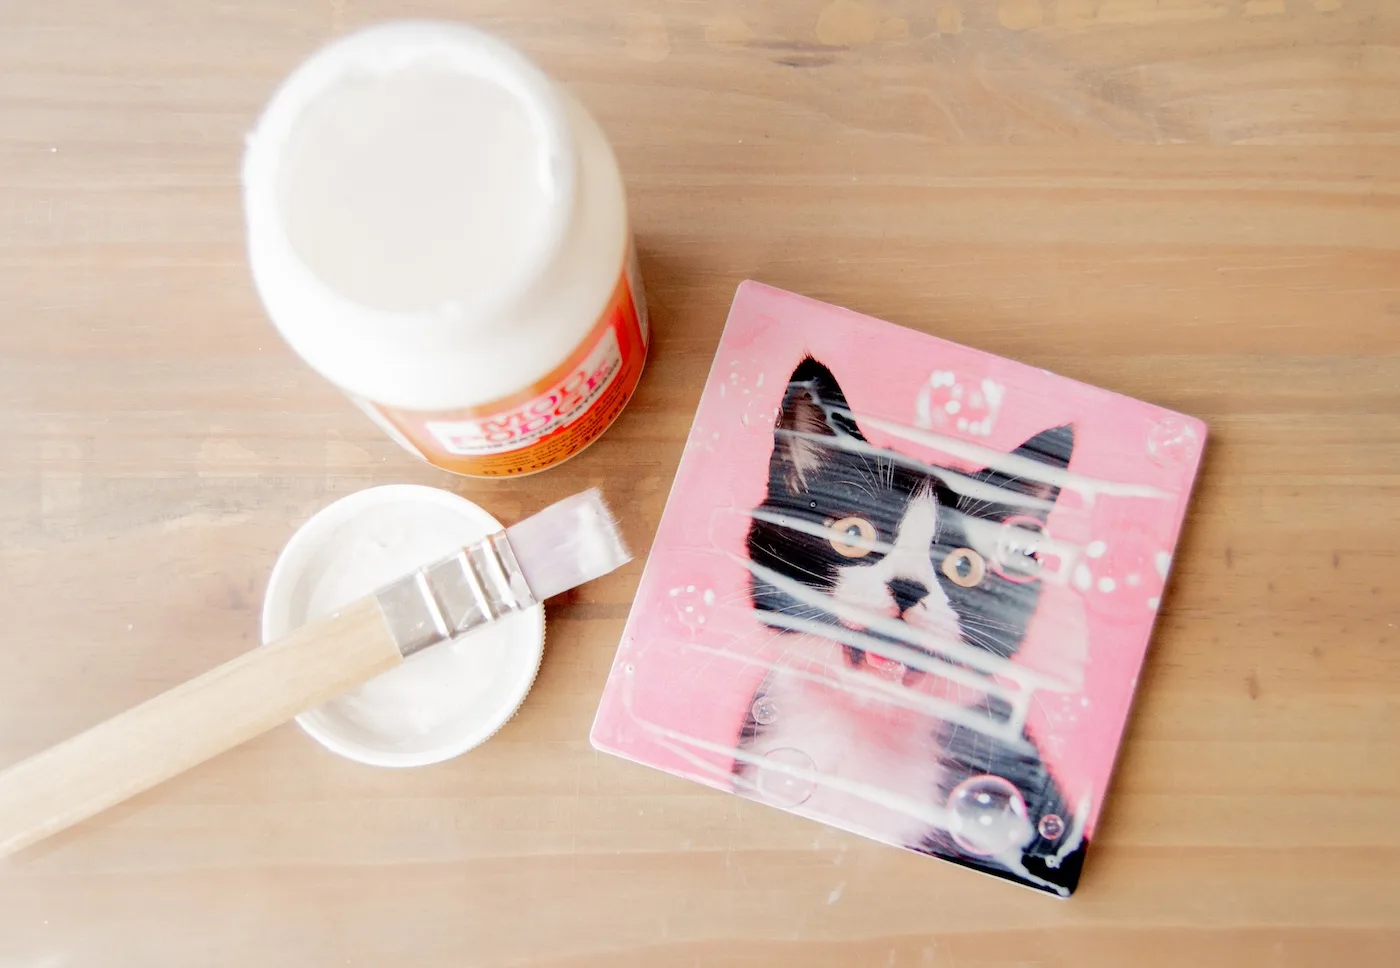
After you decide on your project you’ll choose your medium to bring it all together. Many believe that a decoupage medium is simply school glue or a vinegar/water/corn starch, but that is not the case (learn more here).
As you can imagine, my decoupage medium of choice is Mod Podge.

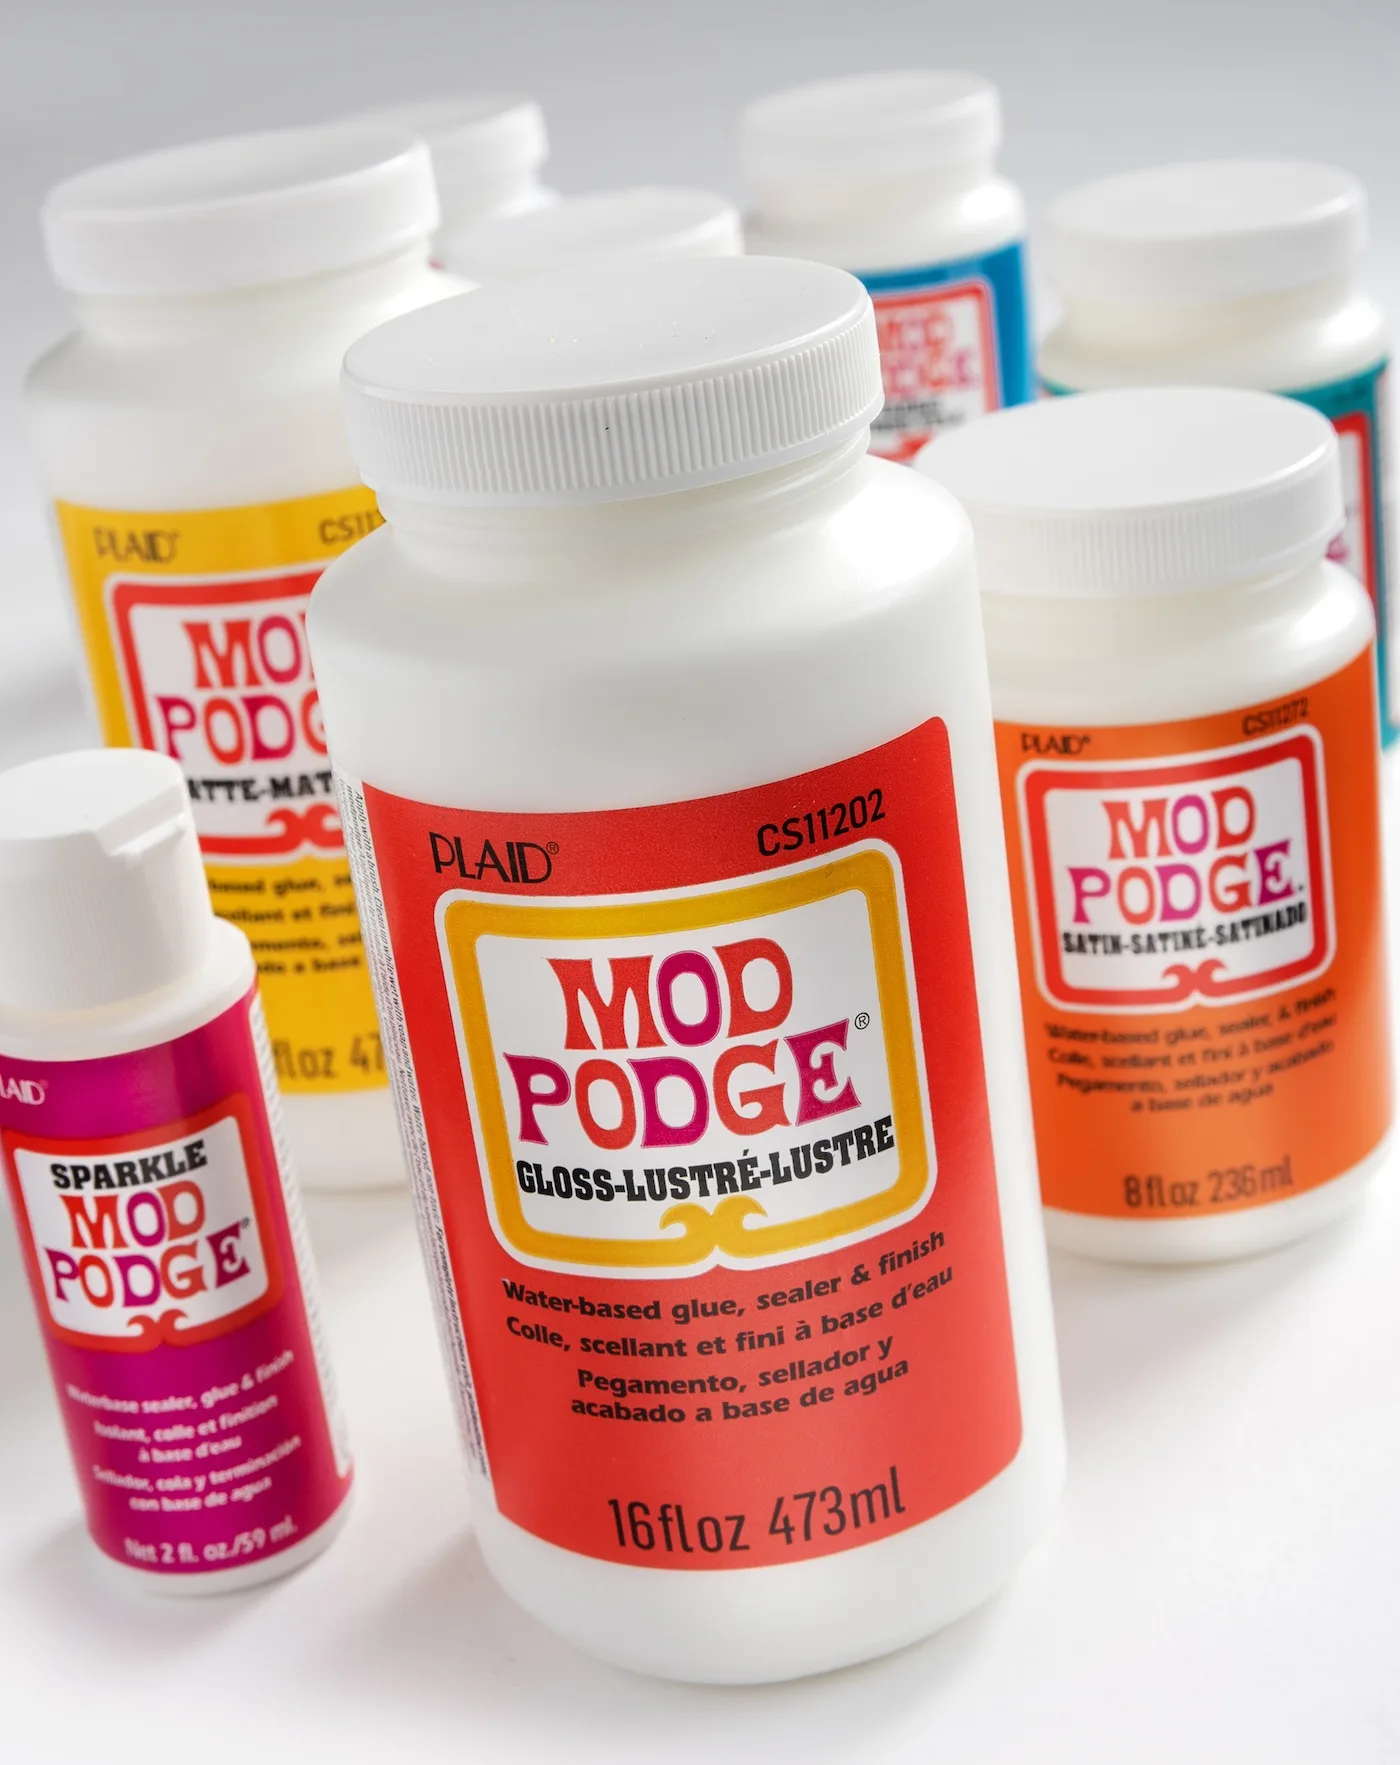
It’s a glue, sealer, and finish all in one. Mod Podge has ingredients and properties that a regular school/craft glue doesn’t have, and that is why Mod Podge projects that were created 40+ years ago are still around.
I’ve seen projects made by the original inventor of Mod Podge, Jan Wetstone, with my own eyes – and they are in perfect condition. That is what a good decoupage medium does for you!
If you are wondering which Mod Podge to use (there are quite a few), I’ve written a formula guide to help you select the appropriate type.
Tools You’ll Need
Definitely check out my list of decoupage supplies. You’re going to want to have the following at minimum:


Brushes – I’ve spent enough time with bad brushes in my life that I’m now an advocate of good brushes. Invest in some good quality brushes like these or these and then take care of them.
Silicone Mat – my first mat was a gift to try. Then I bought four more. I’m not even kidding! It’s a completely non-stick surface that can be washed/reused and will protect your table top.
Brayer and Squeegee – I use my brayer and squeegee all the time. Like daily. Smoothing paper with my little sausages doesn’t work as well as putting even pressure on a brayer . . . and the squeegee gets into corners.
Scissors – I cut a LOT of paper and fabric, as you can imagine. I like having a nice pair of Fiskars scissors. I’ve used this brand since I was little so I’m partial to it. I have one pair for fabric and one pair for paper.
My supplies post has the rest of the items I use, but these are my essential tools.
The Basic Steps
Decoupaging isn’t hard, but it does take practice. What I LOVE about it is that you won’t need to make a huge investment to get started, and you don’t have to be an expert crafter to try it.


I’ll never forget when I started knitting at 15 years old; there was a huge learning curve. This is nothing like that!
Before trying it, you should know the basic steps of decoupage. You’ll want to read the post for more info, but here are the seven:
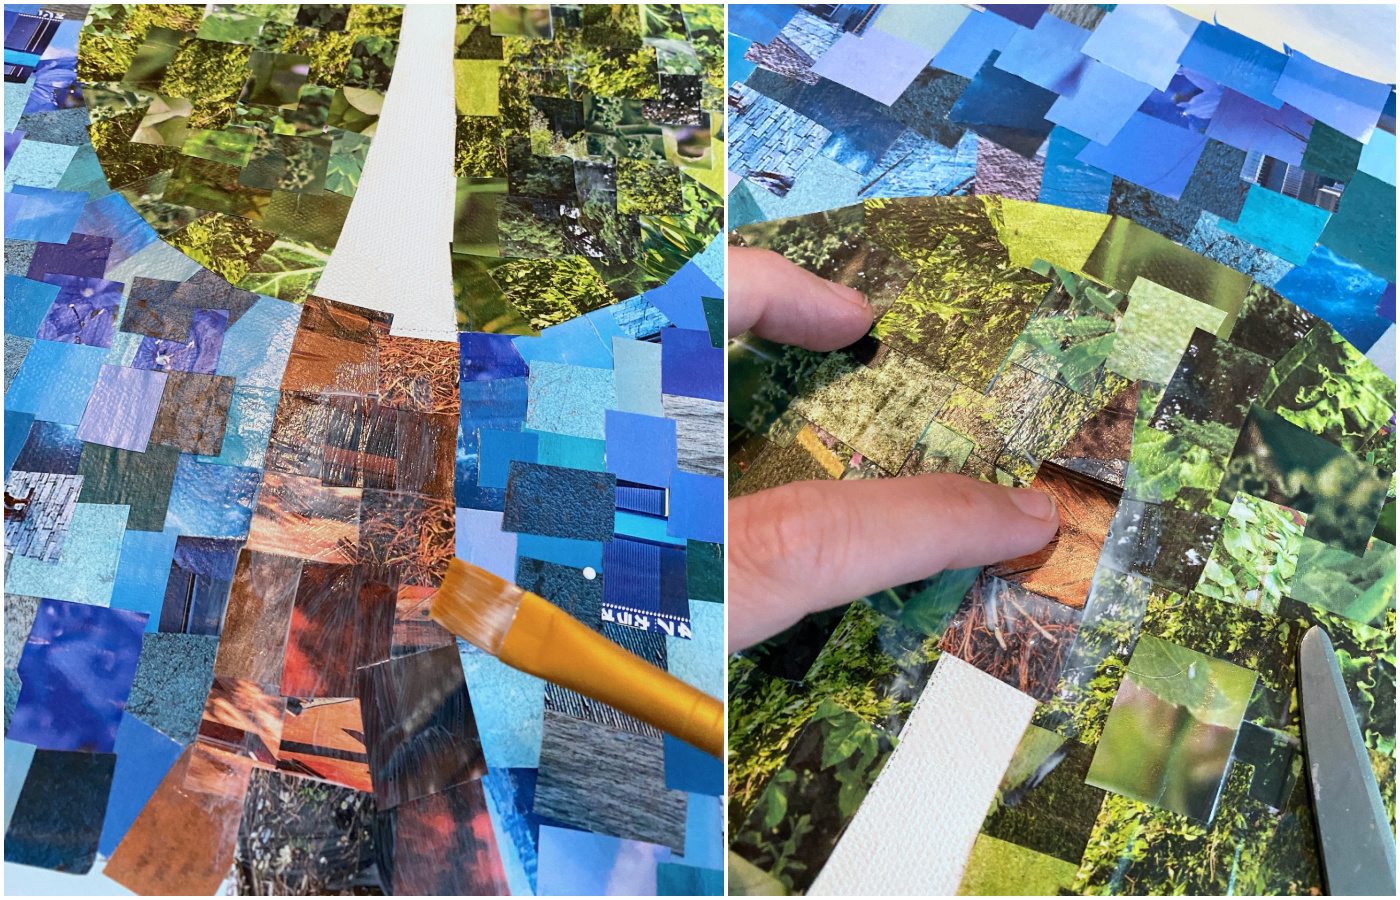
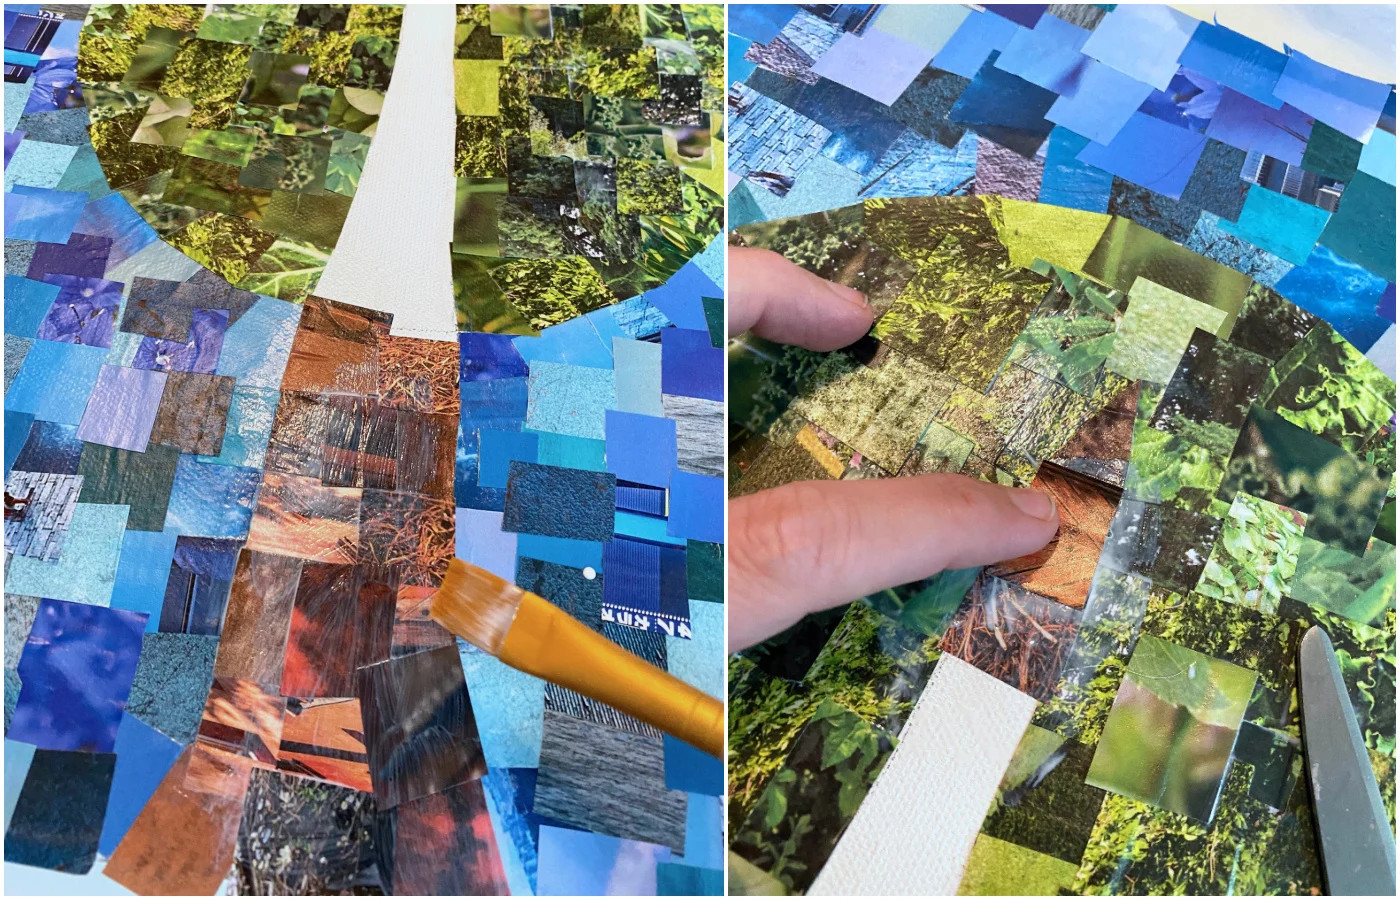
- Prepare the Surface – sand or clean the item you’re going to decoupage
- Prepare the Items to Be Decoupaged – cut your fabric, paper, etc.
- Cut the Items to Fit the Surface
- Paint the Surface
- Decoupage the Elements with Mod Podge and Smooth
- Add a Protective Coat to the Project
- Add Embellishments
If you can master these steps – and I have no doubt you can – you’ll will have mastered decoupage. You’re going to love this process!
Your First Project
My #1 piece of advice when starting just about anything, but particularly this new hobby, is to dive in. Start with something easy (I have 20 Mod Podge crafts for beginners here) and expect to fail a few times. You WILL learn it in the long run. I promise.
Go to the dollar store to purchase surfaces or buy a few $1 plaques at the craft store, and practice, practice, practice!
My first project was a tray loaded with bubbles and wrinkles and ended up in the garbage. Before long, I was decoupaging with ease, and now there’s nothing I can’t do! I’m an expert. And you will be too.
Are you ready to get started? Let me know what your first project is and how it went in the comments, or share with my Facebook group here. Happy decoupaging!
Maria
Tuesday 14th of May 2024
Hi Amy, I’m new to all this. I have a Fuentes cigar box and I just want to seal the labels that are already on the box so they don’t lift up. Will Mod podge work for that ?
Kathryn
Wednesday 27th of March 2024
Hi,
I have lots of wrapping paper (print pattern) which will be put on the 6ft by 6ft thick cardboard (as the room divider.) I will get the appropriate supplies, except I'm not sure WHICH mod podge to use for that? I'm new to this craft myself.
Please advise. Thank you.
Amy
Friday 29th of March 2024
You'd be fine using Hard Coat!
Jeanne
Tuesday 26th of March 2024
Hi - great blog. You've inspired me to try decoupage. How do I calculate how much Mod Podge is needed to glue paper collage to a surface and seal it? Thank You!
Amy
Wednesday 27th of March 2024
Hi Jeanne! I'd just get an 8 ounce bottle and go from there! If it's a small paper collage you could use the 2 ounce bottle, but it's either 2 or 8 ounce or 16 - and 16 ounces is a lot!
Gel
Monday 25th of March 2024
Which mod podge do you use for decoupage of picture transfer to canvas, I read your whole blog and still couldn't find which mod podge to use. Please include Amazon link easy to find. I would have clicked and bought.
Amy
Tuesday 26th of March 2024
You'll use the photo transfer medium! https://modpodgerocksblog.com/photo-transfer-to-canvas/
Lorraine
Monday 9th of October 2023
I need to rip my napkin for the design to fit on my clam shell. The ripped part has a white background. Will this blend good enough so you do not see the ripped part on the shell?
Amy
Wednesday 11th of October 2023
Hi Lorraine! This is a common question in our Facebook group! https://www.facebook.com/groups/530673913743641 I would join and check out how people have feathered the edges in - yes, the white background should be good enough. But if you have some issues with the edges, people can help in that group and give you tips. You can leave once you get the info. It's just a great place for questions like this!