
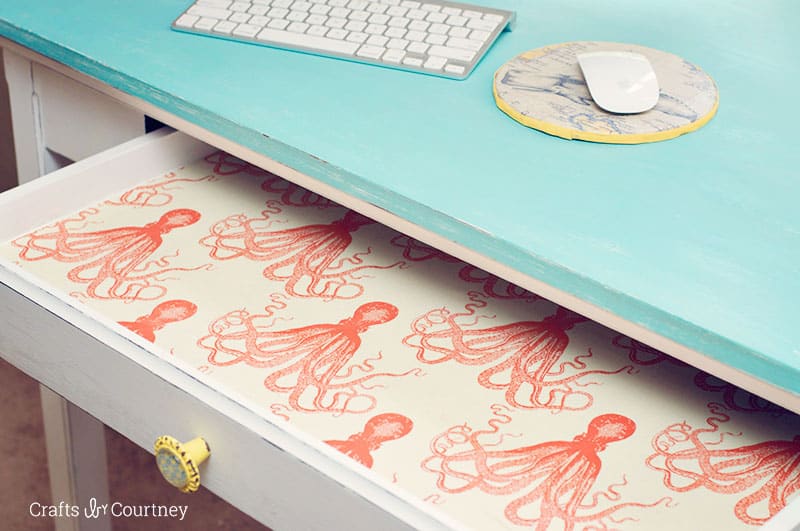
Use Mod Podge and your favorite fabric pattern to create these DIY fabric lined drawers – I love the surprise every time you open one!
I’m so excited to share with you my newest Mod Podge project: fabric lined drawers!
It’s funny – this desk makeover actually started back in November when I first painted it. I always knew I wanted to do something decoupage related on the inside of the drawer, but wasn’t sure exactly what I wanted to do.
I recently got a bottle of Fabric Mod Podge and started thinking of things to do with it, and I came up with a few ideas related to furniture.
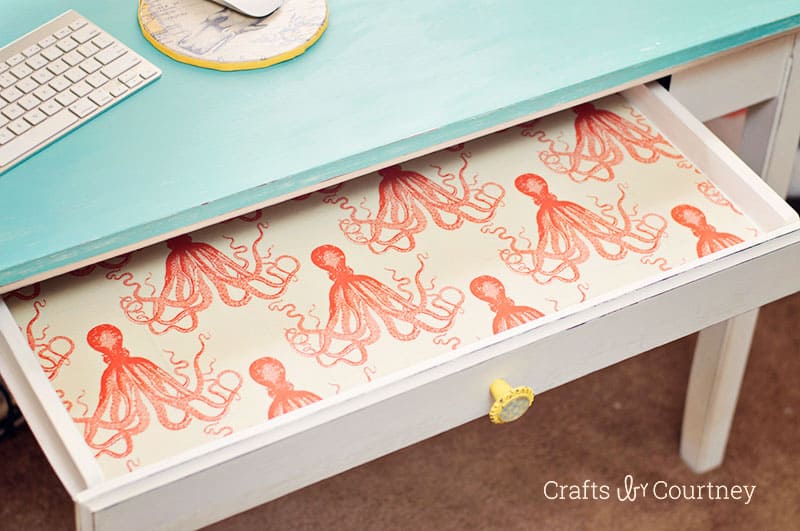
Then I went to JoAnn Fabrics and found some amazing coastal themed fabrics. As soon as I saw the fabric with the octopus, I knew EXACTLY what I wanted to do with it. Time for some DIY beach decor!
I just needed to see if the hubby was on the same page. I showed him my idea. BUT he thought some people might think the octopus looks like an alien creature (I think he mentioned the one from Independence Day).
I know not everyone will love it, but at least everyone can get an idea of how to make their drawers over and customize it to any pattern they like.
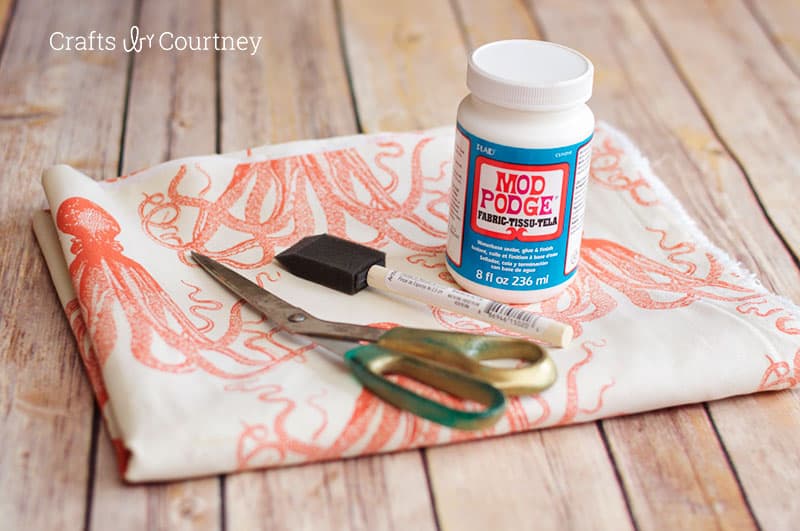
But I do think the octopus pattern is AWESOME. I have a couple more projects I plan on doing with it too. Here’s what you’re going to need:
Gather These Supplies
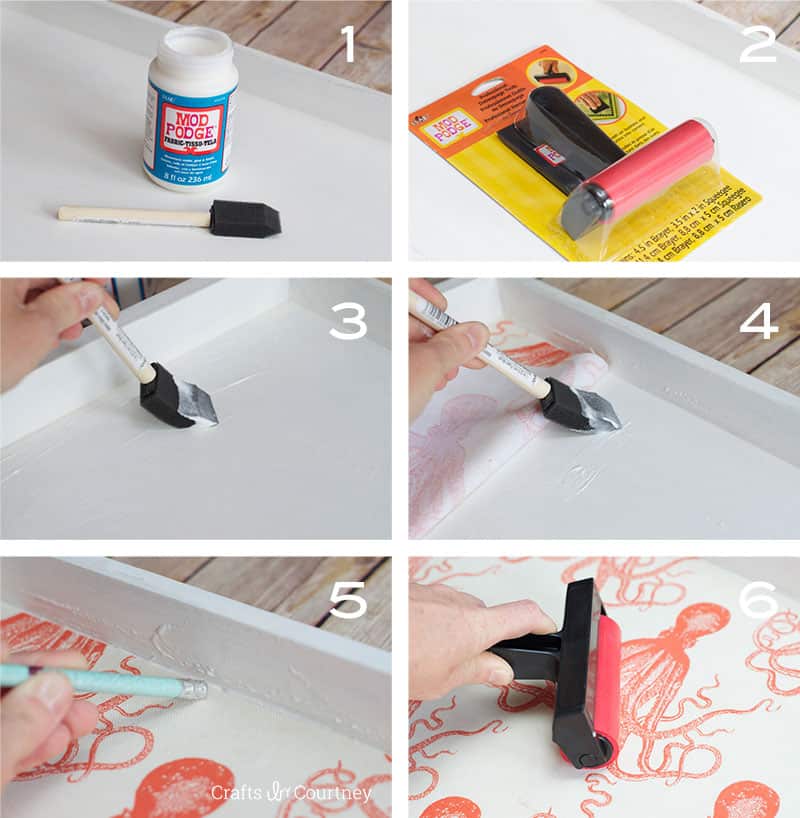
- Fabric Mod Podge
- Fabric
- Foam brush
- Scissors
- Mod Podge brayer
- Pencil
You don’t *have* to use the fabric formula of Mod Podge for this project. It just happens to be quite durable. You can use regular Mod Podge, or if the drawer is going to get a lot of wear and tear, use Hard Coat.
I think this turned out really cool and the colors of the octopus really “POP” against the blue on the desk. It will be a fun surprise every time I open my desk.
Next I need to make a couple storage containers for the inside of the desk. I’ll keep you posted on those!!
Gotta keep organized.
I hope you enjoyed this fabric lined drawers tutorial as much as I did. The desk is finally finished! Another project checked off my to-to list!

How to Line Drawers with Fabric
Equipment
Materials
Instructions
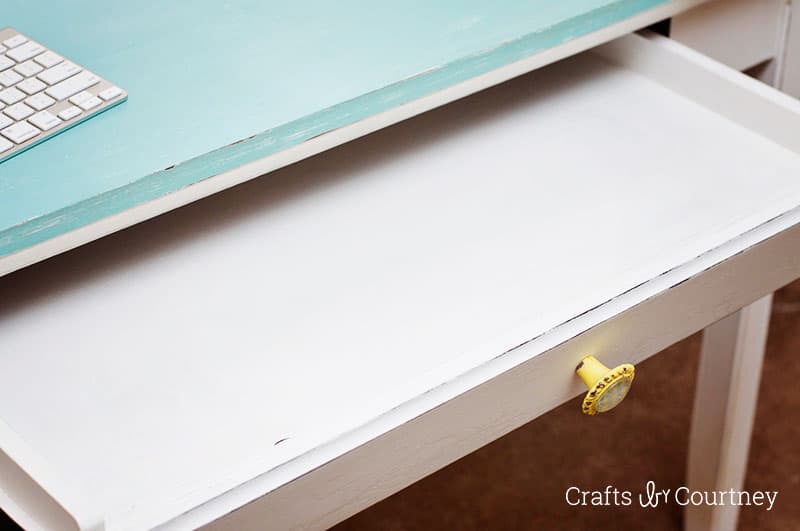
- Clean out the drawer completely and wipe it down. Let dry.
- Flip your fabric upside down and place it in the drawer. Use a pencil to trace out the shape of the drawer on the back of the fabric.
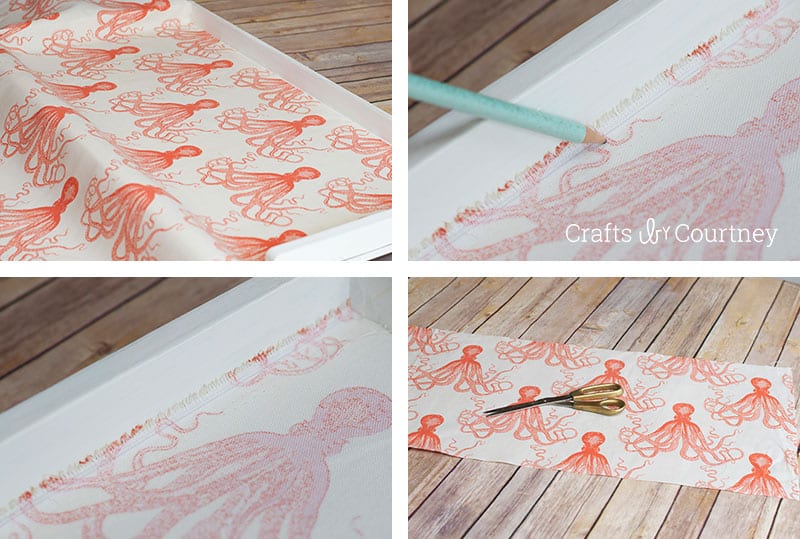
- Cut out the fabric and place it back into the drawer to make sure that it fits. If it doesn’t, trim further until it fits exactly.
- Add a little Mod Podge at a time, then place the fabric on top – working your way across the entire drawer. Use your hands to smooth out any bubbles; if you have a brayer, that is preferable. Let the Mod Podge dry for 2 hours before the next step.
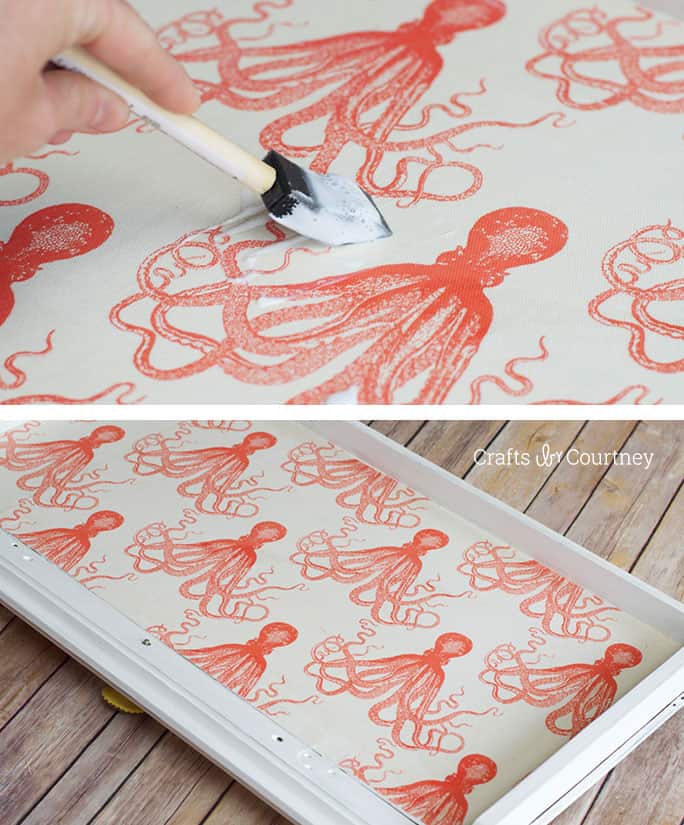
- Add a coat of Mod Podge to the top of the fabric. Let dry overnight before using.
It’s truly amazing all the things you can do with a bottle of Mod Podge. I have a couple more fabric projects that I plan on posting soon.
Stay tuned . . .
Wanna’ keep up with all my craftiness, follow me! You can also check out some of my other related and furniture projects below:
Cork Board Jewelry Organizer with Fabric • Decoupage Wood Tray • Decorate a Memory Box • Decorate a Mirror • Decoupage Napkins on Canvas • DIY Cork Boards • DIY Floor Cloth • DIY Desk Organizer • DIY Tile Coasters • DIY Baseball Decor • Doorbell Box Cover • Fabric Covered Books • IKEA Furniture Makeover • Scrap Wood Candle Holders • Wood Welcome Sign


It’s a great idea even thought I won’t be doing it because I just lined all my drawers with decorative paper – maybe in the future! However, an easy way to measure and make sure you don’t mess up is to take a piece of newspaper or even an old shopping bag and do a trial run ie cut out to size Once you are sure of the size, lay the paper on top of the fabric and voila you have a perfect cut fabric! Mom used to use newspaper as a trial run for everything. Things have evolved so much, we no longer have newspapers or shopping bags where I live, so I have resorted to using brown paper from the dollar or old wrapping paper from Christmas! Cheaper than ruining fabric. LOL!
I am so beyond in love with this idea! I love your whole desk, actually! I didn’t even know there WAS fabric mod podge…I don’t have craft stores around me so I have to rely on Walmart and haven’t seen it yet. I’ll keep my eye out!
This looks like such a fun and easy project! I love the print of that fabric!
Paige
https://www.thehappyflammily.com/
how nice! this is a must try 🙂