
Learn how to make a pallet picture frame with Mod Podge photo transfer medium! This is perfect for farmhouse or rustic decor.
Skills Required: Intermediate. You’ll need to use power tools to create the frame, and Mod Podge photo transfer medium to transfer the image. Both of these require some experience with crafting.
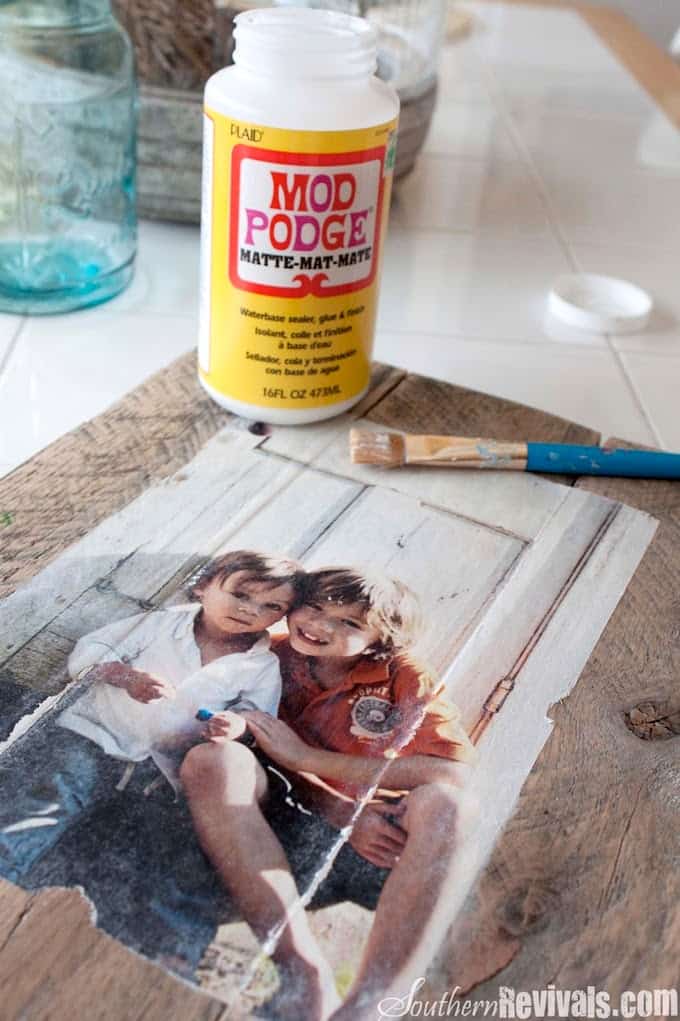
Have you ever tried Mod Podging on a pallet? It’s nice if you want a pretty, vintage look as part of your home decor. Now you can also take it up a notch just like Jamie did, and add photos to a pallet with Mod Podge Photo Transfer Medium.
It’s hard to explain the difference between the transfer medium and just Mod Podging something down, but you can definitely see it in person. It’s like vintage on steroids. If you want to know what I’m talking about, you’ll just need to try it out.
Take a peek at Jamie’s blog, and some of her pictures, and you’ll begin to get an idea of what the transfer medium can do. Learn how she made this pallet picture frame below.

Pallet Picture Frame
Equipment
- Circular saw
- Miter saw
- Nail gun
- Tape measure
Materials
- Laserjet printed image(s)
- Mod Podge photo transfer medium
- Stain
- Rags
- Wood glue
- Sanding block optional
Instructions
- Find a pallet and use a circular saw to cut off planks in the size of your choice.
- Use a miter saw to cut your pallet wood planks to a 14” length. Cut back support pieces to a 10” length.
- Place the pallet wood planks next to each other. Use wood glue to attach the back support pieces. Use clamps or heavy books to secure and let dry.
- Use a nail gun to secure the back support pieces further.
- Proceed to stain your pallet wood picture frame using the stain colors of your choice and rags. Let dry.
- Print out laserjet images on regular printer paper sized to fit your frame.
- Using a paintbrush, apply just enough photo transfer medium to completely cover your image, until you can no longer see it.
- Apply the photo, medium side down, to the frame. Press gently from the center out to remove any air bubbles. Let sit 24 hours to dry.
- It's time to remove the paper. Place a damp towel or sponge over the paper and let it sit for two minutes.
- Gently rub the paper away from your image, being careful not to press too hard and remove part of the image.
- Rub in a circular motion until all of the paper has been removed. Discard the paper. Repeat until all paper is removed.
- Use a sanding block to distress the edges of the photo transfer, where it meets the frame.
- If desired, seal the entire frame with regular Mod Podge. Let dry before displaying.
DIY pallet frames with Mod Podge Photo Transfer at Southern Revivals
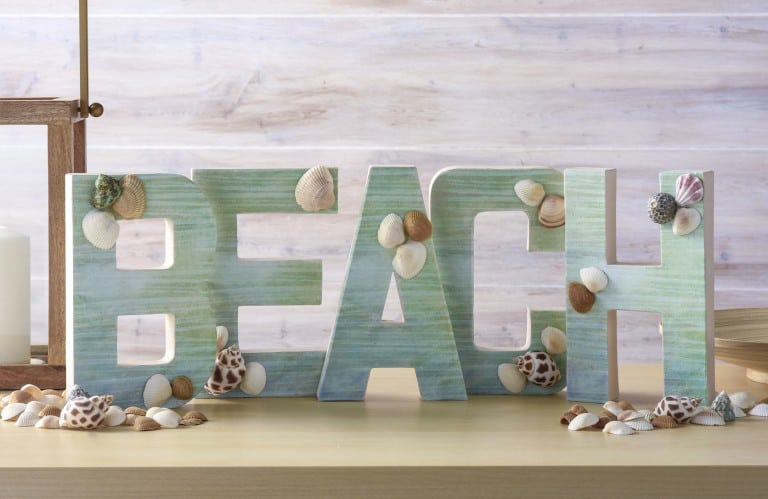
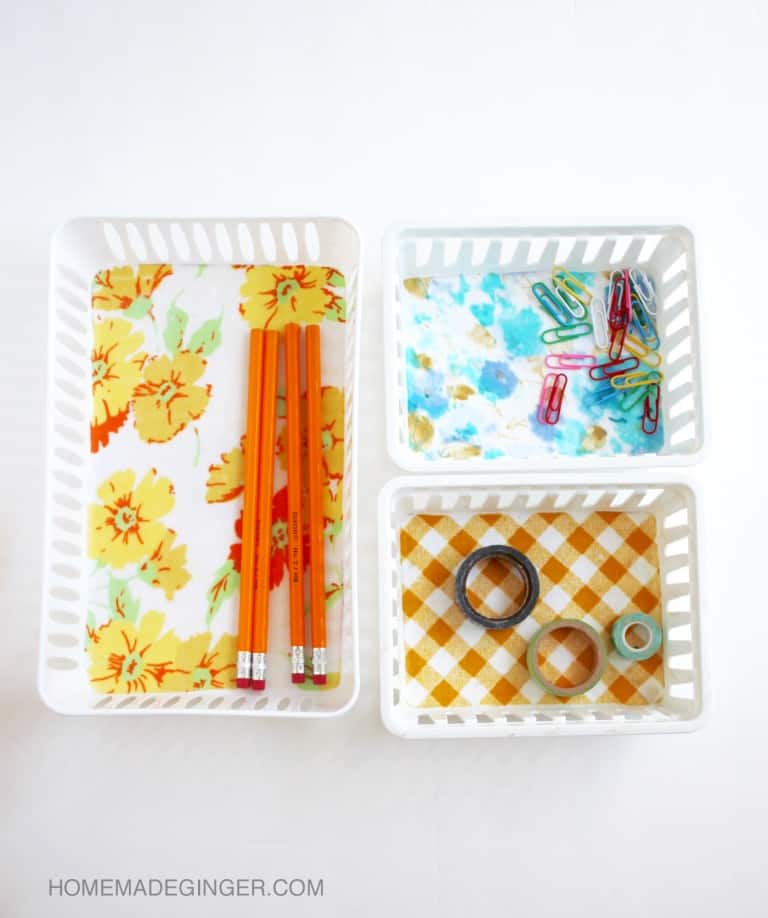
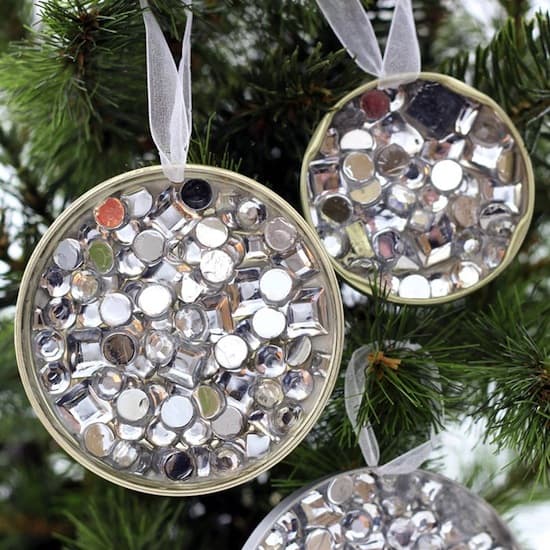
Did you enjoy this pallet photo frame project? I’d love for you to check out these other ideas:


Great idea!
Just what I wanted … instead of using the pictures themselves.Going to try tomorrow.
Thanx
Pleasure!
Hey! Thanks so much for sharing Amy! Made my day!
Looking forward to trying this out.