
Learn how to make the easiest DIY photo collage using Mod Podge and other basic supplies! You’ll love this cute wall art on a budget.
Skills Required: Beginner. It helps to have a little experience with Mod Podge for this project. However, if you follow the steps pretty carefully and observe dry times you should be fine. Just make sure to use laserjet printed images.
I’ve had several people ask me about Mod Podging their favorite photos – the answer is, you can! You can Mod Podge “regular” photos, and also those printed out on a printer (inkjet photos will need to be sealed).
This photo craft is such a great way to capture family members pics for moms, but it’s also a fun craft for teens. They will love making a huge display of photos of their friends! This looks great in a living room or a dorm room.
You can make it any size – any shape (I’ve seen a heart shape, oval, etc). You can also stick it in a photo frame. You can use black and white photos and make this craft at home in an evening watching television. The options are endless!
Making a Photo Collage
Before we dive into the tutorial, I want to answer a few basic questions about this project to ensure your Mod Podge collage success! Here are the questions I get the most often about this project. Let me know if you have any in the comments.
What do I use for the back of my wall collage?
You have a few options – this project uses foam core. However, you can use a piece of wood, a huge canvas, a piece of fabric, or anything else you like. Just remember that the larger it is, the heavier it will be.
What paint should I use?
This DIY photo collage actually doesn’t use paint, but if you are using something other than foam core and painting it – use acrylic paint.
Can I use real photos?
It really depends. Old photo paper (think 80s and 90s drugstore) is really thick and doesn’t play well with Mod Podge. Polaroids are a no – I’ve tried.
Ideally you’ll get laserjet print outs of your images on 20 lb. to 32 lb. paper; “regular” white bond paper as opposed to any type of photo paper.
The deal is that photo paper has coatings, so it’s hard to say whether the kind of photo paper that you print on for your wall collage is going to work. If you insist on using photo paper, do a test.
If you want to use inkjet, spray both sides of each photo with hairspray or clear acrylic spray. Let dry overnight. Be advised – inkjet ink can bleed. Learn more about decoupaging with any printouts.
What Mod Podge should I use?
You can use Gloss, Matte, or Satin – depends on the finish you want for your photo display. See the finishes here (you might like another formula as well!).
How do I hang my photo collage?
Use Command Strips for foam core, picture hooks for a canvas, and a hanging kit for wood. If you’re not sure, leave a comment and I’ll help you out!
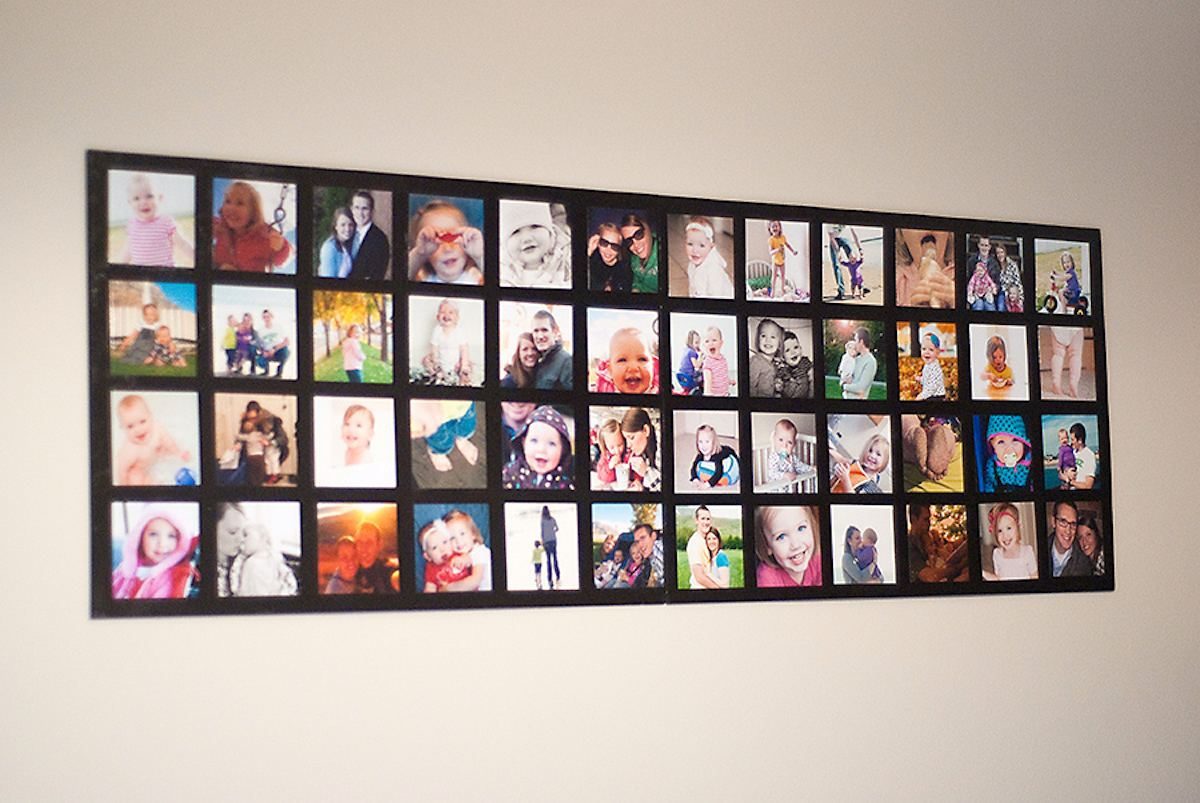
You are going to love this DIY photo collage. Regular photos were trimmed and put onto foam core, for a project that cost less than $20. Check out the tutorial below to see how it was done.

Photo Collage
Equipment
Materials
- Photos printed with a laserjet printer
- Mod Podge Gloss
- 2 20 × 30 foam core boards black
- Poster hangers
- Double sided tape
- Duck Tape
- Toothpicks
Instructions
- Plan out the photos you would like to use. Each board holds 24 photos (sized 4" square) in a 4 x 6 grid.
- Print out your images in 4×4" squares. Cut them out using the scissors. Lay them out on the foam core boards.
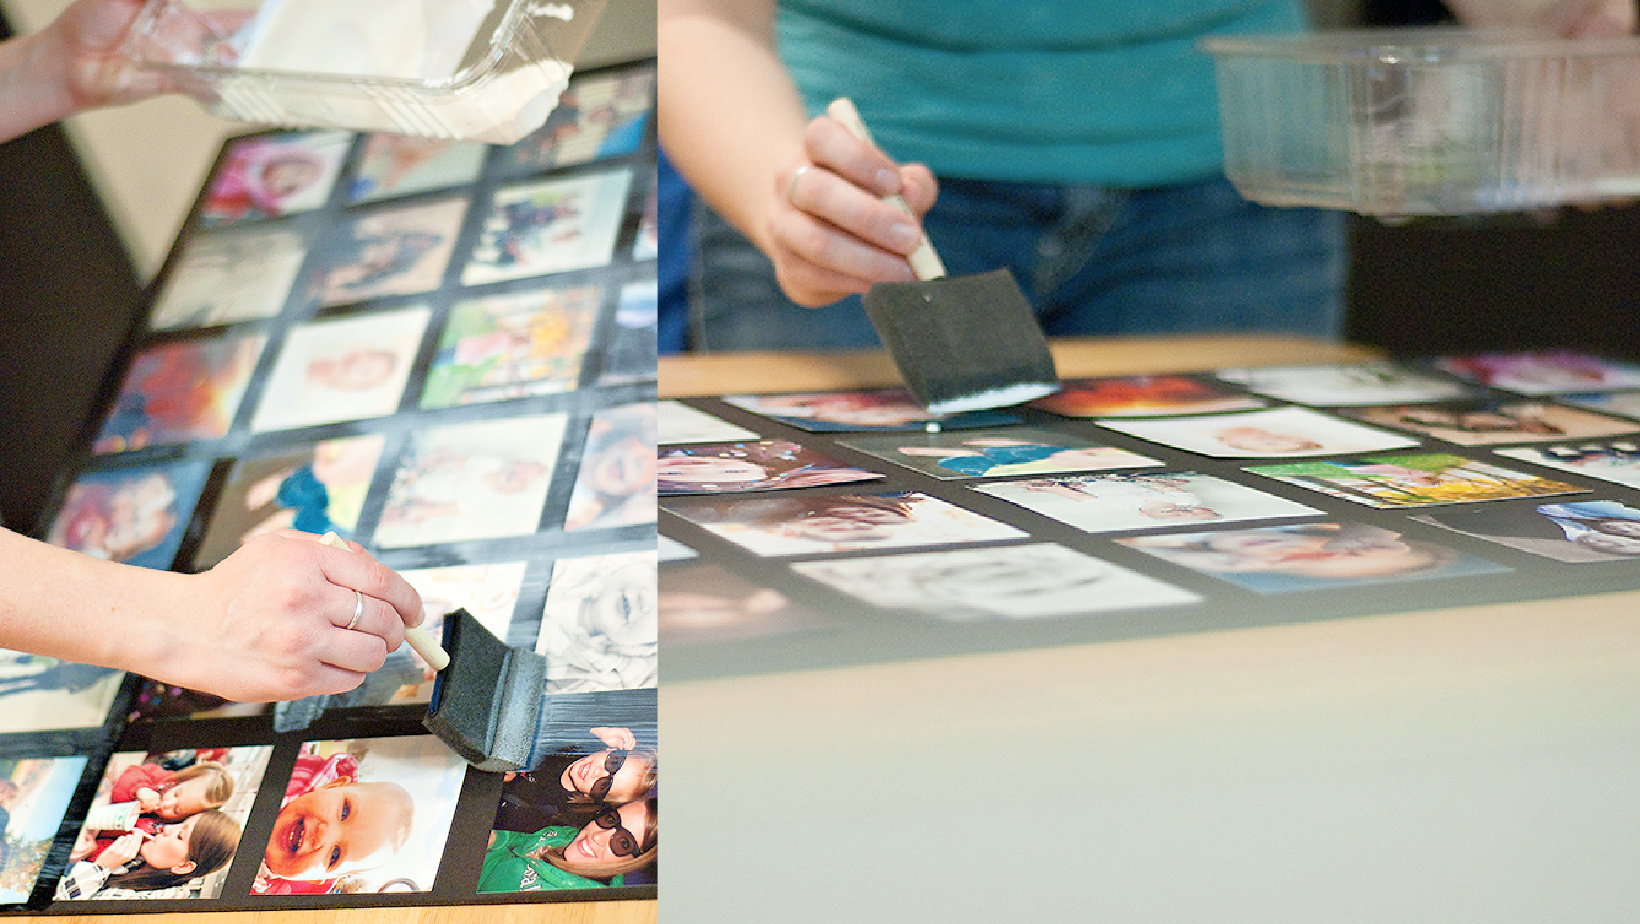
- Pick up each photo, apply a layer of Mod Podge to the board, and smooth down the photo. Rolling out with a brayer is preferable. Repeat until all the photos are applied to the board. Let dry for 15 – 20 minutes.
- Apply a top coat over all the photos and the board using Mod Podge. Let dry and then apply a second coat.
- Let dry overnight before hanging with Command Strips (or the method of your choice).
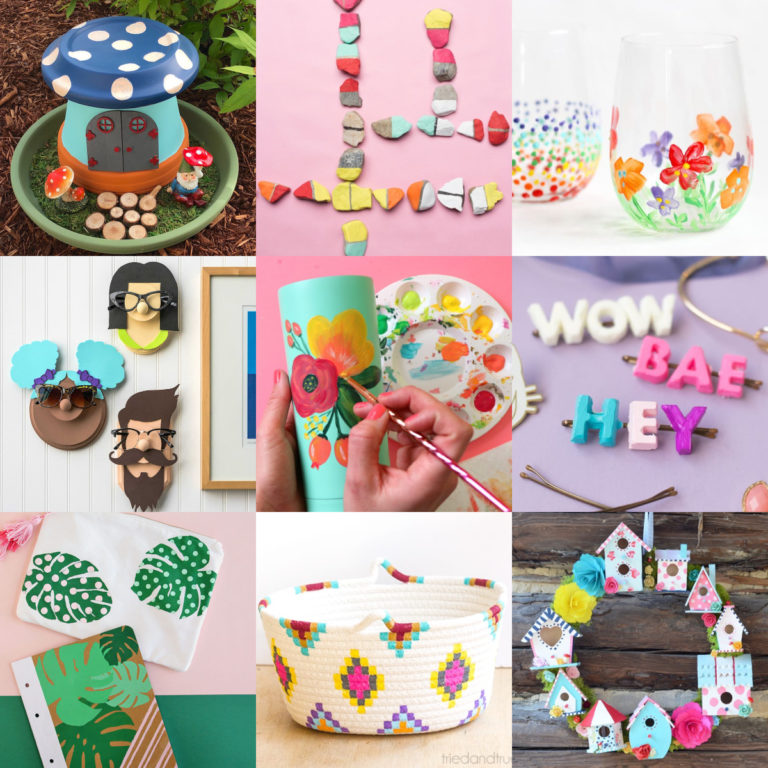
For more information on Mod Podging photos, read the FAQs here (search for “photos”). I’d also love for you to check out these other ideas:


Love your wall collage!!
So I have some pictures that I Mod Podged to a canvas and I was going to go over it with a coat of mod podge but I did a test strip and I felt like the Mod Podge dulled the colors in the photo. I am using Matte prints that I ordered from snapfish. I was using the Matte Mod Podge. Is there a better product to put over the photograph? Or should I use a different version of Mod Podge?
can i mod podge onto anything? i have this boring desk from ikea and i thought about adding pictures and magazine cut outs etc.. do you think that would work?.
Hi MissDewi – yes, you pretty much can! You may need to lightly sand the desk to prep it if it has a smooth, clear coat on top. Just use med/fine grit. Here’s the FAQ to help you as well:
https://modpodgerocksblog.com/learn-how-to-mod-podge/
Thanks!
I’ve just got back from a trip to Amsterdam and I want to do this with all the amazing photos that I’ve made there