
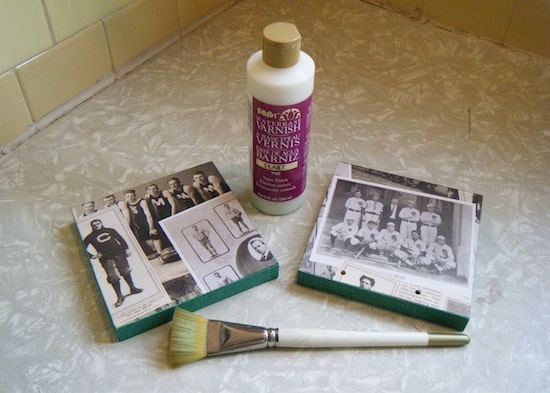
Looking for an original idea for the sports fan in your life? Learn how to make bookends! These baseball bookends use scrap wood and Mod Podge to personalize.
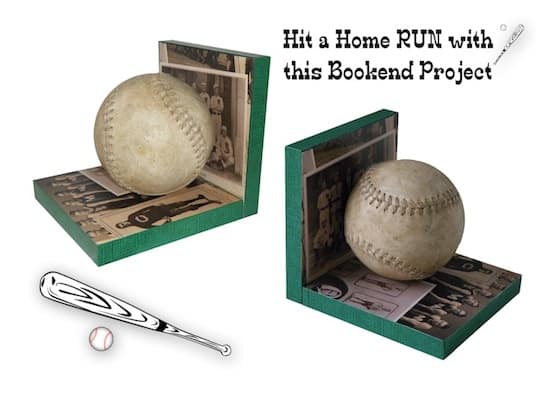
Need a great project for the sports-oriented man (or woman) in your life? This week Man Podger Walter delivers the perfect wood craft idea – decoupage baseball bookends.
All you need are wood and Mod Podge (well, and a few other things). I’ve never told you, but my grandfather was a Brooklyn Dodger. Yep! His name was Herbert Olson and he was a catcher. I’m not sure for how long – but I know it was in the late 50’s/early 60’s.
He passed away not so very long ago, so I kind of think of this decoupage idea as a tribute to him. Man Podger Walter had no idea that he made something with so much meaning to me.
I think this would make a great Father’s Day craft, or something special for your favorite baseball fan.
I think he hit a home run with this project! Try different variations to fit your liking. Don’t forget to make two so you have a complete set of baseball bookends.
Here’s how to make these for yourself.

Make Baseball Bookends
Equipment
- Screwdriver
- Ruler or tape measure
Materials
- 4 Wood square(s) 5" x 5"
- 2 Baseballs
- Mod Podge Gloss
- Acrylic paint
- 8 Wood screws
- Self stick rubber pads
Instructions
- Measure 1 1/2" in at each end from both the left and right sides of one of the pieces of wood. Drill two holes; I used a countersink bit so that the screws would sit flat down in the recess.
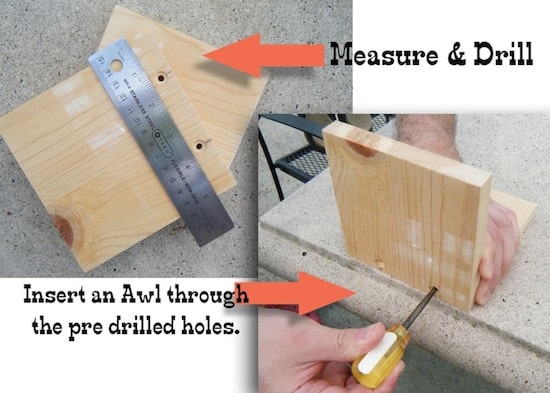
- Hold the drilled 5" x 5" piece of wood upright next to the other piece (base). Insert an awl and penetrate the base.
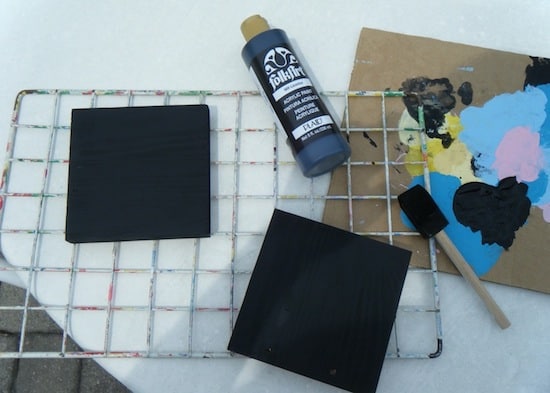
- Paint both wood pieces with the acrylic paint and let dry.
- While the paint is drying, cut pieces of paper to fit the pieces of wood – both the front and back, as well as the sides.
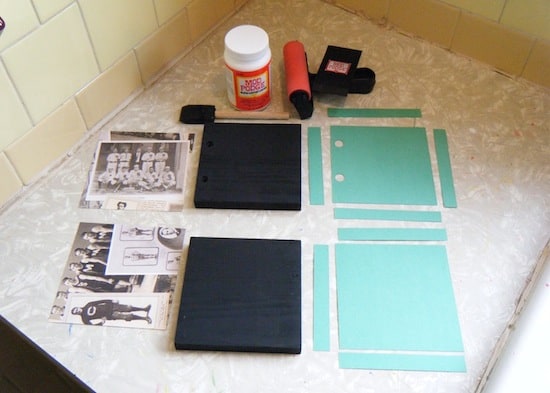
- Decoupage the paper and cardstock to the wood. Let dry for 15 – 20 minutes before applying a top coat.
- To assemble, attach top with two screws into the bottom base using a screwdriver. The base is complete. Repeat with the other side.
- Attach the baseballs in place. You can use industrial glue like E-6000 to attach the baseball in place. Personally, I eyeballed where the contact point was and drilled through the upright piece and then screwed the baseball into place.
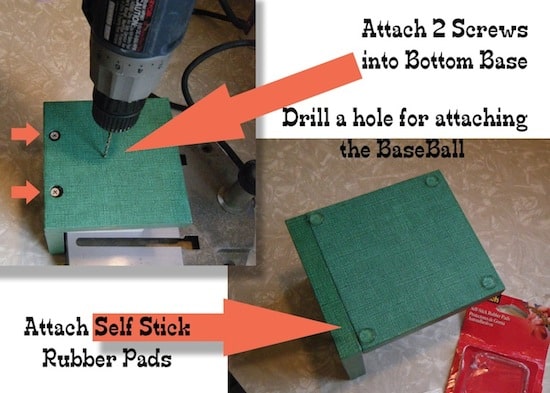
- Attach four self stick rubber pads to both bases before using.
Notes
Walter, thank you so much – you totally hit a home run. To all of you, please visit the rest of the Man Podger projects here. Also don’t forget to check out these other projects:


Love these!! My fiance’s Uncle was a Dodger as well….(Ralph Branca)
I love these! Do you have the template for the vintage photos by any chance?
FYI, I’m guessing this is your grandpa
https://www.baseball-reference.com/register/player.fcgi?id=olson-001her
That’s him! It doesn’t have his major league stuff – but it says that’s just minors. He’s passed away now (last year). 🙁
Love it! Great gift for him. I’ll be testing this out as it gets closer to Christmas
Brilliant Idea!! I have wondered what to do with those baseballs I have been saving. My kids get the “players ball” each year and being that I have 2 boys that makes a set. I think this is a great gift idea for the grandparents/family.