Use Mod Podge, paint, and map scrapbook paper to make this unique decoupage letter for home decor. It’s easy to create your own with wooden or paper mache letters.
Skills Required: Beginner. You’ll be painting, cutting paper to fit your letter, and then decoupaging it down to the surface with Mod Podge.
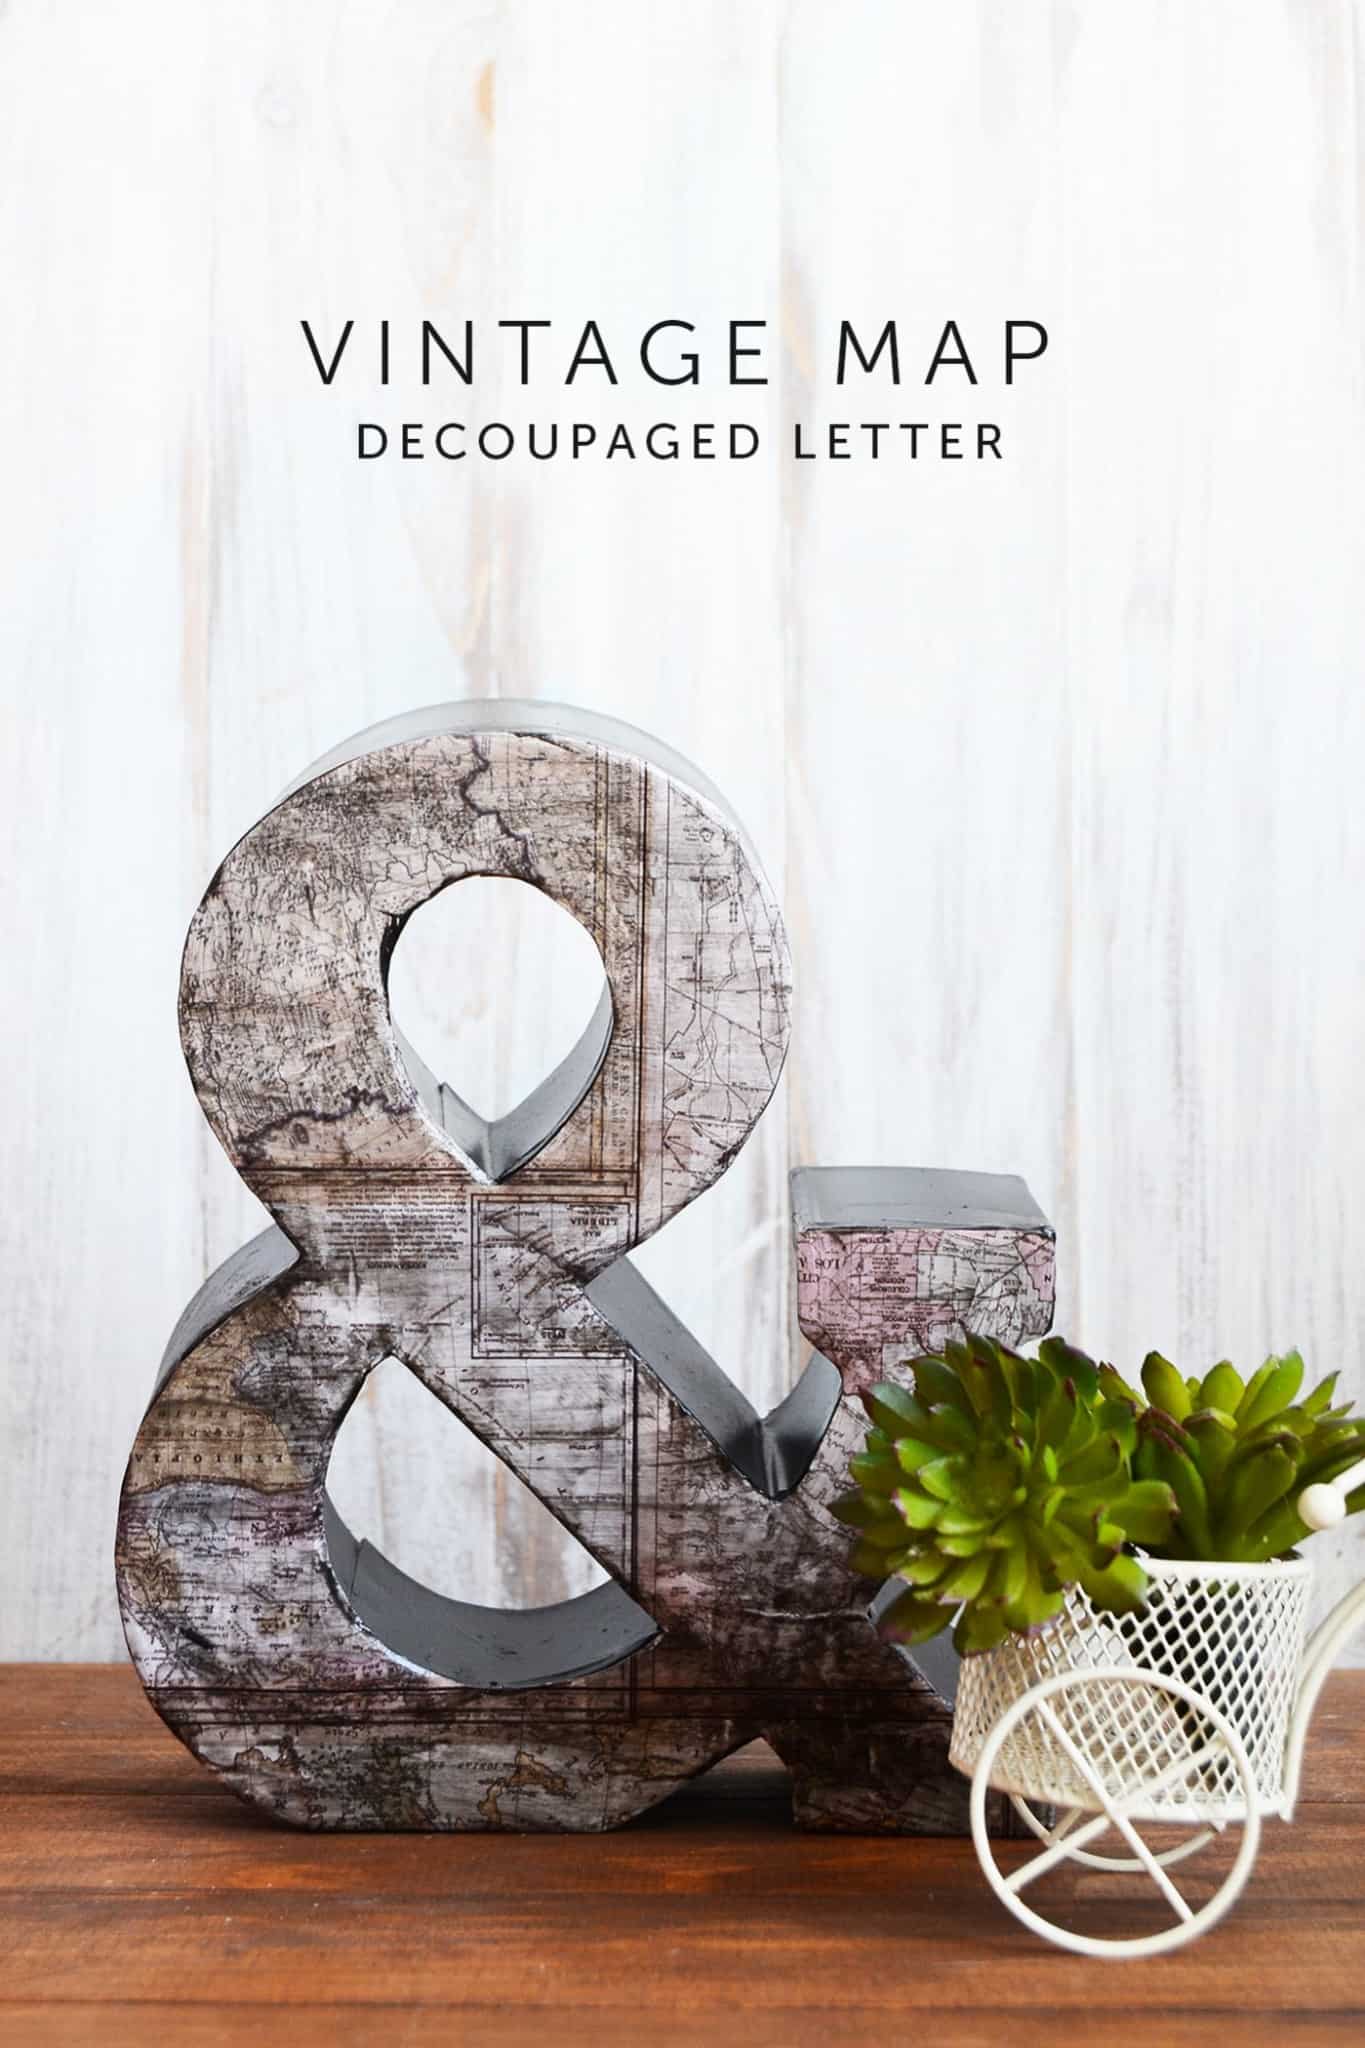
I’m in the process of creating another focal wall for my little apartment, and I decided I needed some fun letters with it – so I decided to buy some.
Since they weren’t the color that I wanted, I decided I would make over one to suit the rest of my farmhouse decor. I really like map crafts, because I feel that maps are very versatile and go with so many different styles.
Thus the vintage map decoupage letter was born! See how easy it is to create your own and apply a vintage effect to any paper. You’ll be able to create this home decor craft in a short amount of time, with great results.
Tip: You can make decoupage letters with any type of surface – wood, metal, paper mache, and more. If you can Mod Podge on it, then the technique below is going to be what you’ll use.
Decoupage Letter
Gather These Supplies
- Wood/Metal/Paper mache letter
- Paint – for letter
- Brown acrylic paint
- Matte Mod Podge
- Scrapbook paper
- Scissors
- Paintbrush
- Pencil
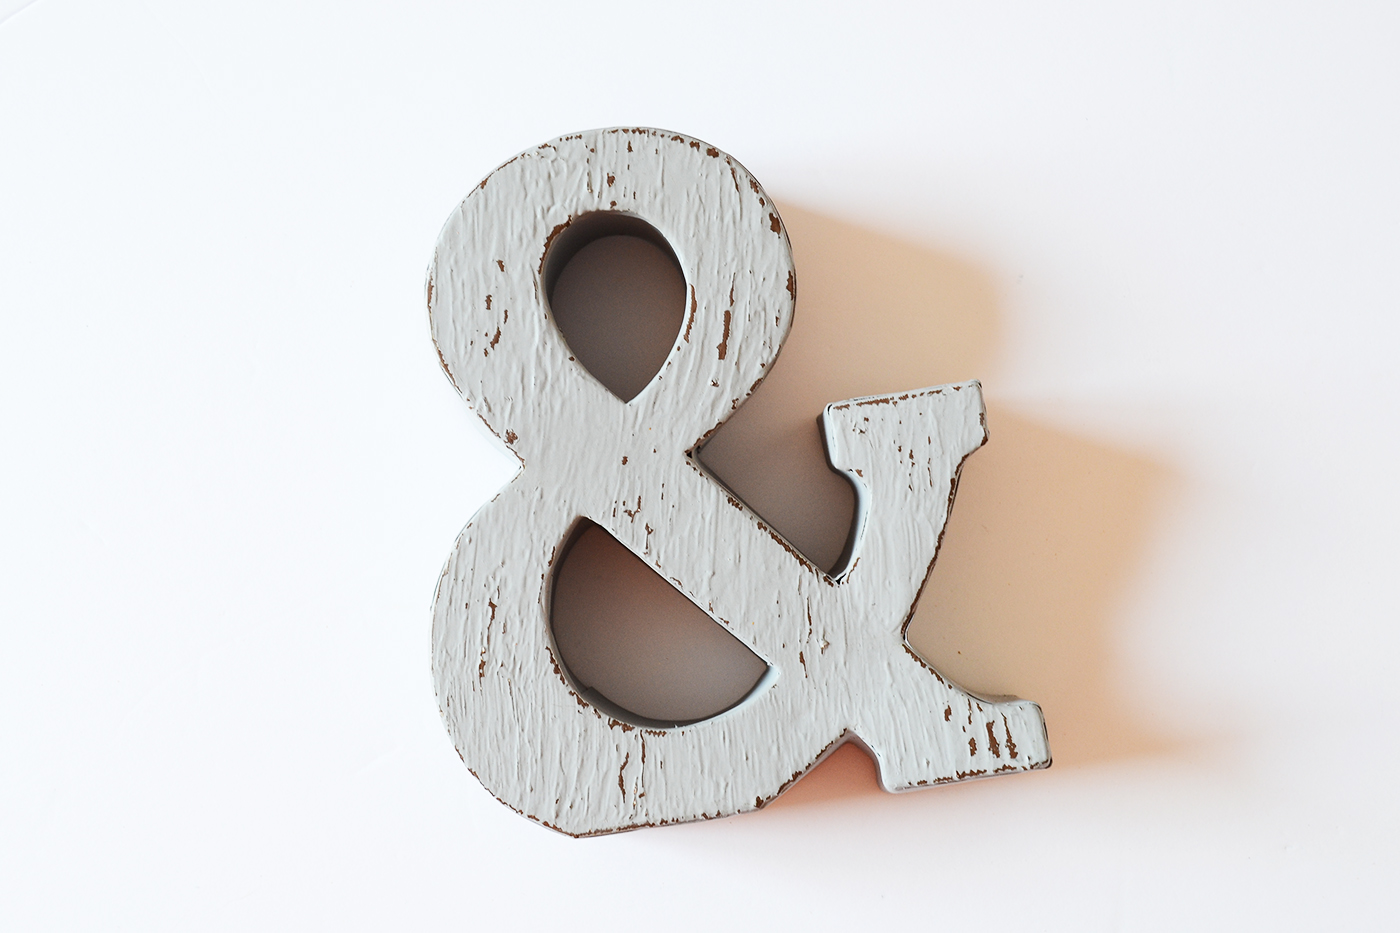
Step 1. Procure a letter of choice and assemble your materials. I used a metal ampersand for mine with a rough surface, but any kind will do.
Paper mache ones are my favorite choice (and probably the least expensive!). Wooden letters also work, and I’ve even seen canvas letters at the craft store.
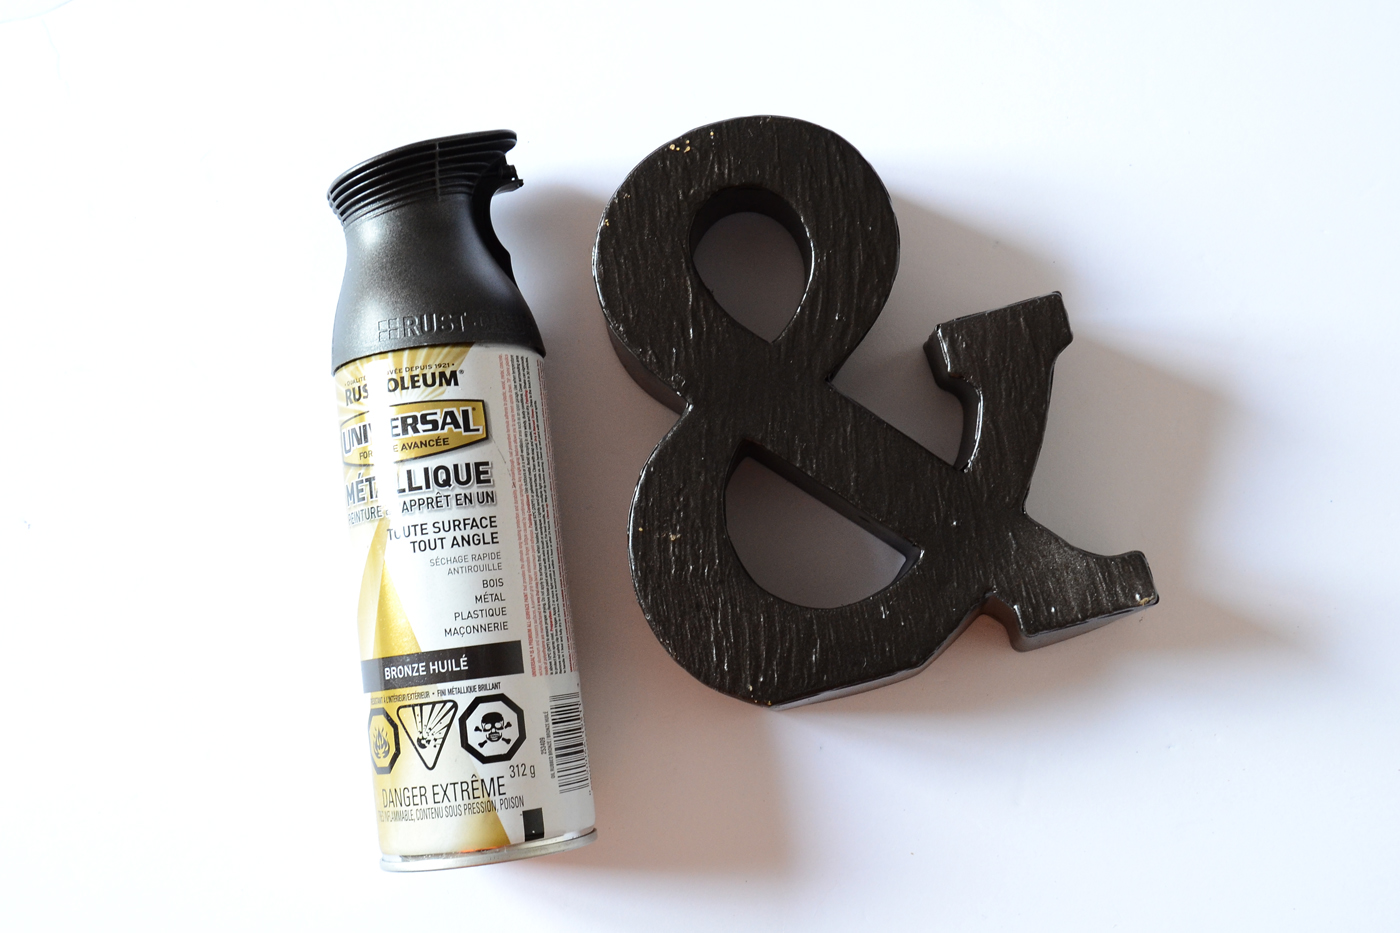
Step 2. Spray paint your letter – I used oil rubbed bronze as I wanted a dark brown town for mine, but black or a regular matter brown would work just as well.
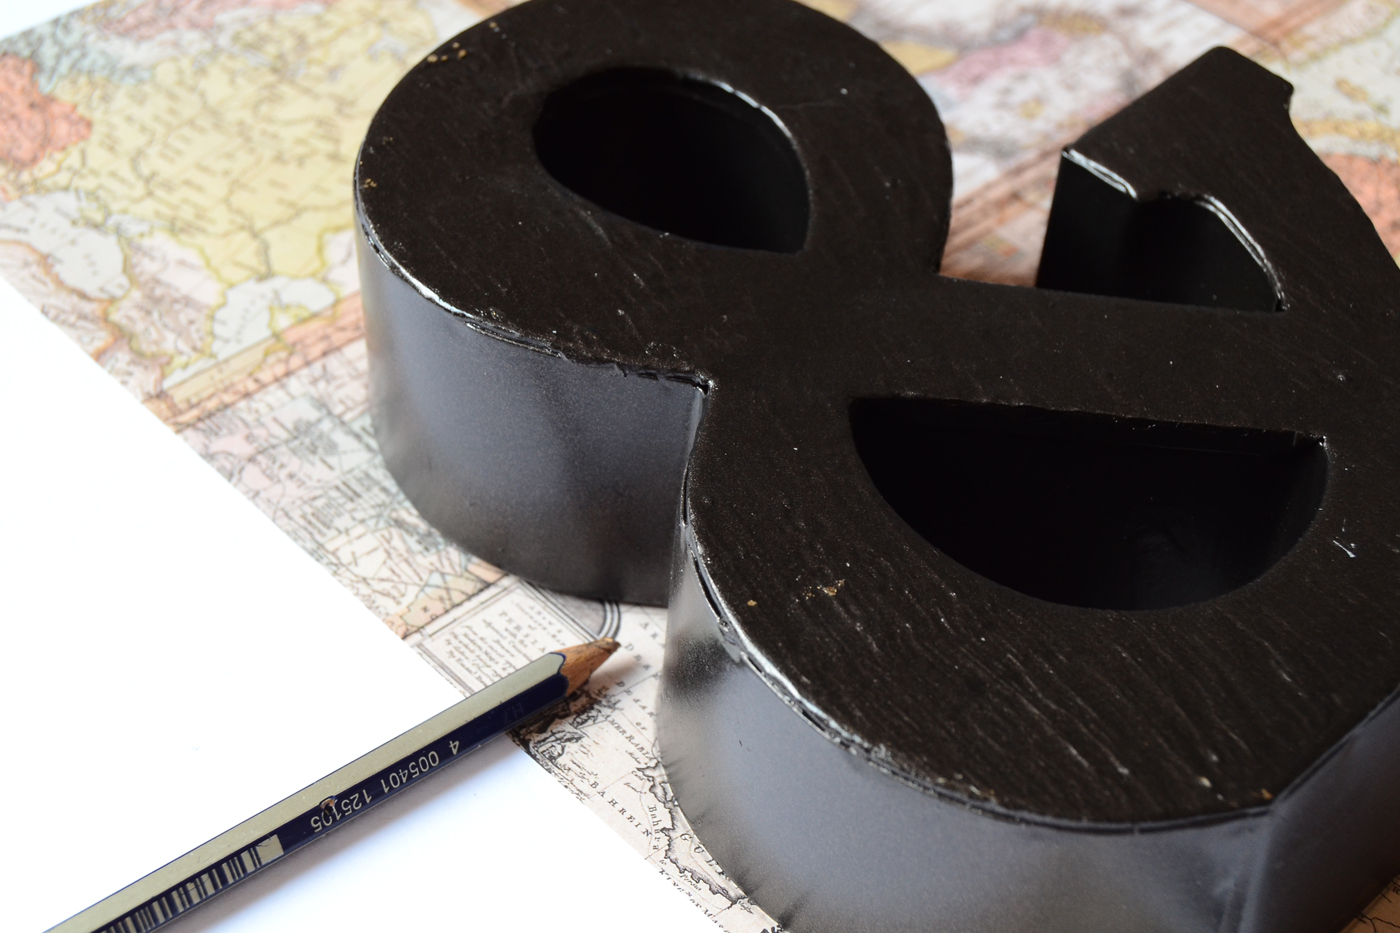
Step 3. Trace your letter onto your paper of choice – my husband is an avid map person so I decided to use map-printed paper from the craft store. If the back and front sides are the same, trace the backside of the letter.

Step 4. Carefully cut the paper, making sure it fits just right or just a little bit bigger – you just don’t want it to be too small to your letter.
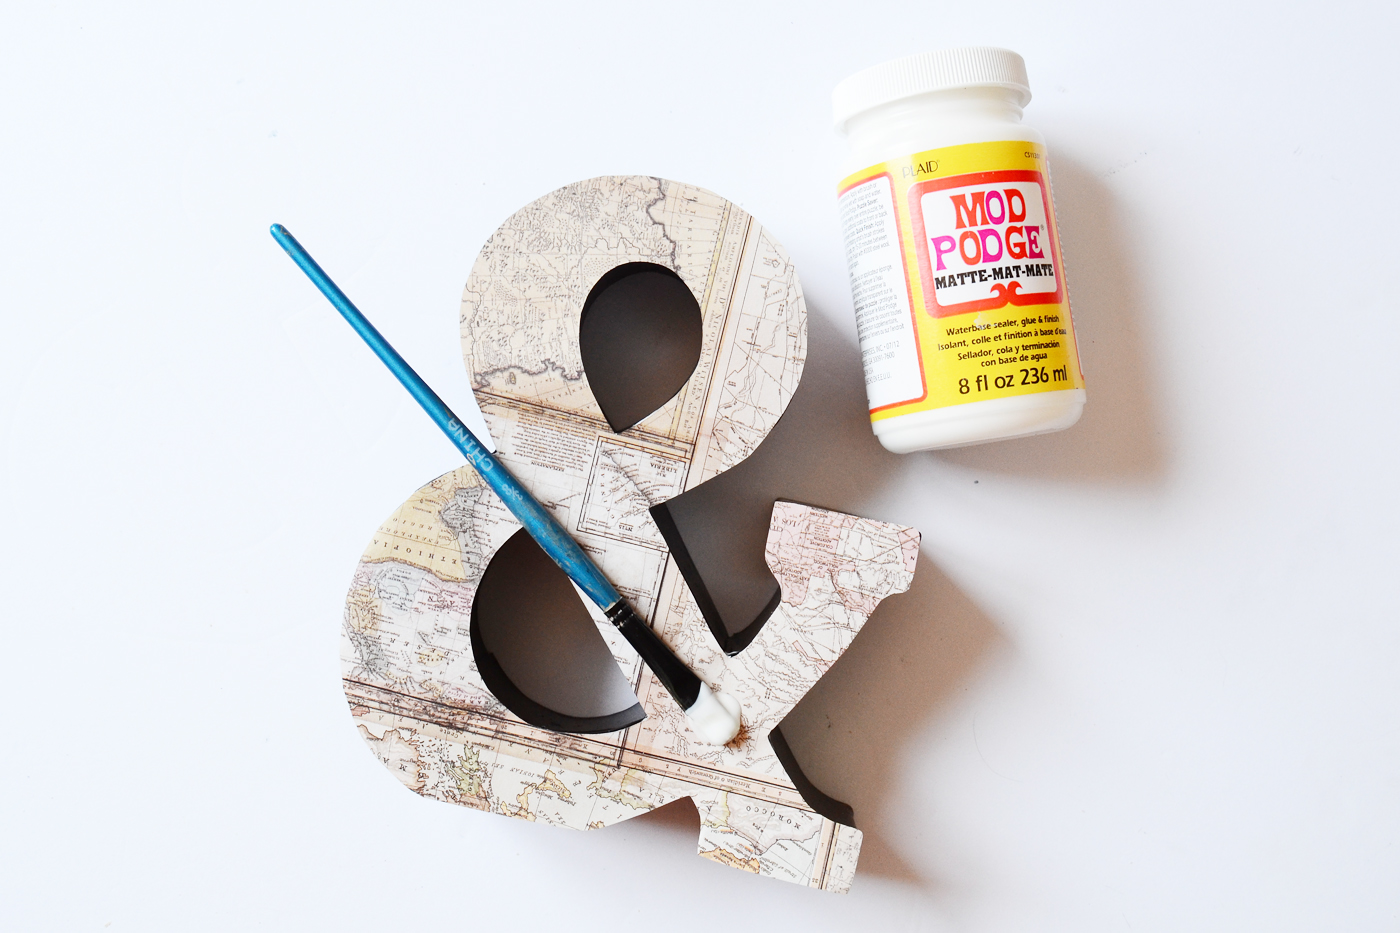
Step 5. Apply a layer of Mod Podge, and then adhere your scrapbook paper. Once dry, apply two or more layers of Mod Podge.

Step 6. To give it a vintage effect, mix some Mod Podge with a bit of brown paint. Paint on the letter sparingly, making sure you don’t leave brush streaks.
If it does build up – don’t worry, just work in Matte Mod Podge to dilute the mixture on your letter/surface and it’ll clear it up.
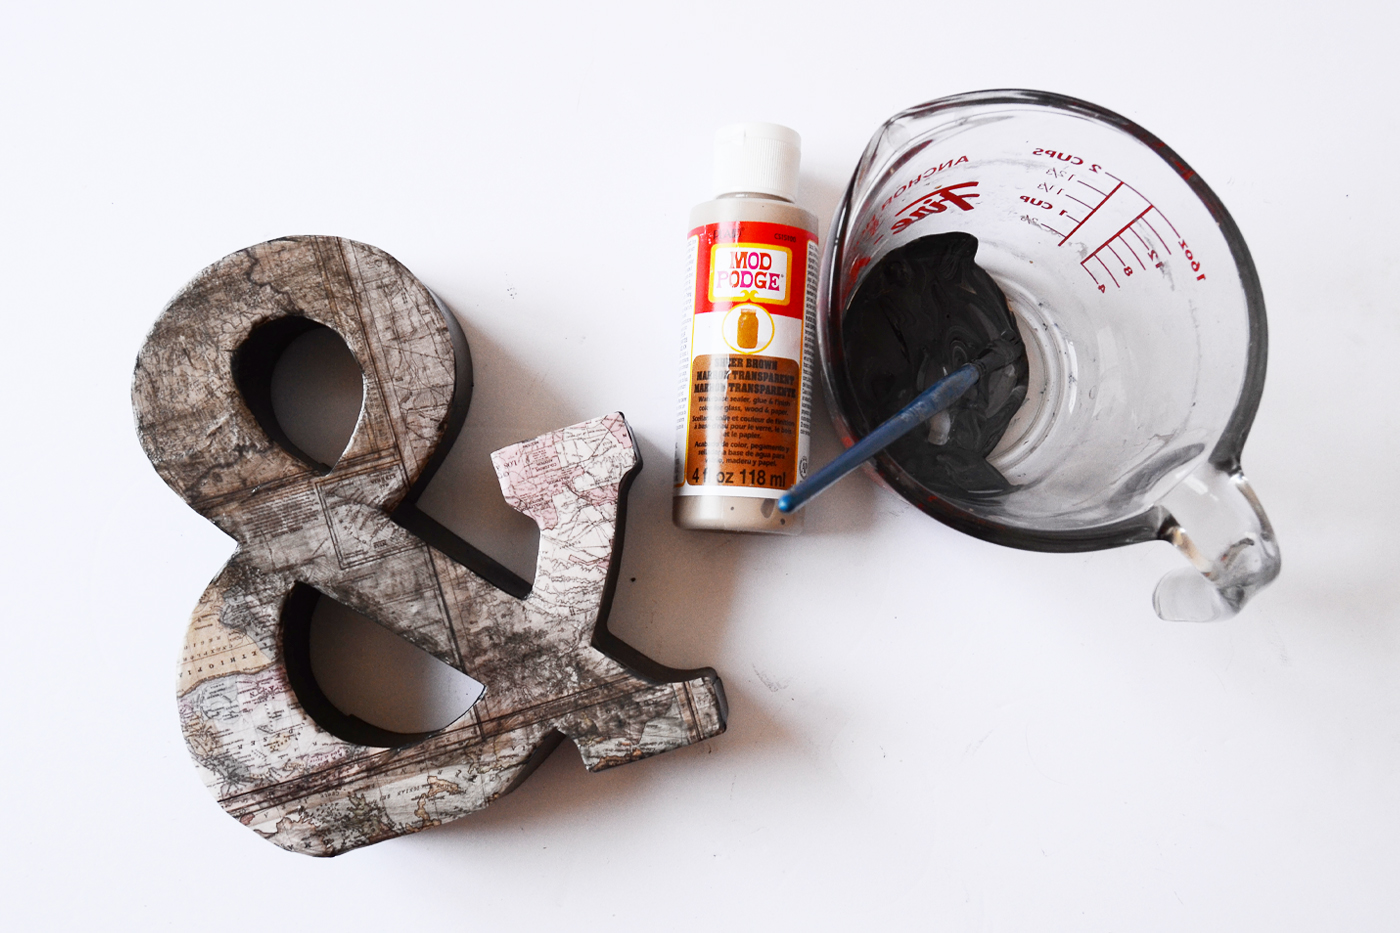
And you are done with your decoupage letter! You can apply the mixture not only on vintage themed scrapbook paper but to other designs as well to make them look ‘aged’.
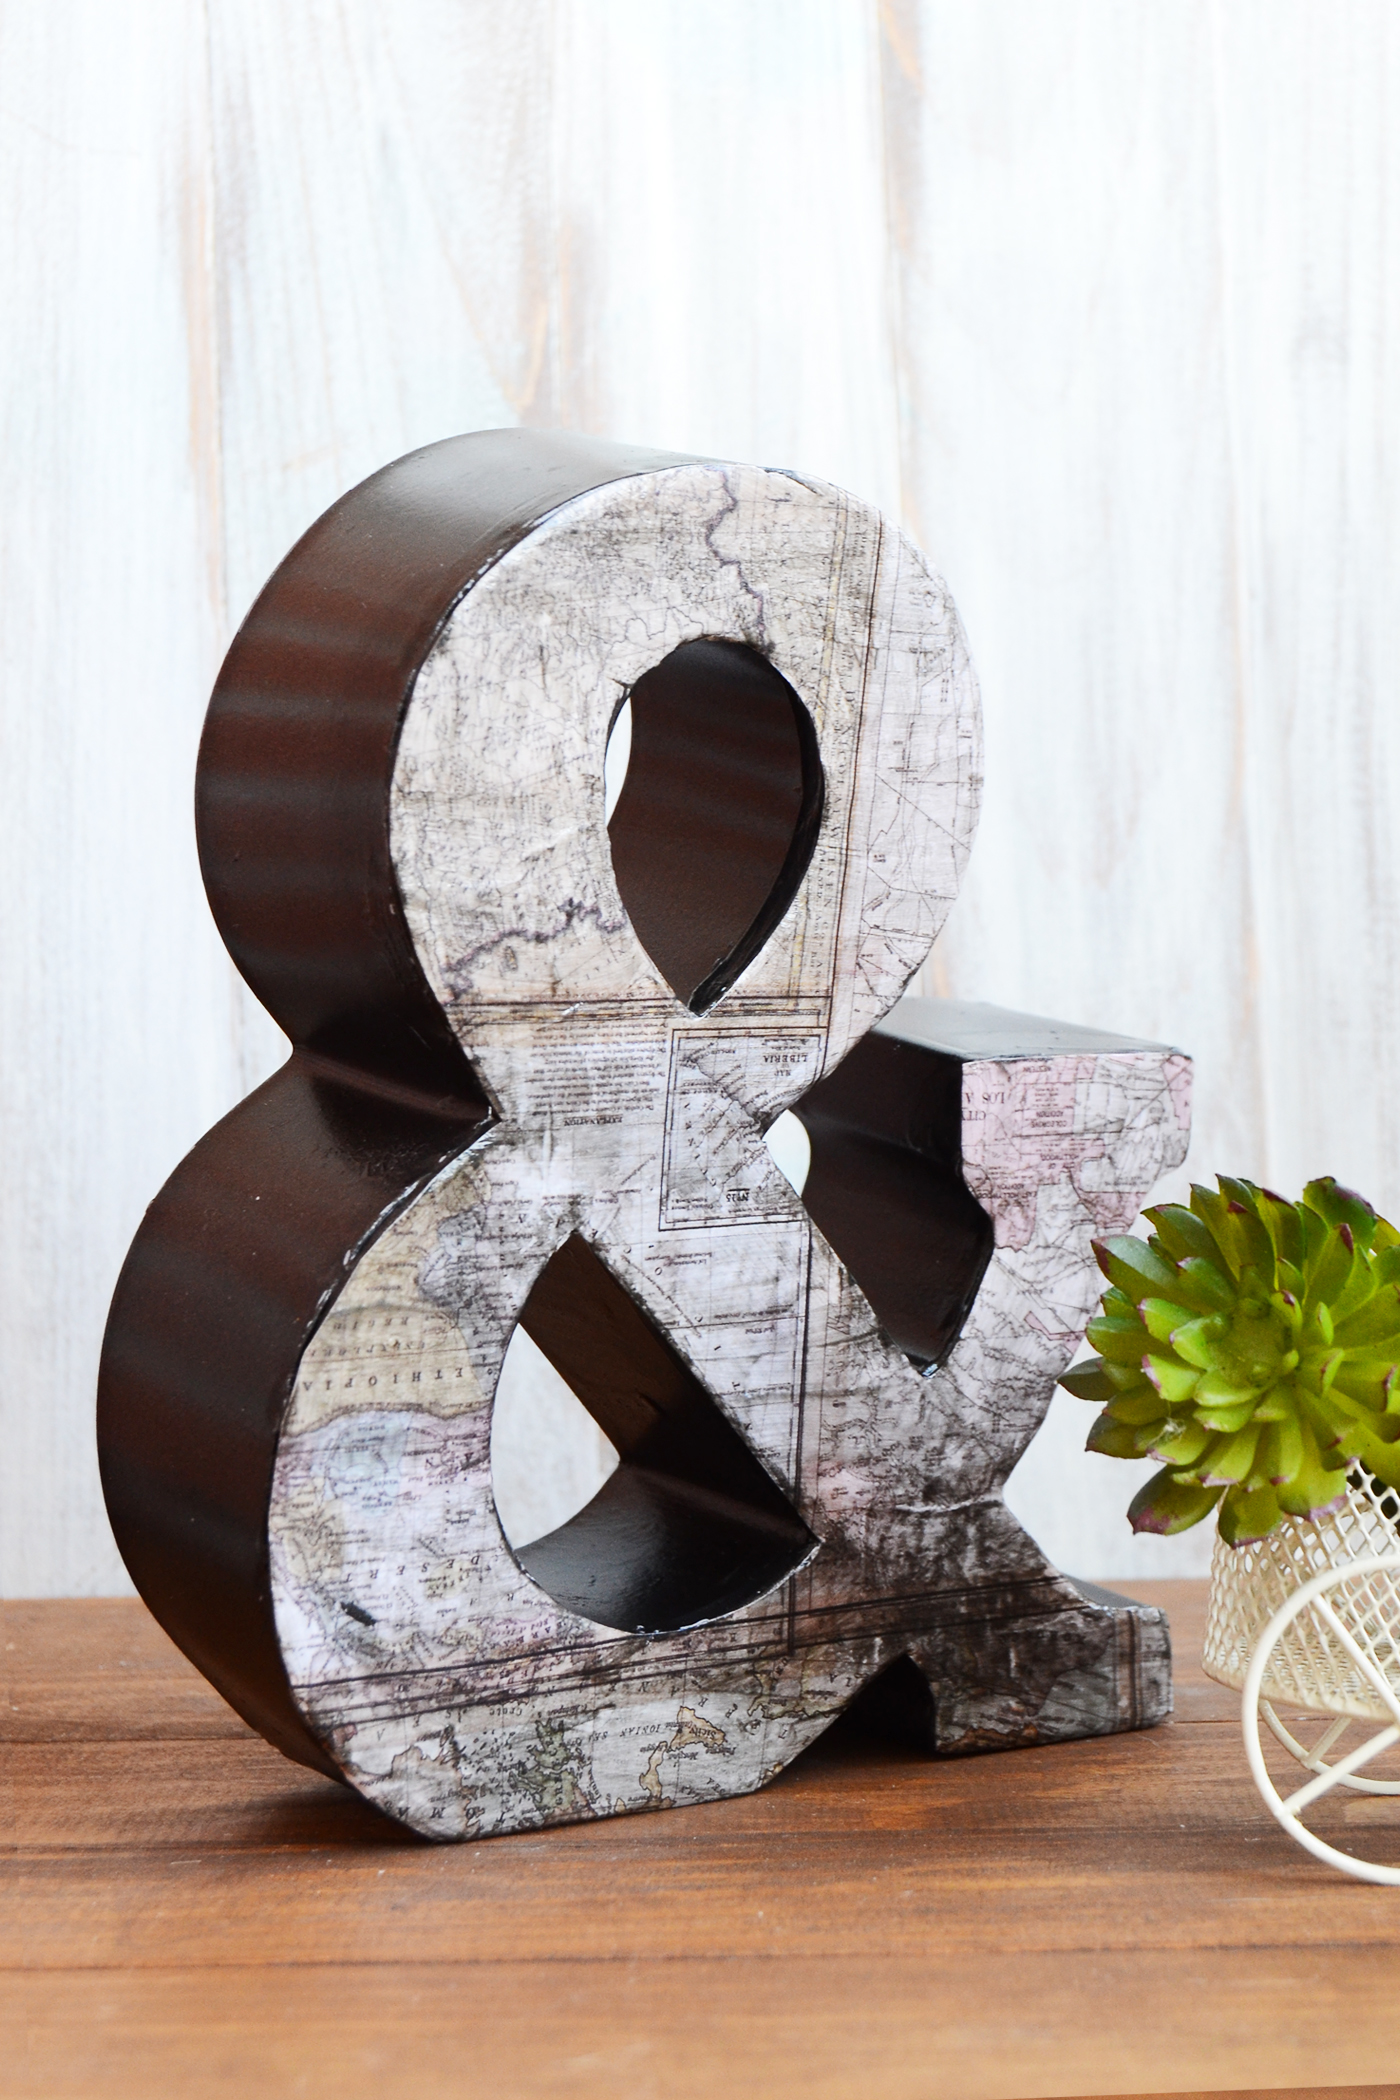
I love this letter from all angles and I think it adds such a nice touch to my decor. What type of artwork do you prefer in decorating your home?
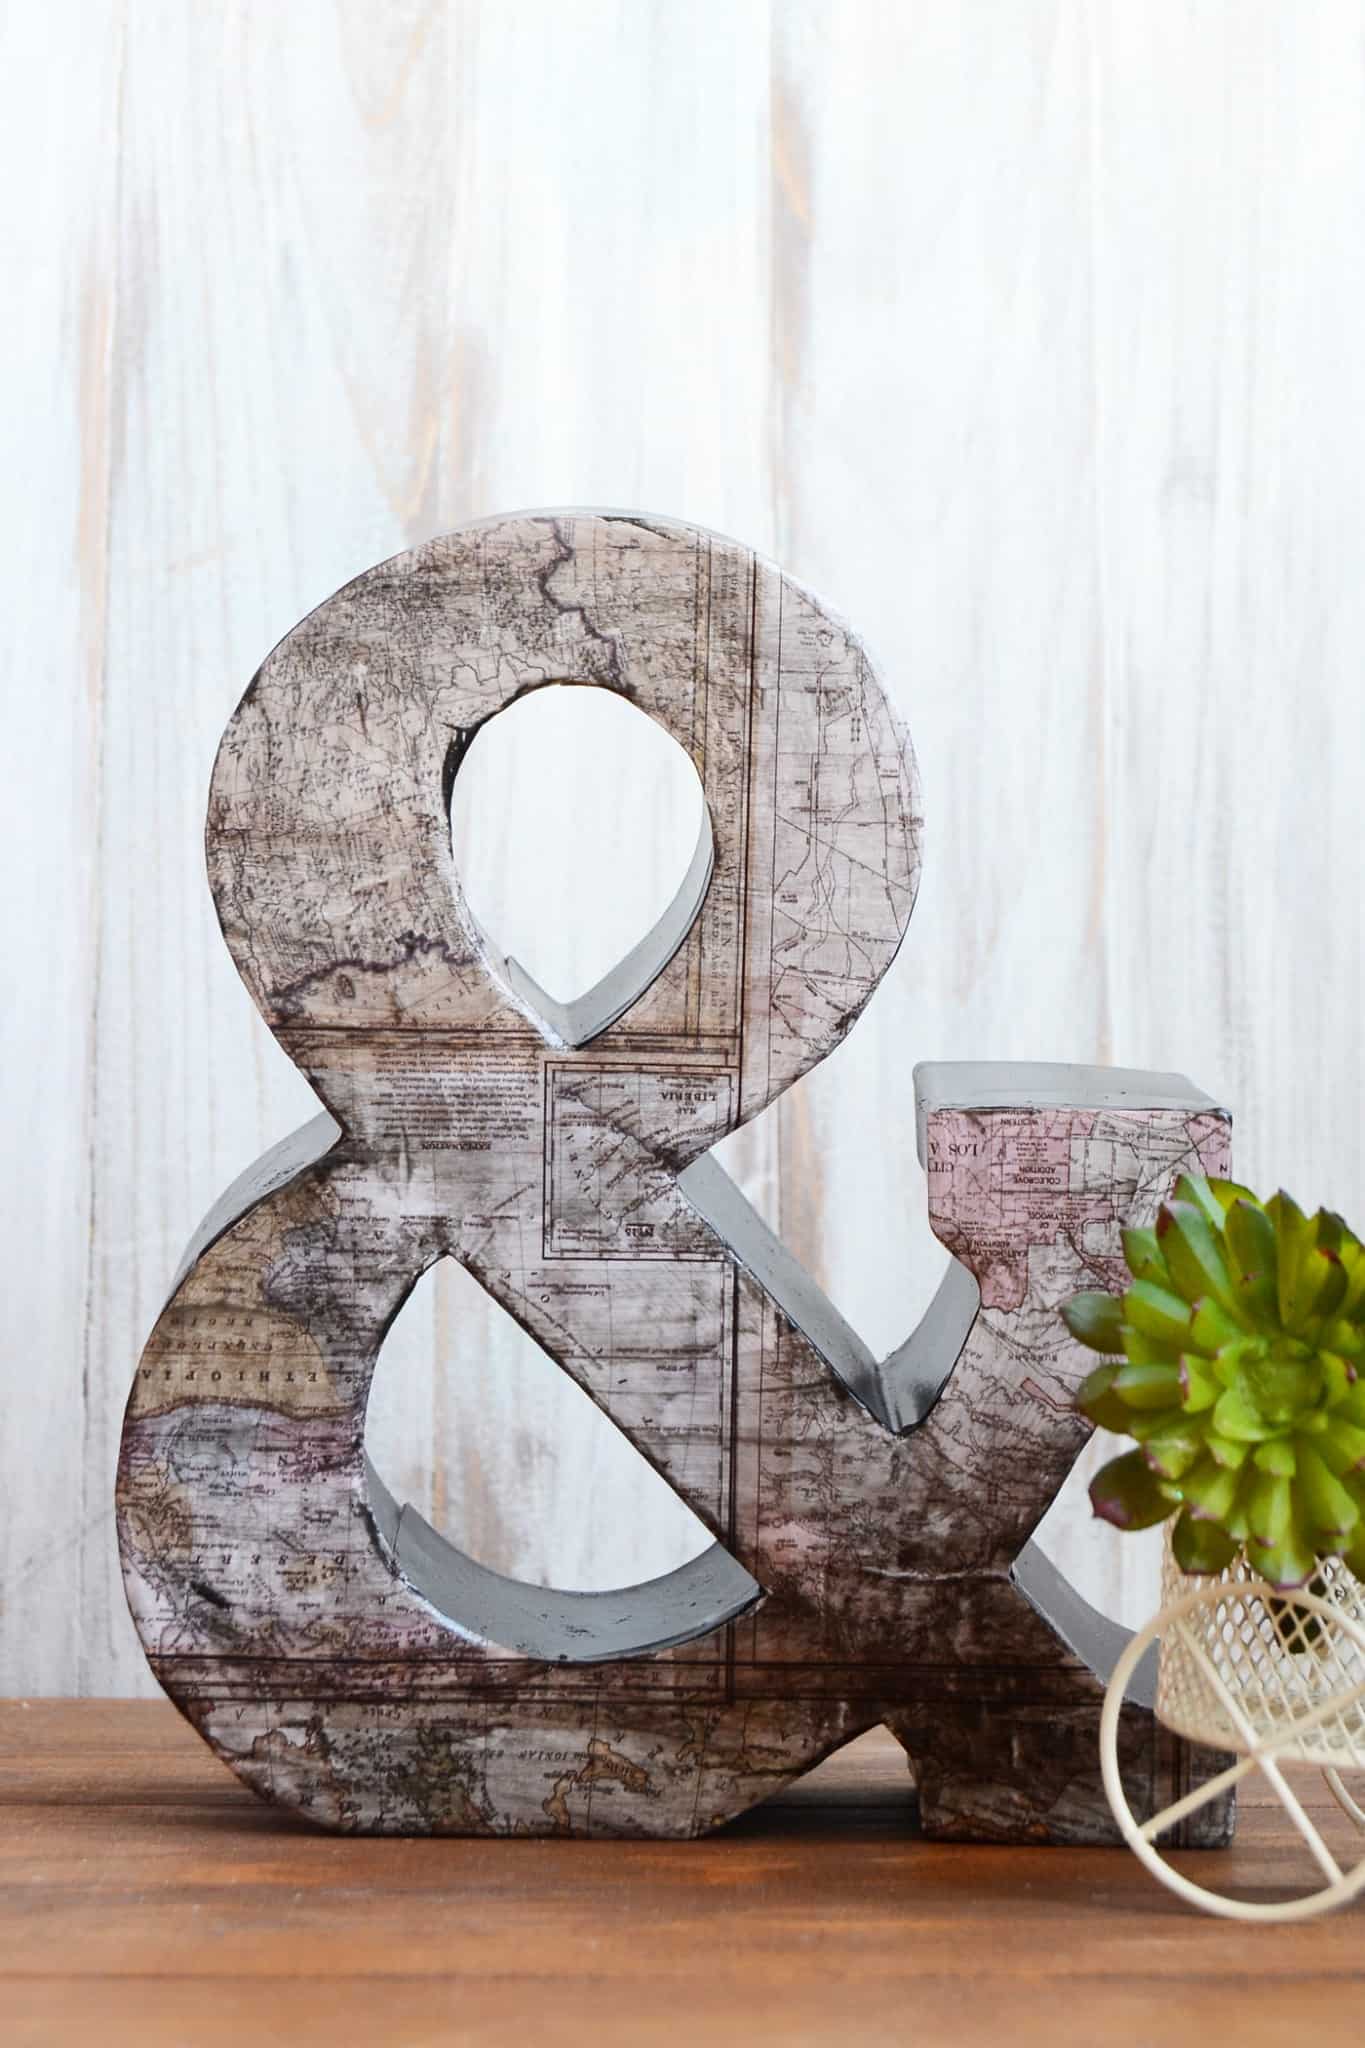
Decoupage Letters
Equipment
Materials
- Letter wooden, metal, or paper mache
- Craft paint brown and color of your choice for the letter
- Mod Podge Matte
- Scrapbook paper
Instructions
- Choose your letter and prepare if necessary.
- Paint your letter in the color of your choice, using spray paint or brush on acrylic paint. Let dry.
- Trace your letter onto your paper of choice. If the back and front sides are the same, trace the backside of the letter.
- Carefully cut the paper, making sure it fits just right or just a little bit bigger.
- Apply a layer of Mod Podge to the letter, then smooth down the paper. Once dry, apply two or more layers of Mod Podge.
- To give the letter a vintage effect, mix some Mod Podge with a bit of brown paint. Paint on the letter sparingly. Wipe away excess.
- Let dry completely before using.
If you like maps, and decorating with them, I have good news: maps go really well with Mod Podge. Here are some other ideas that use both of these supplies:




I love this! I love to decoupage, for starters, and my husband enjoys old maps. I need to do some work on our stairwell and letters and ampersands would make nice fillers and splashes of color. Thanks!