Use dollar store supplies to make these pretty Mod Podge candles! We added flair to ours with decorative napkins, making them perfect for parties.
Skills Required: Beginner. You don’t need to have a ton of Mod Podge experience to make these, but I do recommend having prior craft experiencing because the napkins are fragile.
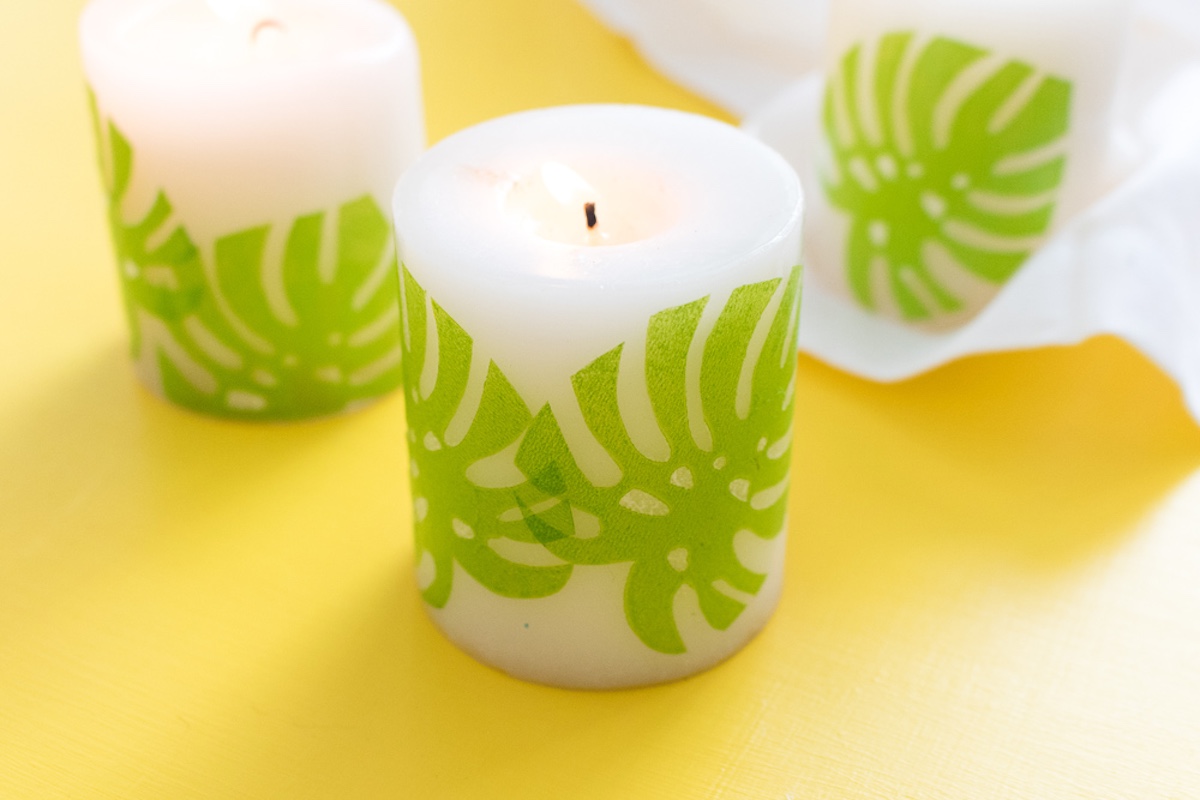
Hello, crafty friends! Holly here, coming to you from Club Crafted with what might just be the easiest yet most fabulous transformation for your candles.
We’re talking about giving them a tropical makeover that’s hotter than a summer day in the Sahara – with some nifty napkin decoupage!
Those plain white candles you’ve got stashed away (admit it, we all have a secret candle stash) are about to go from ‘meh’ to ‘mah-velous’ with just a touch of Mod Podge and a splash of creativity.
And where do we get these soon-to-be-glamorous candles? The Dollar Tree, of course, my go-to oasis for all things affordable and craft-worthy.
I decided to jazz up these everyday candles with a pattern that screams ‘vacation vibes.’ Enter the monstera leaf – the darling of the tropical foliage world and, quite frankly, my latest obsession.
The moment I laid eyes on these yellow and green tropical leaf napkins at Michaels (another one of my favorite crafting havens), I knew it was a match made in craft heaven.
The pattern? Exquisite. The size? Perfect for candle couture. It was like finding a treasure in the crafty seas.
With a swipe of Mod Podge magic, these plain candles transformed into chic decor pieces that’ll make you feel like you’re sipping a piña colada on a sun-drenched beach.
And the best part? This whole makeover show is quicker than your average coffee break – under 15 minutes, and voilà, you’ve got yourself some snazzy Mod Podge candles.
So, if you’re ready to give your candles a vacation they’ll never forget (and seriously up your home decor game), let’s get crafting.
Join me on this quick and quirky journey to turn the everyday into the exotic. Who said you can’t bring a slice of the tropics right into your living room?
Gather These Supplies
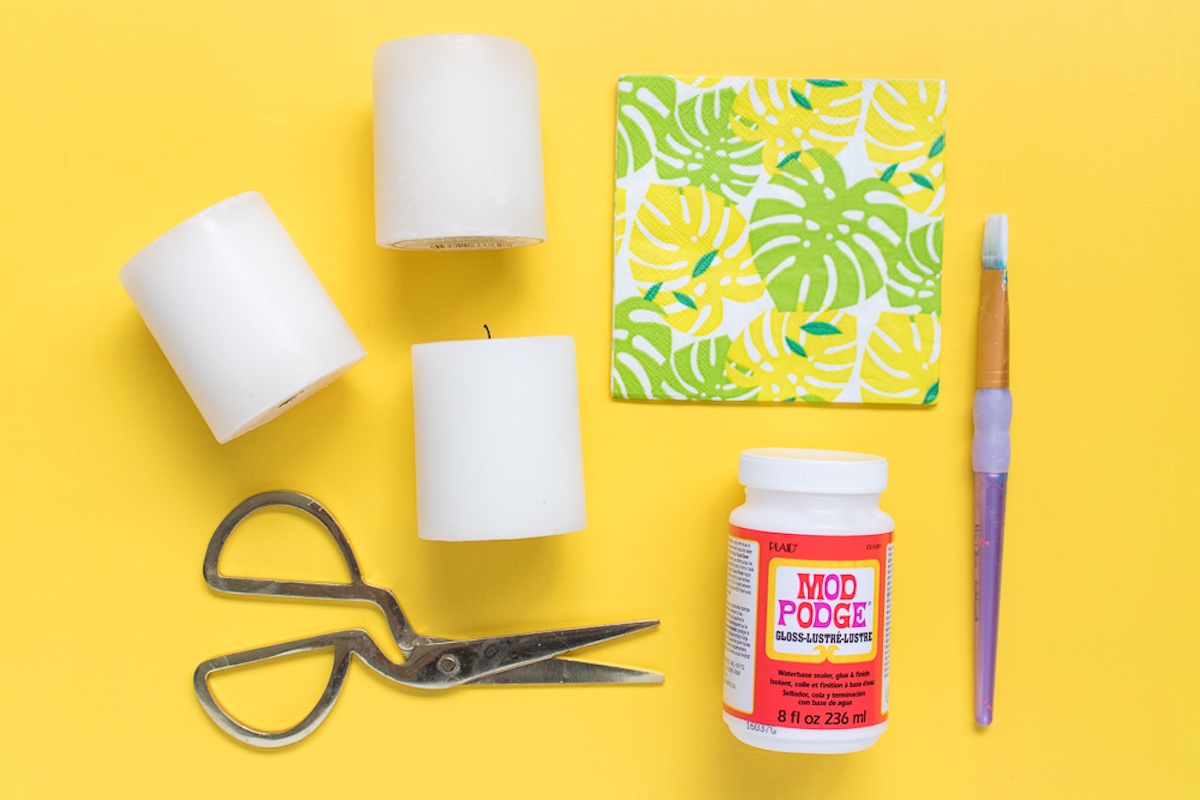
- Plain white candles
- Mod Podge Gloss
- Paint brush
- Tropical leaf napkins
- Scissors
Notes for this project
You can only burn the candles down to the decor. Never leave Mod Podge candles unattended. Mod Podge is waterbased and non-flammable, but napkins are flammable!
You can use this technique with LED candles, or simply make the candles for decorative use only.
Step 1: Unfold the napkins and cut out the leaves. I managed to get 3 – 4 leaves out of a single napkin, but it depends on the pattern and how it overlaps on your Mod Podge candles.
Step 2: If the napkin has clear layers, carefully peel them away so that you are only left with the thin top layer with the actual pattern on it. This makes for a cleaner decoupage.
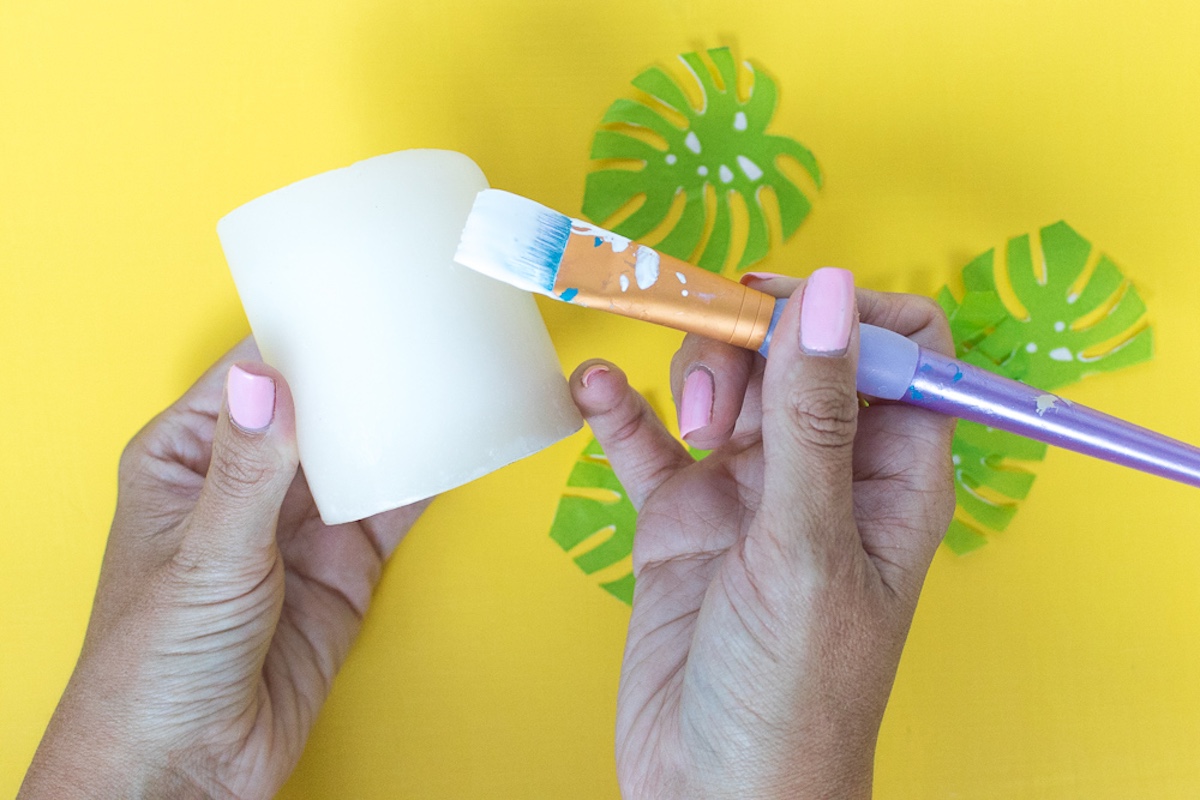
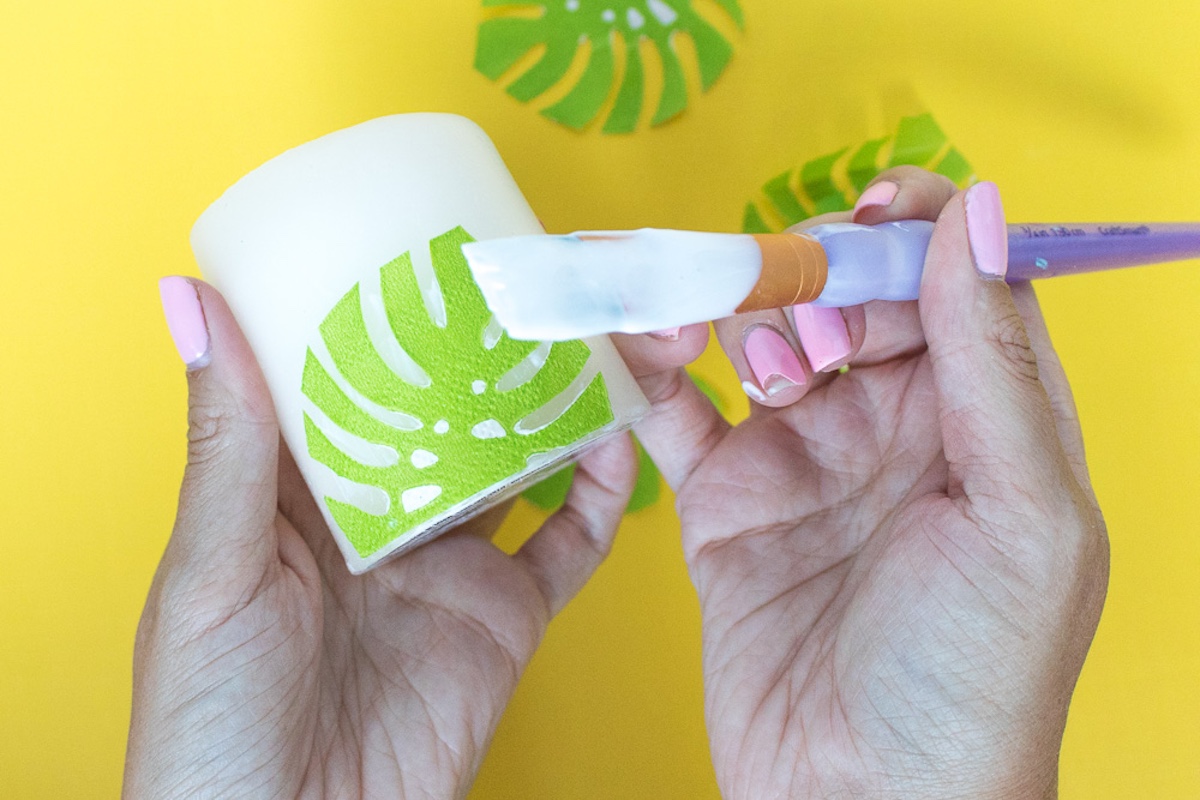
Step 3: Paint a thin layer of Mod Podge (I used Gloss) on the area of the candle where you want to place the pattern.
Then press the cut-out leaf in place and smooth carefully. If they are small enough pieces, there should be minimal creasing.
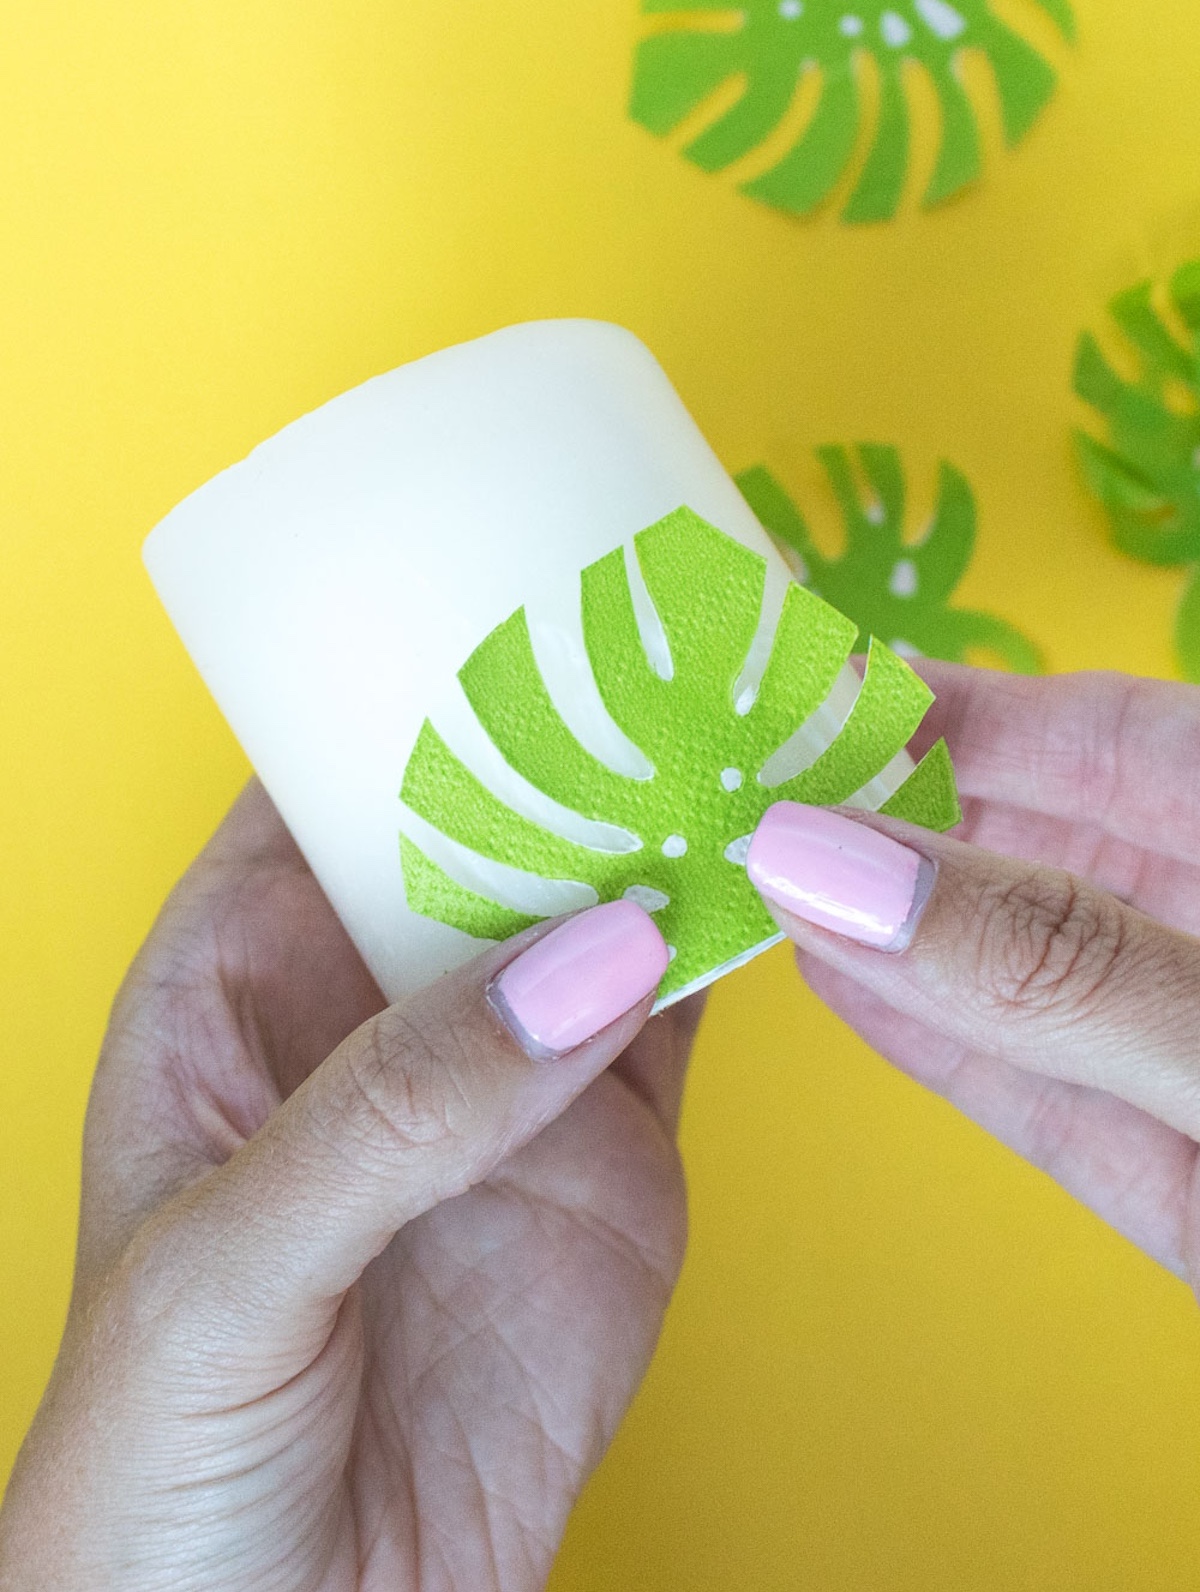
Step 4: Repeat with additional leaves/patterns as desired on your Mod Podge candles, and feel free to overlap.
Then paint a thin layer of Mod Podge over the napkins and let dry completely before using.
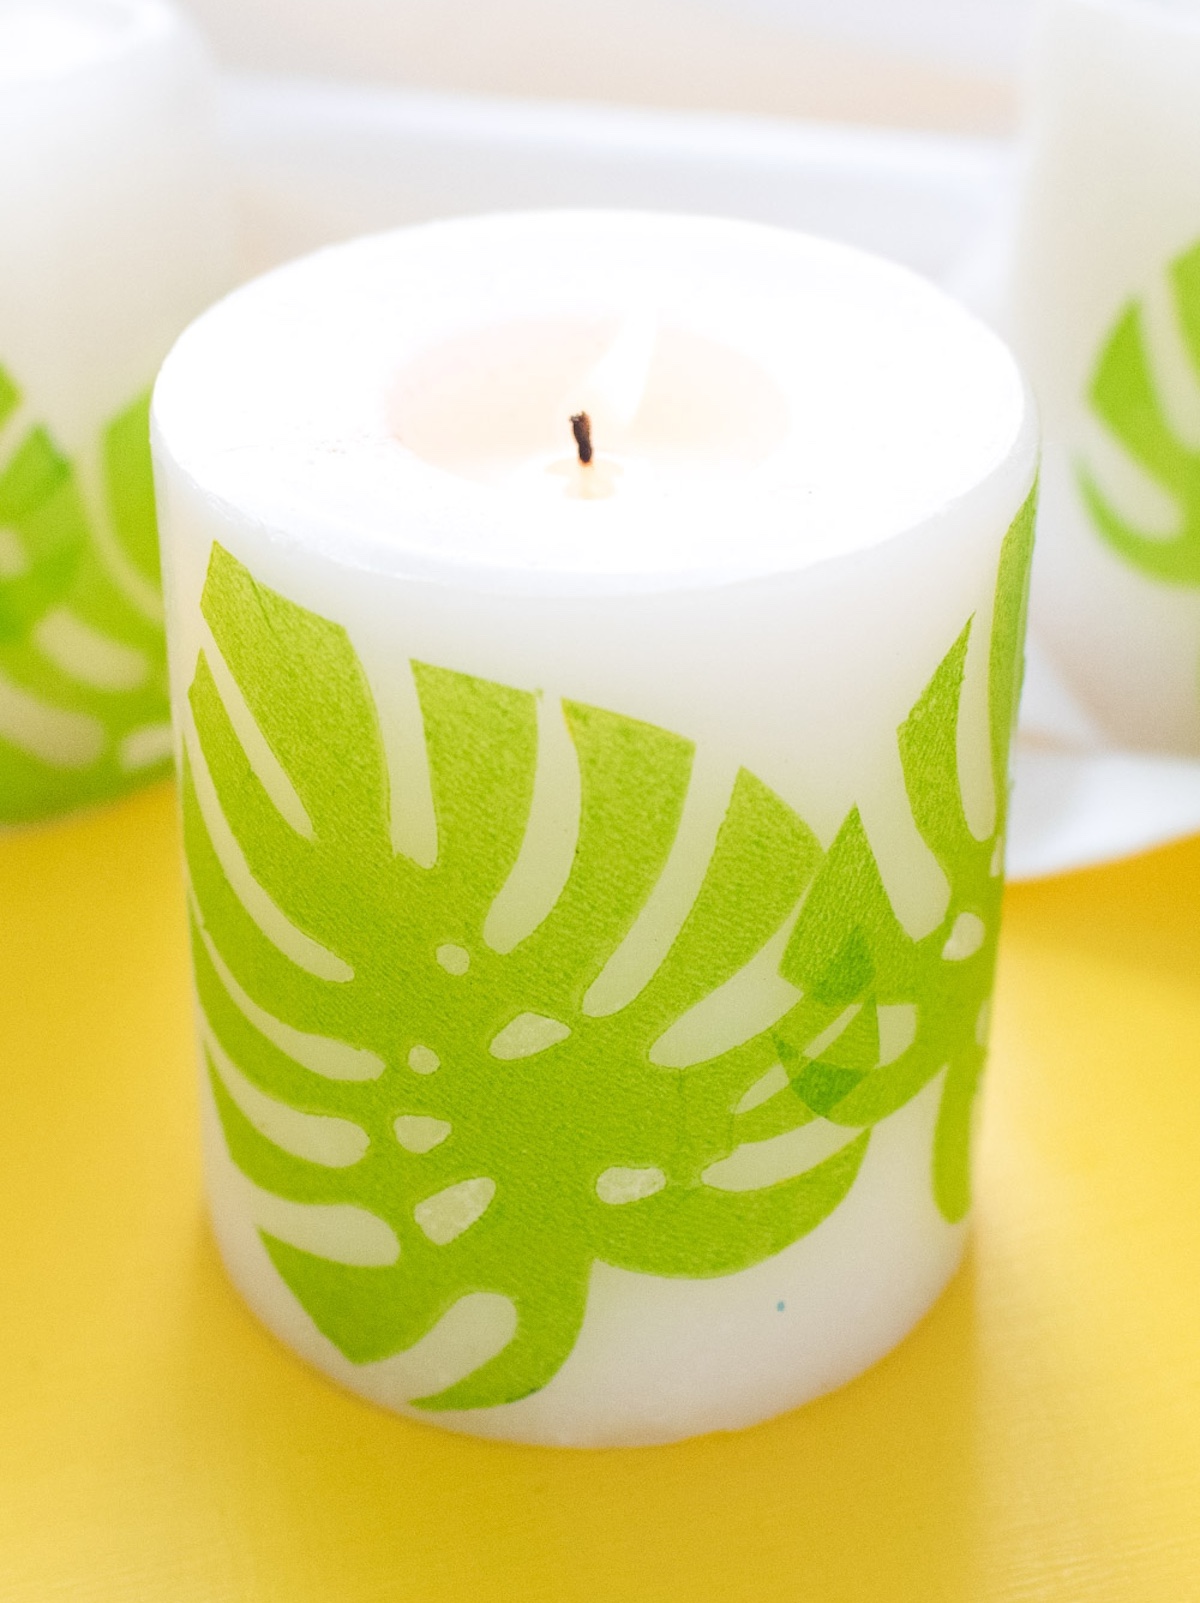
Now, light ‘em up! I love how the green leaf pattern looks against the white, and they seem like the perfect decoration to have around the house this summer.
You can try a leaves version of these decoupage candles for autumn!
If you’re interested in more decoupage candles or napkins or stuff I think you like, check out these projects:




I really like your ideas !! Great
I need to ask. If you are mod podging paper onto a candle that you are going to burn, what stops the paper from catching on fire? I wonder about safety.
Hi Cindy! Yes Mod Podge is non flammable – but napkins aren’t non flammable. So You’d either want to only burn it down to where the napkins are – or some people carve out the top and use tealights in the candle. You can also use this method on LED candles1
Can you mod podge over permanent vinyl on a candle
Hi Antoniette! You can but you shouldn’t need to unless you are adding something else. Permanent vinyl is permanent and an additional acrylic sealer doesn’t really do much.