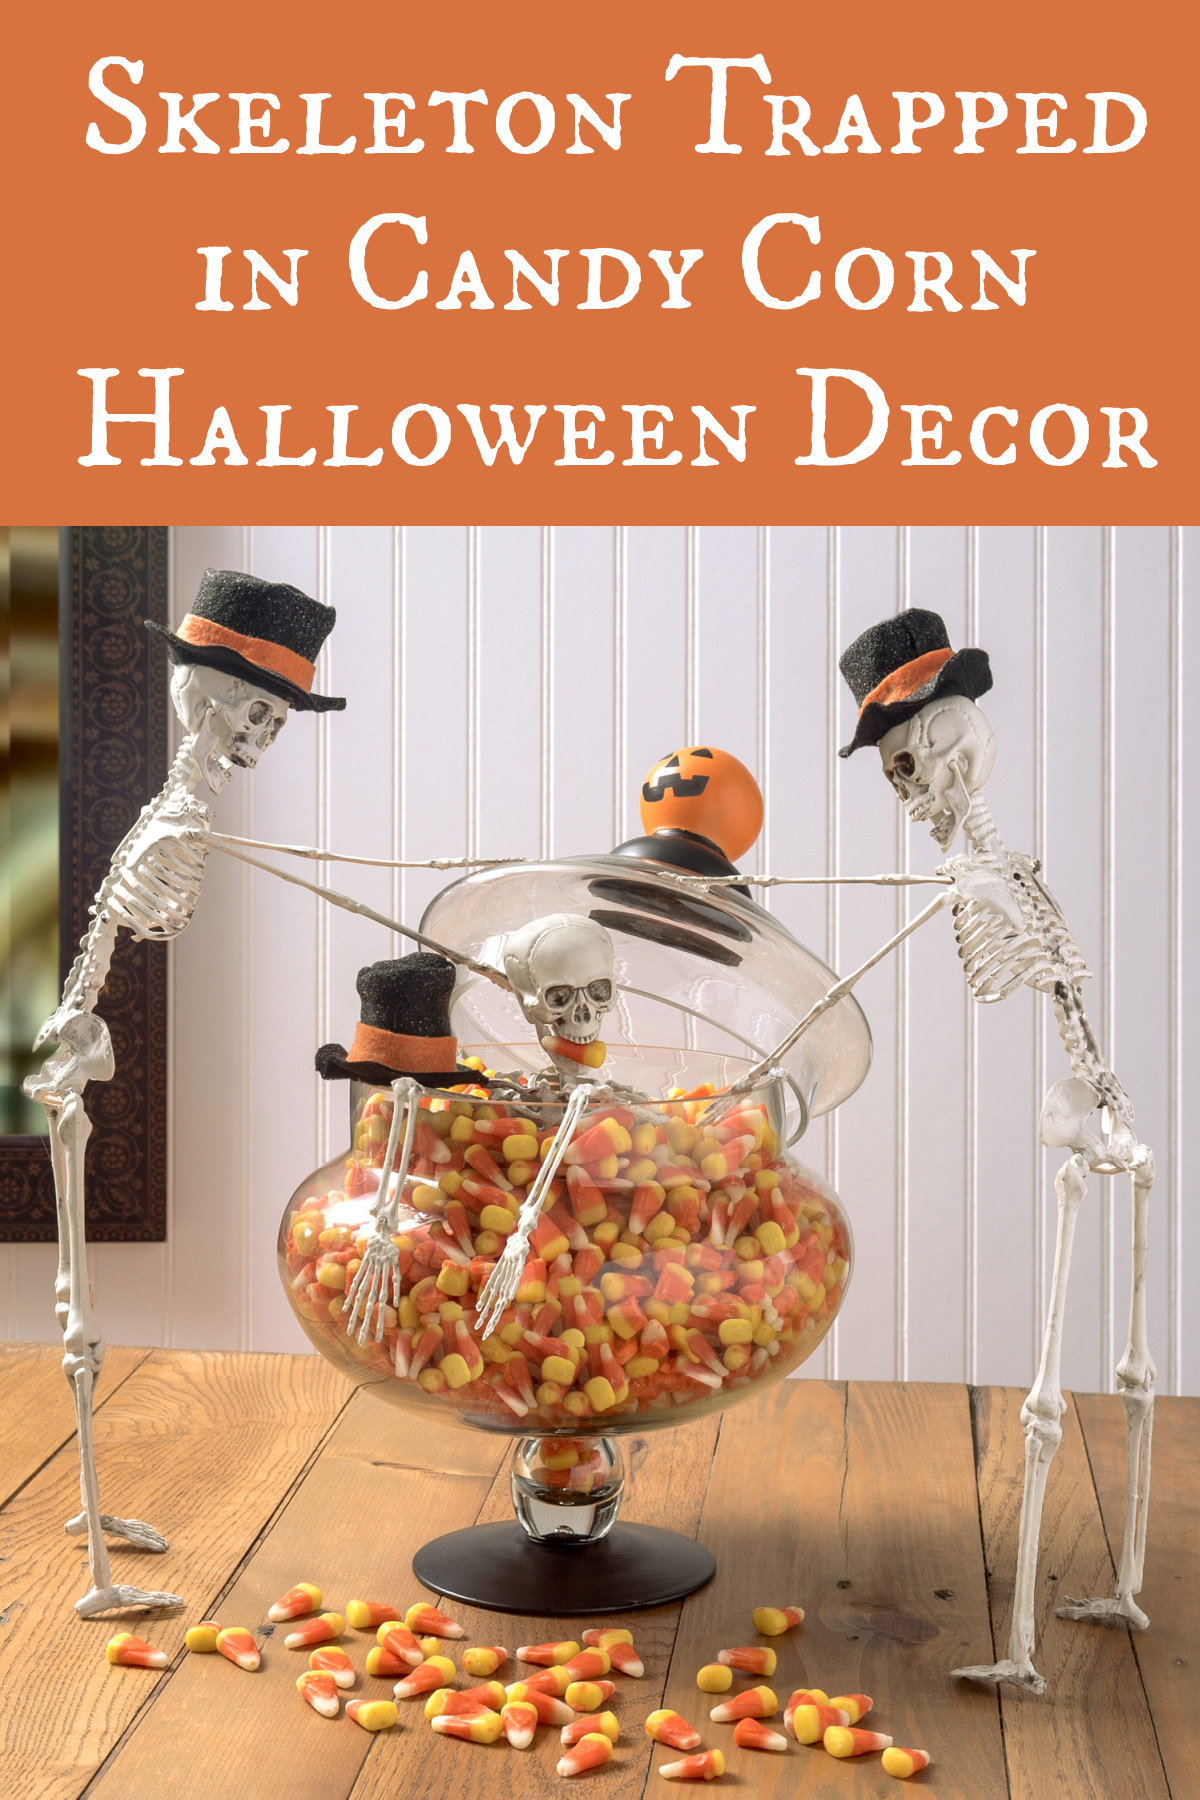
This skeleton Halloween decor is hilarious! It’s easy and quick to put together this project using candy corn and simple craft supplies.

Sometimes you have an idea for unique Halloween crafts or decor, and you just have to bring your vision to reality. Well, my friends, that happened this year. And it all started with a skull display on Pinterest.
I’ll describe the picture for you. In this particular Halloween display, a faux skeleton was sitting in plastic cauldron, with spider webs and small clear ornaments in a spooky “bubble bath.” It gave us quite a tickle, and also a bit of inspiration for us.
Our thought was, what if we could create DIY Halloween decor featuring a skeleton (or more than one), and ours could be funny too? We hit Michaels and started scheming.
Rather quickly we realized that we wanted to make a bath too . . . except ours would be of candy. This silly skeleton display grew from there!
Because the truth is, one day you’re the skeleton eating all the candy corn – and the next day you’re the skeleton who fell into the candy corn and your boney buddies have to help you out! You didn’t realize you were going to get life lessons as well as DIY Halloween decor, did you?
I’m going to show you how to make this simple project, which requires minimal craft skills (if any at all). I’m a Michaels Makers, so that’s where I got all my supplies for this project besides the candy corn! There are quite a few optional supplies based on the direction you want to take your display, so read the instructions carefully.
Michaels is your Halloween HQ with everything you need to MAKE a spookier Halloween. Get everything you need to create the creepiest (and coolest) costumes, and haunt up your homes décor.
Are you ready to dive into the instructions? Let’s go!
Funny Skeleton Display for Halloween
Gather These Supplies
- Fake plastic skeletons – 3
- Glass apothecary jar, 13.5″ tall – in the floral section of Michaels
- Hot glue gun and glue sticks
- Candy corn – we used about 4 lb.
- Felt – orange and black, 2 sheets of each
- Mod Podge Extreme Glitter (optional)
- Glass or multisurface paint – orange and black (optional)
- Paintbrushes (optional)
- Sharpie (optional)
The first step, whether you decide to paint or not, is to clean the glass. You have two options. You can use rubbing alcohol and a cotton ball or pad. You can also decide to wash the glass with mild soap and warm water (then wipe dry).
I find it’s easier to use the rubbing alcohol, because I hate washing glass in the sink (it gets slippery and there’s a risk of it breaking). I’ll leave the glass cleaning method up to you!
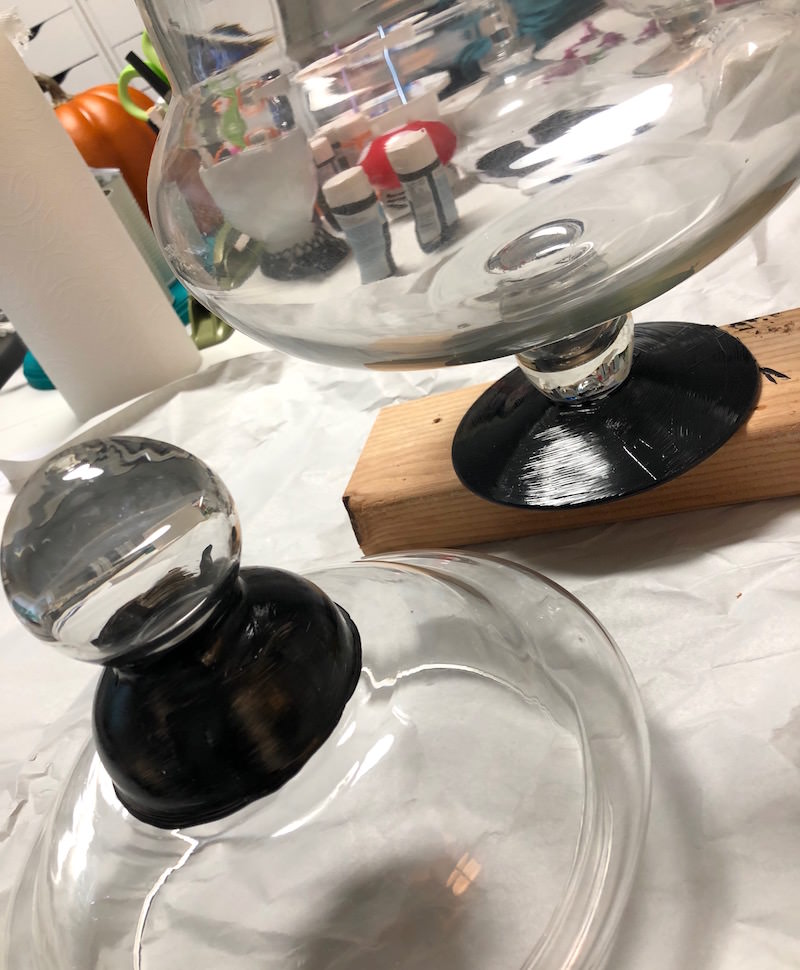
Now comes the optional step of painting your glass apothecary jar. I’m going to recommend it, but some people might want to bypass this portion just to get to the candy corn gag.
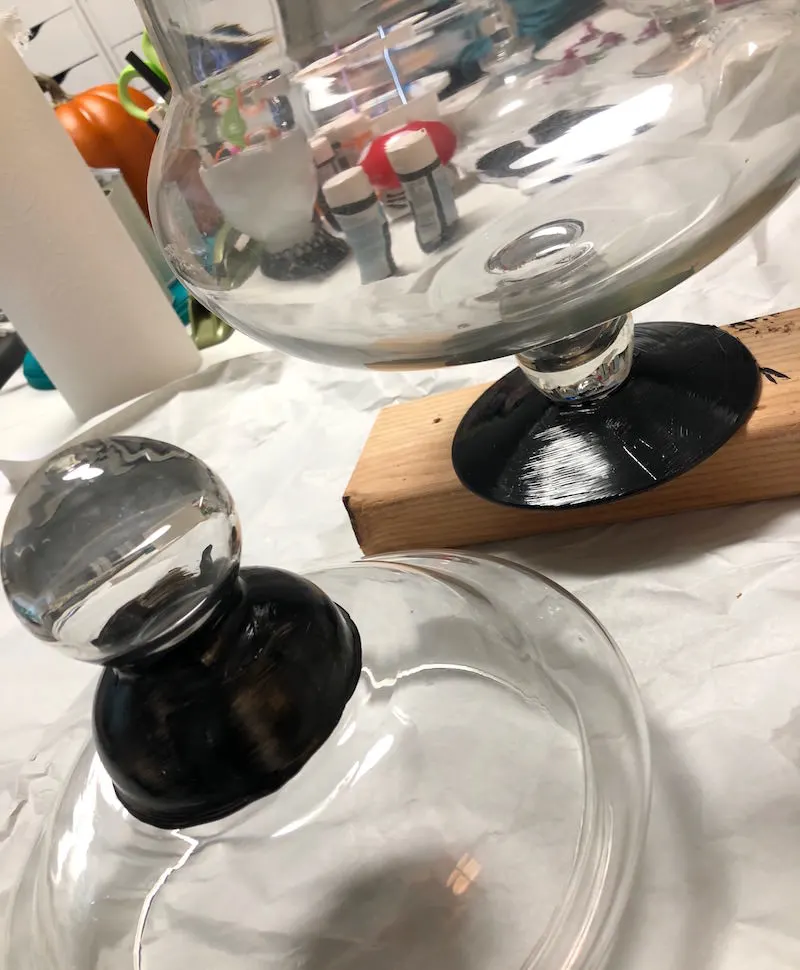
If you DO want to paint, then use the black glass or multisurface paint to cover the base and the bottom portion of the jar handle. Let dry.

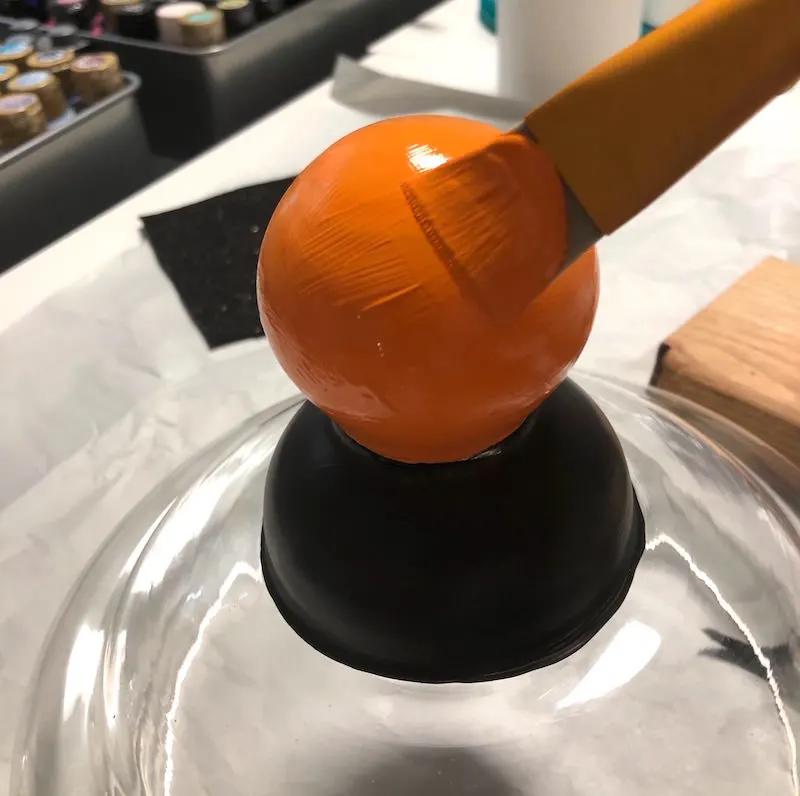
Paint the top portion of the handle, the ball, with orange. You’ll want to give this several coats, letting dry between coats.
If you need to scrape off any errant paint that went on the glass where you didn’t want it to go, just use an X-Acto knife.
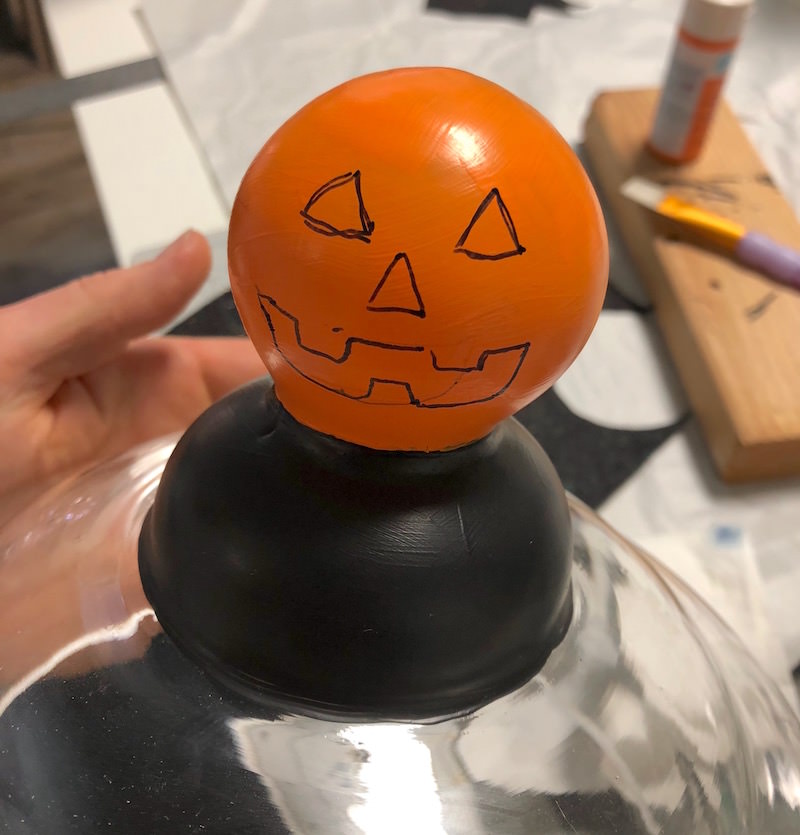

Draw a face on the top ball of the jar with a Sharpie. Then fill in the details with a Sharpie or smaller brush and black paint. Let dry.
You’re now ready to move onto making the felt hats.

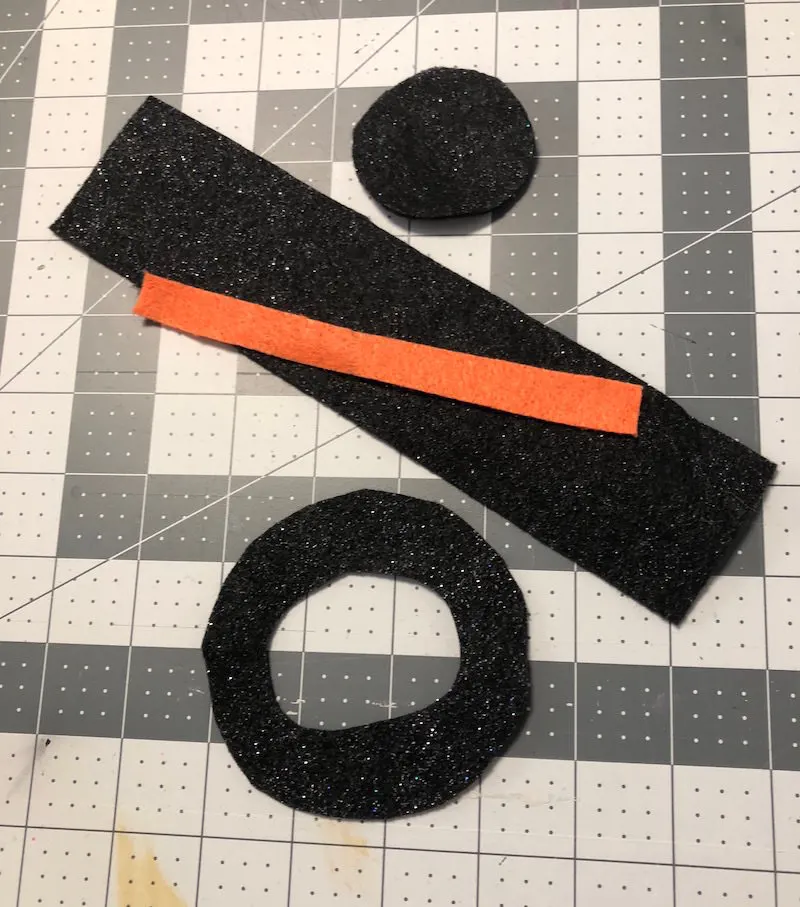
Cut your black felt into three pieces:
- One small circle about 2 1/4″ long and 1 1/2″ wide
- One large circle about 3 1/2″ long and 3″ wide
- One long rectangular piece about 8″ long and 2″ wide
You’ll also cut an 8″ long strip (about 1/3″ wide) from the orange felt. Keep in mind the size of the felt pieces might have to change based on the size of your skeleton heads. That’s why you bought a few pieces of felt – in case you have to practice 😀

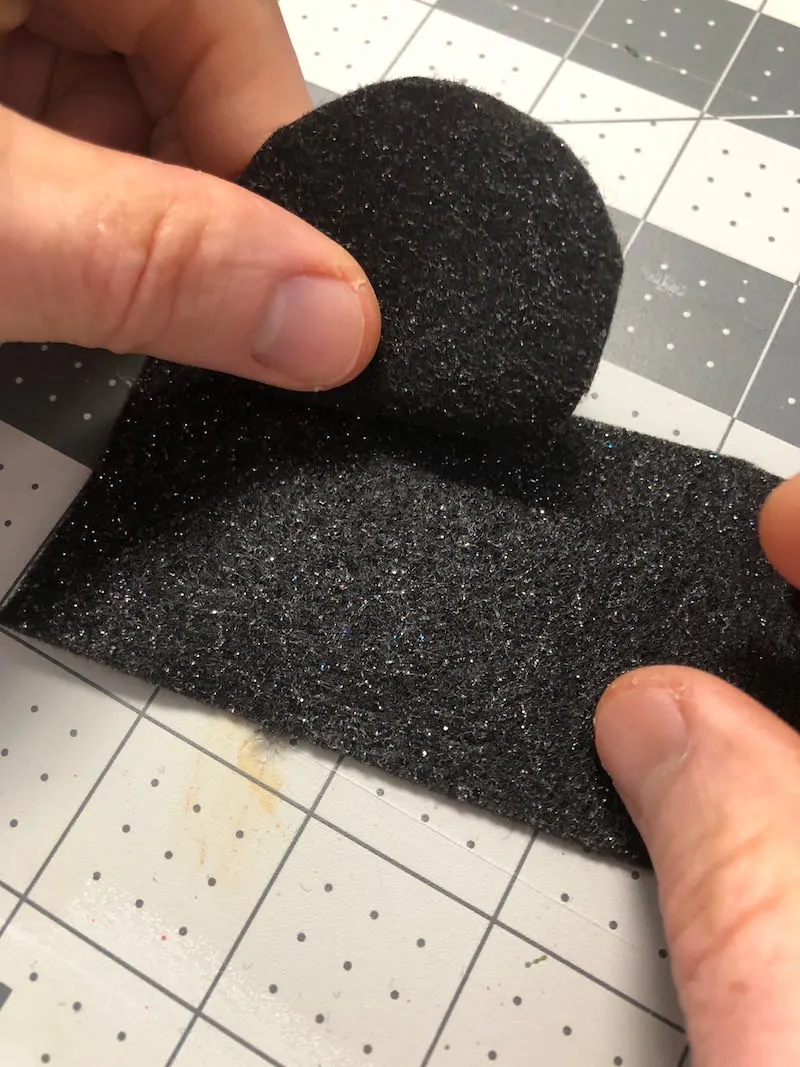
You are going to attach the small circle on the larger strip of black felt as shown.


Place a line of hot glue on the edge of the black felt.

Attach the smaller circle to the strip of felt with the hot glue, working your way around the circle.

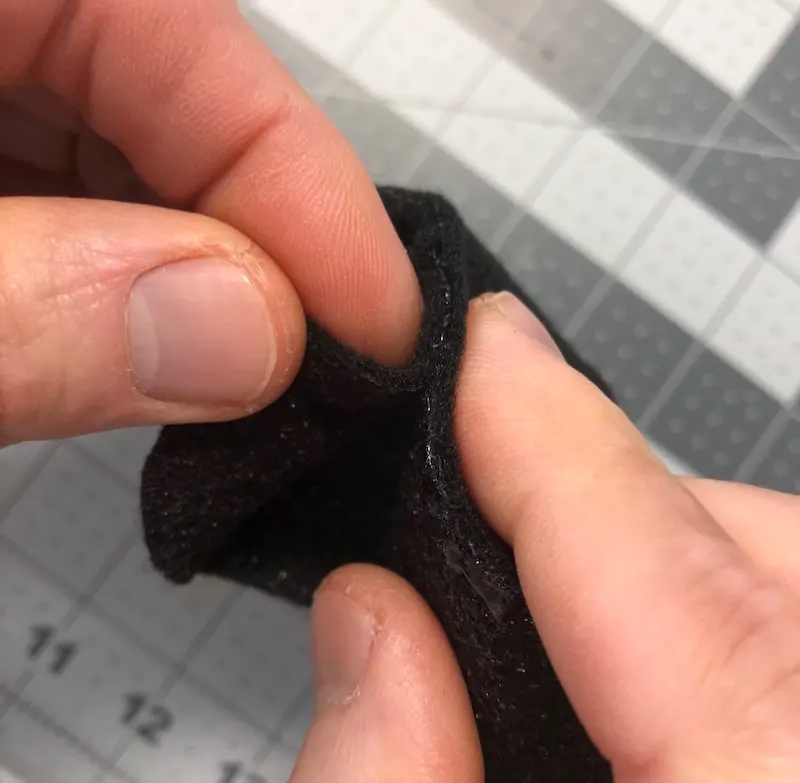
When you reach the end, cut the excess off and then hot glue the flap over to close.

Turn the top of the hat right side out.
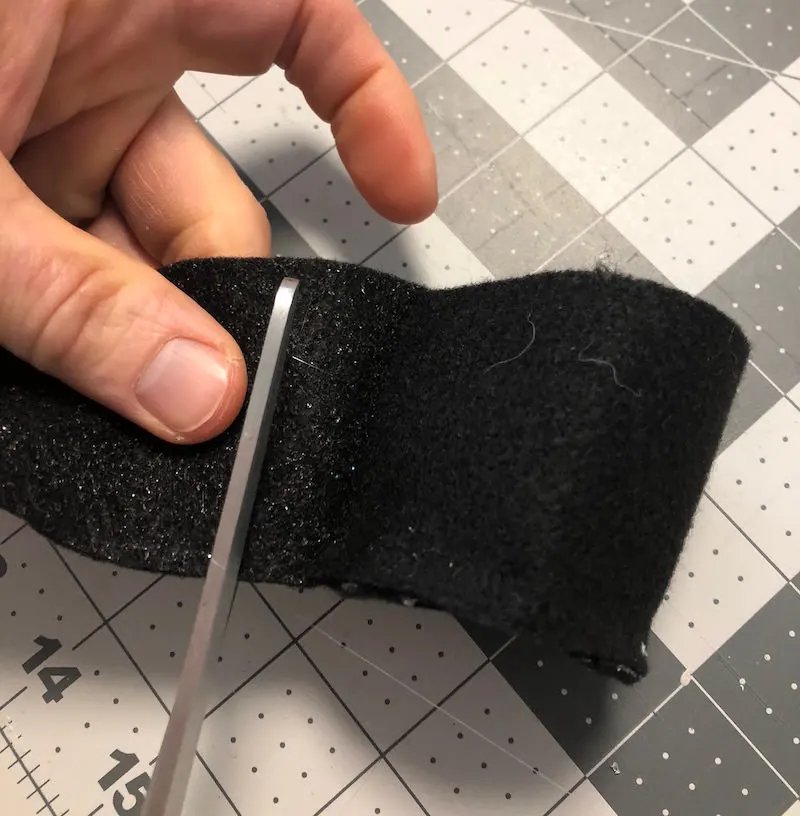
Fold the larger circle in half and cut out the center, approximately the same size as the base of the top of the hat.
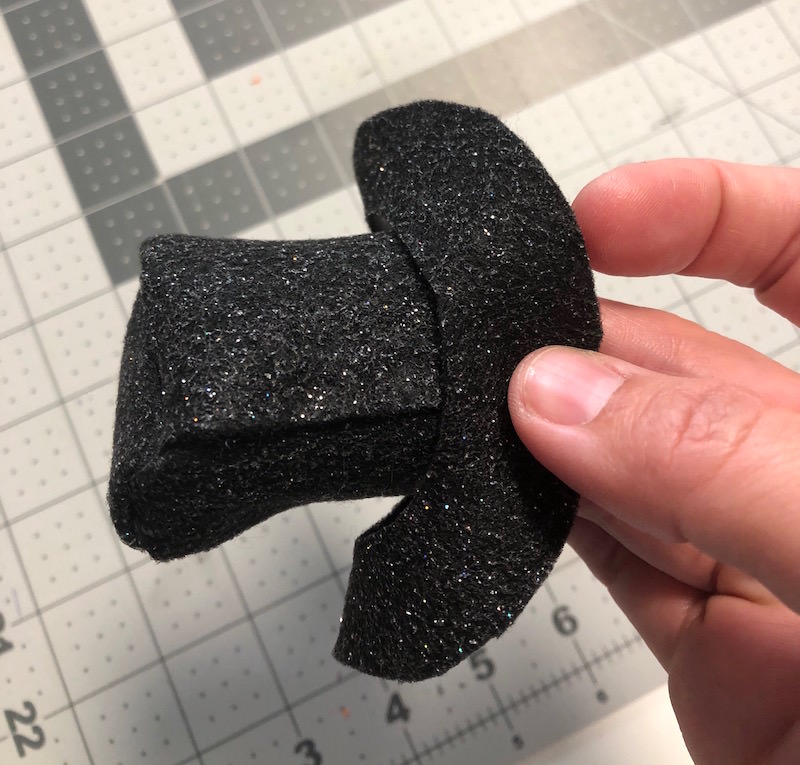
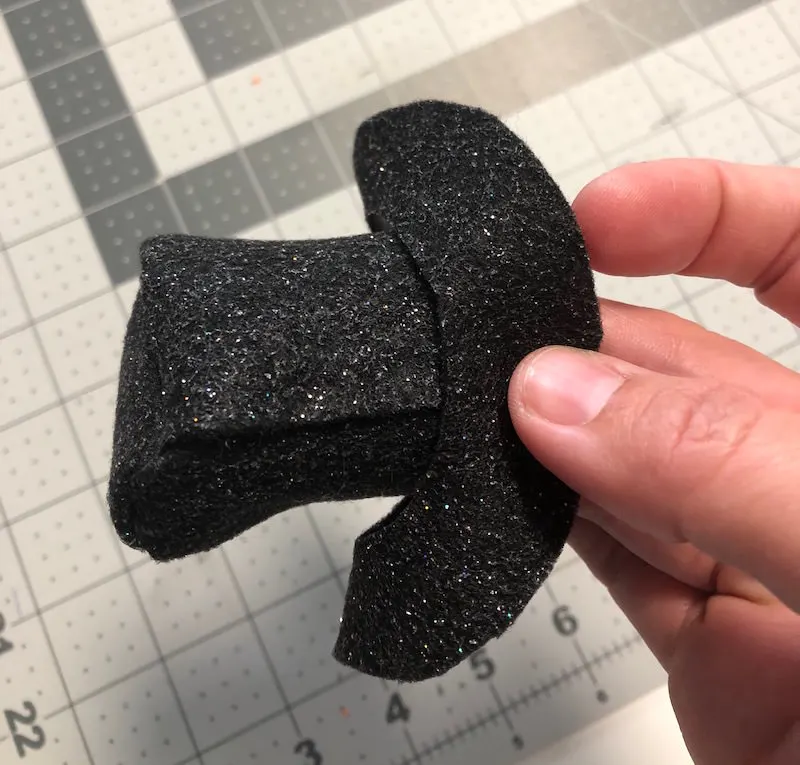
Hot glue the brim to the top of the hat. You don’t have to be too exact because the band is going to cover it.

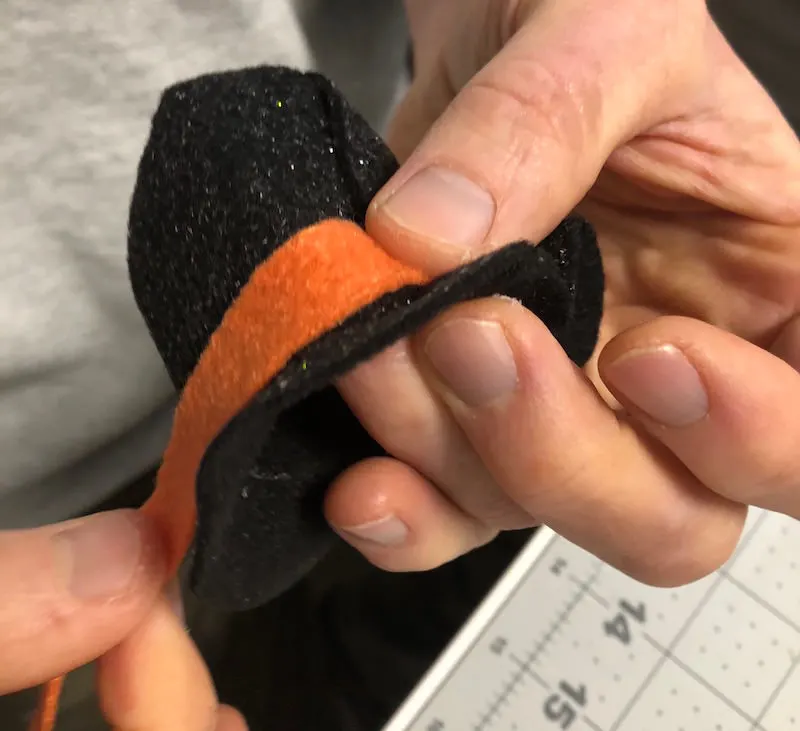
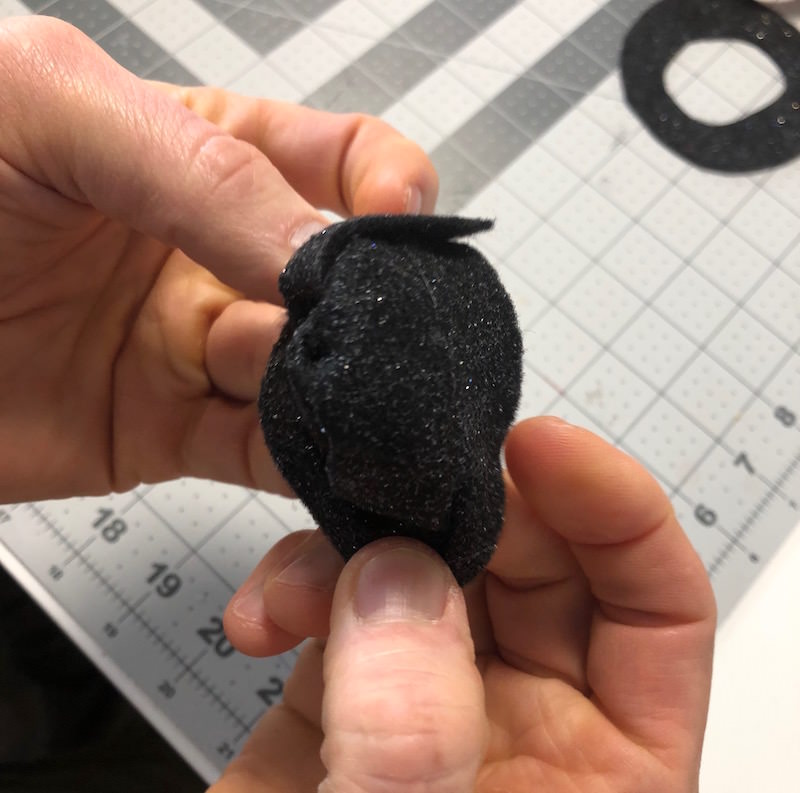
Add the orange band using hot glue.
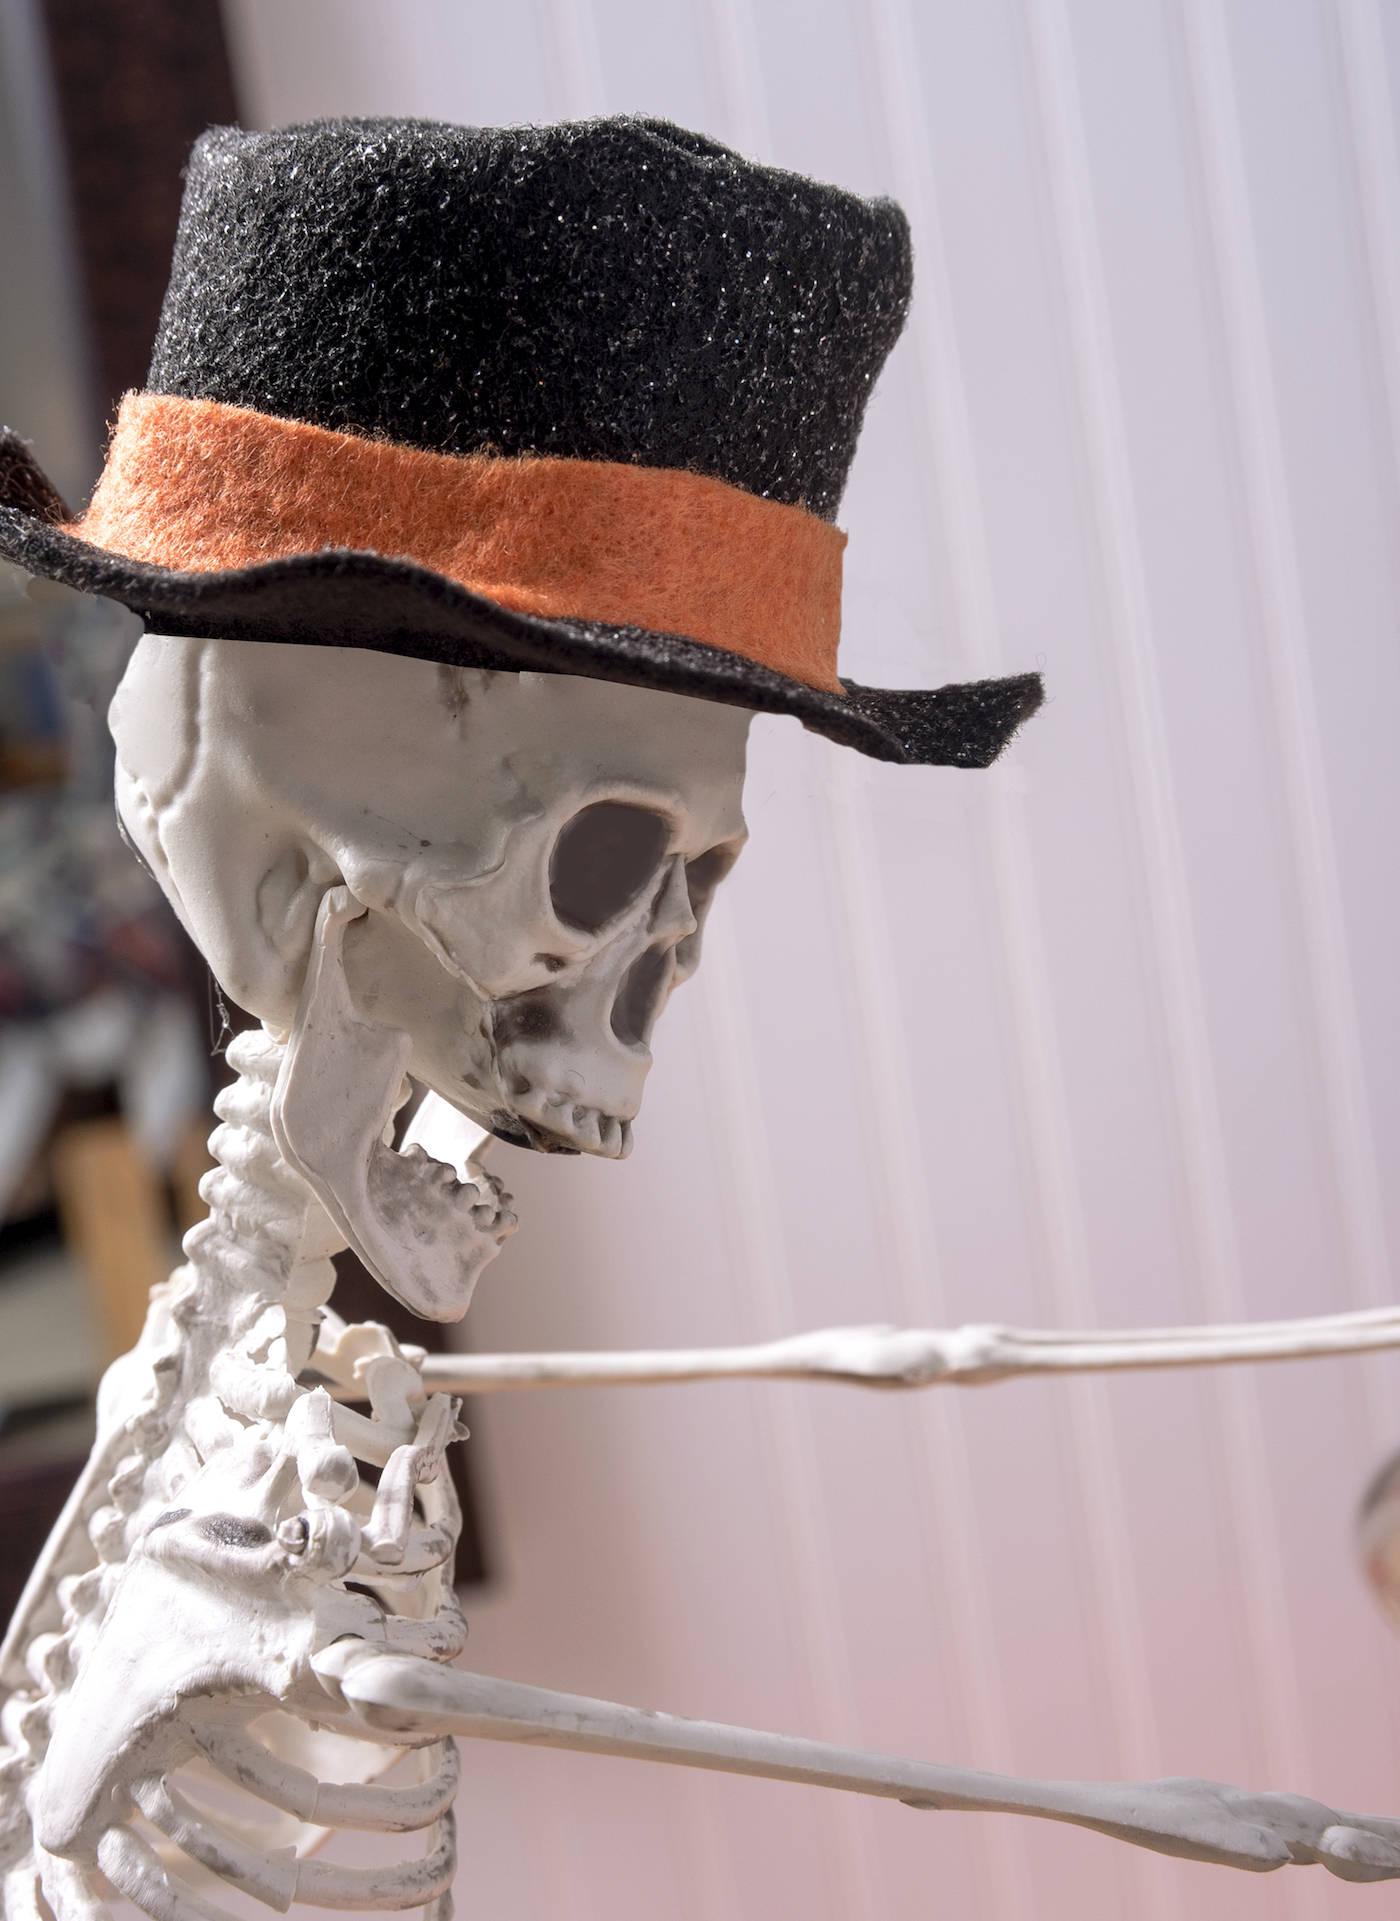

Make three of these and add some cool “lids” to your skeletons, making your DIY Halloween decor even more awesome!
Here’s another optional idea for you. I found black sparkle felt, but if you want to add a little sparkle to felt you already have . . . use Mod Podge Extreme Glitter! It will make your felt a bit stiff, but these are just skeleton hats, and they look awesome with a bit of sparkle!


Your final order of business is to assemble everything. Here are the next steps! First you’re going to pour the candy corn into the apothecary jar.
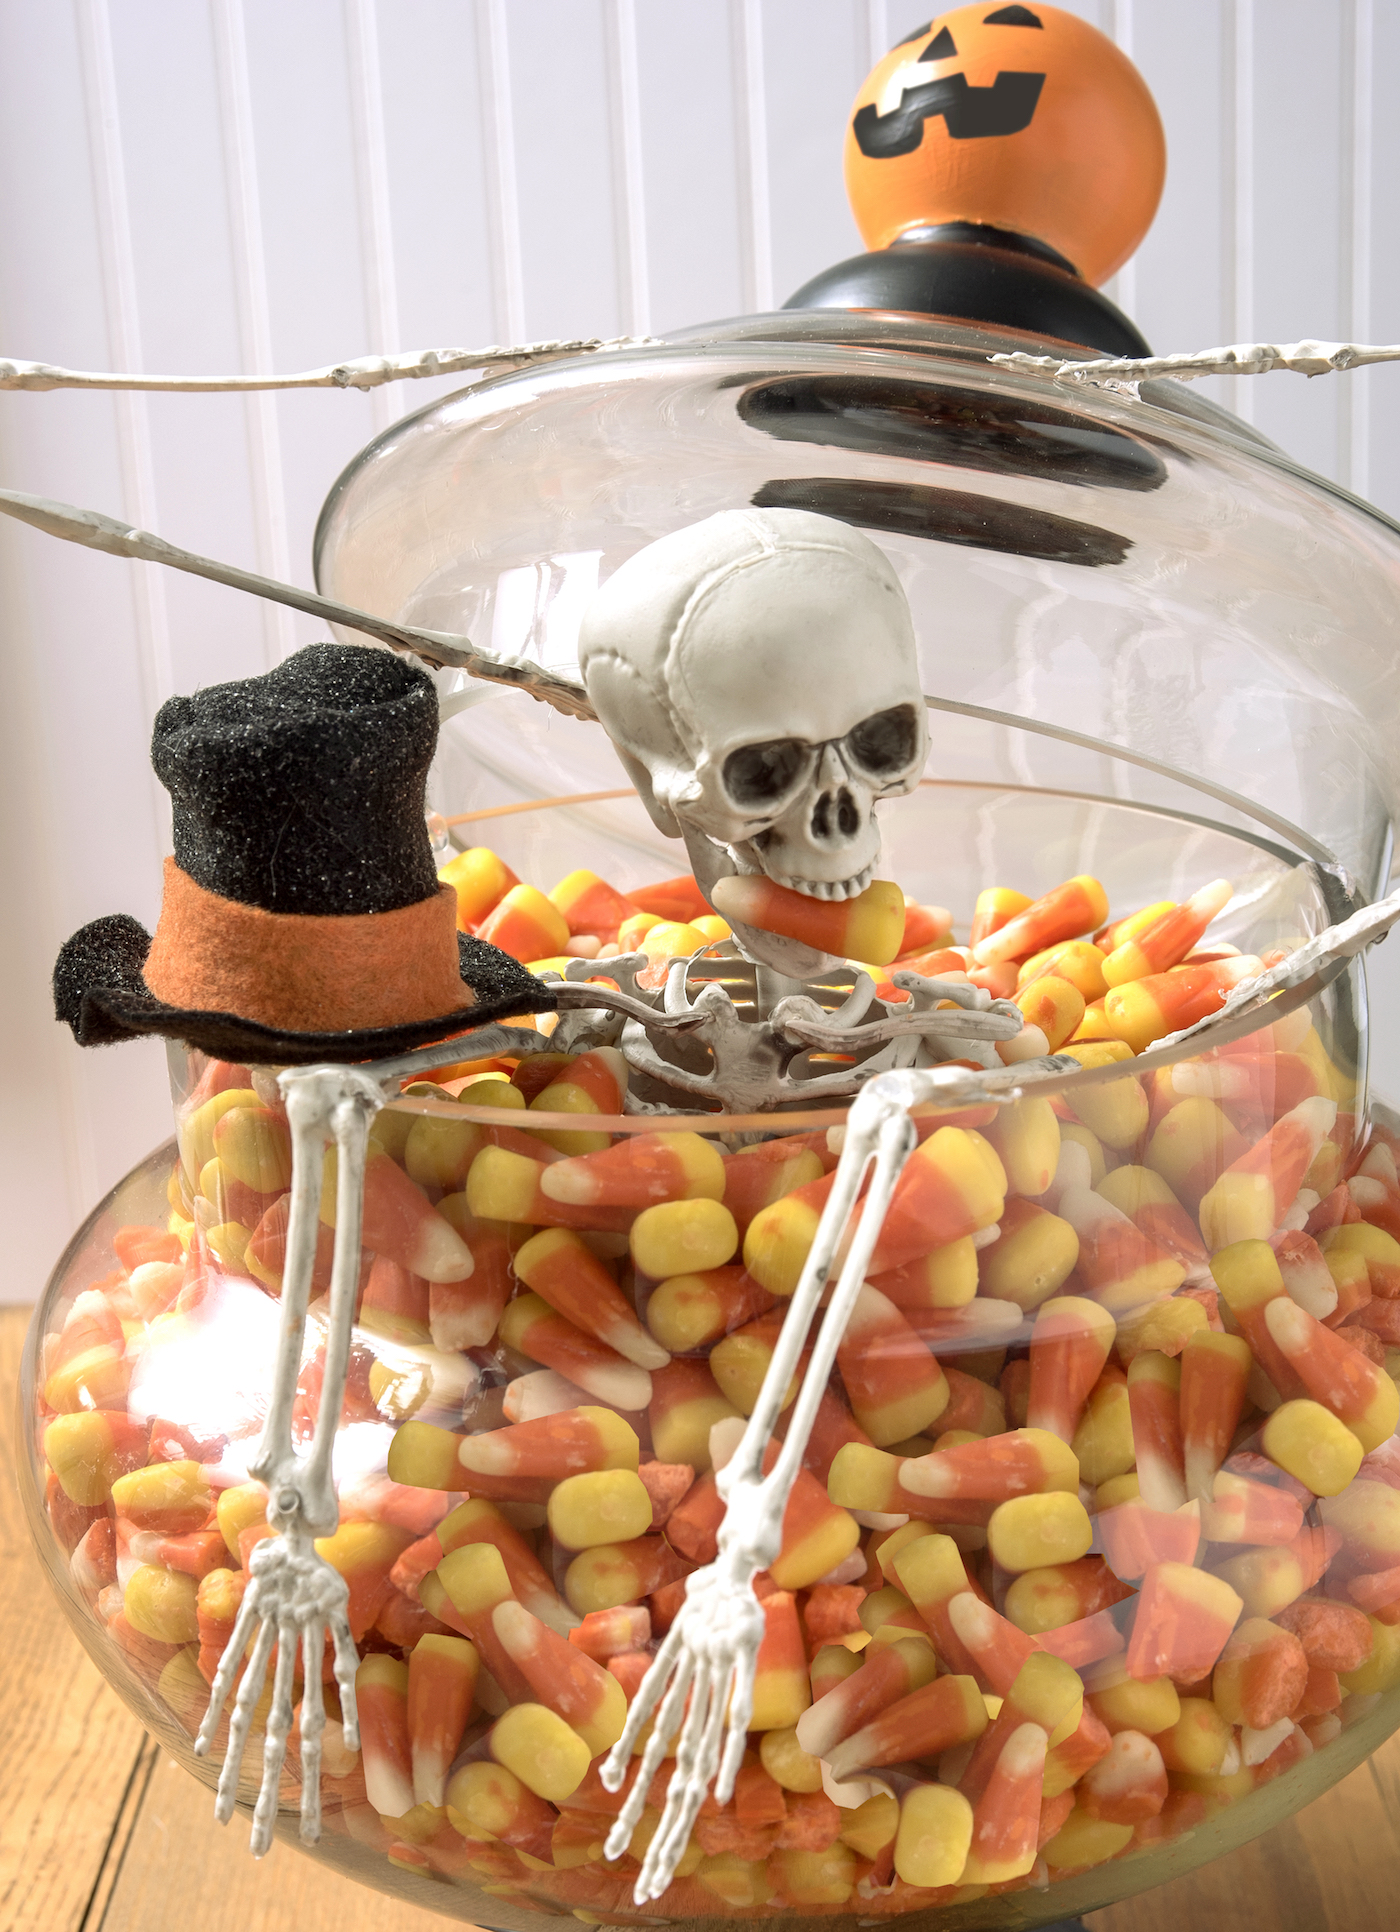
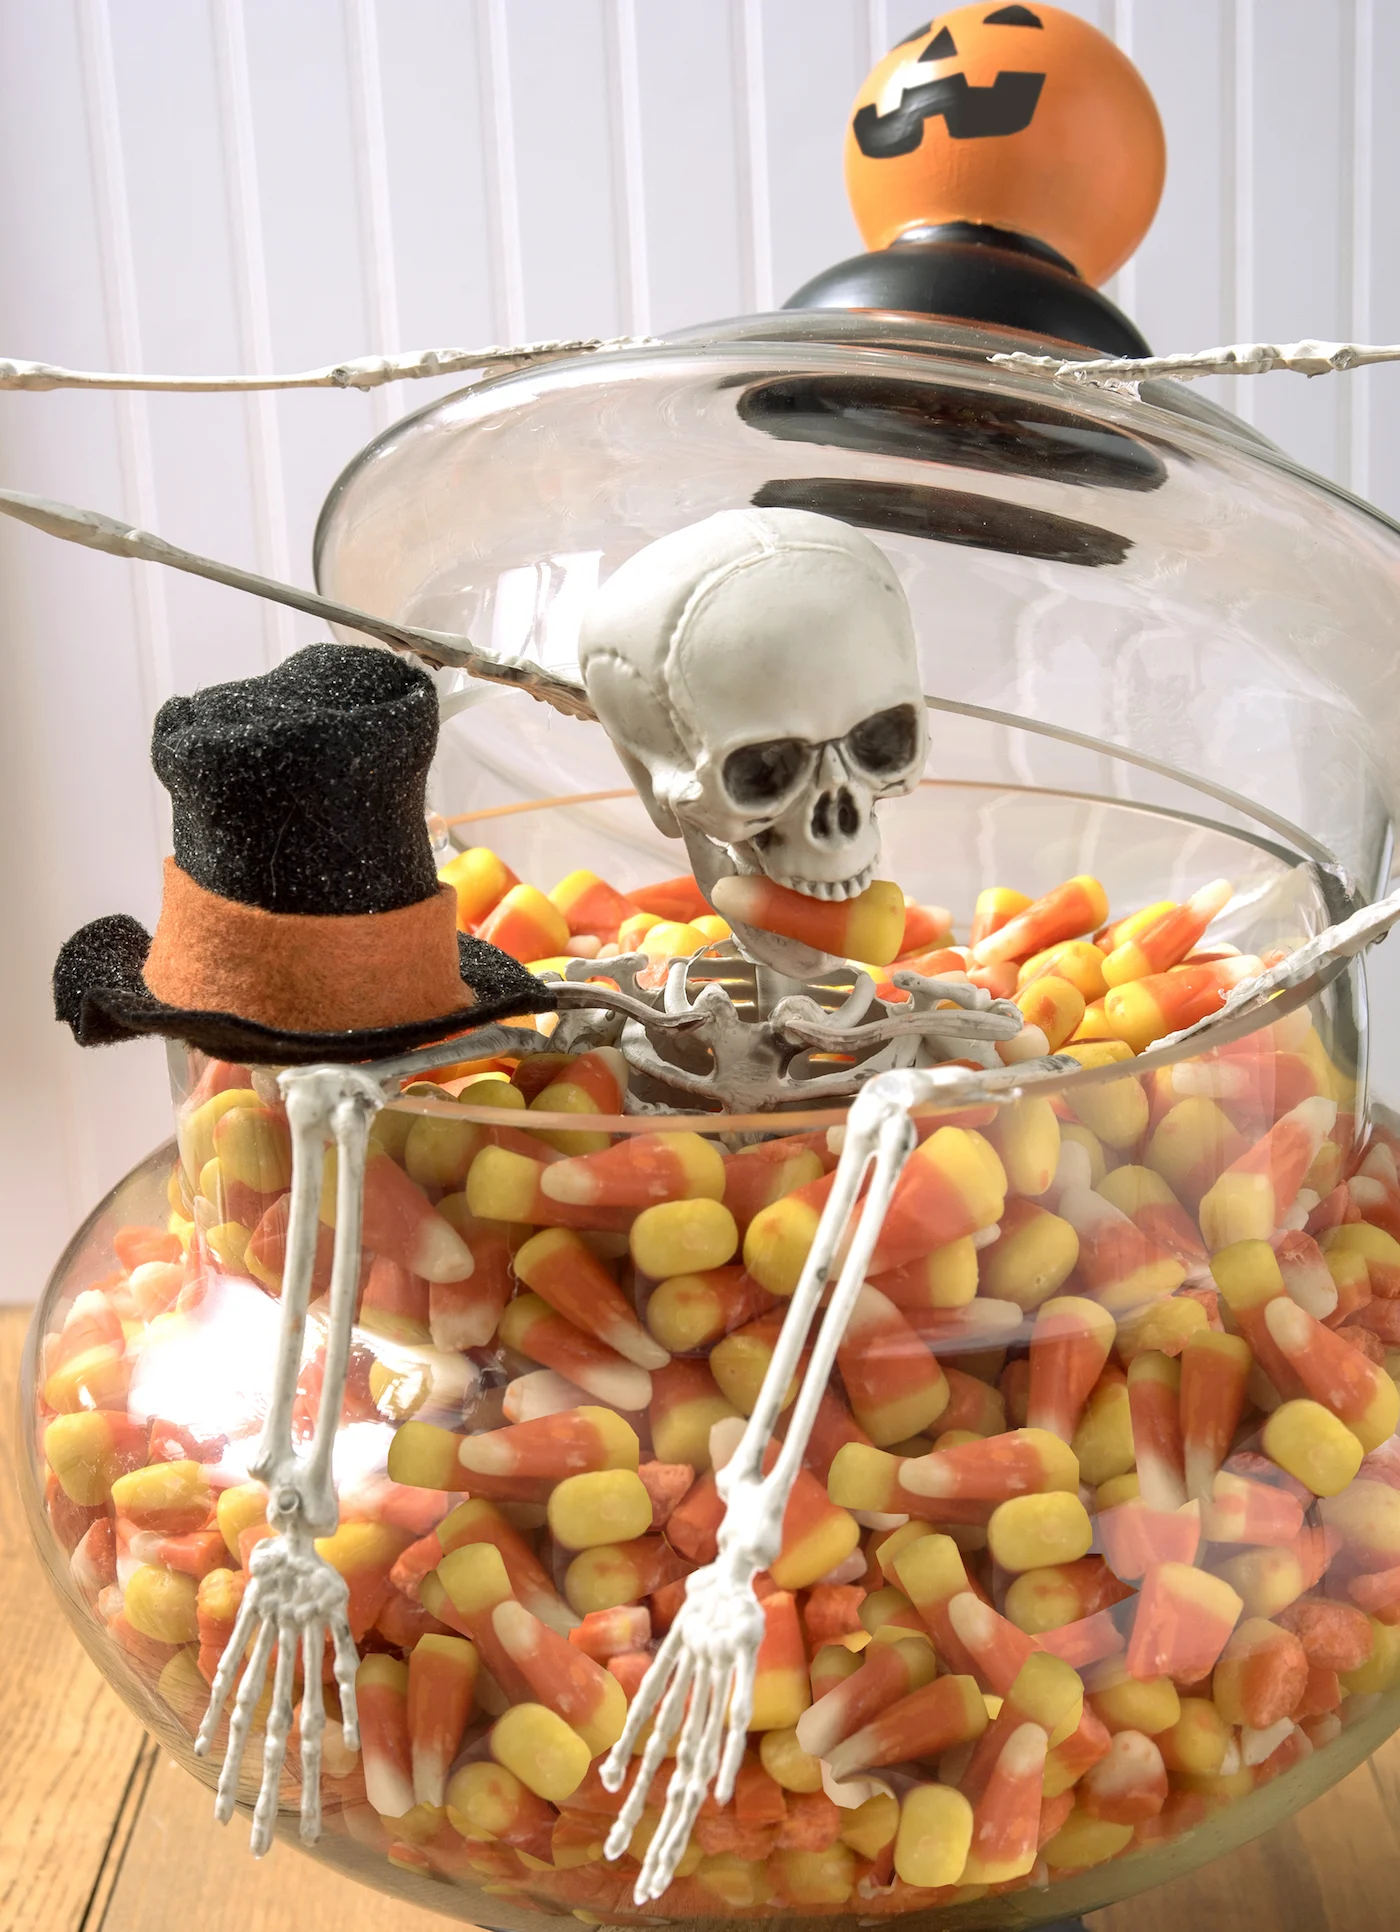
Then you’re going to snap the legs off of one of the skeletons, sticking his torso in the candy corn. Let his arms hang out over the edge as though he’s trying to escape.
After that, position the lid on the back of the jar and hot glue into place. Let it cool and add a little more glue, making sure it’s secure before letting go. You don’t want to break your lid!
Place the two remaining skeletons standing up on each side, and hot glue their hands into place if you need to. You can also use a little bit of blue tack or other adhesive putty if you want to go that route.
The rest of your DIY Halloween decor is up to you. You can add candy corn in one of the skeleton’s mouths, or all of them. Maybe they were all pigging out when one fell in!
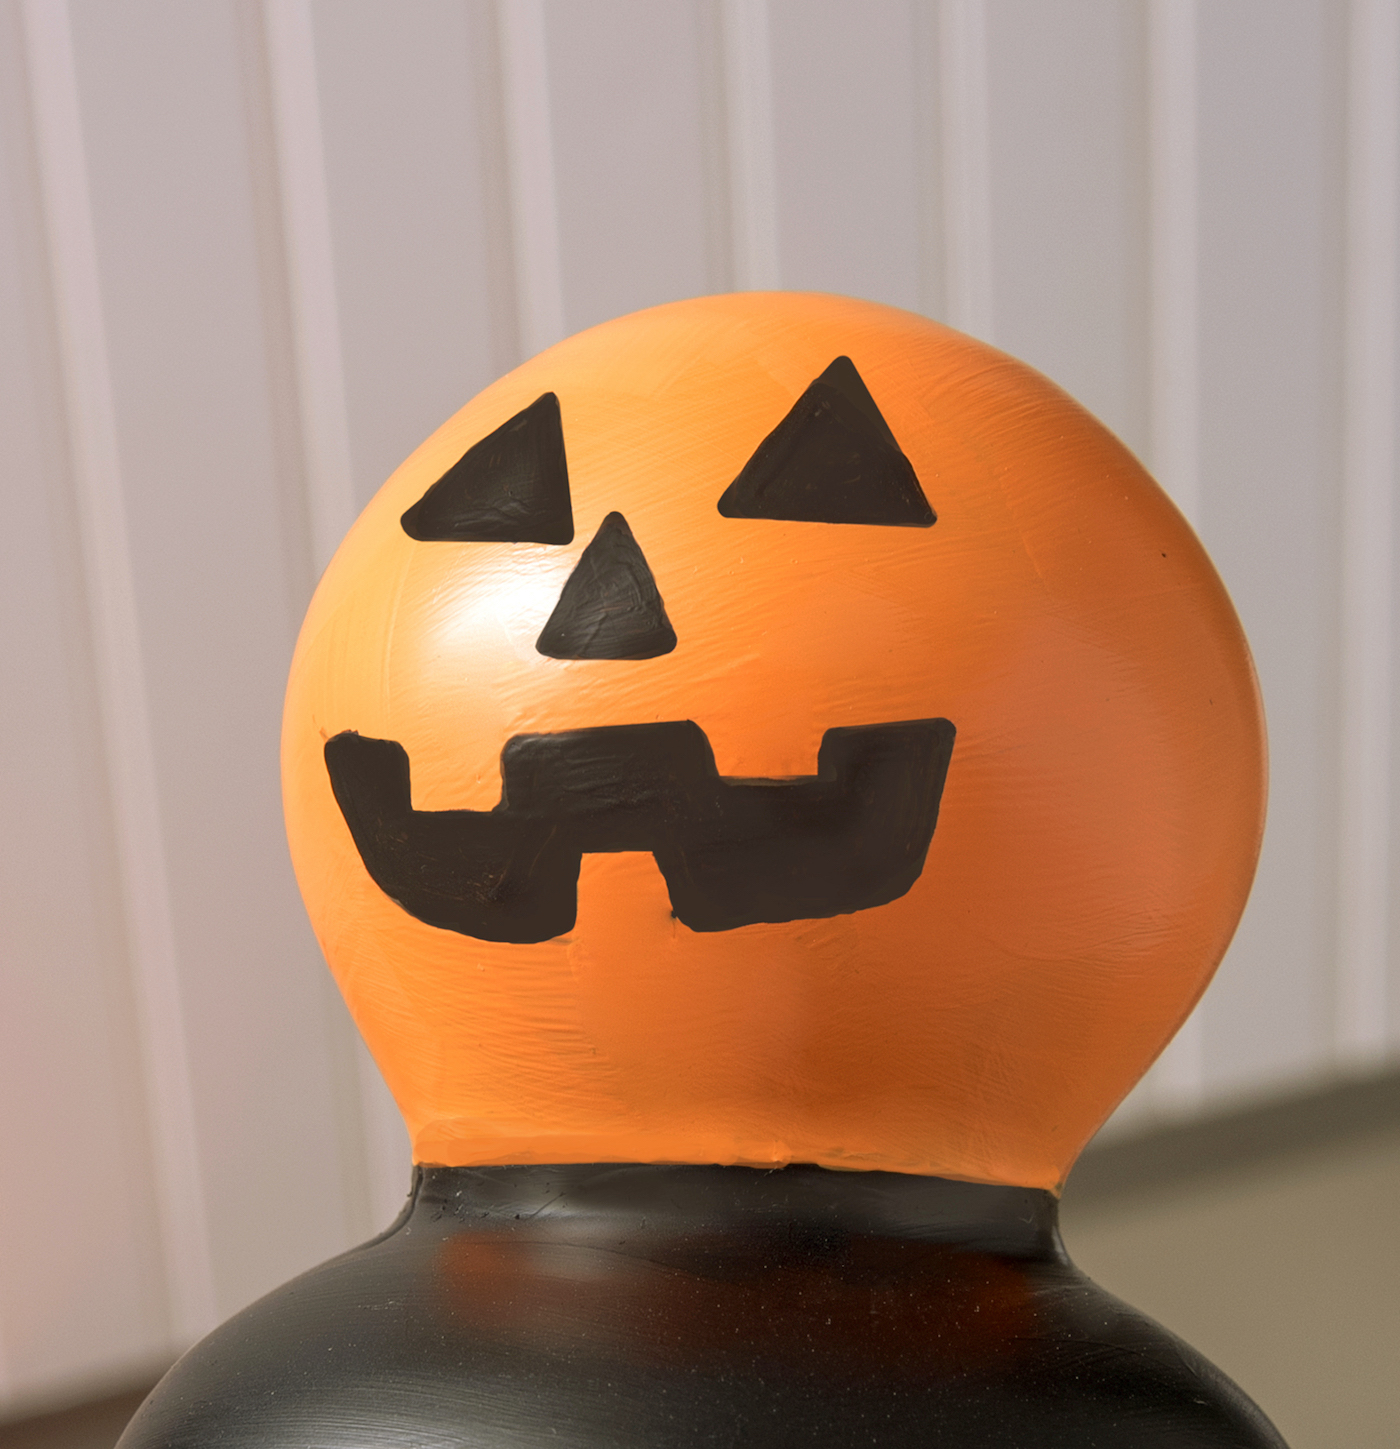

And just so you know, one of my favorite parts of this whole display is the painted jack o’ lantern face on the handle. I just love it!
I’d love to know what you think about this Halloween craft in the comments. Would you make it?? Let me know! I’d also love for you to check out the following holiday projects:
Deirdre Henry
Wednesday 13th of October 2021
You are so creative. Super idea. Deirdre
Rebecca Payne
Saturday 9th of October 2021
OMG! I love it!
Judy Dee
Tuesday 23rd of October 2018
Very crEATive.
Tanner Bell
Monday 22nd of October 2018
This looks super fun to make. Great job!
Dani
Wednesday 17th of October 2018
Really creative! Love it.