
Turn a plain box into stylish storage! Learn how to decoupage a cardboard box with Mod Podge and napkins for an easy, budget-friendly craft.
Skills Required: Beginner. It’s a great project to start working with napkins and Mod Podge. You’ll be applying napkins to a cardboard box using decoupage and a brush.

I don’t know about you, but I have a serious weakness for cute napkins. The kind you pick up at Dollar Tree or a party store and think, These are way too cute to wipe my mouth with.
So, what do you do instead? You craft with them, obviously! That’s exactly what happened when I stumbled upon some flamingo napkins I had to have.
The question was—what should I make? Then it hit me. I also had a stack of cardboard boxes (because, of course, I do), and I realized they were basically blank canvases just waiting for a Mod Podge makeover.
A little decoupage magic, and I could turn a plain ol’ box into something stylish and functional.
This project is a game-changer if you want to upcycle those Amazon boxes (or any sturdy cardboard container) into decorative storage.
consider the Iron on Method. . .
In this tutorial, I apply the napkin to the box with the paintbrush, then Mod Podge over to smooth. This method might result in some wrinkles. I was fine with it in this project (wrinkles add character). If you want to ensure no wrinkles, use this method. It’s perfect for thin materials.
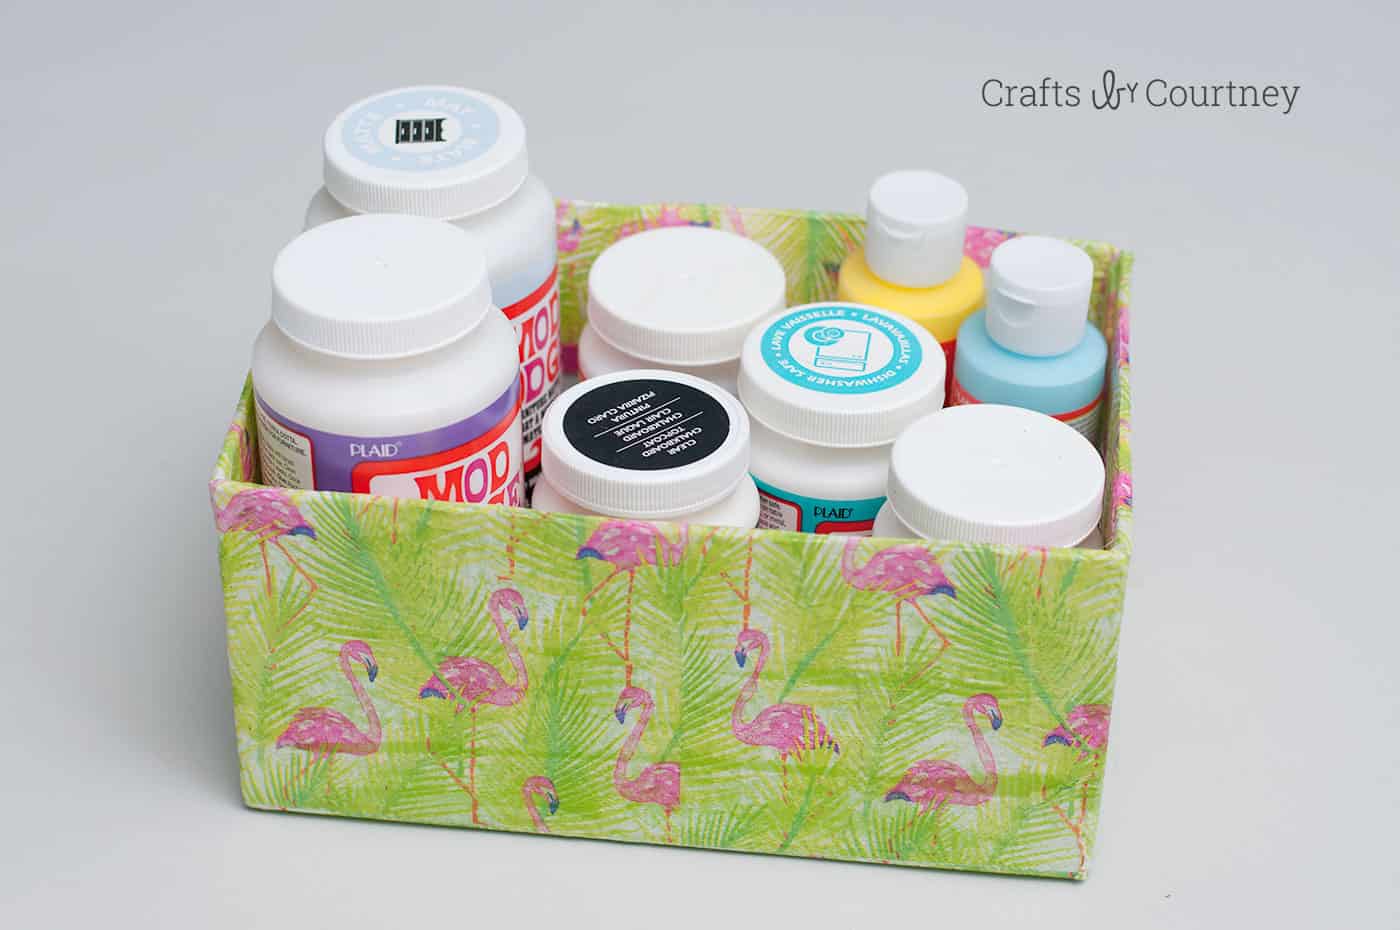
You can use your finished box to corral craft supplies, organize stationery, or even stash small keepsakes. It’s the perfect mix of budget-friendly and custom-made. Just pick a napkin design that matches your vibe!
Napkin decoupage is so easy, I can’t believe I haven’t done this sooner. Now I’m officially obsessed.
If you see me hoarding napkins like they’re rare collector’s items, just know I’ve got another box makeover in the works. Ready to try it? Let’s get crafting!

Decoupage a Box
Materials
- Cardboard box
- Mod Podge Matte
- Decorative paper napkin(s)
- Plastic wrap optional
- Ribbon
- Craft paint
Instructions
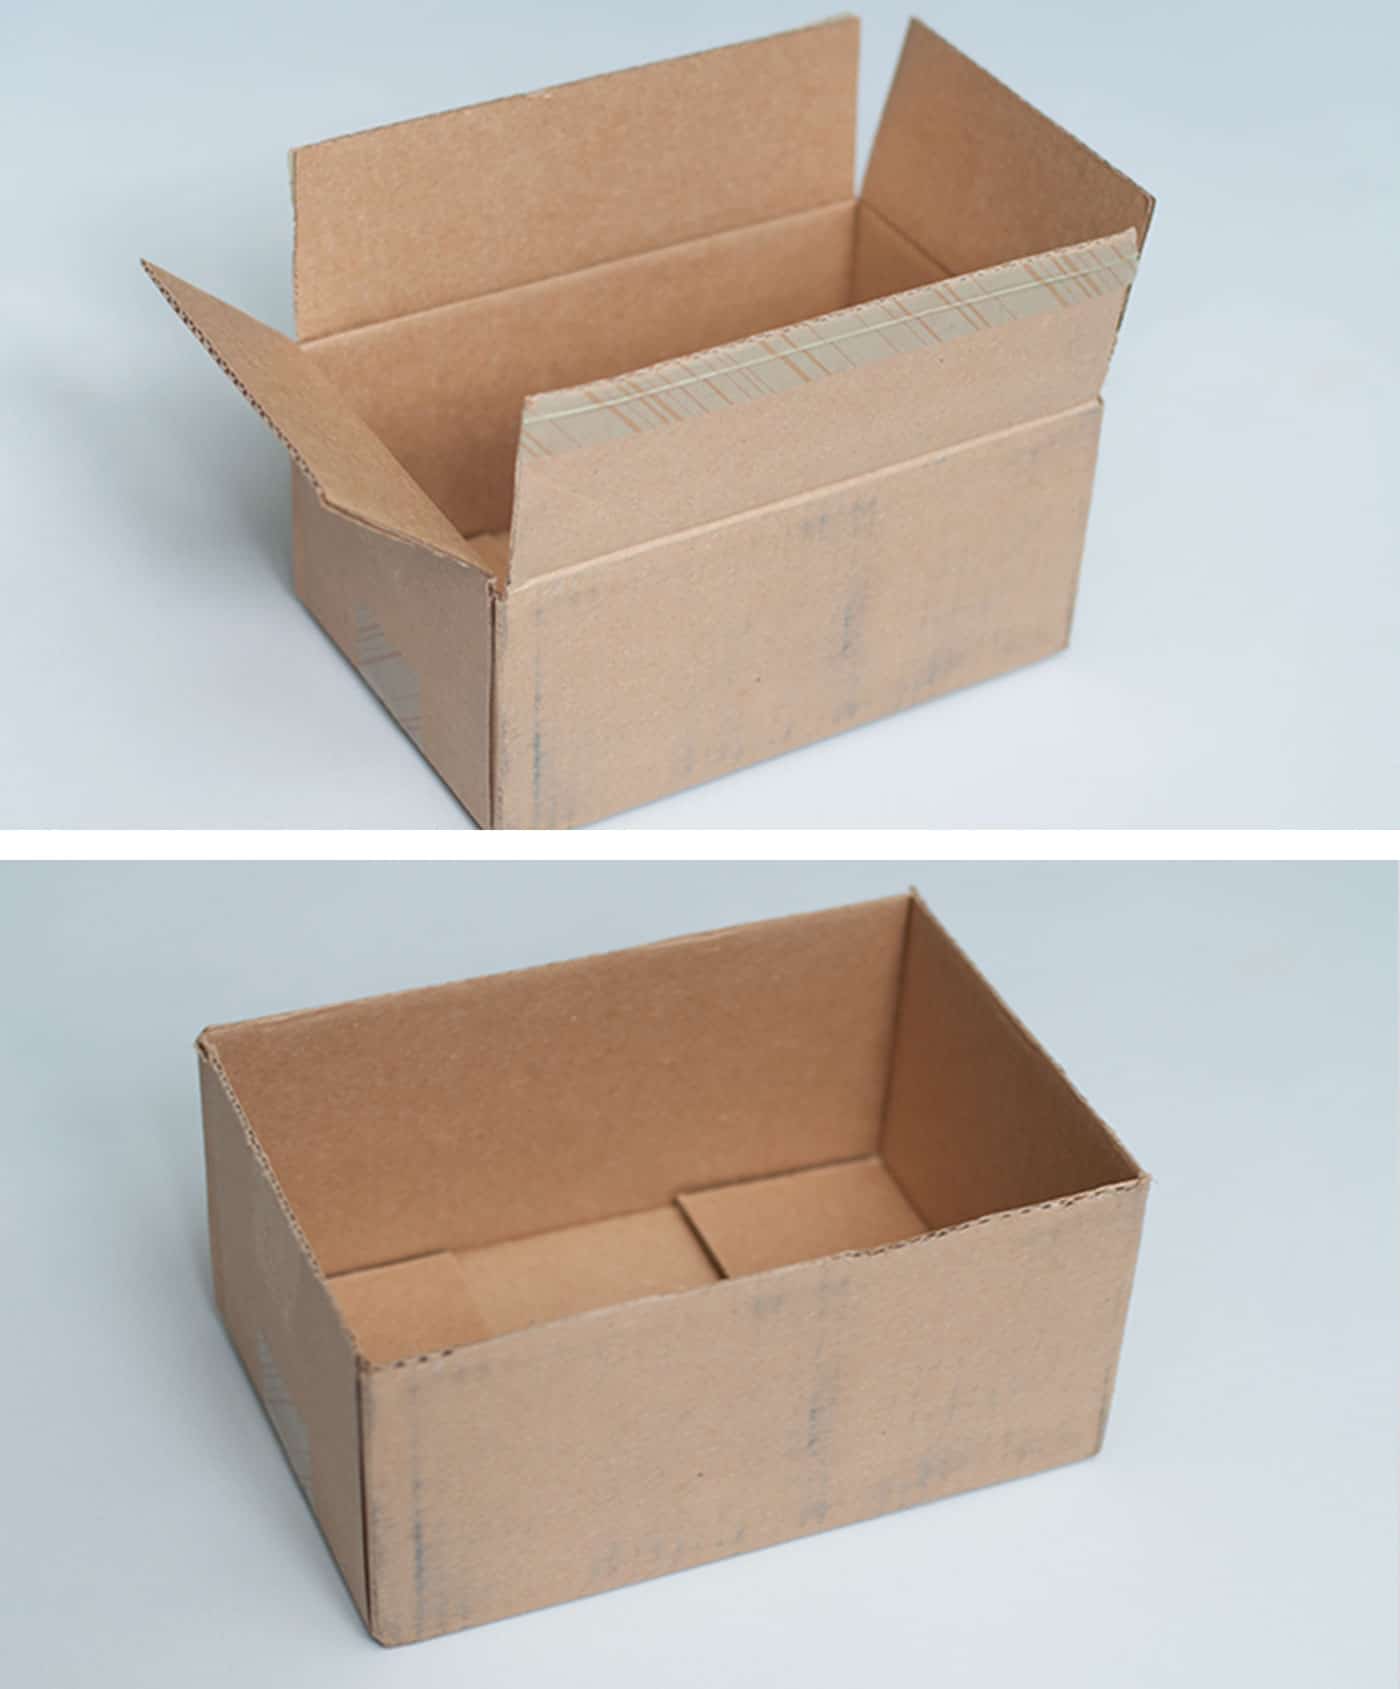
- Select a box and use scissors or a craft knife to remove any flaps.
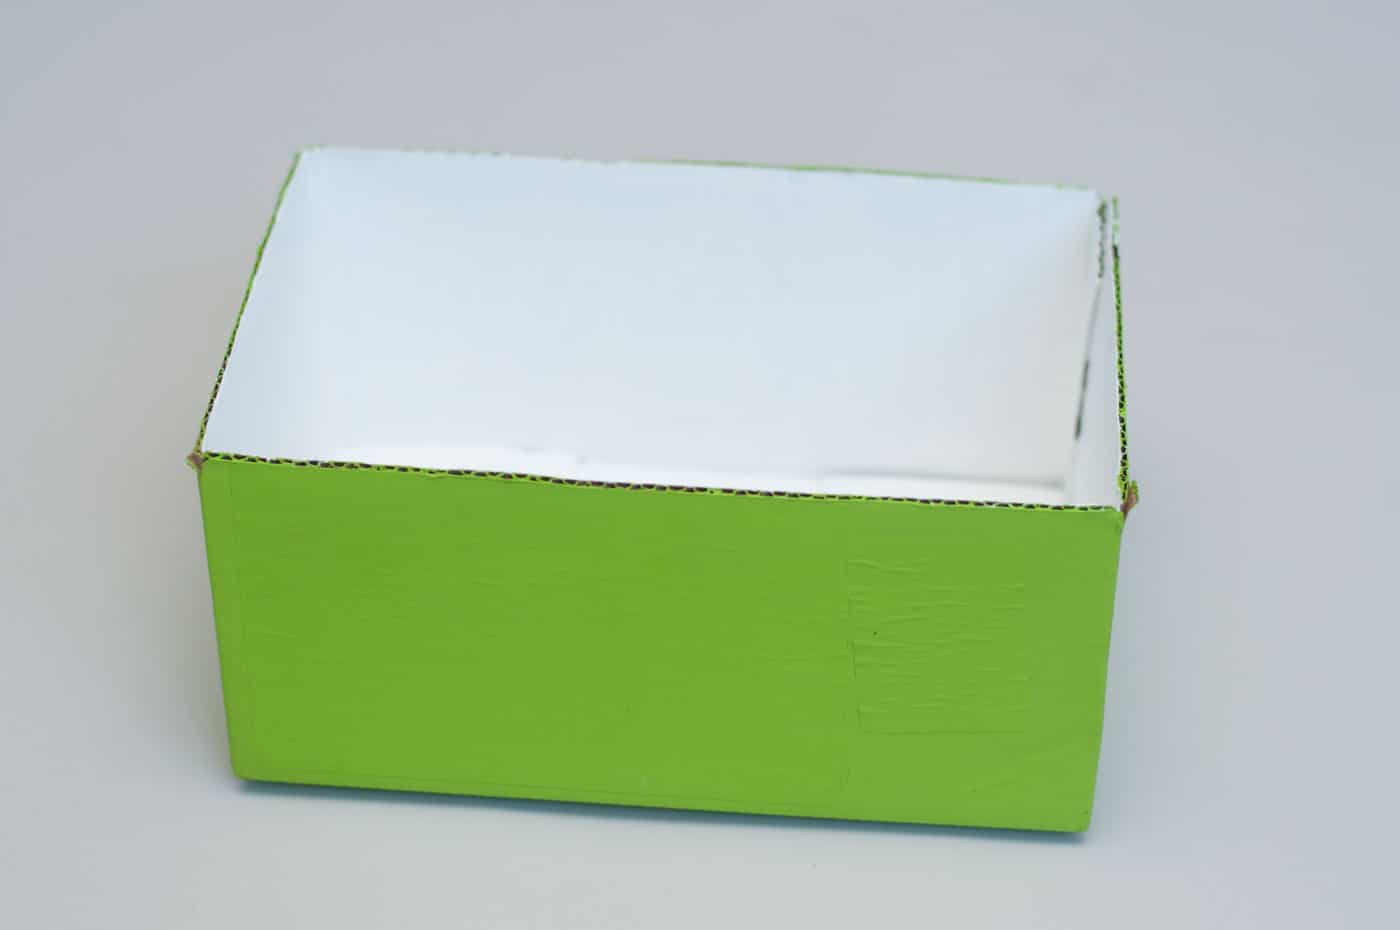
- Paint the box both outside and inside with the colors of your choice. Let dry.
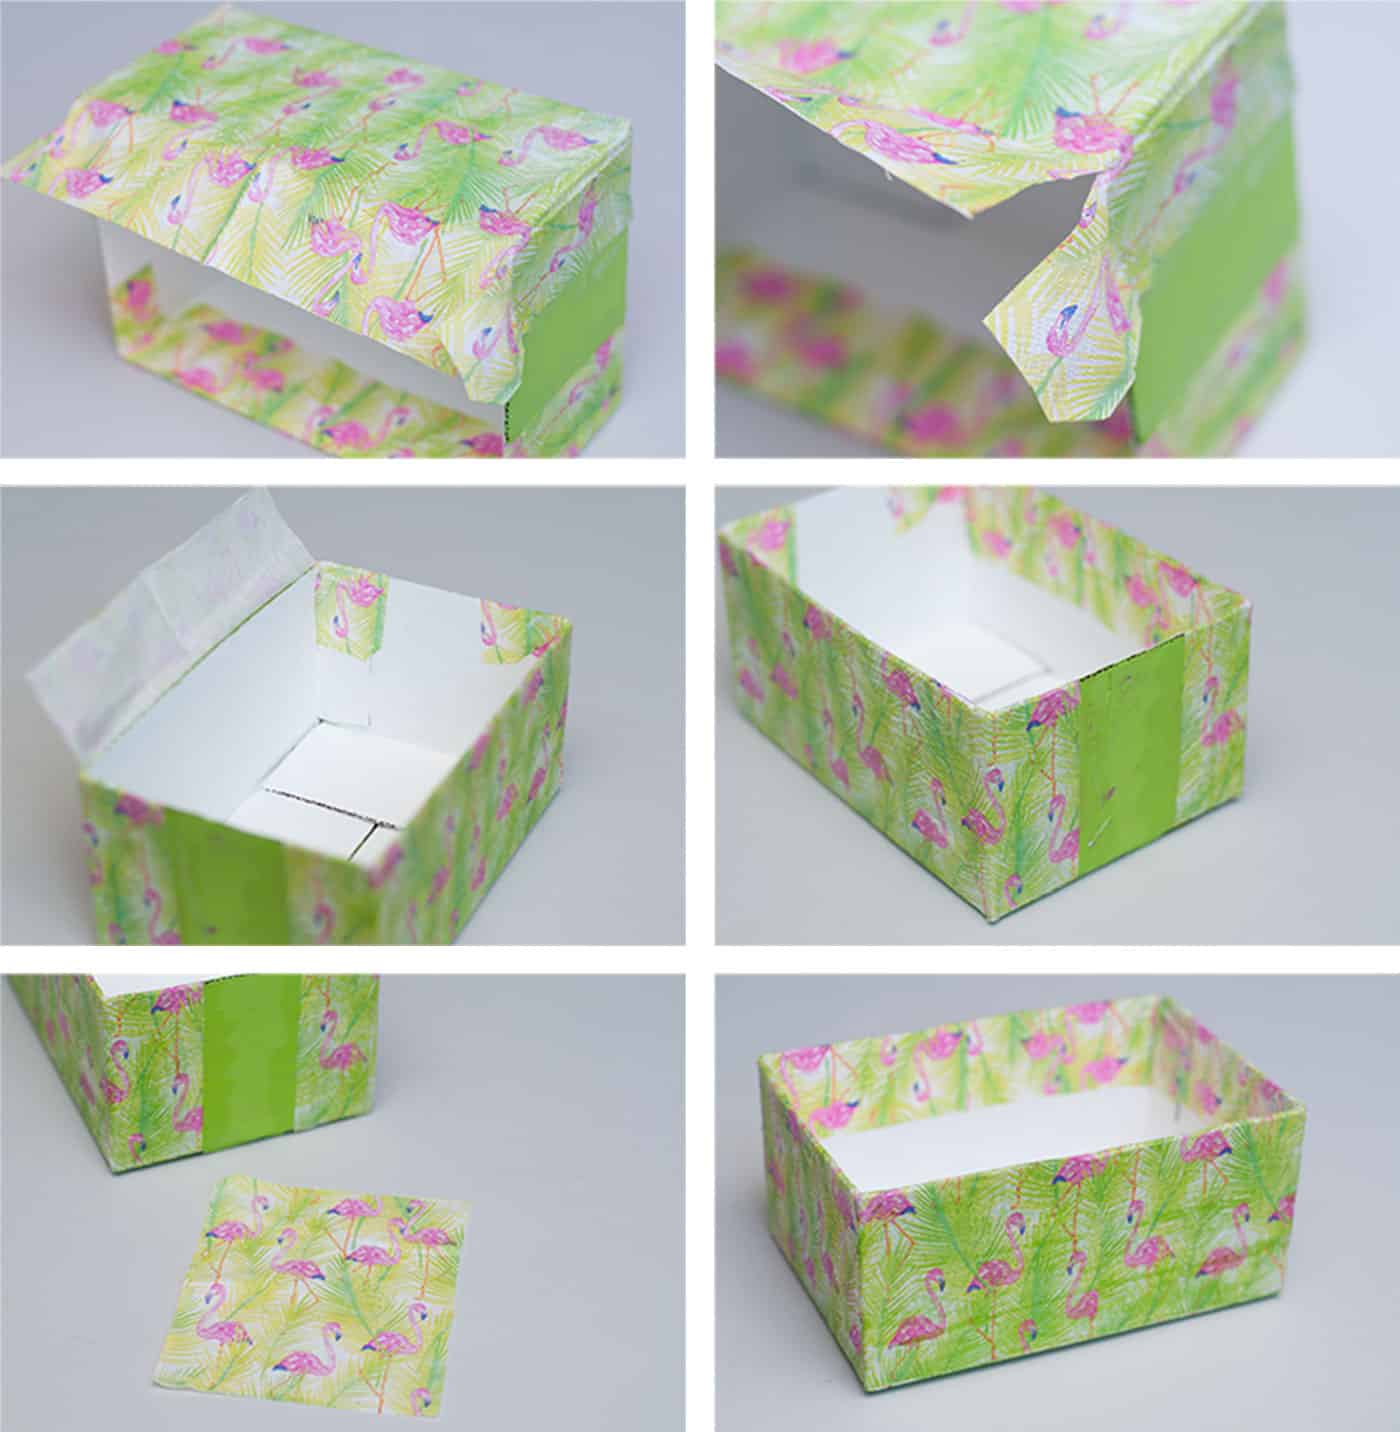
- Add a layer of Mod Podge to the bottom of the box and line up the napkin, smoothing down onto the box. Continue the process all the way to the top of the box. Wrap the excess napkin around the sides of the box.Repeat this process on both long sides of the box and let the Mod Podge dry 20 minutes. Add a top coat and let dry.

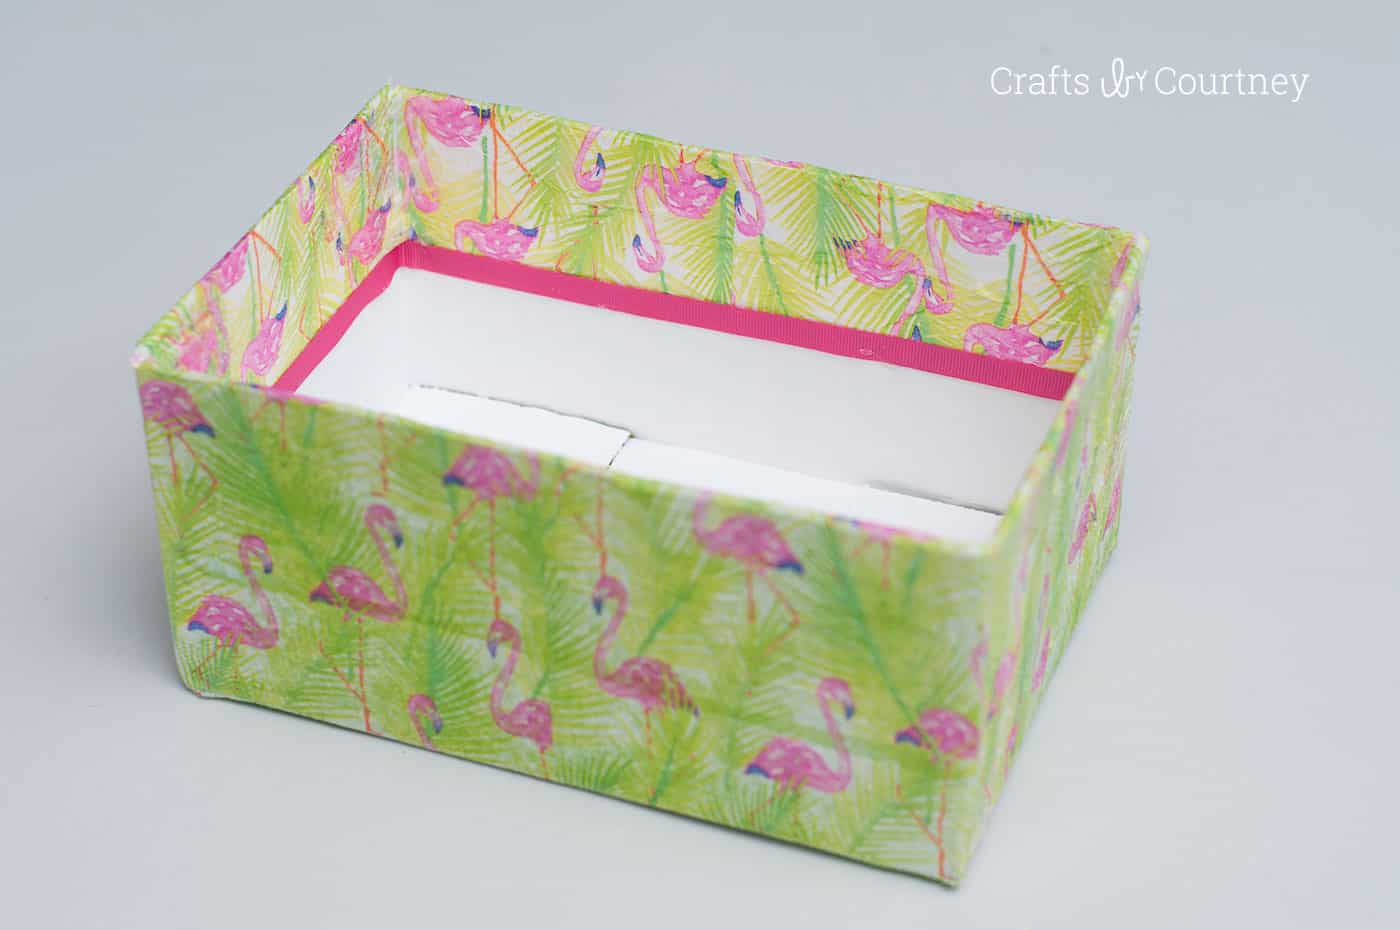
- Fold the napkin edges over the top and sides. Cut napkin squares and add them to both ends of the box with Mod Podge. Let dry.
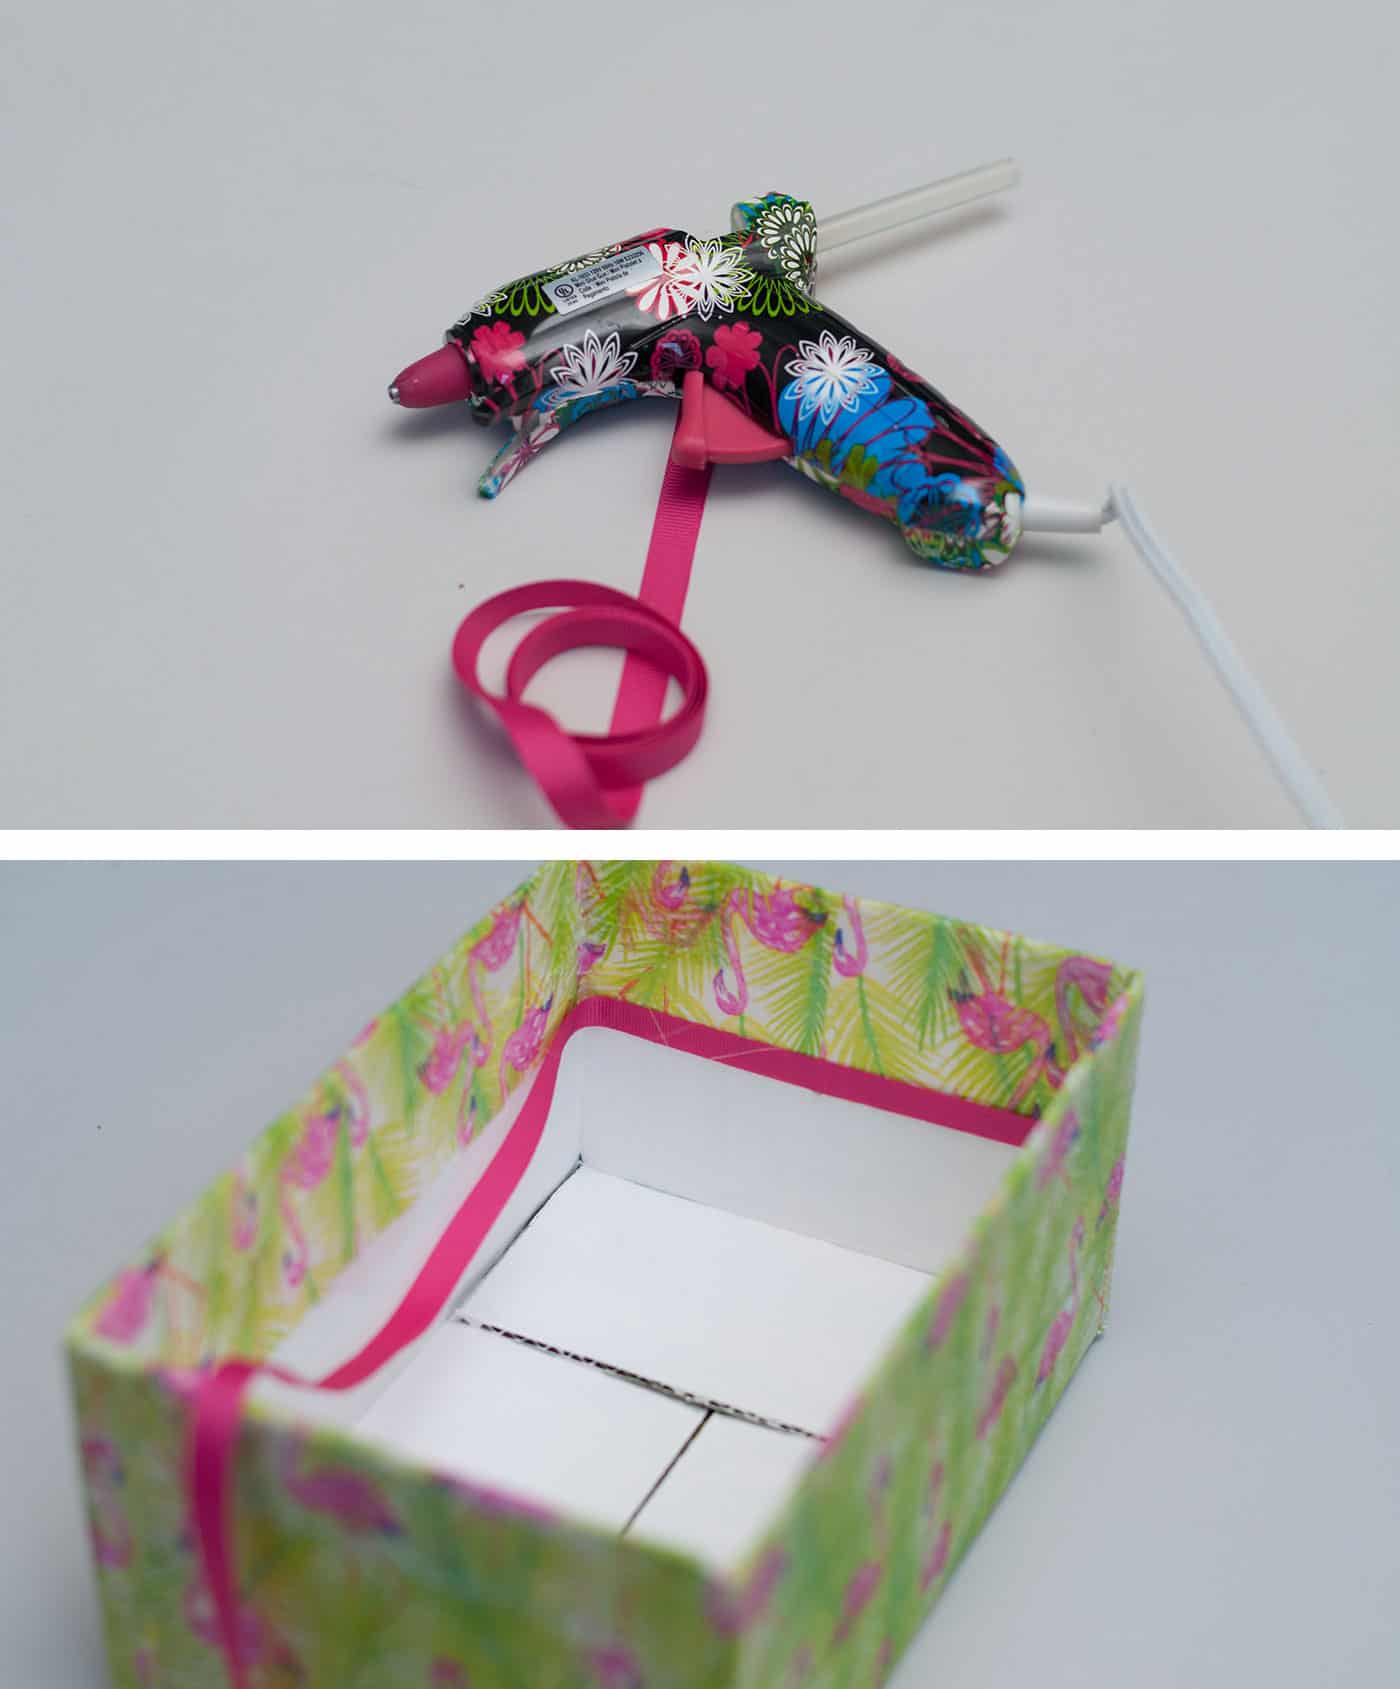
- Add ribbon detail using a hot glue gun. Let cool before using.
Notes
What did you think about this craft? Let me know in the comments! I’d also love for you to check out these other ideas:
Candles with Napkins • Cardboard Letters • DIY Desk Organizer • DIY Party Lanterns • Fabric Covered Boxes • Flower Pots • Make a Gift Box • Napkin Decoupage on a Wood Frame • Napkins on Canvas • Photo Album from a Box • Popsicle Stick Wall Hanging • Wood Slice Coasters

I was so surprised to find that you just used a plain old cardboard box. I am very impressed with this project. Thank you so much for sharing it!
Pleasure, thank you for reading!
Had a small bottle of mig Pog for a long time never used it. Now I’m going to try my d pegging pretty napkins on Everything.Soo Fun! Thx
I love it! So simple and so quick to create. Sharing your link in my weekly newsletter tomorrow!!
Off topic, but where did that glue gun come from? I do adore the box. Flamingos rock.
That’s a Michaels glue gun!
Hi Beverly!! I did get it at Michaels for less than $10! I have to agree about the Flamingos!