
Decoupage a Box
Learn how to decoupage boxes using a napkin and this simple tutorial. This is such an easy and inexpensive craft idea.
Yield: 1 box
Cost: $1
Materials
- Cardboard box
- Mod Podge Matte
- Decorative paper napkin(s)
- Plastic wrap optional
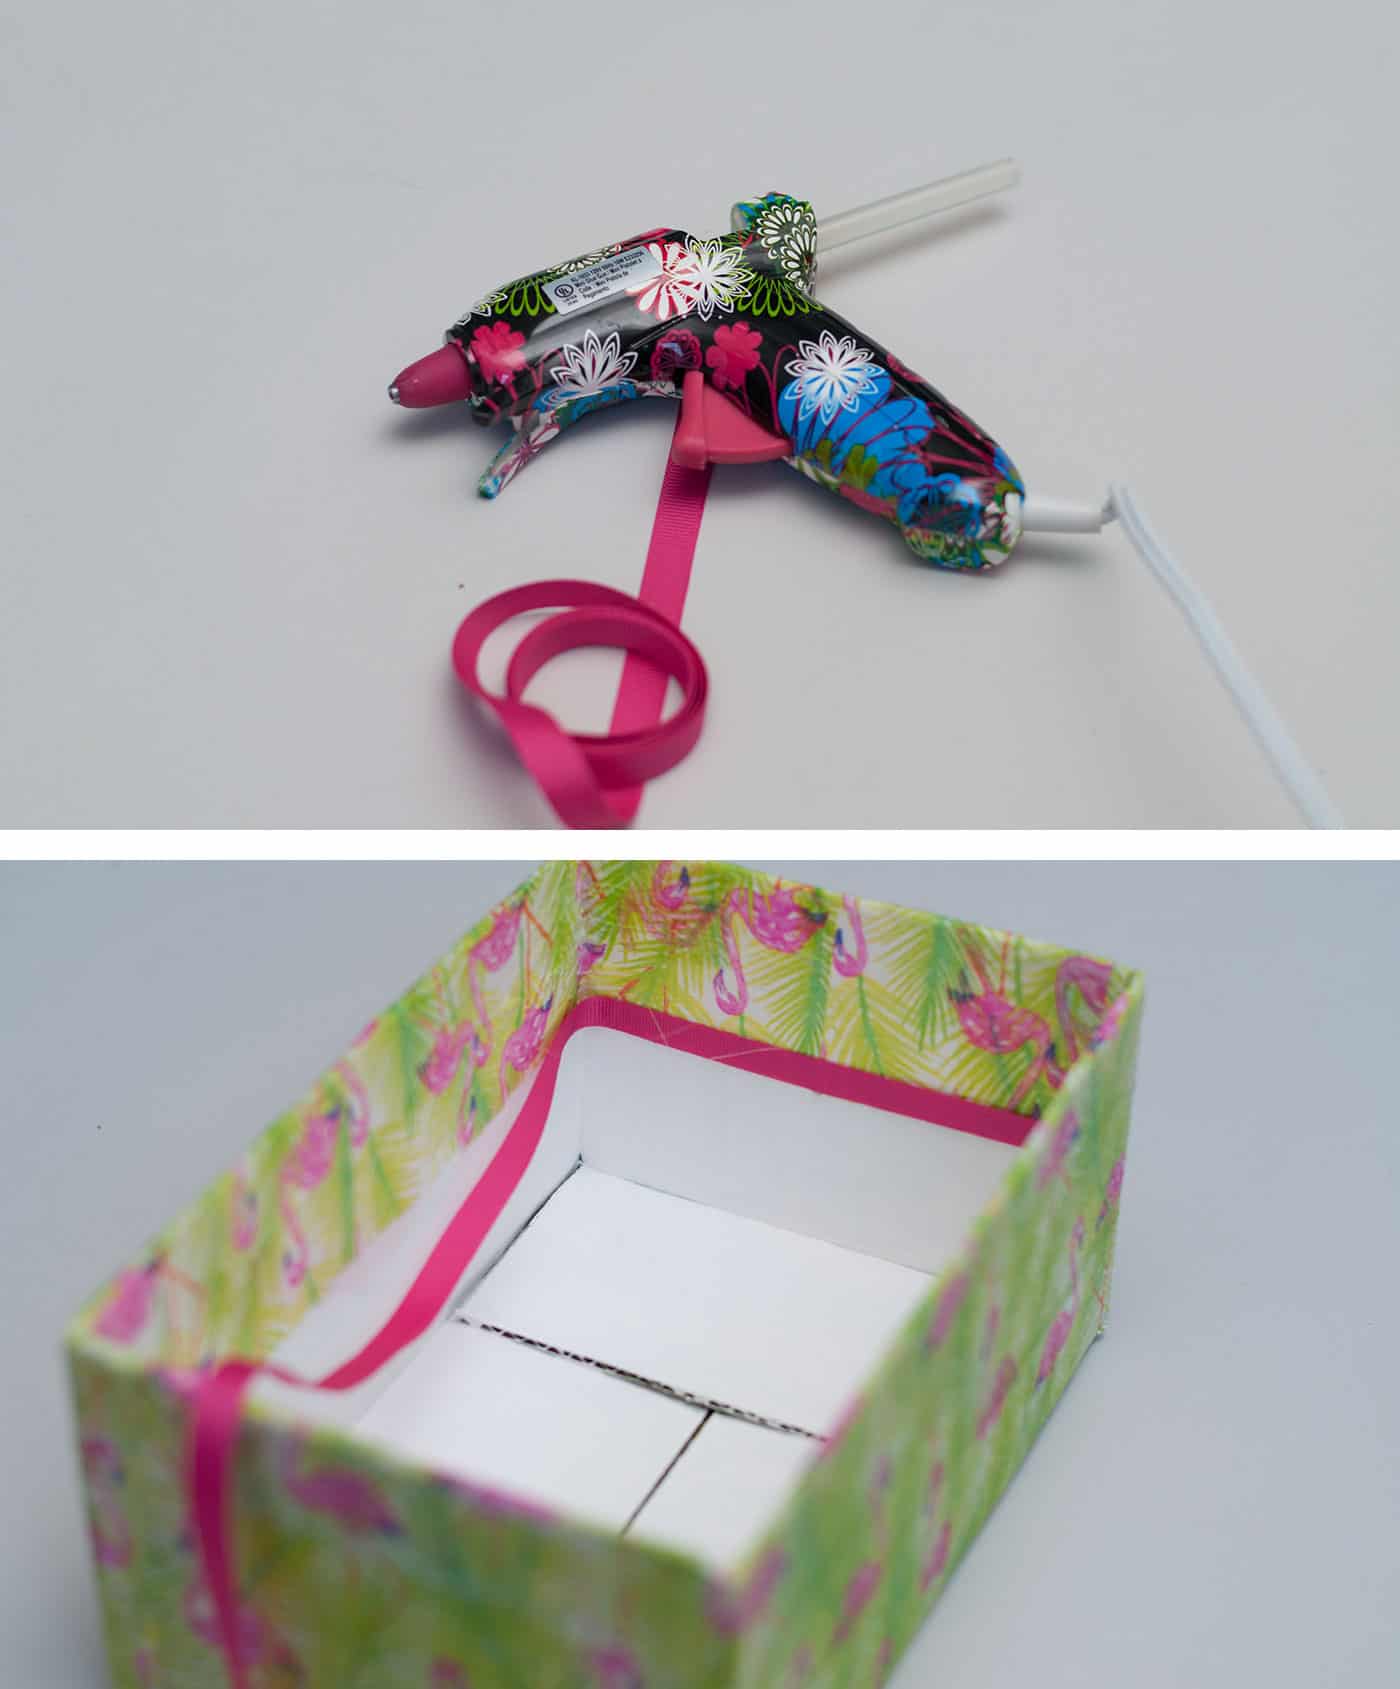
- Ribbon
- Craft paint
Instructions
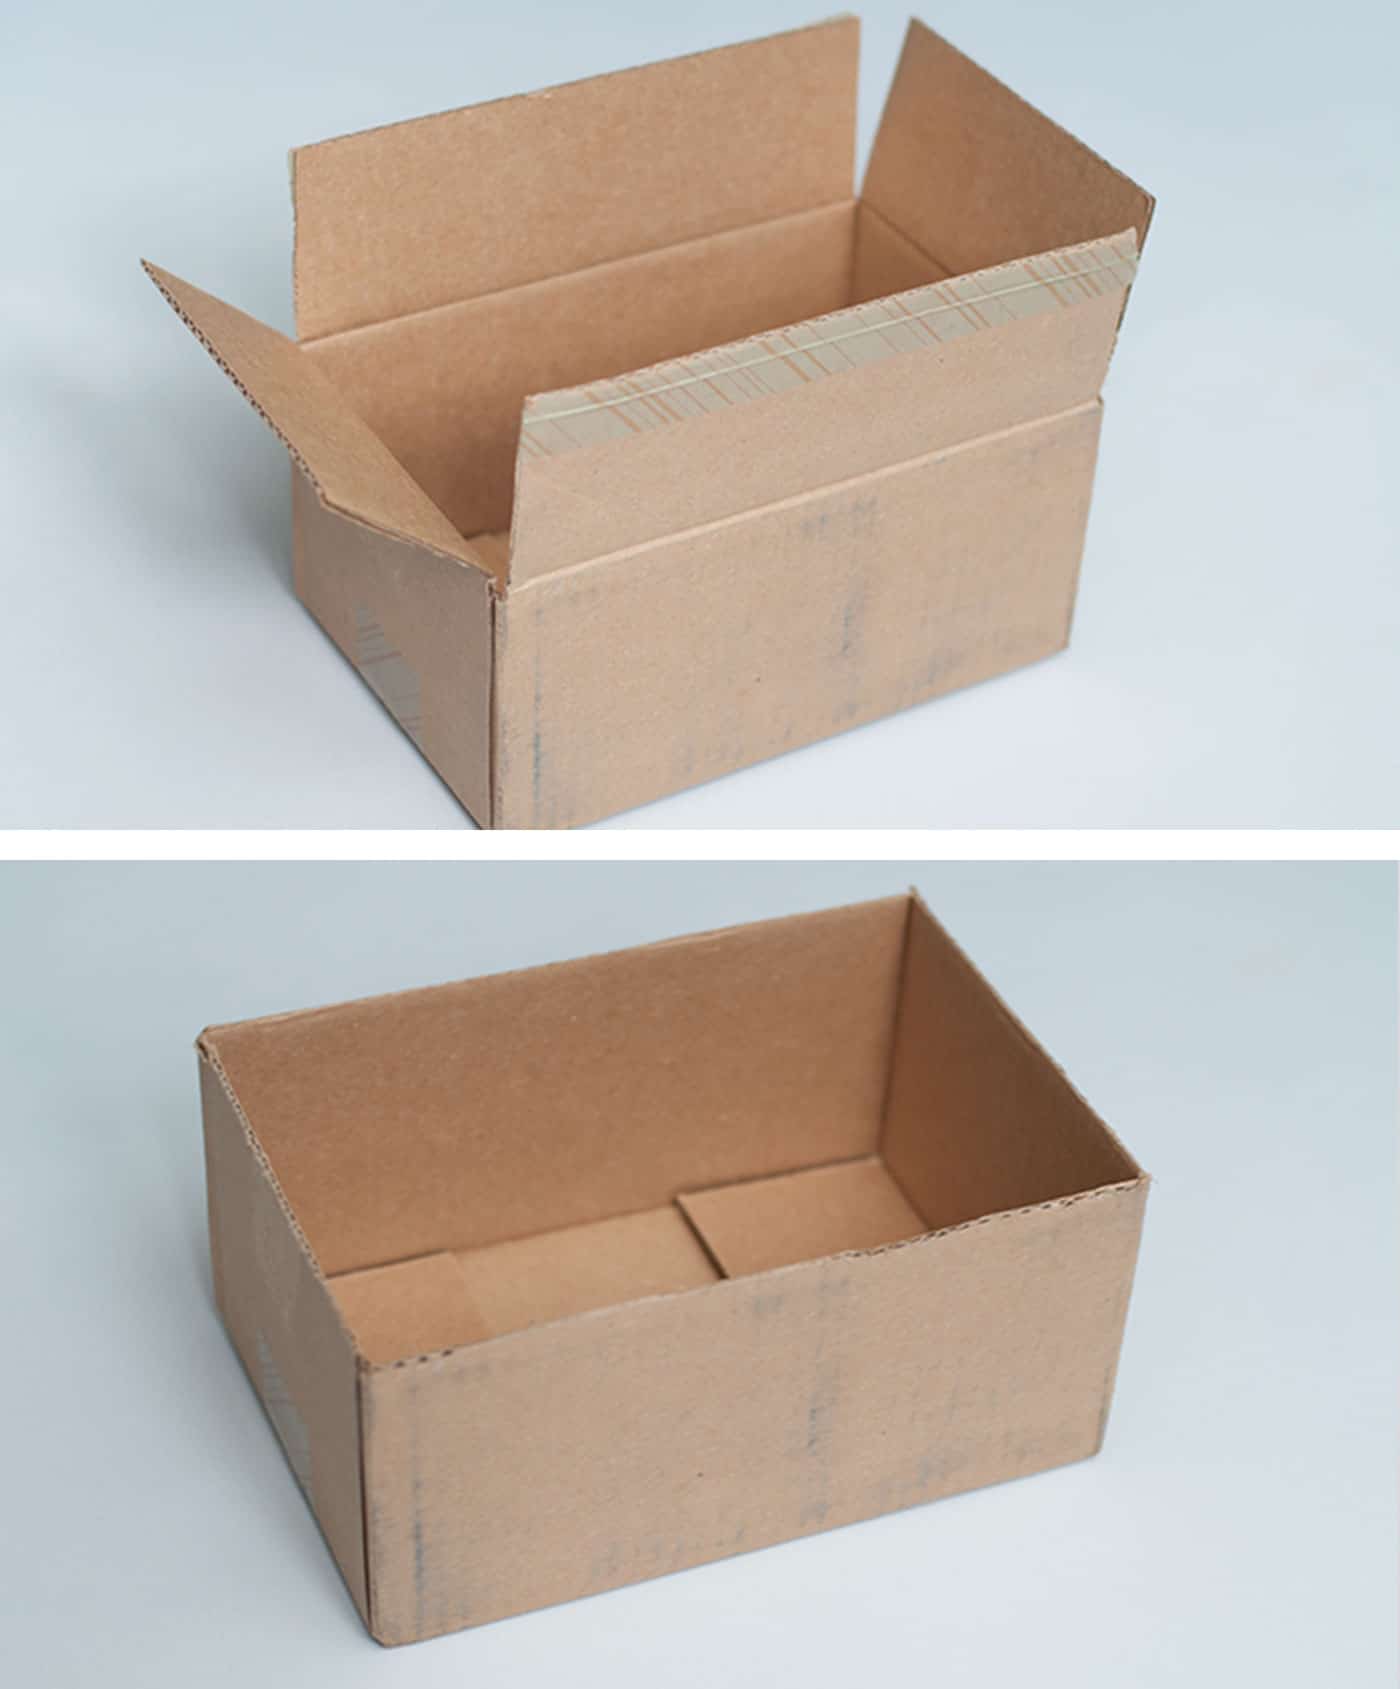
- Select a box and use scissors or a craft knife to remove any flaps.
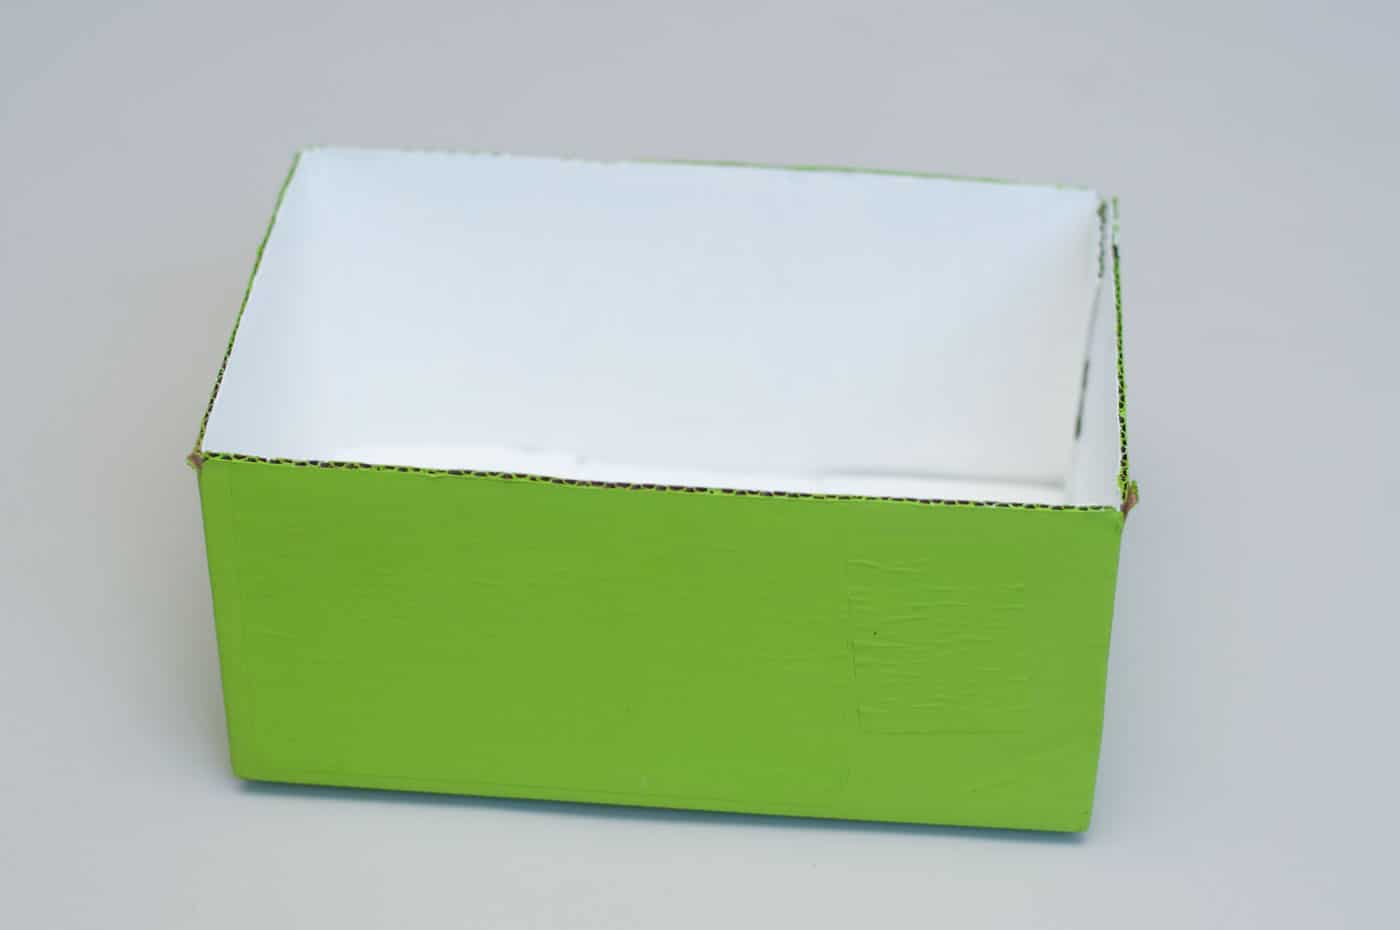
- Paint the box both outside and inside with the colors of your choice. Let dry.
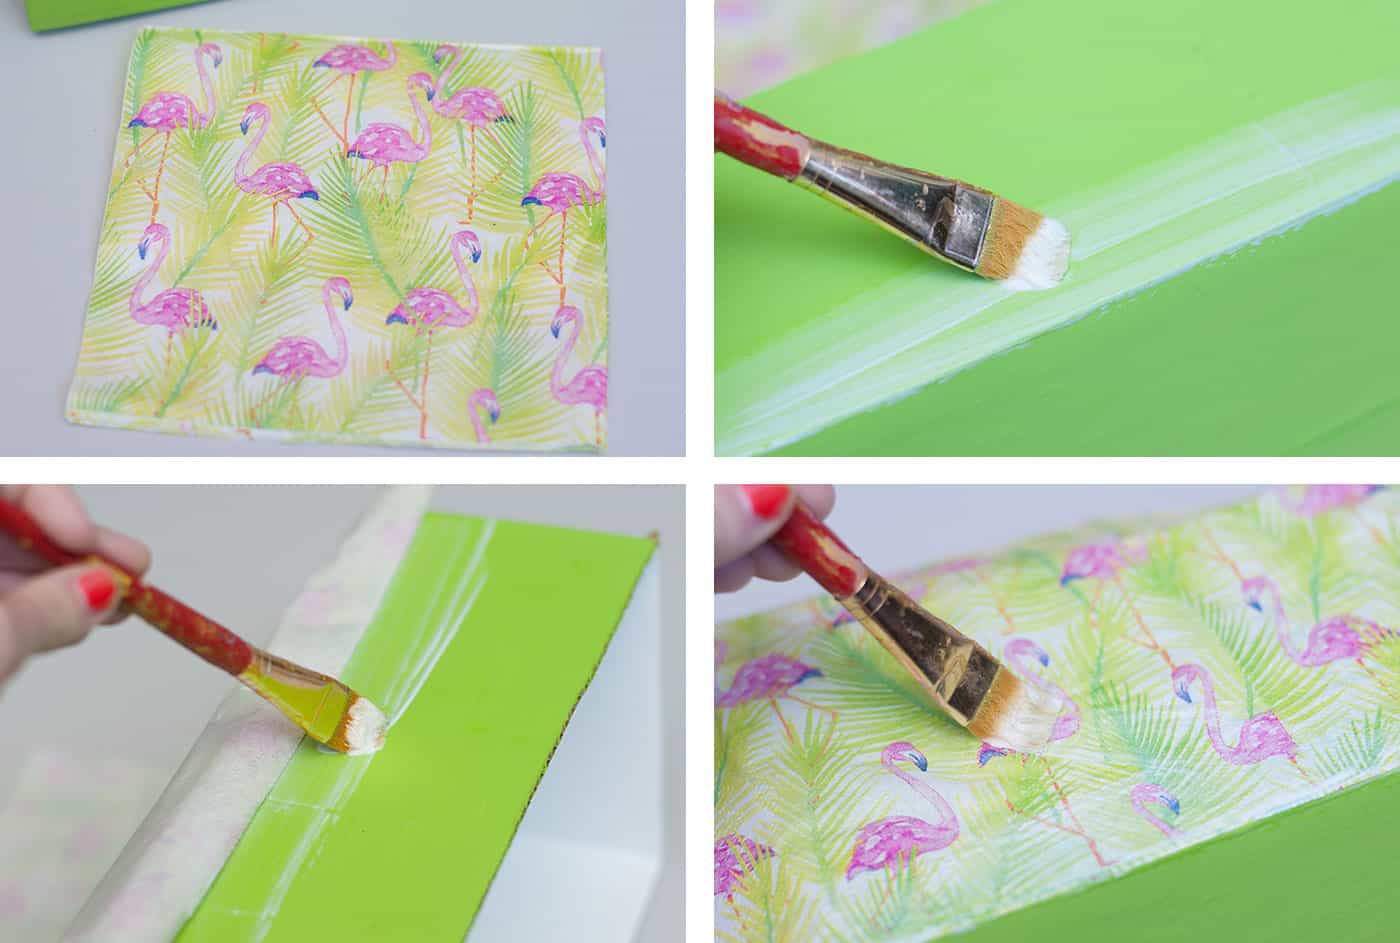
- Add a layer of Mod Podge to the bottom of the box and line up the napkin, smoothing down onto the box. Continue the process all the way to the top of the box. Wrap the excess napkin around the sides of the box.Repeat this process on both long sides of the box and let the Mod Podge dry 20 minutes. Add a top coat and let dry.
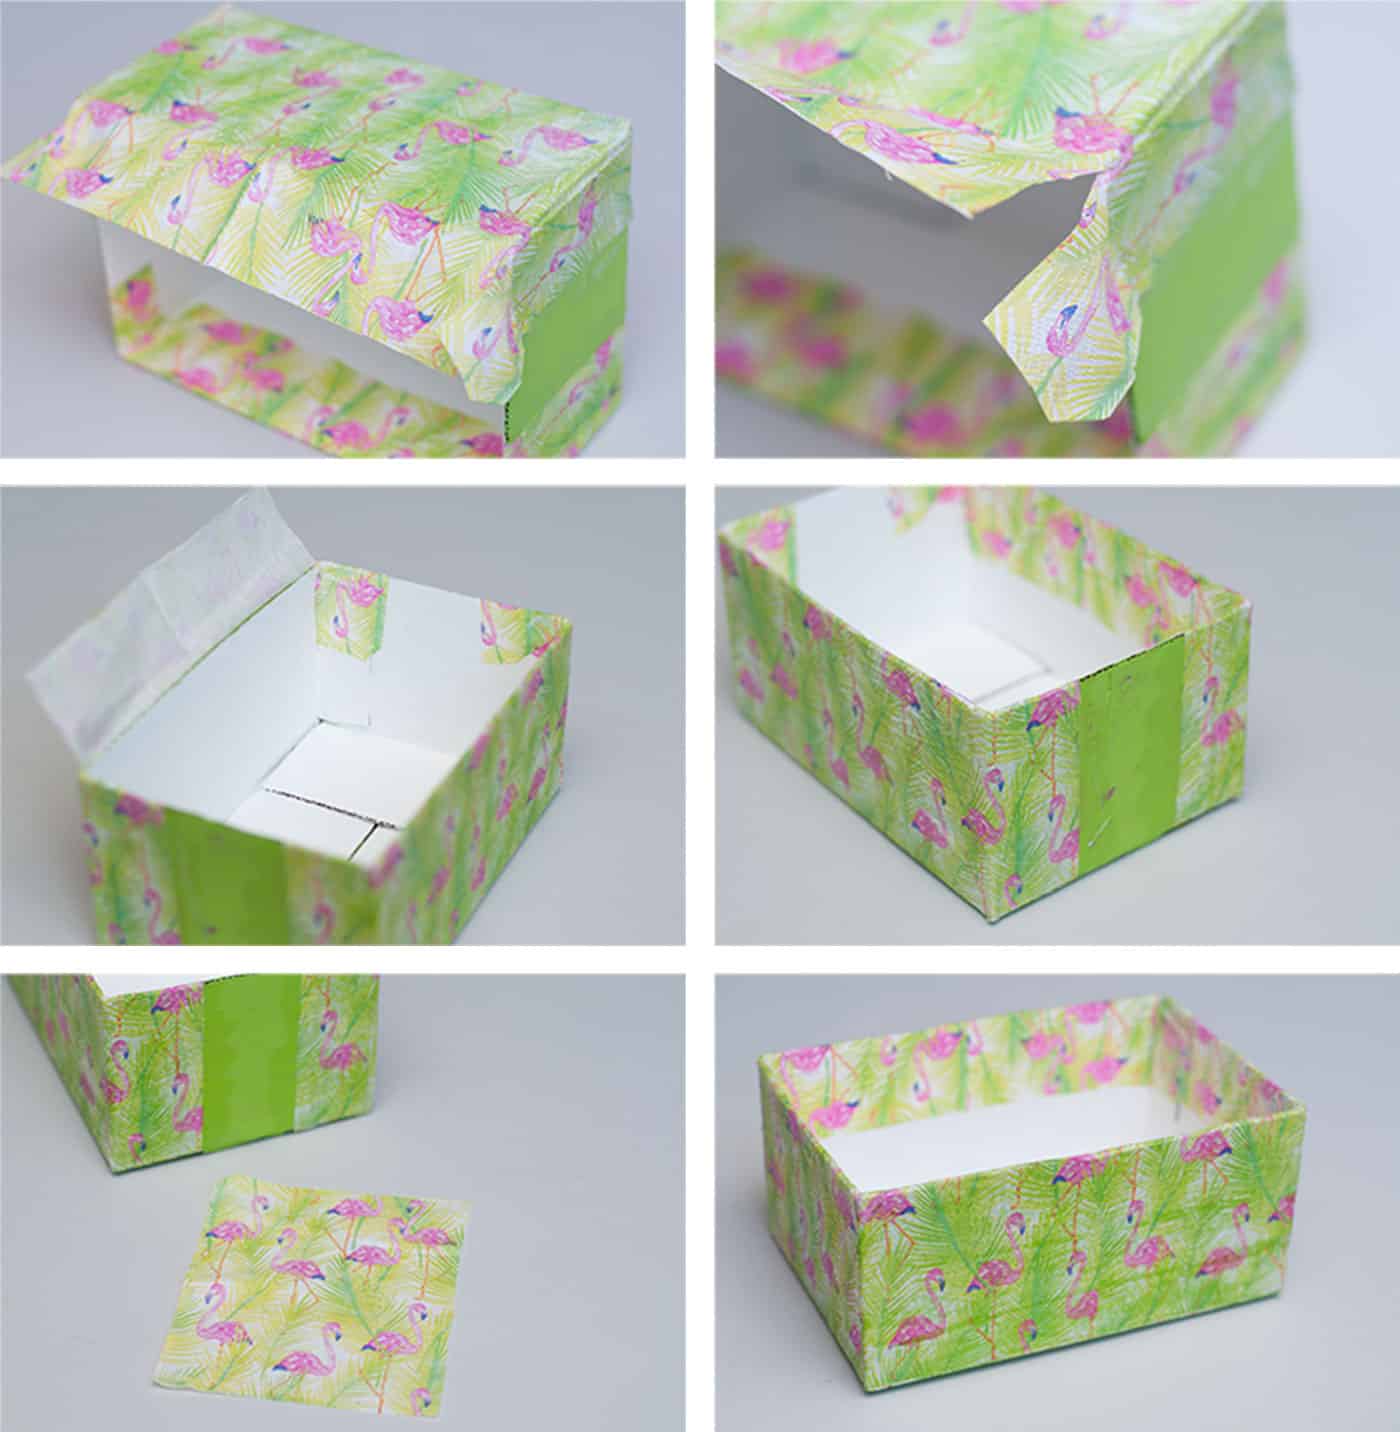
- Fold the napkin edges over the top and sides. Cut napkin squares and add them to both ends of the box with Mod Podge. Let dry.
- Add ribbon detail using a hot glue gun. Let cool before using.
Notes
Step 2: I wasn't sure if you would see the box color underneath the napkins and I didn't want to take any chances (you can). I just did one coat of green paint on the outside (to match the napkin) and two coats of white paint on the inside. You'll let each coat dry 30 minutes.
You can do this with fabric, scrapbook paper, rice paper, wrapping paper, or a variety of other materials.
Step 3: Plastic wrap is a great way to smooth down a napkin without using your fingers. Place the plastic wrap over the wet Mod Podge surface and smooth, being careful not to tear the napkin.