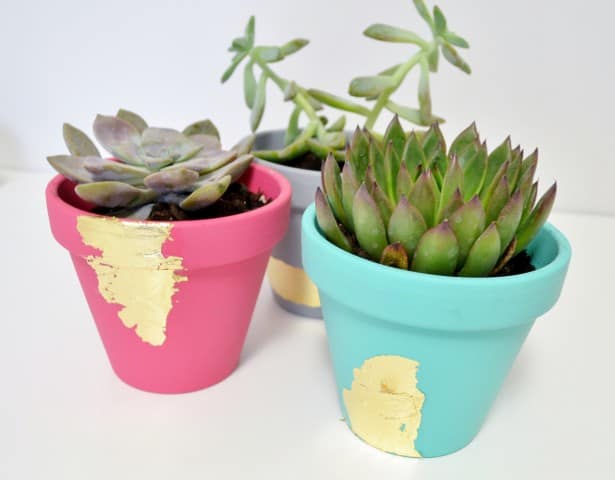
Learn how to make a Mod Podge gold leaf planter the easy way! Yes, you can use decoupage medium with gold leaf. Learn how to do it here.
Skills Required: Beginner. You don’t need a ton of prior crafting experience for success. The only thing I’d recommend is prior Mod Podge experience since gold leafing can wrinkle.
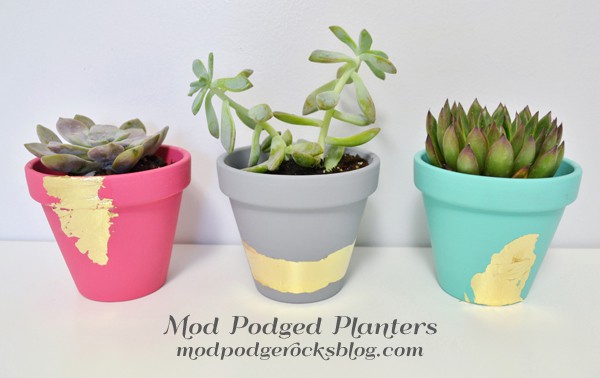
Hello there, fellow Mod Podgers! It’s Linda here, from burlap+blue, and I’m thrilled to be here today sharing another tutorial for these awesome succulent planters.
It’s getting close to spring (yay!), so I combined some of my favorite spring colors with my favorite plants (anyone else out there LOVE succulents like I do?) and created these gold foil, decoupage planters!
These look great on the desk in my craft room, and succulents are low-maintenance enough that anyone can keep them alive! Want to create something similar? Here’s the easy how-to. . . .
Mod Podge Gold Leaf Planter
Materials:
- Mod Podge Gloss
- planters
- succulents
- gilding sheets
- foam brush
- craft paint
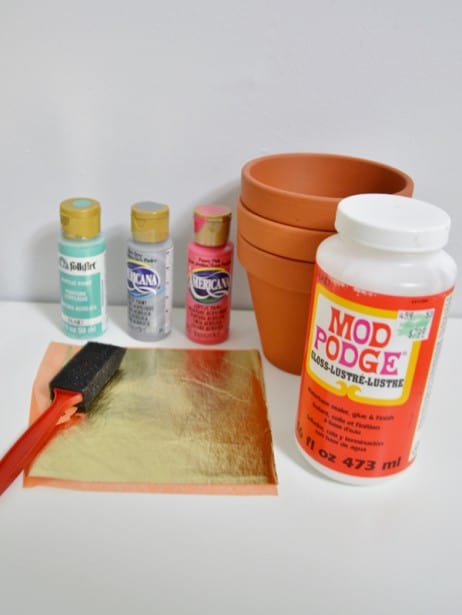
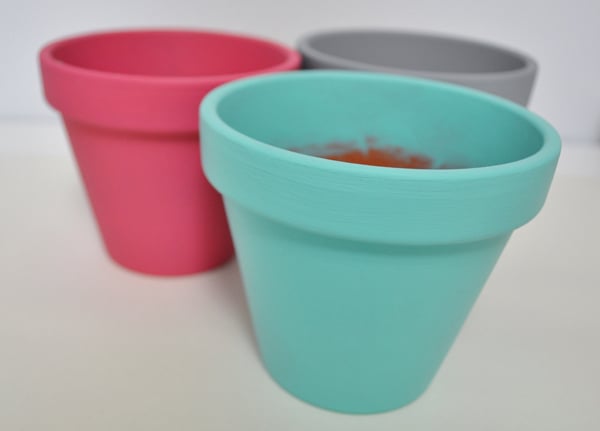
Step 1: Decide on your color scheme, and start painting your pots. Mine took between 2-3 coats each, depending on the color. Once done, you’ll have these pretties . . .
Step 2: This next step requires a bit of patience, but is well worth it in the end! I know that there are special tools and products out there for gilding projects, but I love using what I have on hand.
I found that Mod Podge is a great complement to gilding sheets if you want that shiny, metallic effect that is so popular right now!
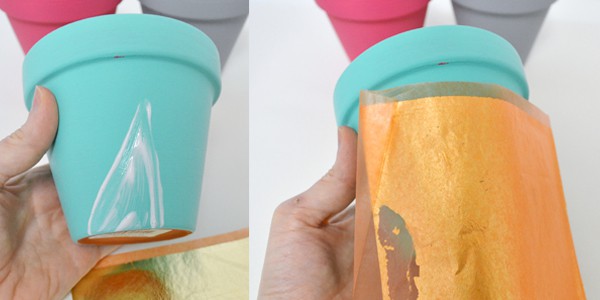
First, put your Mod Podge on your planter using your foam brush. Lay your gilding sheet on top of your Mod Podge, press firmly, and let dry (30 minutes or so).
Carefully remove your gilding sheet, brush off the excess gilding material, and, if desired, seal with a clear acrylic sealer to set. I love the rustic edges and abstract shapes . . . but you can make yours have cleaner edges if you desire!
And you’re done!
Thank you so much for letting me share with you all today! You can find lots of other tutorials and inspiration on my blog, my facebook page, on pinterest or on twitter! Have a lovely day!
Mod Podge Gold Leaf
Equipment
Materials
- Mod Podge Gloss
- Terra cotta pot(s)
- Gold leaf sheets
- Craft paint
Instructions
- Decide on your color scheme, and start painting your pots. Mine took between 2-3 coats each, depending on the color. Once done, you’ll have these pretties . . .
- First, put your Mod Podge on your planter using your foam brush. Lay your gilding sheet on top of your Mod Podge, press firmly, and let dry (30 minutes or so).
- Carefully remove your gilding sheet, brush off the excess gilding material, and, if desired, seal with a clear acrylic sealer to set. I love the rustic edges and abstract shapes . . . but you can make yours have cleaner edges if you desire!




I just LOVE this! What a fabulous idea!
Ok – so I’m NOT a plant person…but something in that cute of a planter? Even if I just stick pencils in the pot, I’m so making some of these. The terra cotta pots are super cheap – and everyone has all the other stuff lying around. Finding a well-written tutorial that uses stuff I already have is Heaven. I. Cannot. Wait! Great tutorial, Linda!
Just the perfect tutorial I was looking for – straight forward painting, mod podge and gold leaf with final sealer – no funny and expensive tools and glues, thank you!
Thank you for reading!
Hello this is a great DIY! I’m wondering if you used anything to seal the gold leaf… Will it come off easily ?
The Mod Podge seals the gold leaf! Or seems to. Because it doesn’t chip off!