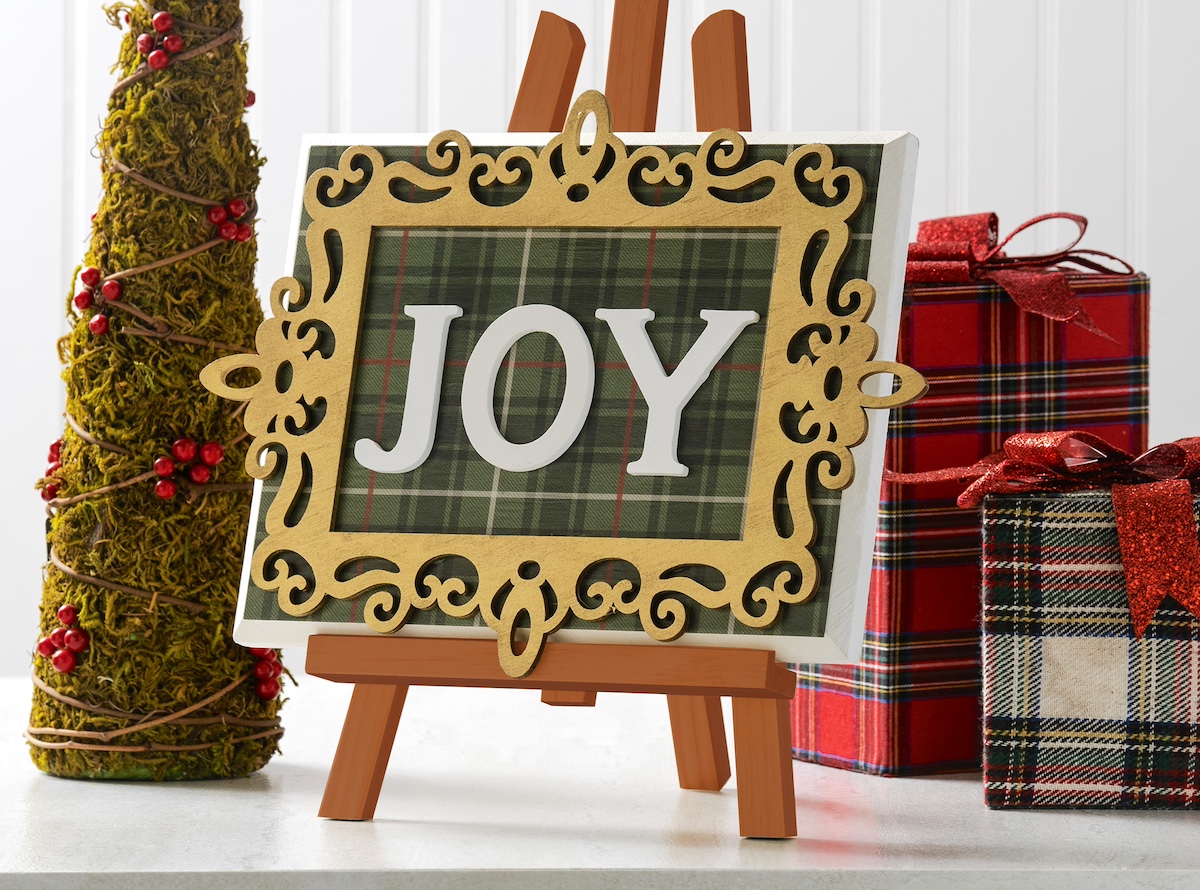
Spruce up your holiday with this simple DIY project: a JOY Christmas plaque with wood lettering, glitzy gold framing, and a cheerful plaid paper design. A perfect addition to your Christmas decor lineup!
Skills Required: Beginner. You will be cutting paper, decoupaging it to wood, painting, and gluing.
Hello to my Christmas crafting friends! It’s that magical time of the year when your living room starts resembling Santa’s workshop, and your dining table becomes a canvas for all things glittery, bright, and merry.
But amidst the whirlwind of tinsel and twinkling lights, there’s always room for one more festive project, right? I’m excited to share with you my JOY Christmas plaque – a craft that promises to add an extra dash of cheer to your holiday decor.
Now, I know what you’re thinking. “Another Christmas craft? Do I have the time? The energy? The crafting skills of a Pinterest professional?”
This project is as easy as downing a mug of hot cocoa (marshmallows optional, but highly recommended). Plus, it’s a great way to unleash your inner artist without turning your home into a glittery war zone.
The project starts with a wood plaque, then you’ll add a piece of plaid paper. To elevate it from ‘cute’ to ‘Woah, did you make that?’, you’ll top it off with a gold frame embellishment.
And the pièce de résistance? White wooden letters spelling out “JOY”. Because what’s Christmas without a little joy?
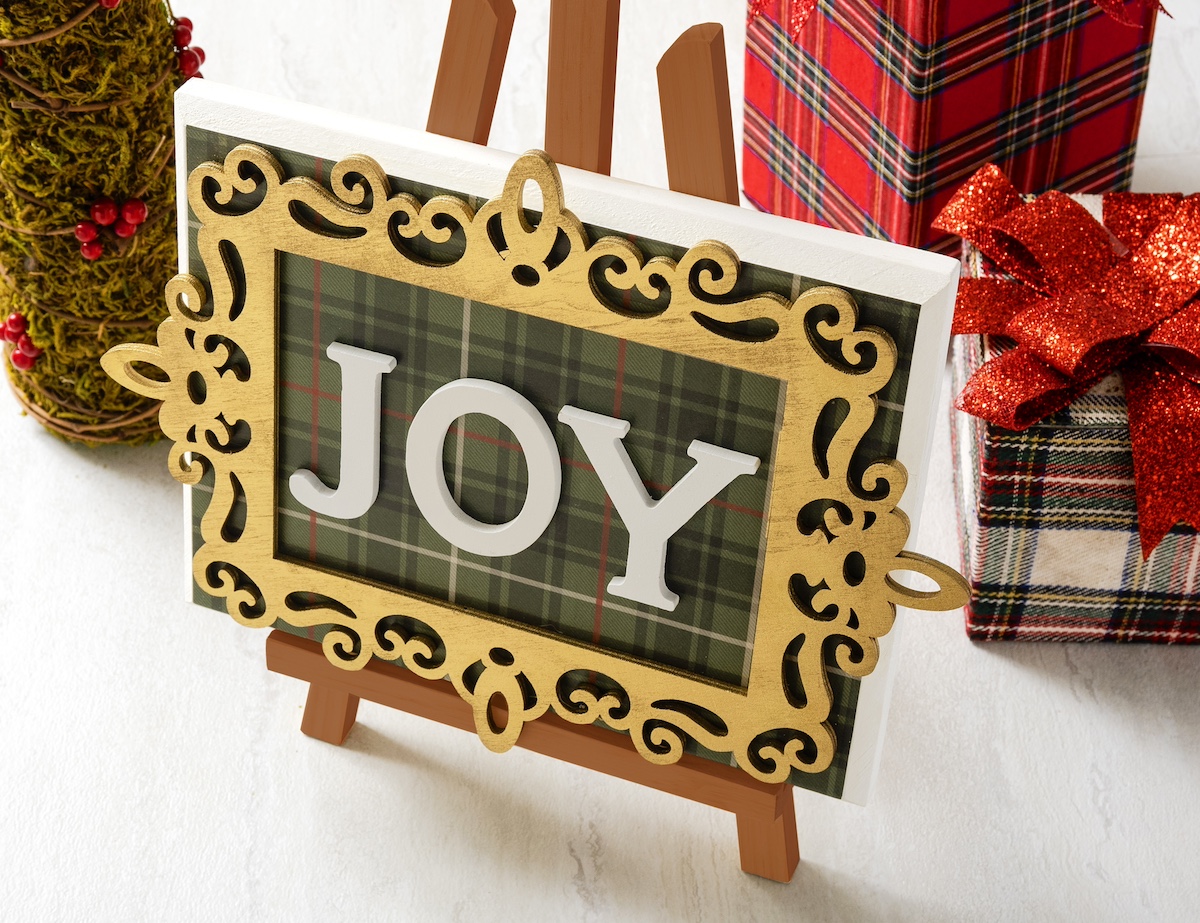
ALL of this stuff was in my craft stash! Don’t you love it when a project comes together like that? I do.
So, are you ready to spread some holiday cheer through crafting? Whether you’re a novice or a seasoned pro, this project is for you.
Scroll down to find the step-by-step tutorial that will guide you through the process of creating your very own JOY Christmas plaque.
Let’s make something that’ll not only light up your home but also bring a smile to everyone who sees it. After all, crafting is all about having fun and spreading joy – and isn’t that what Christmas is all about?
Grab your Mod Podge, and let’s get crafting!
Gather These Supplies
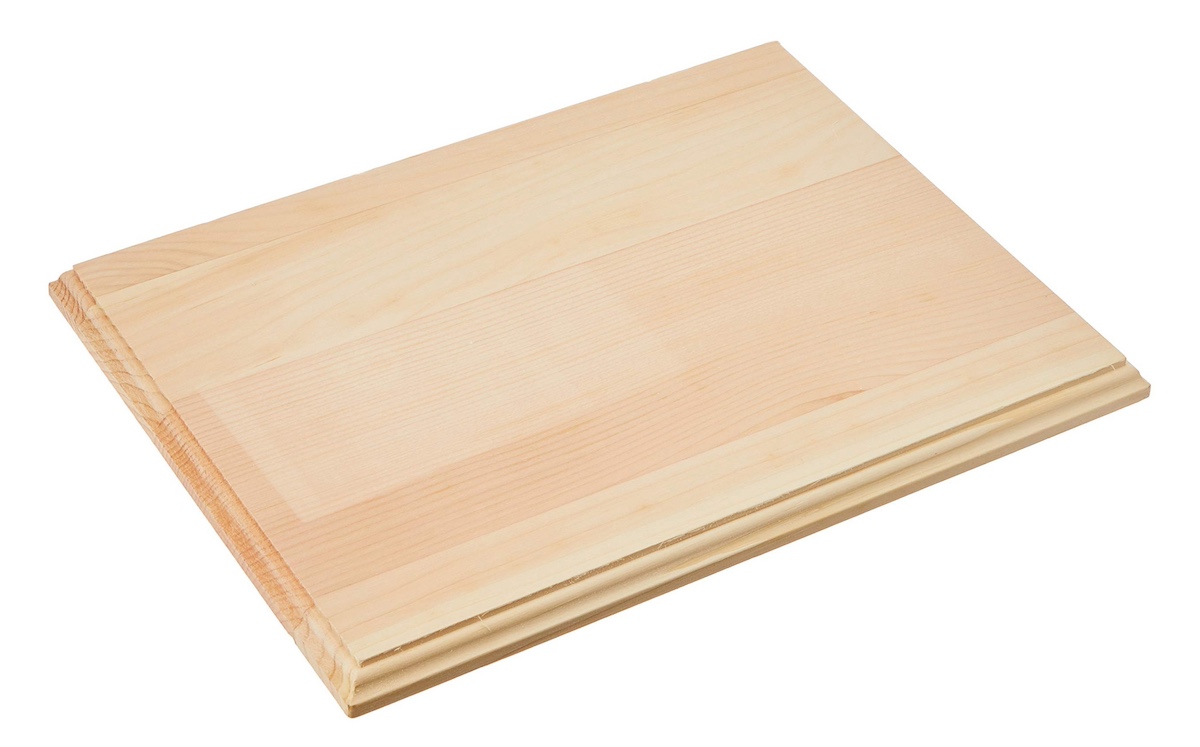
- Wood plaque – 8 x 10
- Lasercut wood frame – 5 x 7 opening
- White wood letters – spelling “JOY”
- Plaid scrapbook paper – 1 sheet
- White craft paint
- Gold spray paint
- Mod Podge Gloss (or Satin or Matte)
- Craft glue
- Paintbrushes
- Ruler
- Craft knife and mat
Tips and Thoughts for This Project
Dollar Tree has plenty of wood surfaces in various sizes and shapes you could use (and paint over) if you don’t want to use a wood plaque.
Use any paint colors you would like for the wood plaque. I used white paint I had on hand.
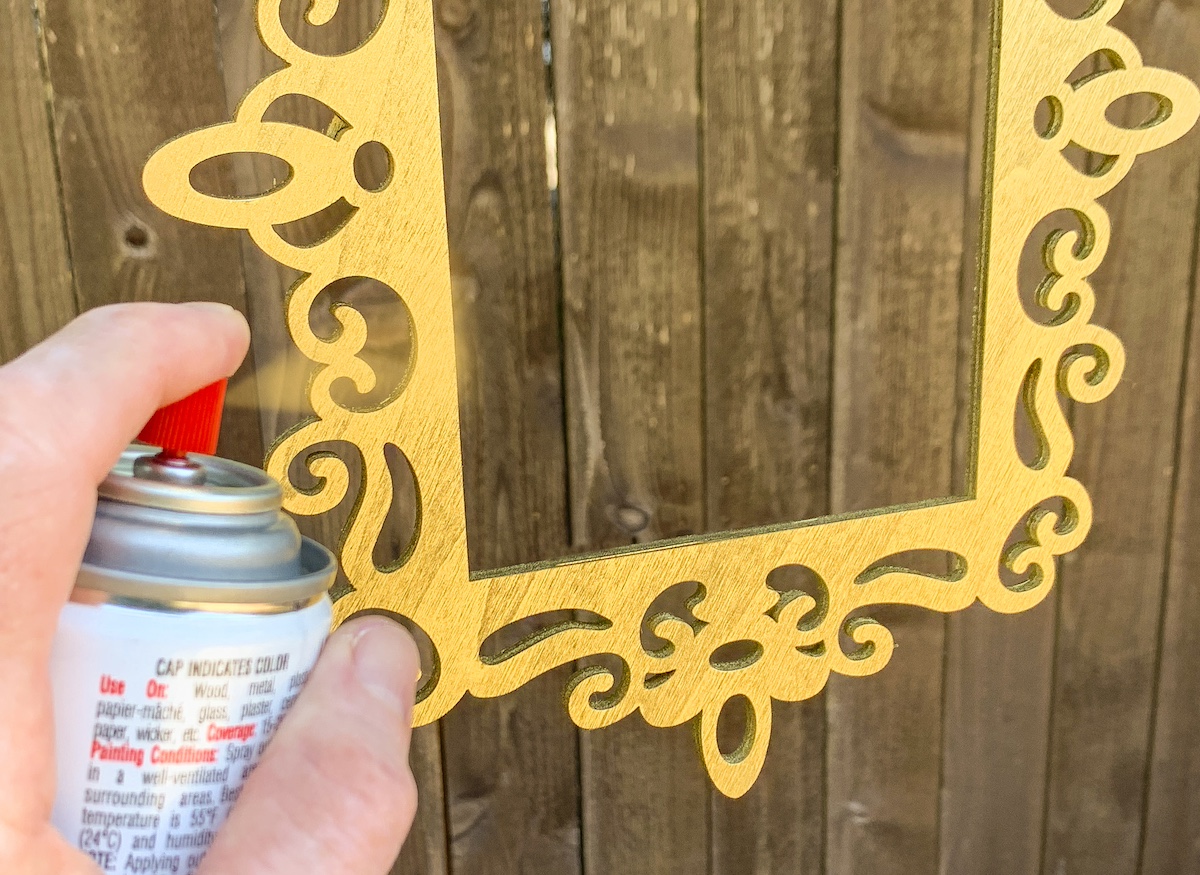
To spray paint frames like the one in this craft, I hang them on a wire hook from a tree outside.
You can attach a ribbon, picture hanger, or Command Strips to the back to make Christmas wall decor. OR you can display on a tabletop easel which makes it easy to pick up to change the number. This would also be fun as mantel decor.

Get the printable how to for this project below:
JOY Christmas Plaque
Materials
- Wood plaque(s) 8 x 10
- Lasercut wood frame 5 x 7 opening
- 3 2.5" white wood letters spelling "JOY"
- 1 sheet Scrapbook paper plaid
- Craft paint white
- Spray paint gold
- Mod Podge Gloss or Satin or Matte
- Craft glue
Instructions
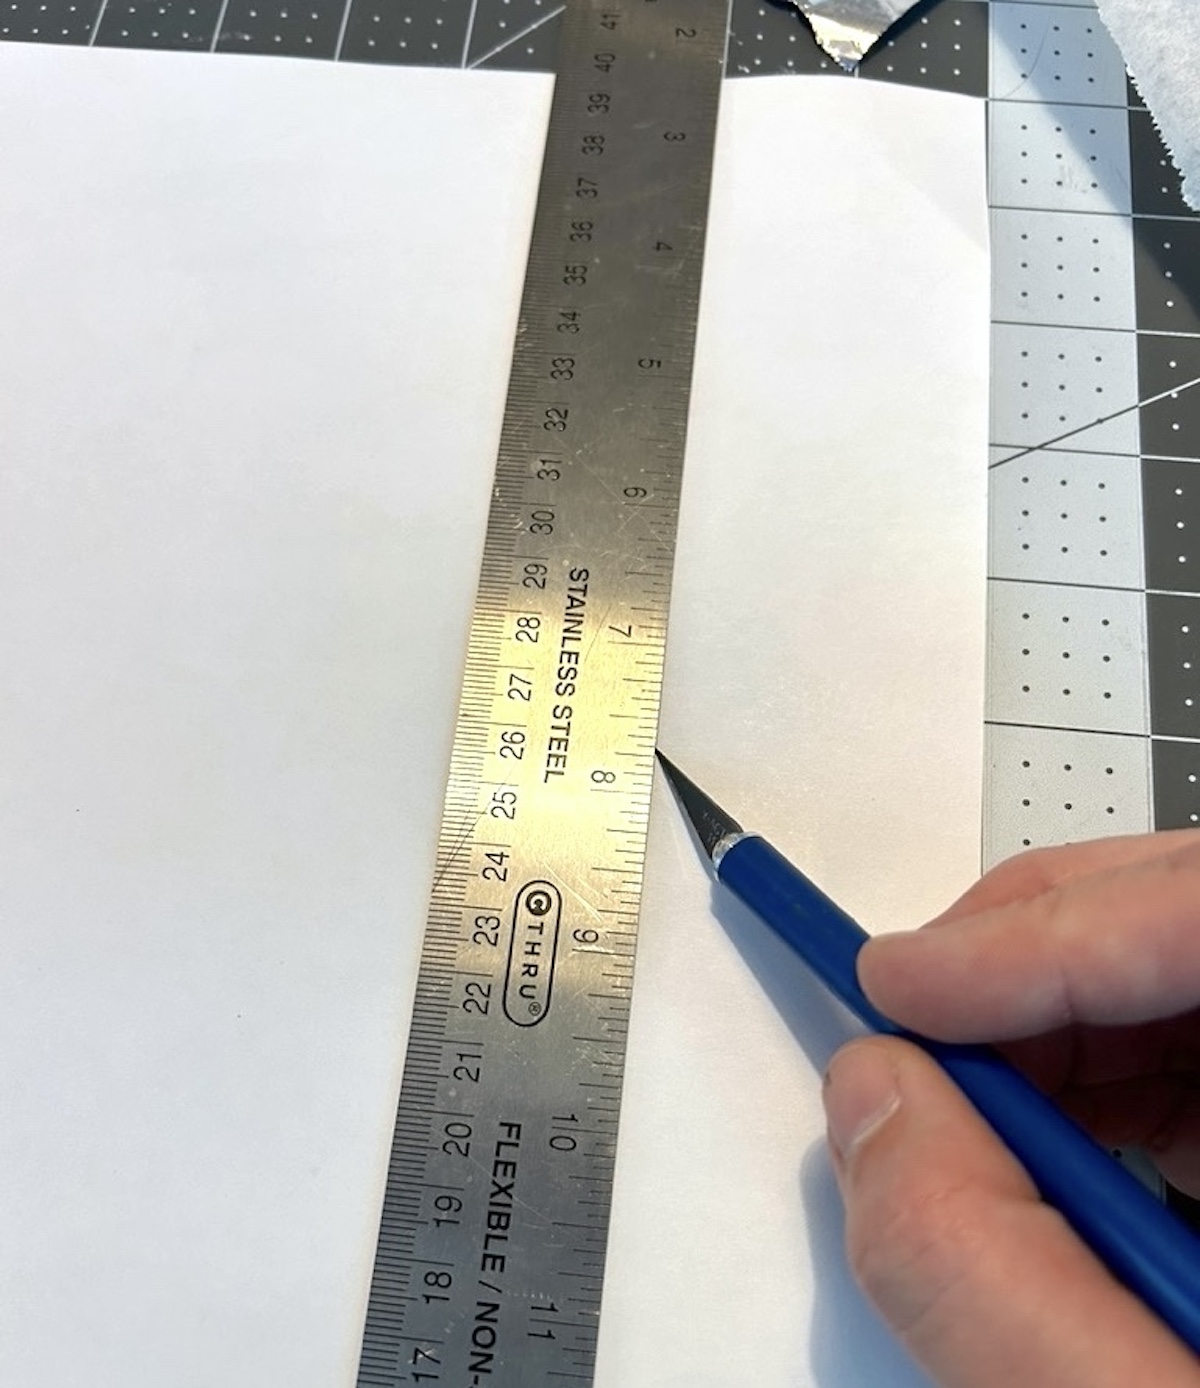
- Measure the top of the wood plaque and cut the plaid paper to fit using the ruler and craft knife. Set aside.
- Paint the wooden plaque with white craft paint and let dry.
- While the paint is drying on the plaque, spray paint the wood frame with gold. Make sure to get the crevices. Let dry completely.
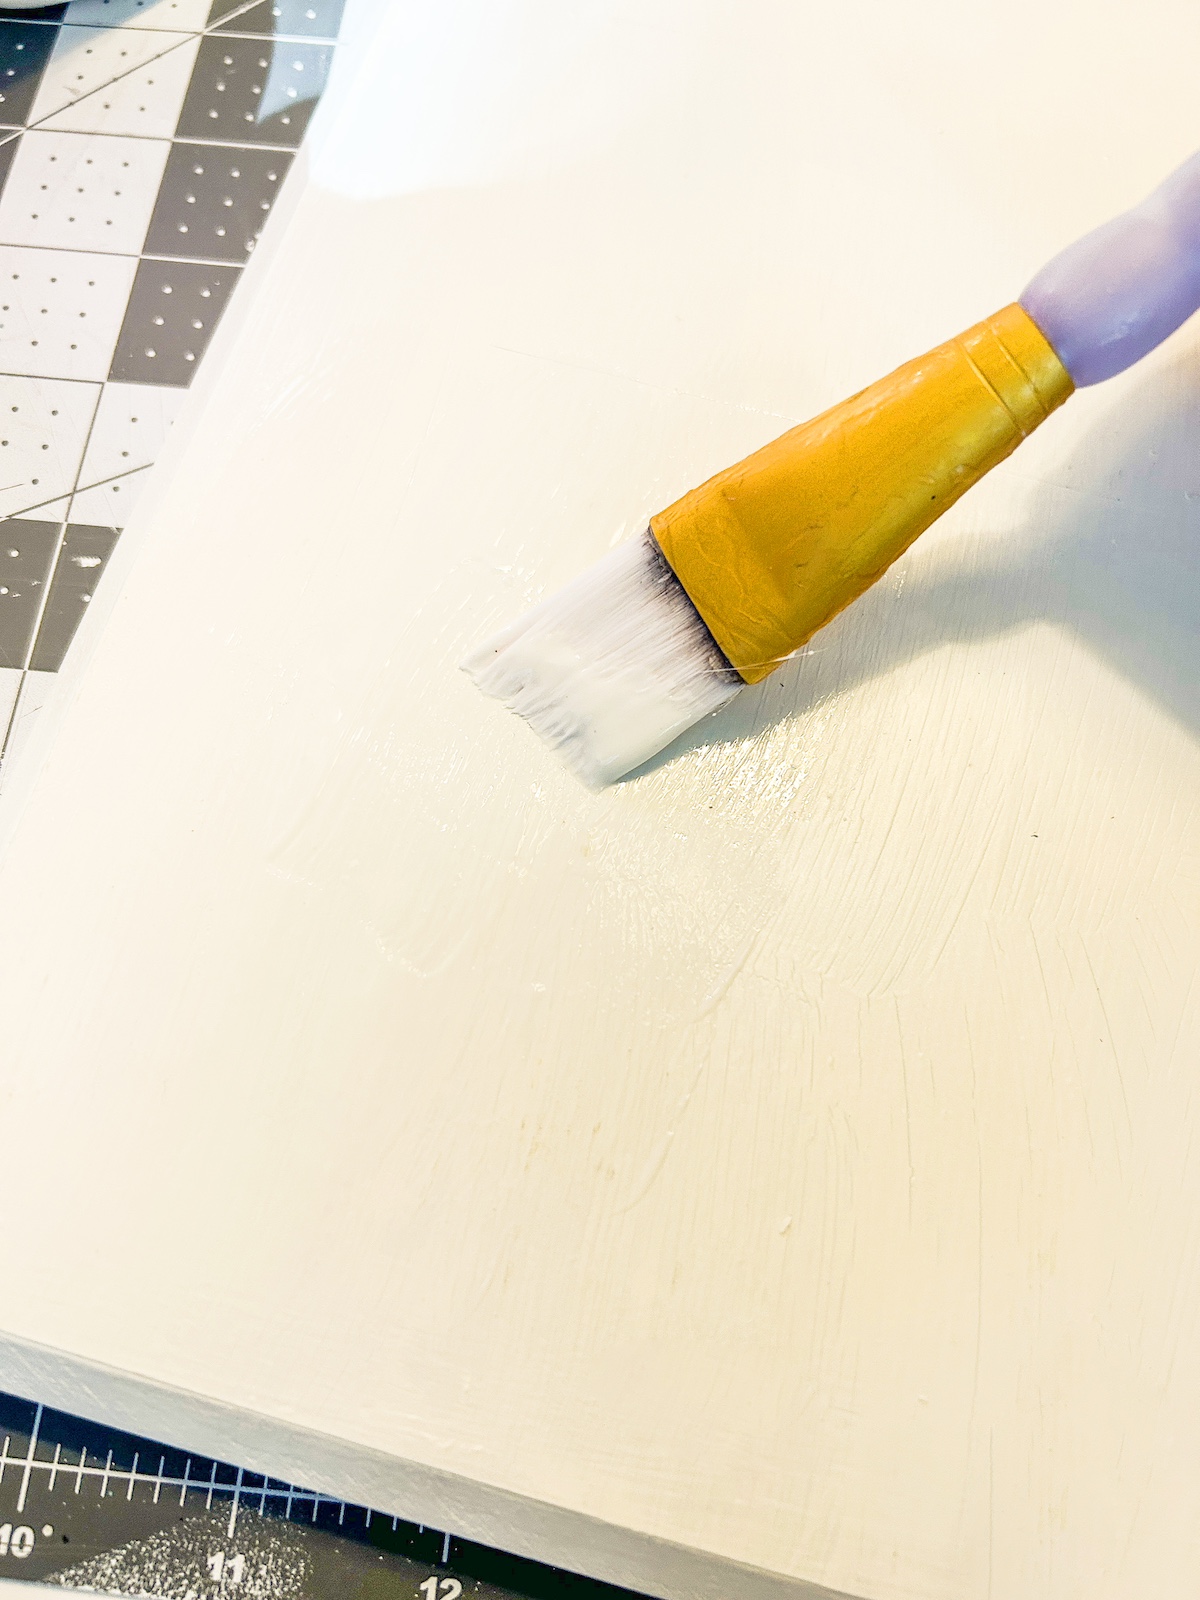
- Add a medium layer of Mod Podge to the top of the wood plaque.
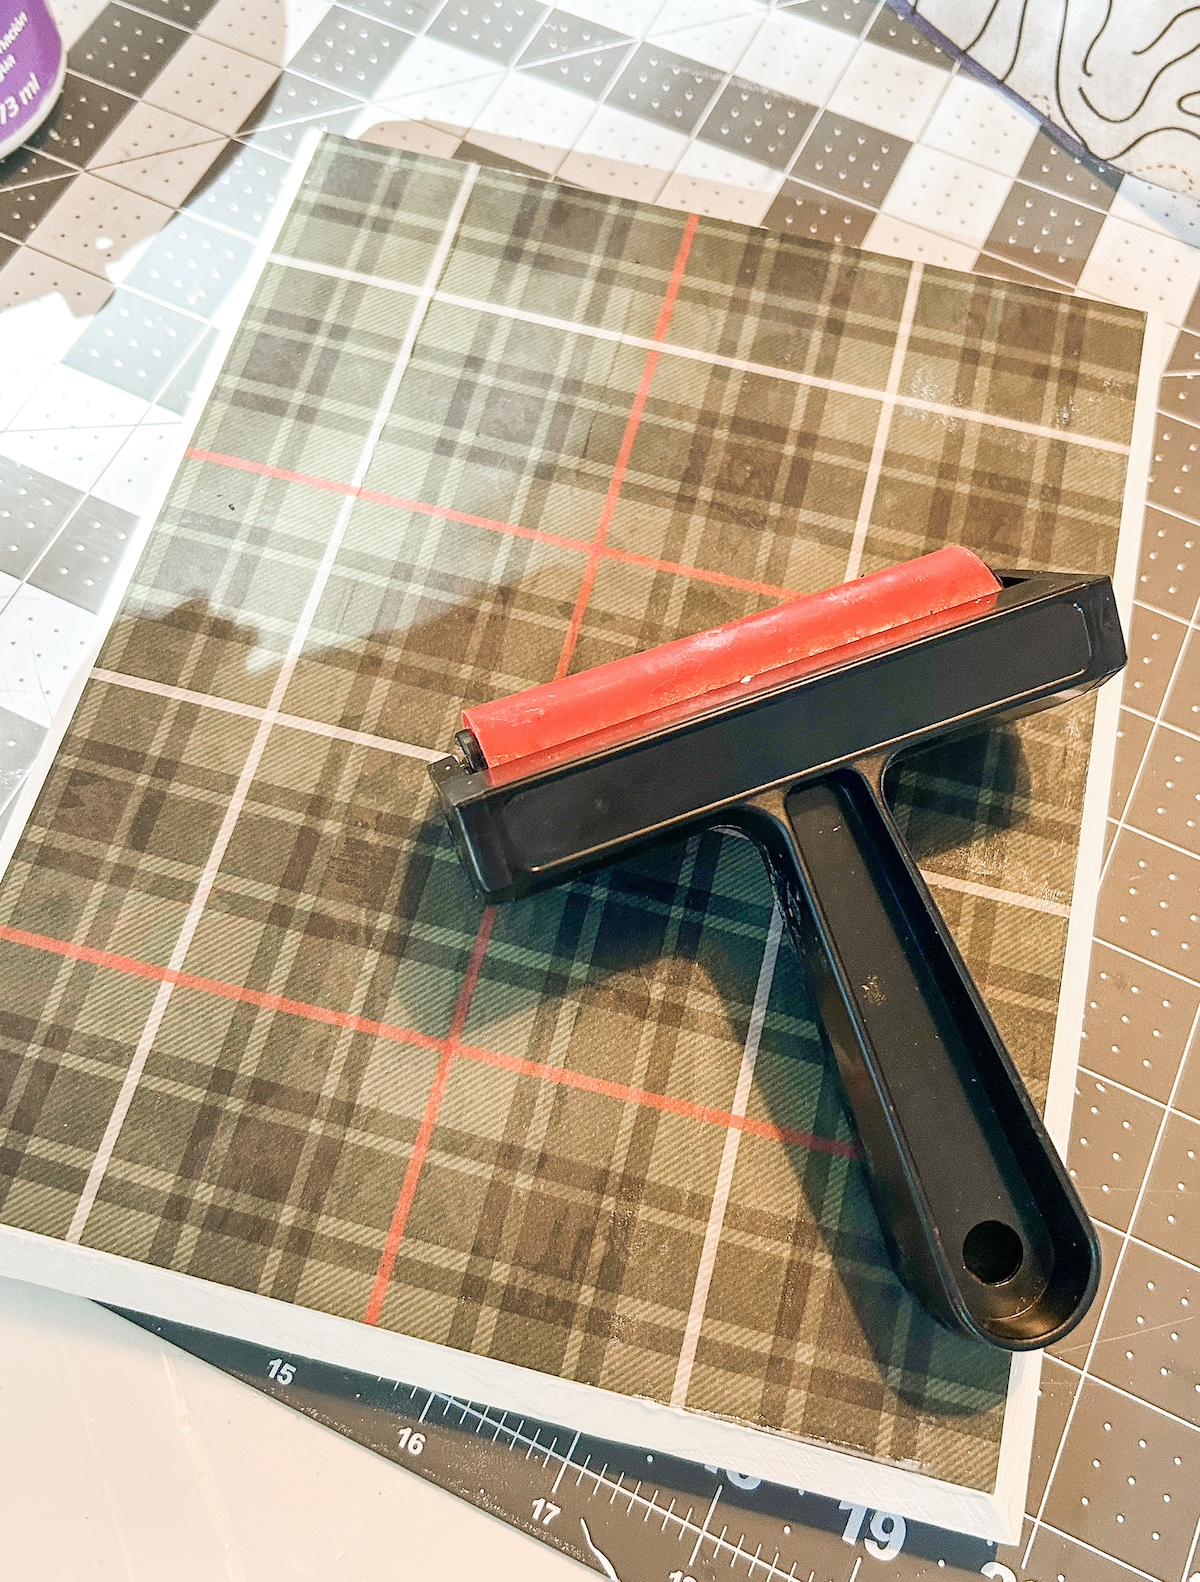
- Smooth the paper down with your hands or a brayer and wipe away any Mod Podge that comes out the sides with a brush. Let dry for 20 minutes.
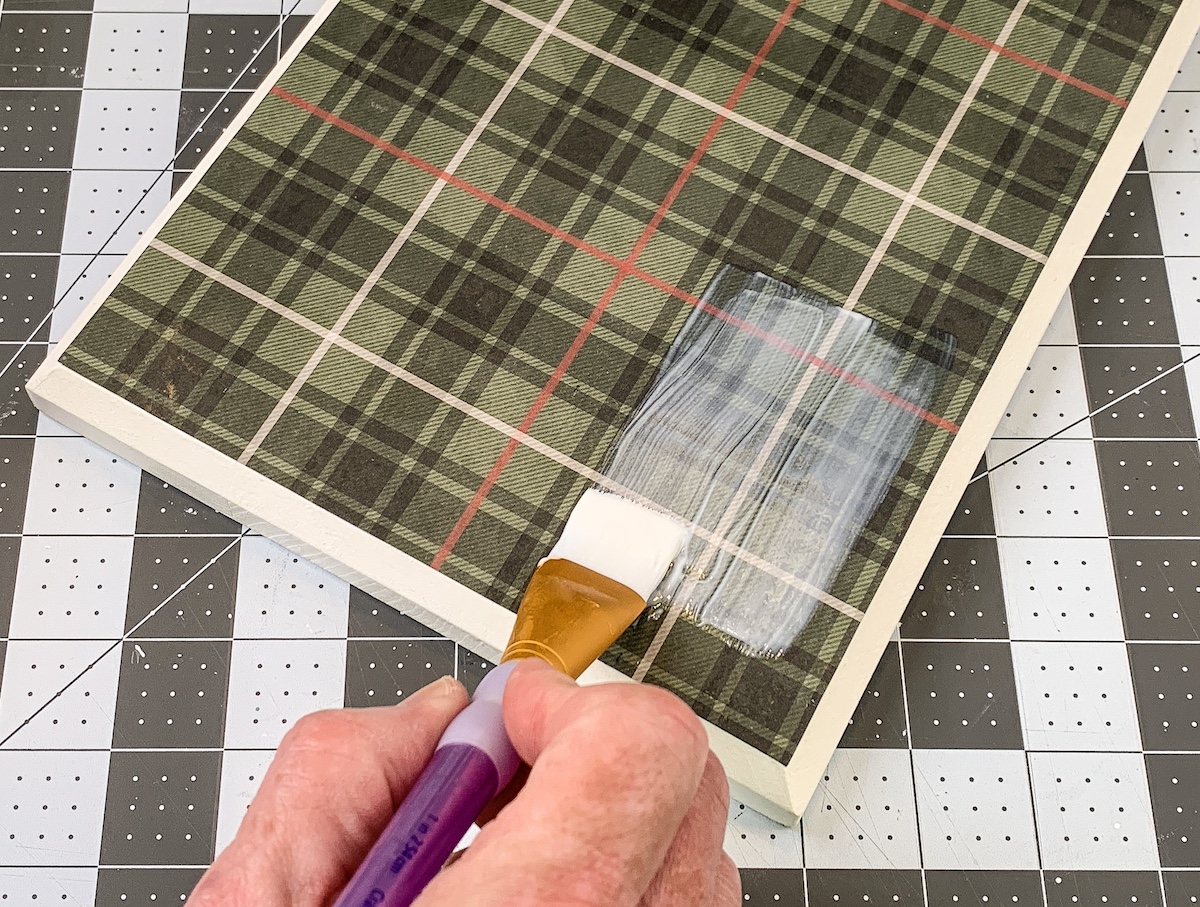
- Paint a medium layer of Mod Podge over the top of the plaid paper. Let dry.
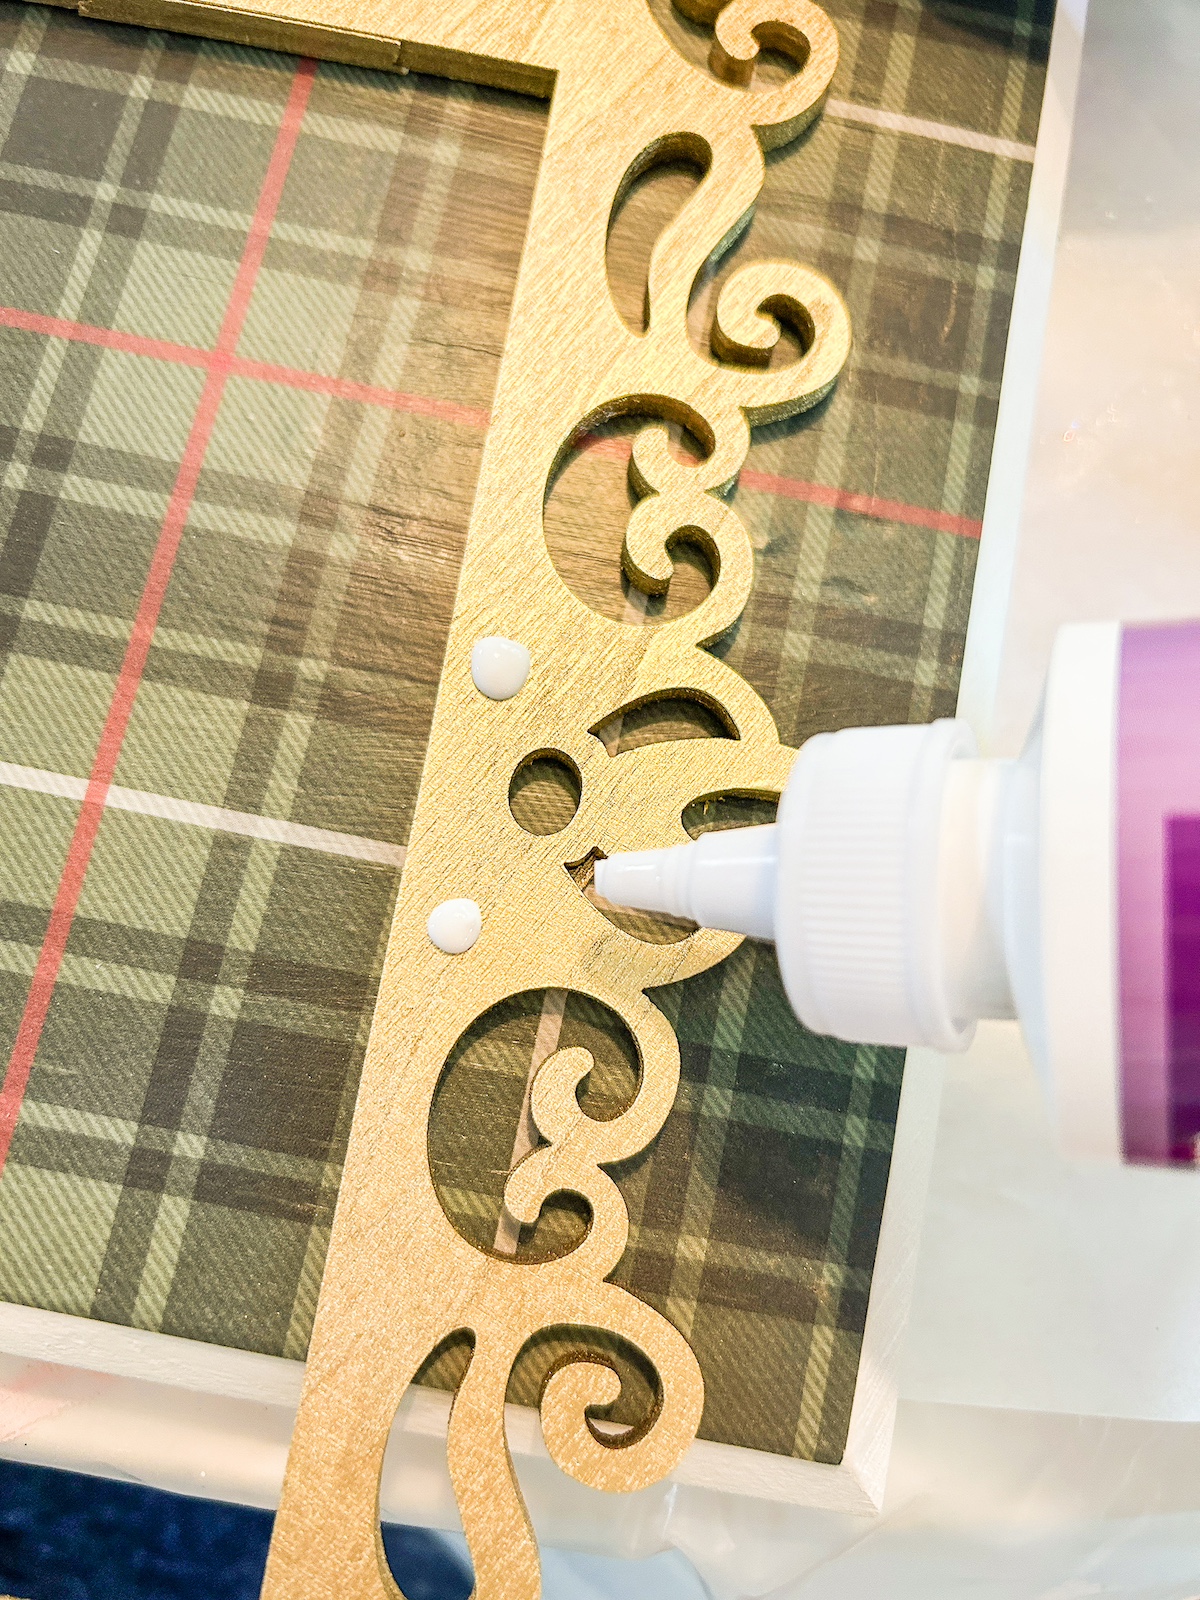
- Glue the gold frame down to the plaid paper. Place dots of glue around the frame then press down.
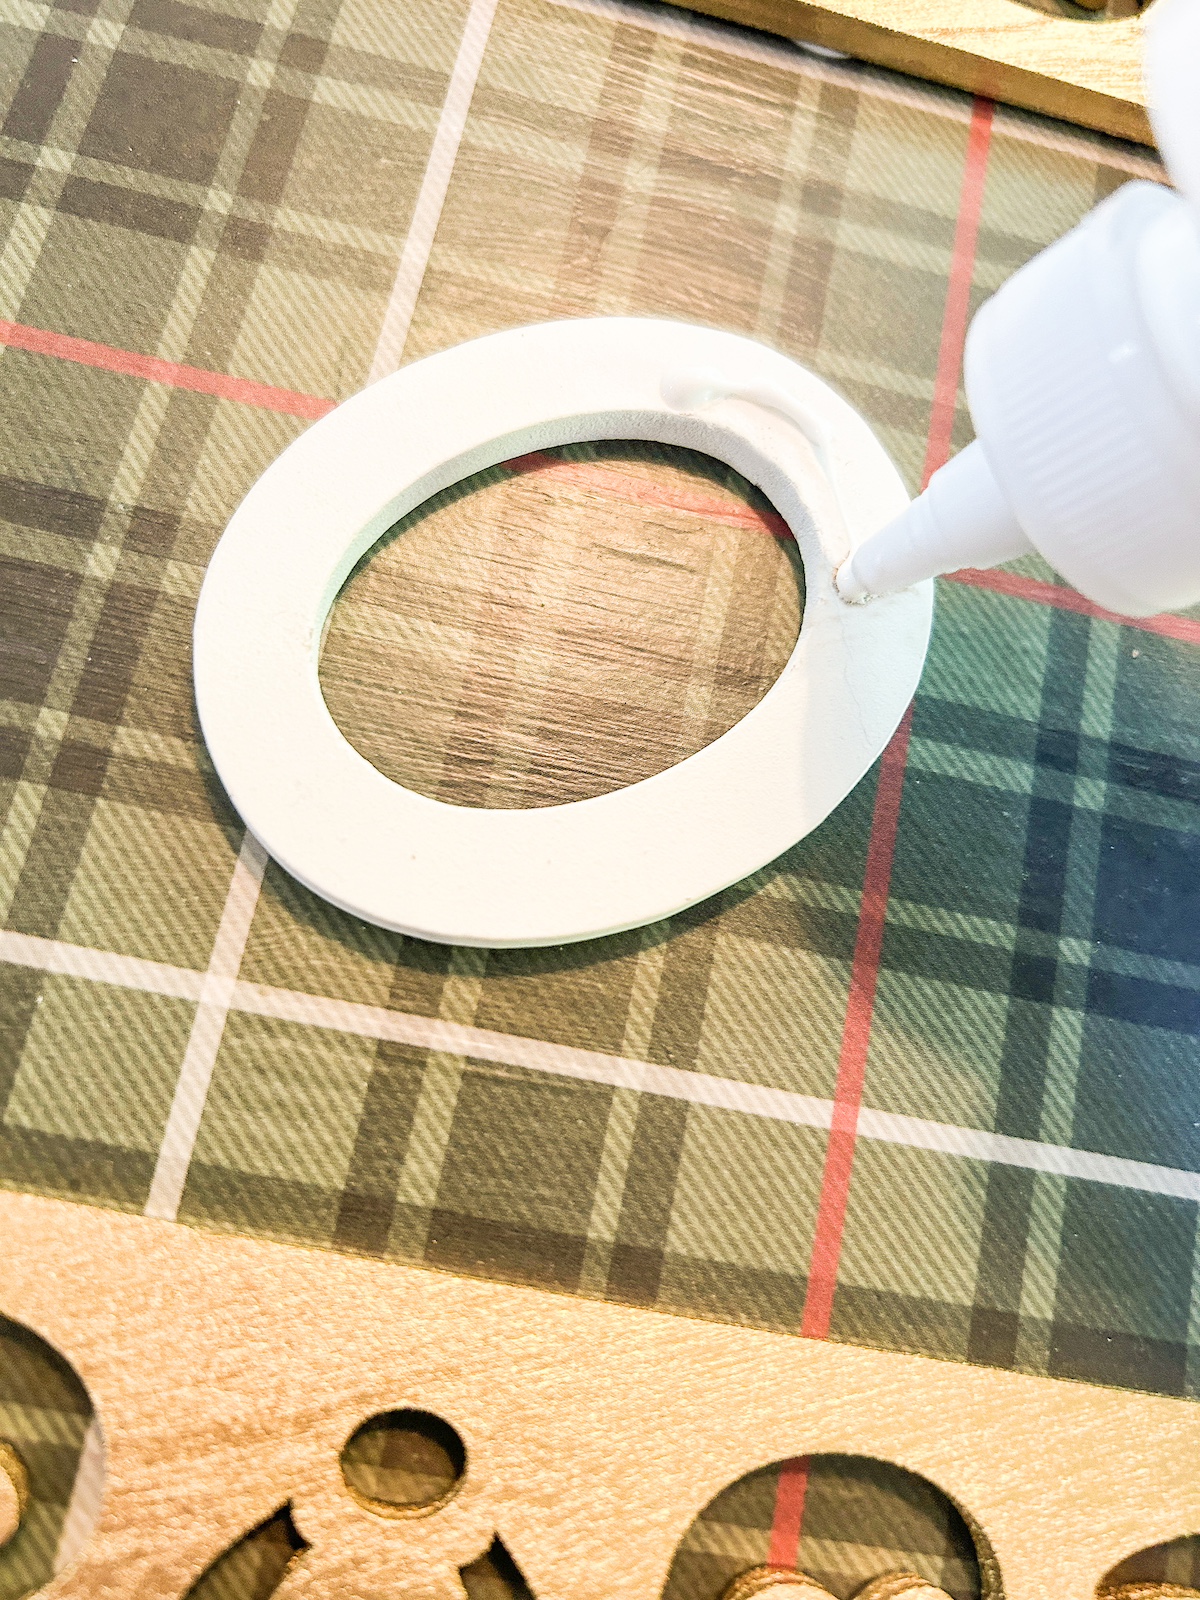
- Attach the wood letters in the center of the gold frame with craft glue.
Notes
If you enjoyed making this holiday project, let me know in the comments! I’d also love for you to check out these other Christmas ideas:


