
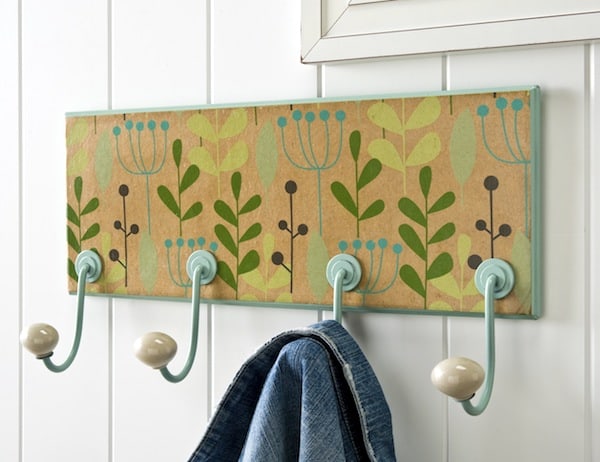
I used a pretty piece of wrapping paper leftover from my birthday to decorate this cute coat rack – with a little bit of Mod Podge and spray paint too!

For Christmas I got some pretty cute clothes from my boyfriend. He did a great job of picking things out for me. So he might have been a little sad when I focused more on the cute wrapping paper that the goodies came in as opposed to the gifts themselves (which I loved, sweet cheeks!).
But I just couldn’t help it. You can see the wrapping paper on my coat rack above, and I think you probably understand why I love it so much. I think you’ll also love that I made this for only $5. Read on to see how I did it.
Decorate a Coat Rack
Gather These Supplies
- Coat rack – wood or metal will do
- Mod Podge Satin
- Mod Podge Brayer
- Spray paint – in the color of your choice
- Spray or paint-on primer
- Wrapping paper or some other paper to cover the “back of the rack”
- Painter’s tape
- Ruler
- Craft knife
- Spray bottle (I bet you are wondering about this)
- Paintbrush
- Pencil
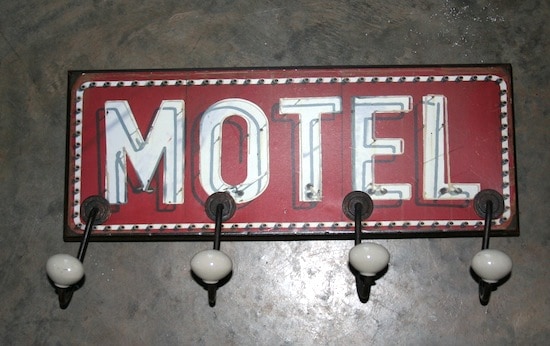
So here is the surface I started with. I don’t own a motel nor do I want my apartment to be considered one, so . . . this coat rack needed a revamp. I got it from Hobby Lobby for less than $5. If you have an HL nearby, it’s GREAT for these kinds of deals!
Remove the hardware from your rack and use the painter’s tape to tape off the ends of the hooks. Spray paint the entire thing and let dry. Note that I painted the front that says “motel” white since my paper is thin.
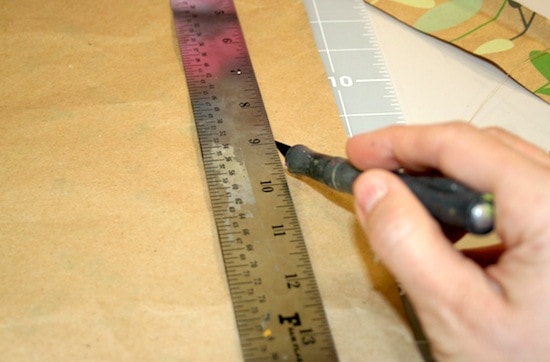
Measure the front of your coat rack and cut the wrapping paper accordingly. Make sure that it fits and trim if necessary.
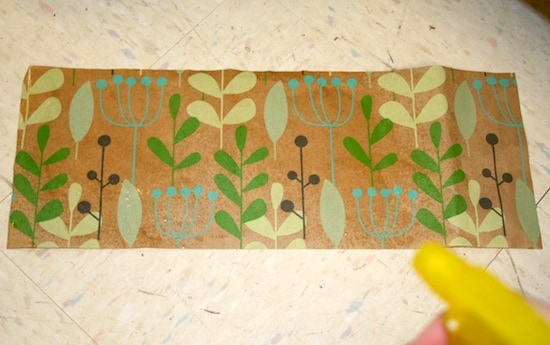
This is where the spray bottle comes in. This type of paper will wrinkle BADLY (since it is so thin) if you don’t wet it first. So use the spray bottle to mist the paper until it’s just wet. Don’t soak it or it will tear easily.

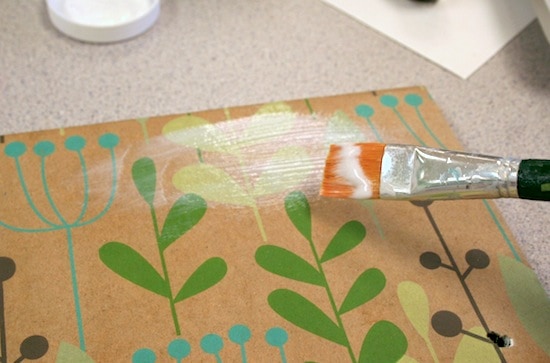
Add a medium layer of Mod Podge to the front of your coat rack, and place the paper down carefully.
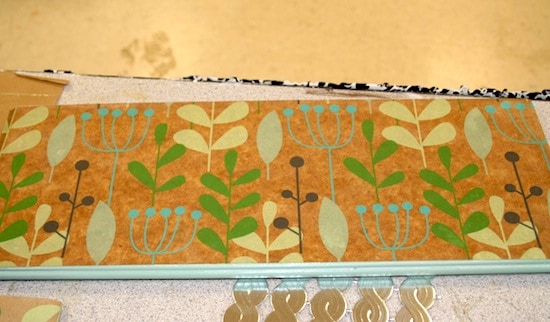
Run the brayer back and forth to smooth out the paper, being really careful. If you are too rough or go over the paper too many times, you can tear it if it’s thin like mine. Leave your DIY coat rack to dry for 15 – 20 minutes (or until completely dry since the paper was wet).
Now you can give the coat rack a final coat of Mod Podge (or three) and let dry. Re-assemble being careful not to chip the paint on your rack.
Hang your new cute coat rack and put a few lightweight coats on it to make sure that it’s stable. Then go to town hanging all sorts of junk off of the hooks like I did.
Did you enjoy this project idea? I’d love for you to check out these other crafts:


What a great idea!
I would’ve been excited about that wrapping paper too! It’s beautiful (and I’m a sucker for nice wrapping paper!). I love everything about your coat rack. I think I might make a leash rack using your tutorial! Thank you!
I love this!! It is super cute and something that I will have to try …add a pop of color to my entry way 🙂
Great idea to use wrapping paper. There are so many cute papers out there now. Love to recycle. I have always saved my paper and been teased but no more once they see my cute projects.
I can’t wait to try out the fabric mod podge, need a mod podge brayer also. Love any goodies so thanks for the chance to win!!
Love this project-so cute! And that wrapping paper is fantastic. Thanks to you for having a giveaway for your newsletter subscribers!
this is too cute! I love it. No wonder you loved the paper so much.
Really cute. I love the design on the paper, too.
Great idea! I had no idea about spraying the paper with water first. Thanks for sharing!
Oh My Gosh! I totally love this idea. And it turned out so cute. Im going to have to try this one. Thanks for the idea.
Sharon
Nice project!