Are you inspired by seaworthy decor? This DIY nautical wall art is easy to make with Mod Podge – and uses a fun color palette.
Skills Required: Beginner. It helps to have a little experience with Mod Podge simply to prevent wrinkles of the cardstock on canvas. Otherwise, you’ll be painting and cutting out paper with a craft knife.
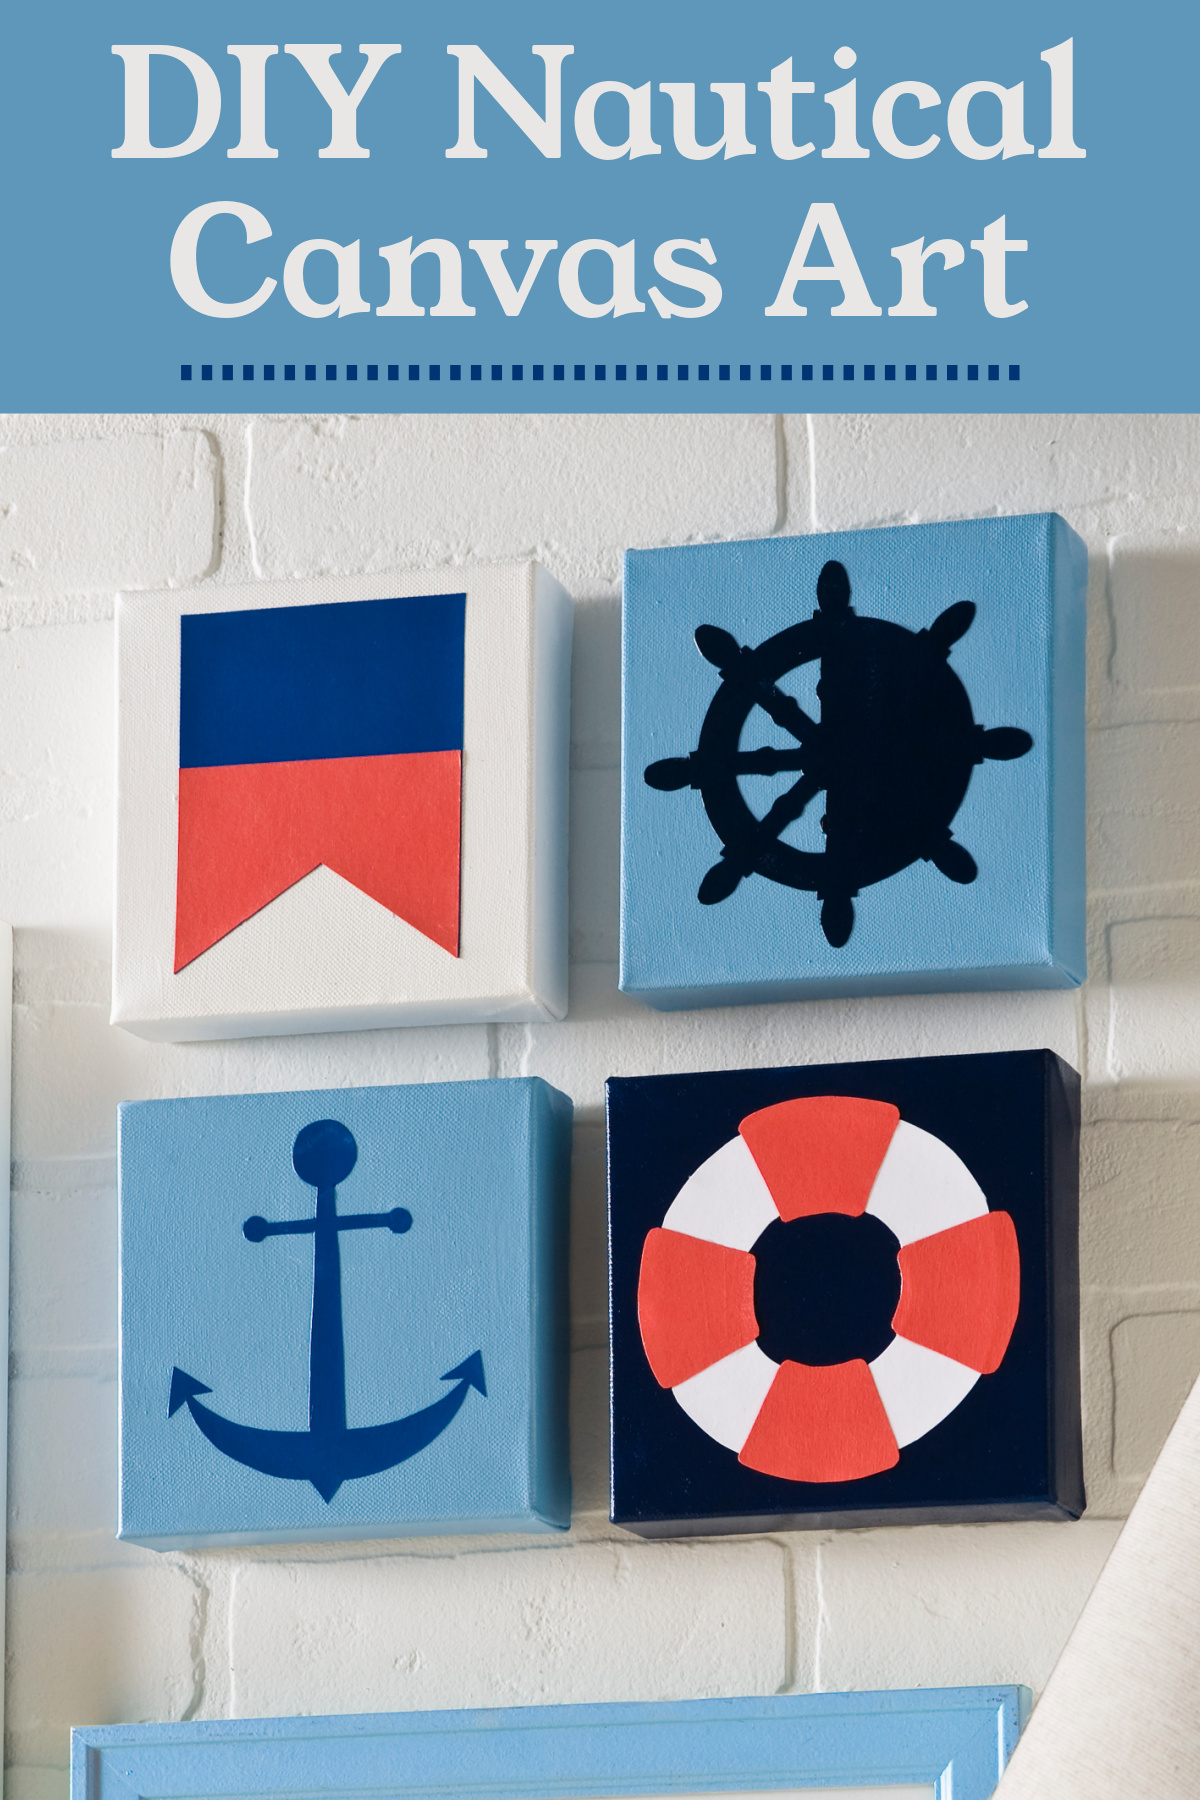
I’m so excited – for a few reasons. First of all, I’ve made some DIY nautical canvases with a tutorial to share. They are so easy and made with Mod Podge – so what’s not to love?
Secondly, I’m a new Brand Ambassador for Apartments.com (original posting date: July 2015). Apartments.com is actually where I found the cute little palace that I currently live in, so it’s a resource I have used successfully and love.
In my new role, we’re going to do a craft challenge each month. I love challenges! All the projects must be something that can be completed in an apartment with simple tools (and be small enough to be housed in an apartment).
This monthly challenge is summer themed, and so I went with nautical and decided to try a canvas art idea. The first step in making my DIY beachy decor project was finding a palette.
In fact, going with a “nautical” theme actually came from the title of the palette as opposed to the other way around. I spotted this on Spoonflower and fell head over heels:
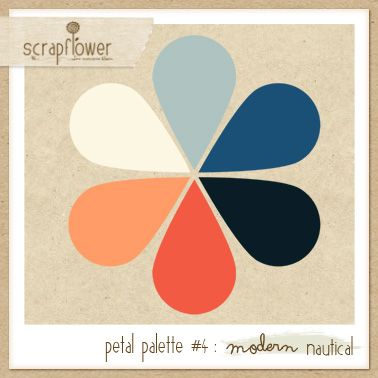
As you can see, it’s called “modern nautical” – and the rest is history. With one trip to the craft store, I had everything I needed to make my canvases.
Nautical Wall Art
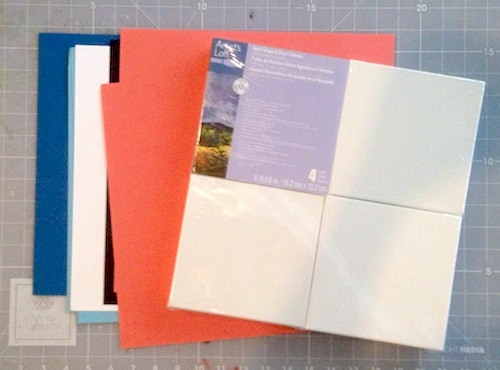
Gather These Supplies
- Scrapbook paper – colors of your choice
- Mod Podge Gloss
- Canvases – set of 4, 6″x6″
- Nautical silhouette clip art – you’ll need to have these sized to your canvases
- Paint in the colors of your choice
- Stencil tape
- Scissors
- Craft knife

So it looks like I’m working in some weird warehouse, but this is actually my apartment floor (it’s concrete!). The first thing I did was make a plan – which canvases I was going to paint with which colors and which papers I was going to use.
I decided to use four silhouettes: a nautical flag, a ship steering wheel (is that what they are called?), an anchor and a life preserver. All you need to do to find the right clip art is search for “nautical silhouettes” online.
Or if you know what you want, search for “anchor silhouette” (for example). There are a ton of free sources. Once you have decided what you want, print it out and make sure it’s going to fit inside the canvas. Set aside.

Paint your canvases using your paint and brush. Take a peek at the finished picture and you can see that I actually used three colors on my canvases: white, navy, and light blue. Let them dry.

The next part takes a little bit of time, but it’s actually quite easy. Use your craft knife and scissors to carefully cut out your nautical silhouettes from the scrapbook paper. Make sure they are secured to the paper with stencil (or painter’s) tape.

Just cut slowly on the curves. Don’t be afraid – if I can cut out silhouettes, you can too! I’m kind of a sloppy detail person. Once your silhouettes are cut out, simply Mod Podge them to the fronts of the canvases. Then you let them dry.
It’s really that easy. And I completed it in the convenience of my lovely loft apartment. So don’t be afraid about doing this in your apartment or small space – you can.
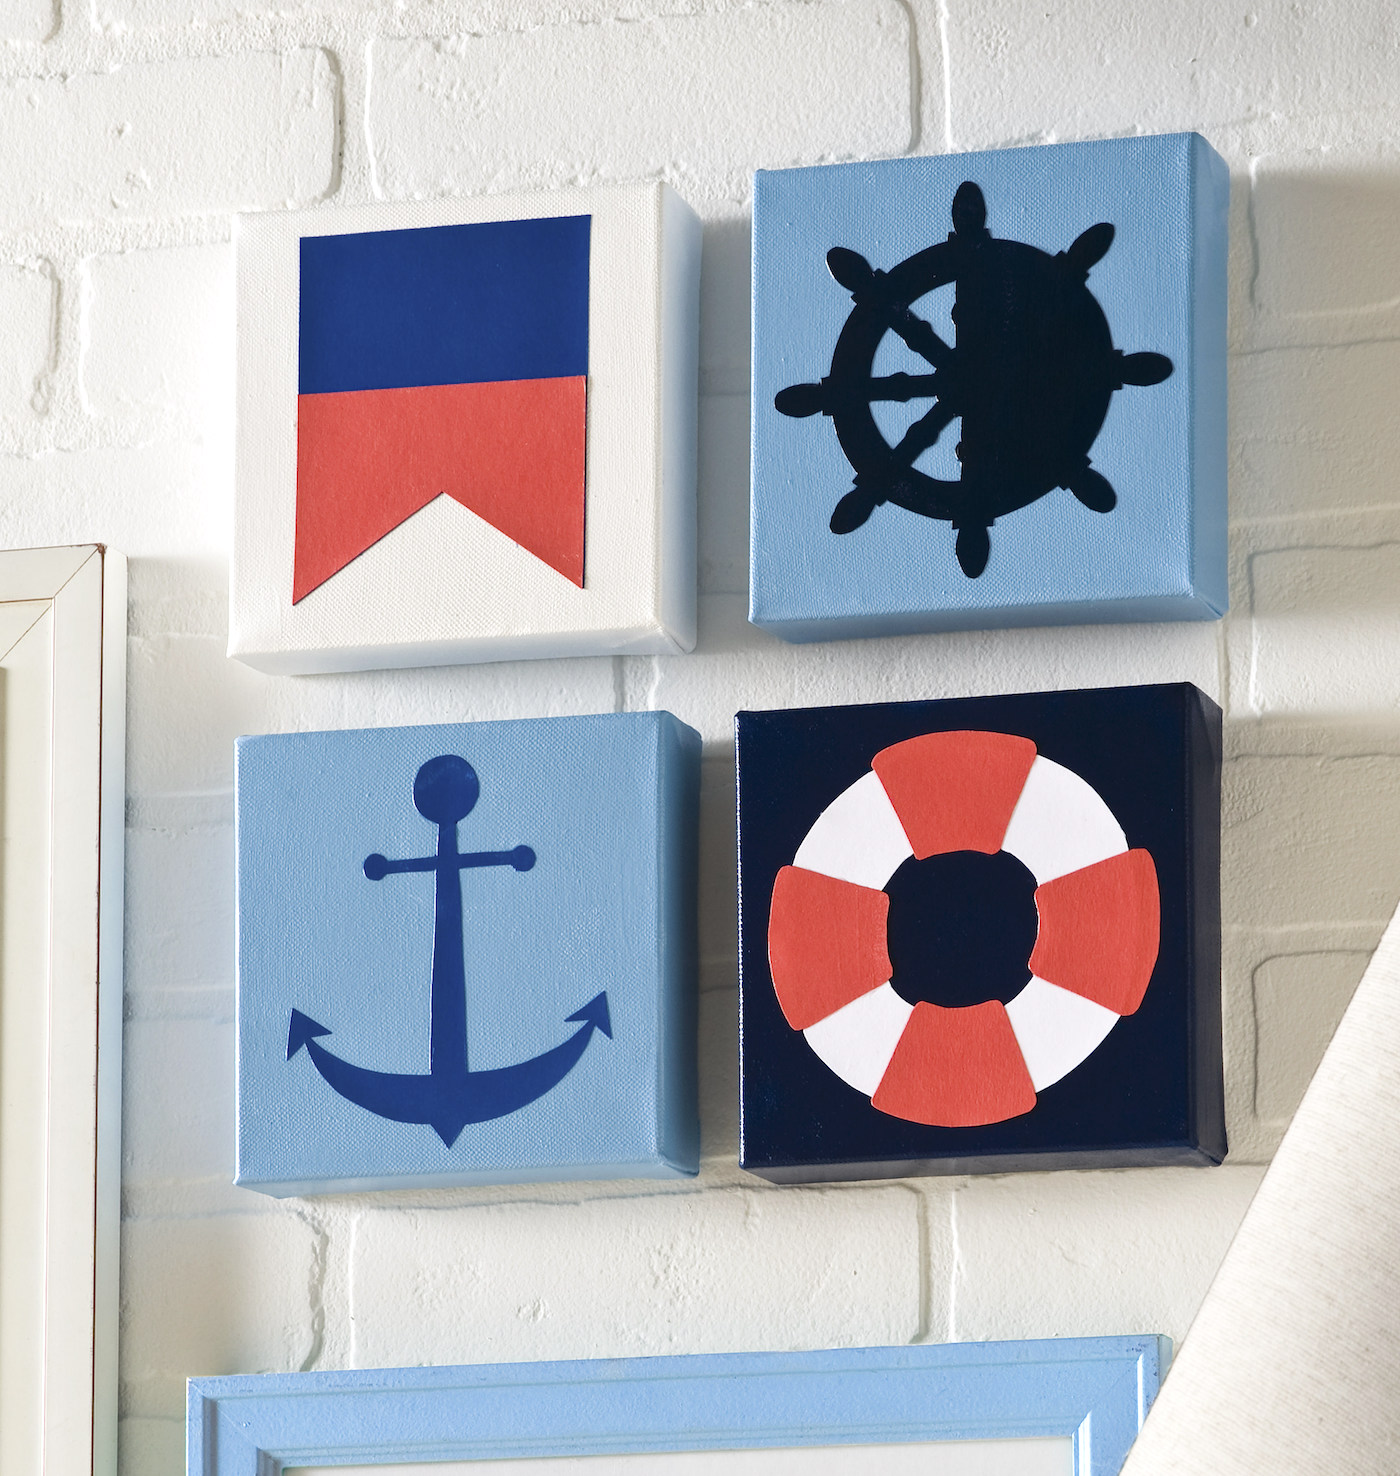
What do you think of my DIY nautical wall art? I love these canvases – the size, the silhouettes, the color palette . . .
If you liked this summer inspired project, I’d love for you to check out these other ideas:




So cute! I love that you used a coral color instead of red 🙂
Really nice. The color palate is invigorating.
These turned out so beautiful! I love those colors together too. 🙂
I love these, they turned out so cute and you make it look easy!! I would love to have to link up to my blog party ~ Weekend Beautiful.
Shawna
Such a great idea! I have been loving the nautical theme lately. Thanks for the inspiration!
I love the bold colors. My son’s room is going to be done in these colors…I am thinking of some silhouette canvases right now!!!!
This is such a cute idea! My boys’ room is nautical themed, and these would go perfect in there! Thanks for sharing!
These are so cute! If you get a chance, please link up to my linky party: http://suburbsmama.blogspot.com/2013/07/sunday-linky-18.html
These are so cute! I love anything nautical, and these would look so cute in my son’s room (it’s navy and red). Project time!!
These look amazing…I’d Love if you would share this at our Nautical themed party…http://onekriegerchick.com/2013/07/29/make-along-monday-link-up-your-nautical-projects-2/
Have a Happy Day!
Ariean
Super cute! And congrats on the “ambassadorship”!
great job Amy, love them! Thanks for sharing on Craft Schooling Sunday a few good weeks back, and hope to see you again this week when the party resumes!