Decoupage fabric on terra cotta in this fun DIY flower pot project. You’ll love the transformation from boring to fun and pretty!
Skills Required: Beginner. I recommend having prior craft experience with Mod Podge so that you have an idea of how to handle potential fabric wrinkles.
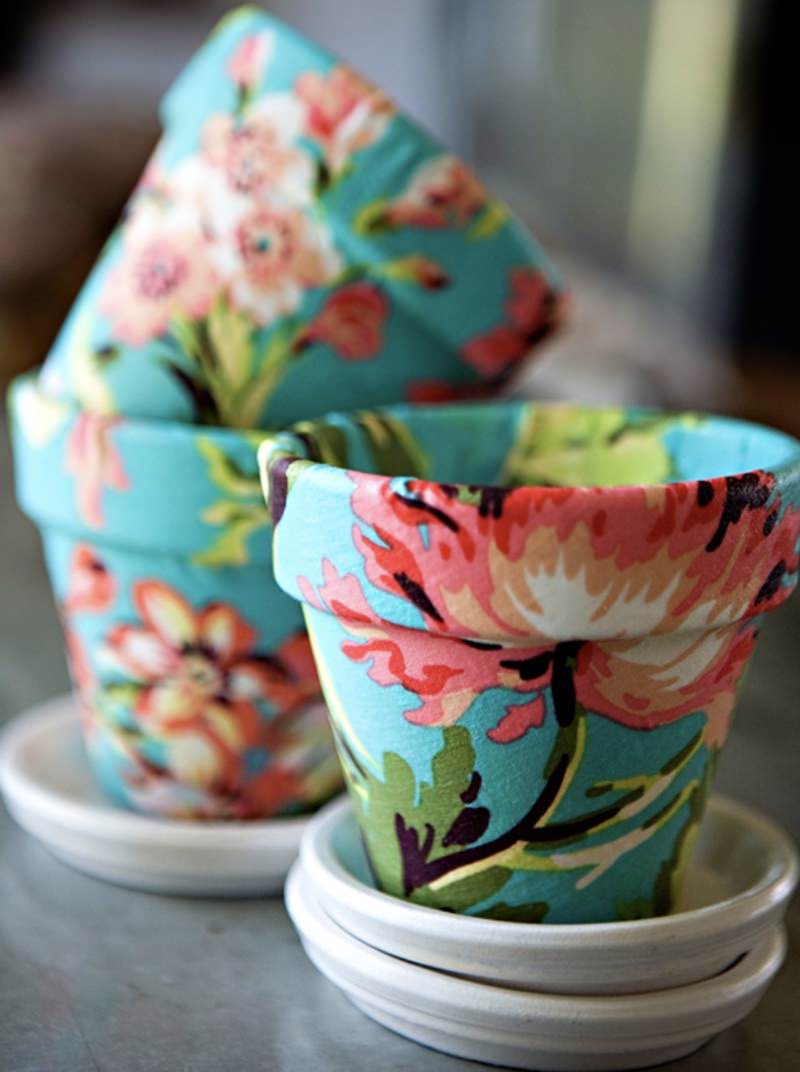
With summer here, I’m working on decorating my porch – and this includes research options for a DIY flower pot I can use as a centerpiece for my outdoor table. I was browsing around for ideas with Mod Podge and found this unique project. I was in love with this craft at first sight!
Ashley from Under the Sycamore has been featured before – I’ve shown you her decoupaged closet dividers, and she’s pretty amazing at all types of crafts to make at home. In short, she’s always Mod Podging great stuff, and these terra cotta pots are included.
These pretty pots were done as a fun project to help with the “blahs,” and they certainly do, don’t you think? Ashley was inspired by an entry at Christine Chitnis using fabric and Mod Podge. I’m inspired by both of them, personally.
Tip: If you want to use these plant pots for plants, you’ll want to use a spray sealer on the inside before beginning. This will make certain that the water doesn’t come through from the inside to the outside and cause staining. This is especially important if you are giving them as gifts.
I also recommend washing and drying your fabric before doing this project (don’t use fabric softener). This allows you to remove the sizing from the fabric (which causes staining sometimes).
It’s not absolutely required, but it makes the fabric easier to apply as well (in my humble opinion!). If you’re ready to dive into this fabric craft, let’s do this!
DIY Flower Pot
Equipment
Instructions
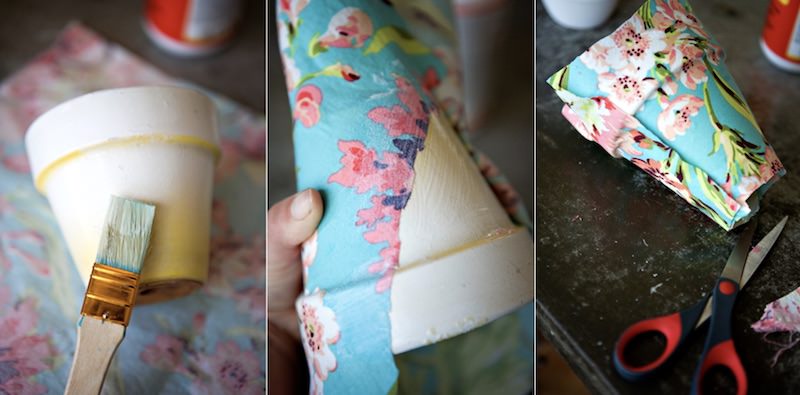
- Start by cutting a length of fabric that will wrap once around your pot. Leave extra room for folding it over on the top and bottom.
- Cut slits in the fabric around the top, to avoid puckering as you make your way around.
- Begin by coating a small section of the pot with Mod Podge. Stick the beginning of your fabric length to the pot and, once it is in place, coat the fabric with Mod Podge.
- Continue doing this all the way around, without worrying about the top or bottom of the pot.
- When the outside of the pot is finished, trim your fabric so that less than an inch hangs over the top and bottom.
- Begin at the top, folding the fabric into the pot in pleats so that it lays nice and flat around the rim. Coat in Mod Podge and let dry.
- Do the same for the bottom, folding the fabric in pleats so that the bottom edge of the pot remains smooth.
- Coat any loose flaps of fabric with Mod Podge. Let the pot dry completely before using.
If you enjoy decorating pots, I’d love for you to check out these other ideas:





I remember doing this as a teenager, many, many, many years ago. Still have those pots; they held up well. OK, my tastes in design have changed since then, so I don’t use them anymore. I should update them with a new fabric! (UpUpCycling? ReUpCycling? DoubleUpCycling?)
Pretty neat idea, I’ve back to Mod Podging everything, just finished a shadow box for our daughter and I know it will last for years or until she’s ready to change things.
Those are BEAUTIFUL! I love them.. Great ideas!
Mechelle
Your projects here are wonderful. You have SO many craft ideas involving mod podge! I linked to your blog in mine, i was talking about how AWESOME m p is 🙂 Keep up the good work! I’ll be reading your stuff from now on!
ooooh! so pretty!
I love the flower.potd. going to try it
Will let you know
I can’t understand what to do with the extra fabric as I get to the narrower part of the pot. 😏
Hi Dene! You will cut slits in or out of it and overlap like this: https://modpodgerocksblog.com/wp-content/uploads/2022/04/How-to-cut-a-paper-dart.jpg