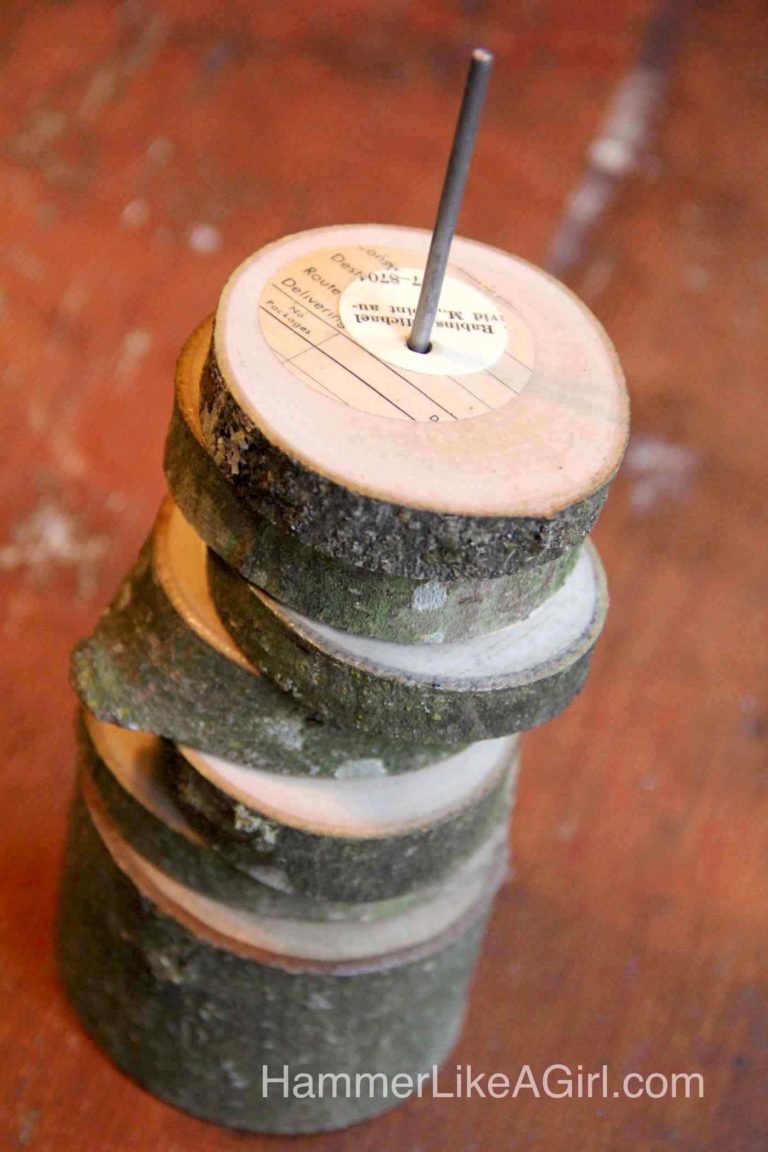
Favorite Post: Decoupage On Wood Using Any Printouts

Favorite Post: How to Paint Mason Jars
If you’re here to get some ideas for Mod Podge crafts, you’ve come to the right place. You’ve picked a craft supply that is relatively easy to use – you should be up and running in no time (learn to Mod Podge here). Here are the posts you’ll want to see if you’re just starting out:
What is Mod Podge?
Does Mod Podge Dry Clear?
101 Mod Podge Uses
50 Decoupage Ideas
Mod Podge Crafts for Newbies
Mod Podge Finishes: What They Look Like
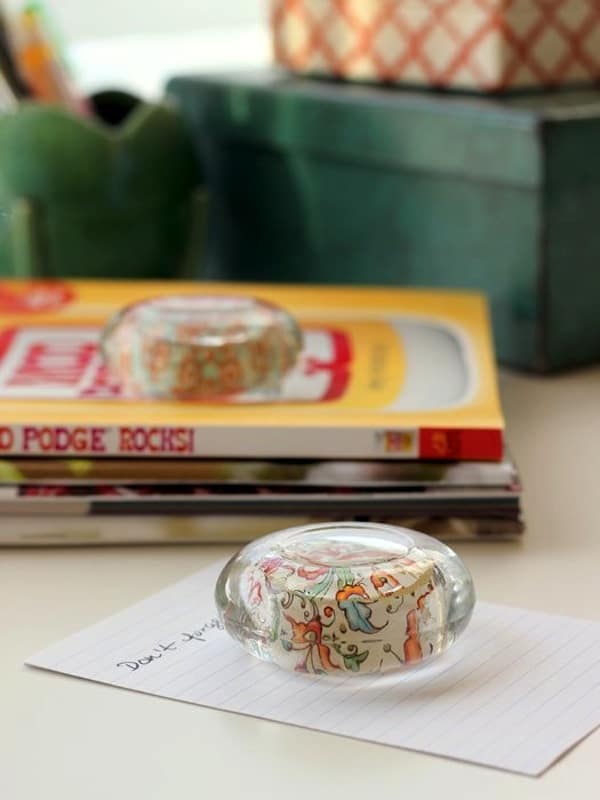
Using Mod Podge with Ink, Marker, and Pencil
Is Mod Podge Waterproof?
Decoupage is an ideal craft for absolute beginners!
Seven Step Process
There’s a seven step decoupage process you’ll go through each time for *most* Mod Podge crafts:
Prepare the surface – Mod Podge works on wood, glass, paper, tin, fabric, paper mache, ceramic, and more.
Select a Mod Podge formula – our formula guide is here.
Prepare the items to Mod Podge.
Cut your fabric paper, etc. to fit the surface.
Decoupage – add your fabric/paper to the surface with Mod Podge, your glue, sealer and finish.
Smooth, smooth, smooth.
Add a finishing and protective coat and let dry.
If you’re experienced with Mod Podge crafts, check out our most popular categories: Coasters and Photo Transfer. People are also very interested in how to use Puzzle Saver.
All of the crafts are down below if you want to scroll through one by one. Enjoy!