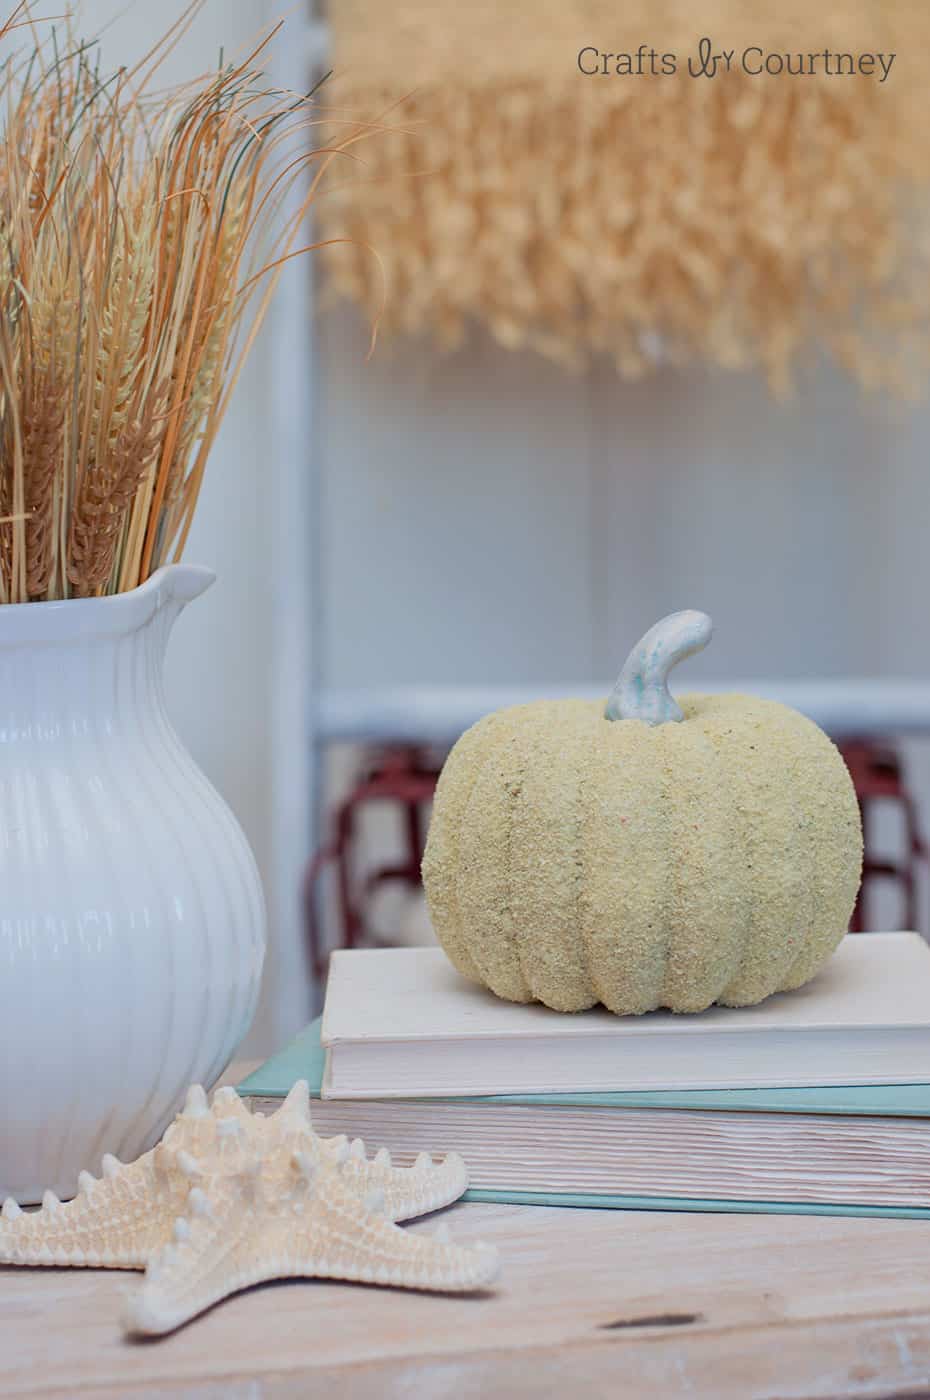
These sand pumpkins are EASY to make and perfect for adding to a coastal fall decor display! So simple that even kids can help.
Skills Required: None. Even if you’ve never crafted before, you can use Mod Podge to make these coastal pumpkins. You’ll be using the medium to apply the sand.
Hey, everyone! It’s almost fall, yay!
So . . . I’ve been getting the house ready for autumn with a few unique coastal pumpkins. I do have a little different take on autumn; I decorate my house with a Fall coastal style.
There are pumpkins mixed in with seashells, etc., so every year I make a new pumpkin version with a coastal twist. This year I decided to add a sand covered pumpkin into the mix!
Many of you go on vacations to the beach during the summer, and some of you might even save some sand from the trip as a keepsake. This is a great way to use some of the sand you saved to make your own DIY beach decor.
A lot of people think that sand might be for summer only, but the truth is that coastal fall decor is more popular than ever (same for Christmas!)
You’re going to make this simple coastal fall decor in three steps! These are so easy that even kids can help. If you can pick up a paintbrush and sprinkle sand, you’ll be able to make these. Here’s what you’re going to do:
- Paint the stem
- Add Mod Podge
- Add sand
What you need to keep in mind is that the layers of Mod Podge need to be relatively thin when you add them to the surface of your pumpkin. It’s better to use thinner layers than to clump on the Podge . . . because the Podge will dry in clumps and it will be noticeable.
My suggestion is to complete the project by adding a thin layer of Mod Podge to about 1/4 of a (small) pumpkin, and then sprinkle the sand.
Repeat 1/4 of the pumpkin at a time until the whole thing is covered. When everything is dry, you’ll know if you need to add more sand.
Keep reading to get the fall craft tutorial!
DIY Sand Pumpkins
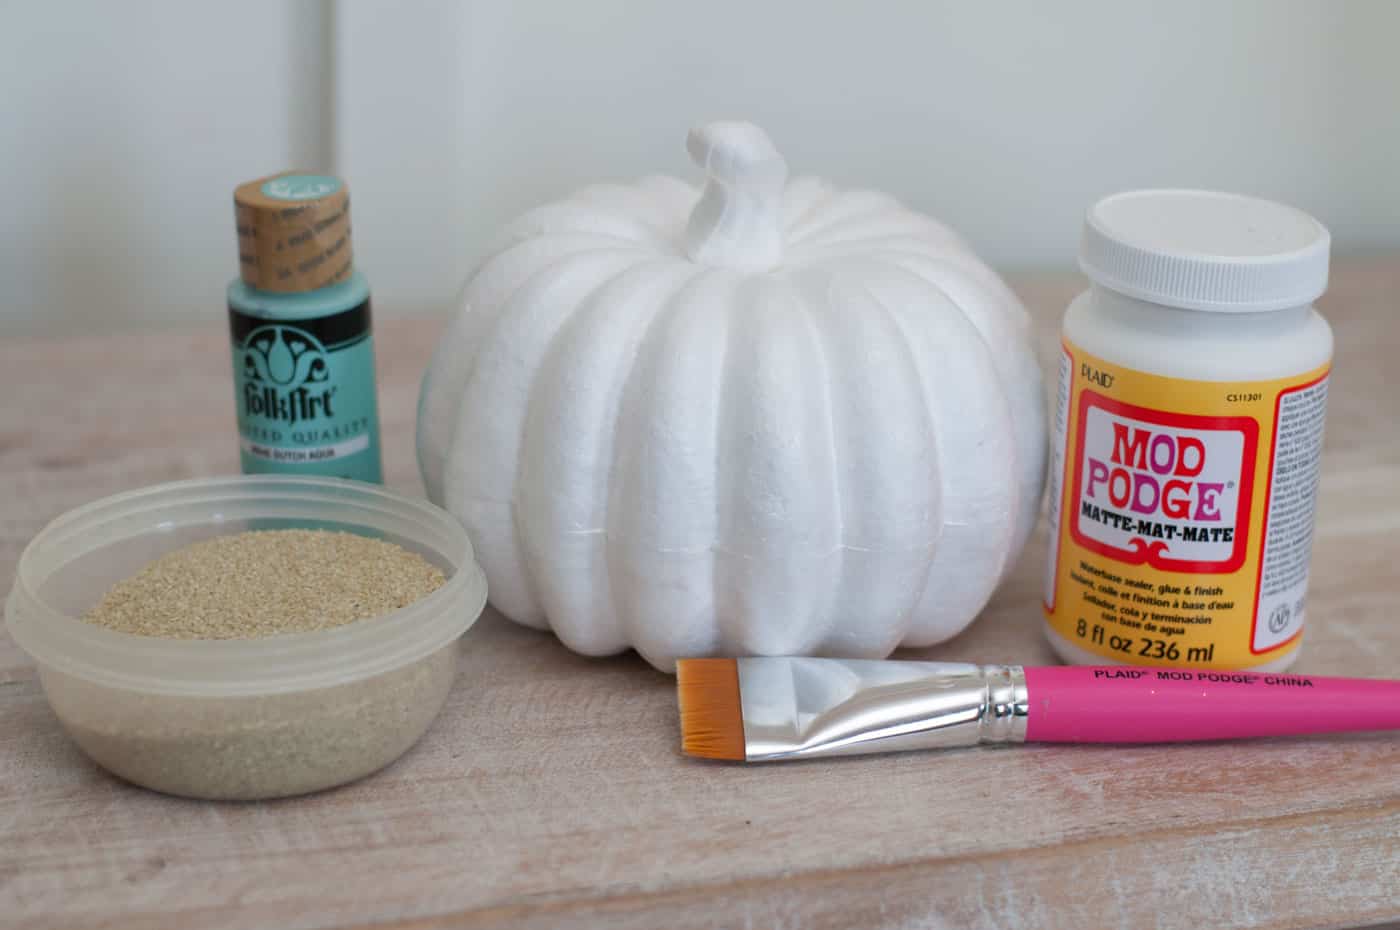
Gather These Supplies
- Faux pumpkin
- Acrylic paint (for the stem)
- Matte Mod Podge
- Sand
- Paintbrush
Getting Started
I rounded up my supplies for this craft! I already had an awesome foam pumpkin on hand, which I was super excited about. You can also use a paper mache pumpkin, a wood pumpkin piece, or anything similar.
The only thing you might want to consider is basecoating your pumpkin with white if it’s not already.
Step 1 – Paint the Stem
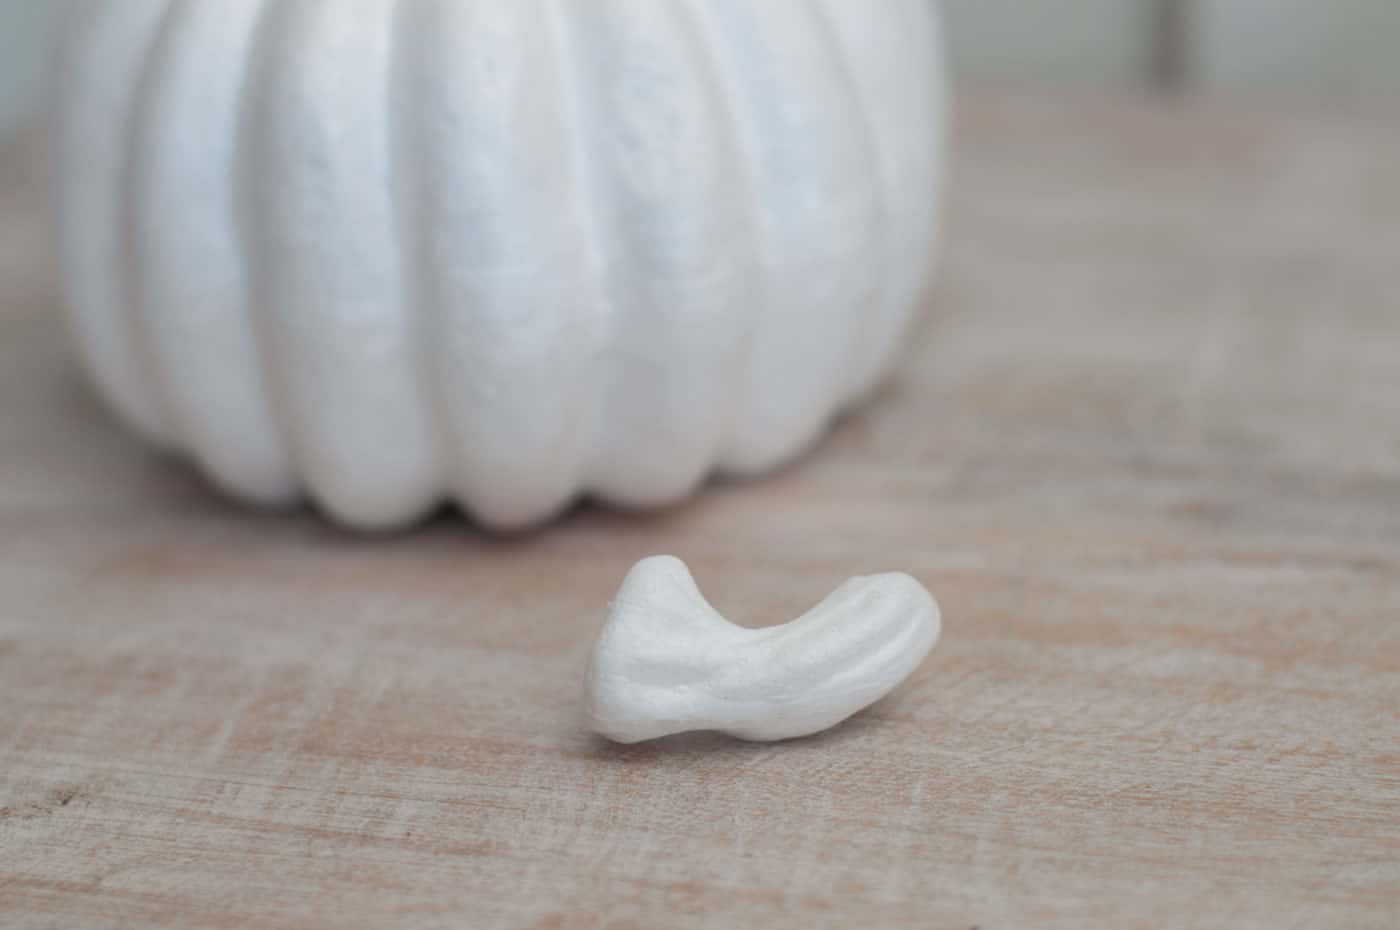
Pull the foam stem out of the pumpkin and paint it the color of your choice. I picked pretty blue and brown colors. I painted the stem and let dry a couple minutes.
Step 2 – Add Mod Podge
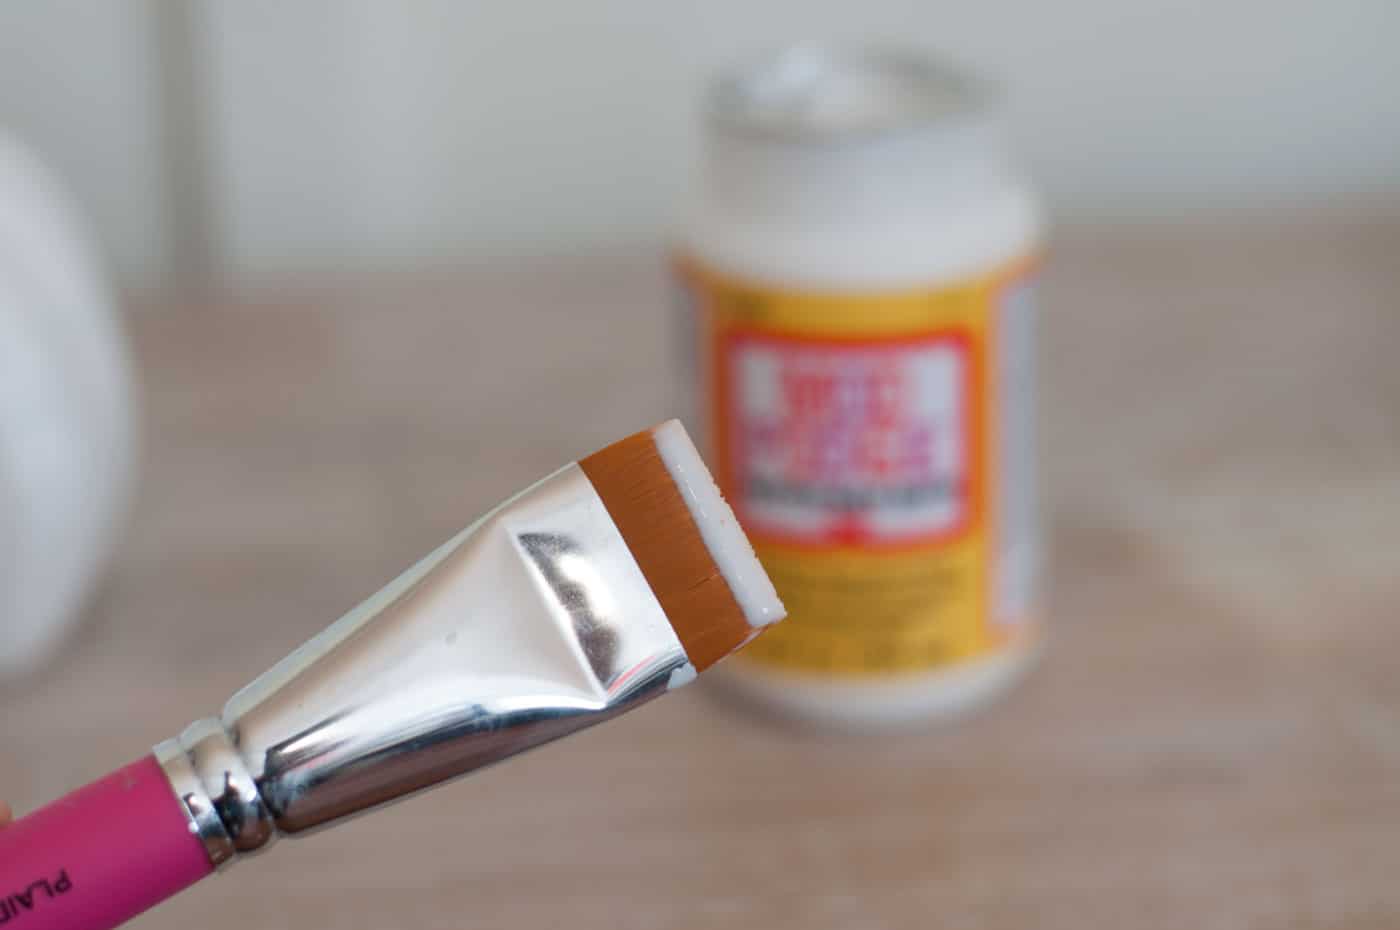
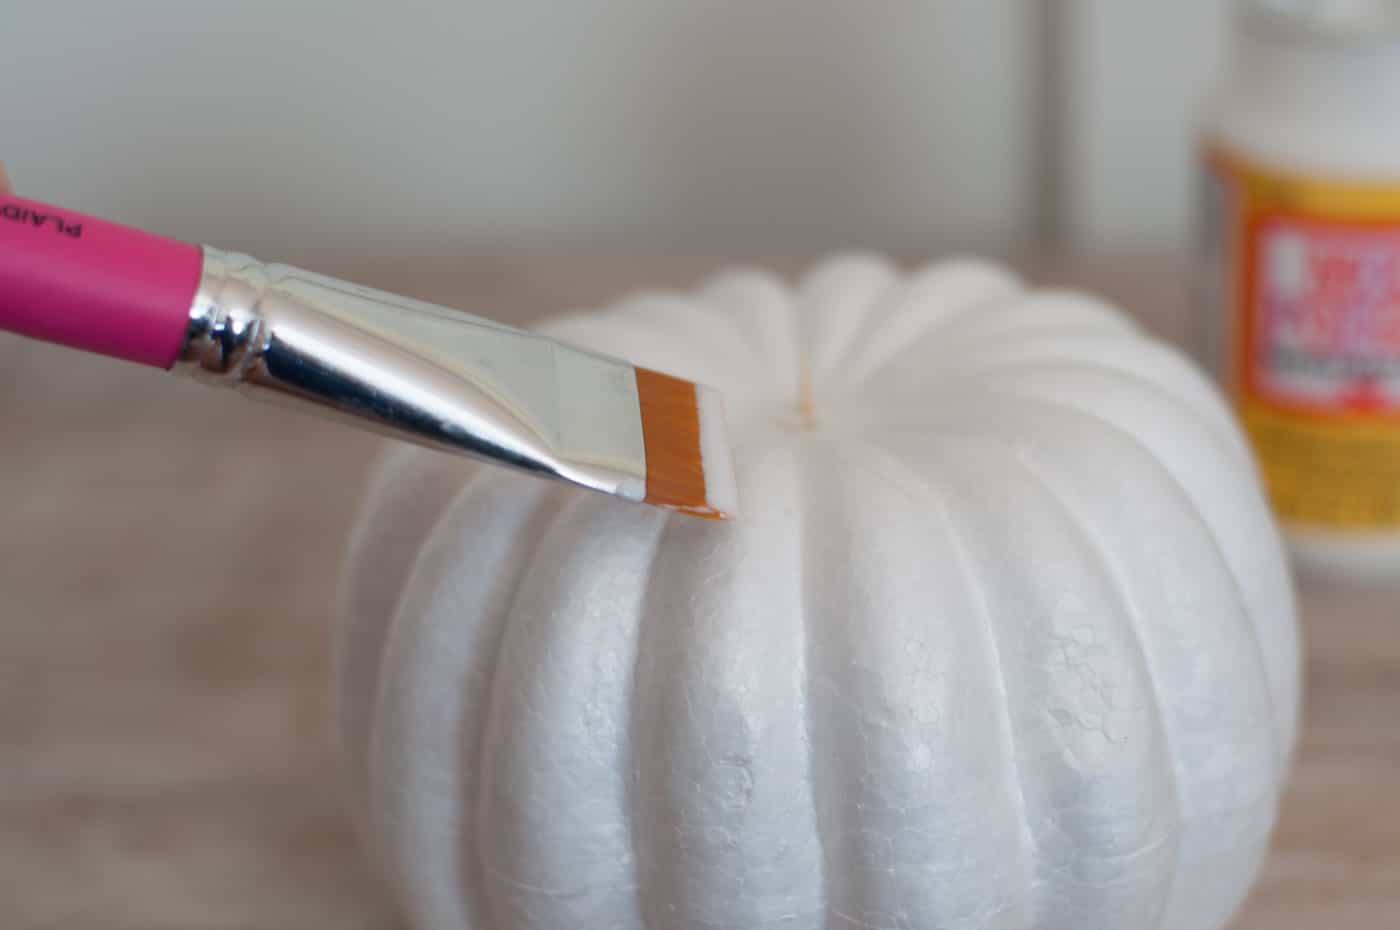
I lightly covered the pumpkin with my Mod Podge and then sprinkled my sand on top. The biggest tip is not to “glob” your Mod Podge.
This is because if the Mod Podge is too thick, when you add the sand it will look inconsistent and heavy in spots.
Step 3 – Sprinkle the Sand
Sprinkle the sand on top of the wet Mod Podge. Work your way around the pumpkin until it’s completely covered. I let the pumpkin dry completely for two hours. Once it was dry, I added another coat of sand to the pumpkin.
Finishing Touches
Once your Mod Podge is dry you’re ready to display your sand pumpkins!!
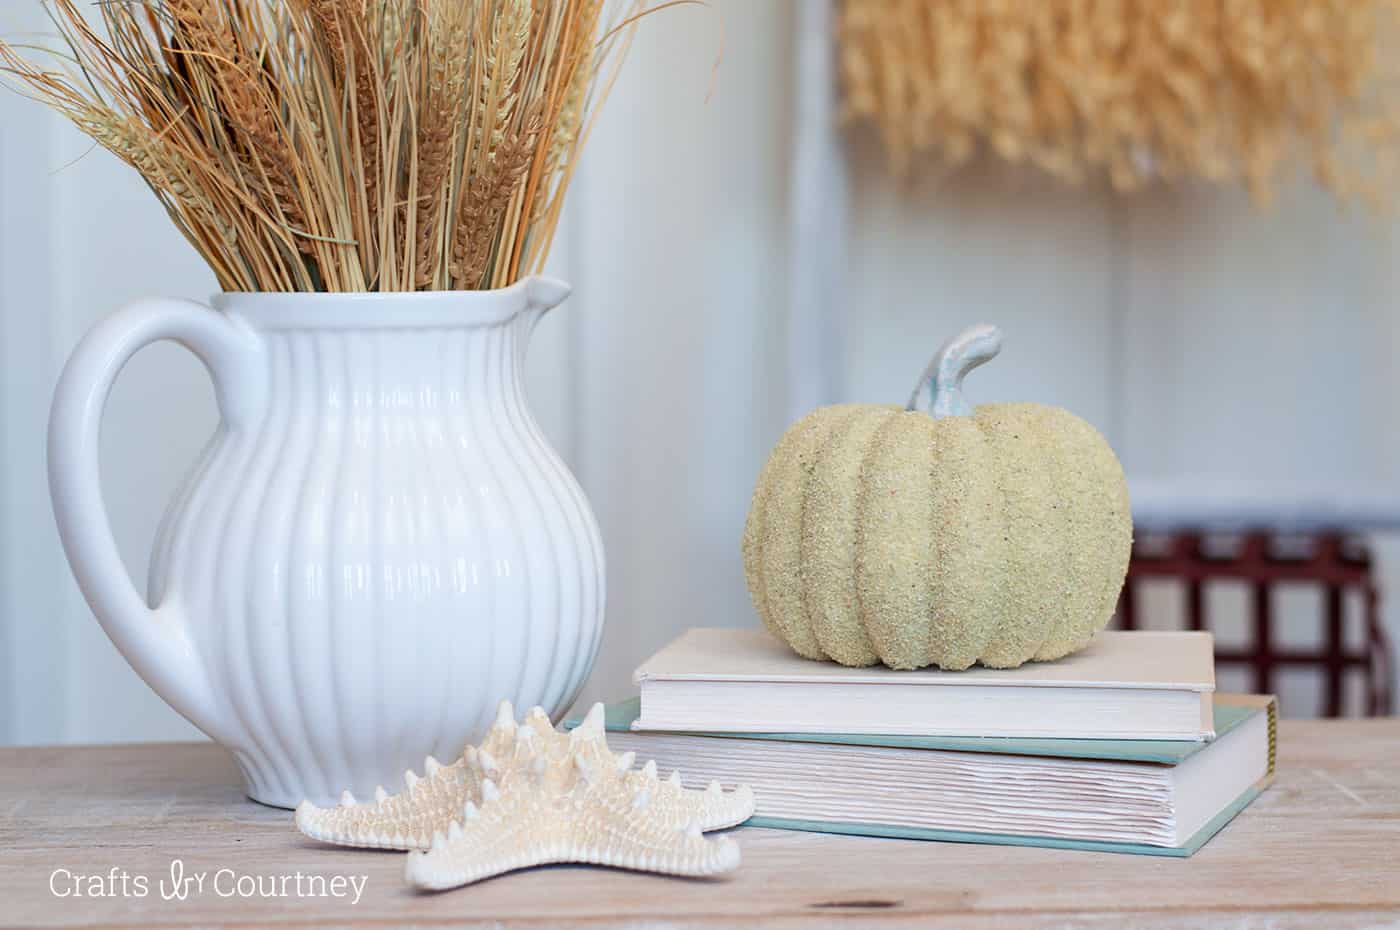
As you can see, this is a pretty simple project to make. I just love my coastal fall decor, and I can keep a bit of summer with me into autumn.

It’s a simple sand pumpkin craft, but I think it turned out pretty cute! Would you decorate fall pumpkins this way?
This sand pumpkin would look fabulous with our nautical pumpkin craft. I’d also love for you to check out these other ideas:



A cute idea!
Absolutely lovely! Thank you.