Discover the charm of DIY clay pot mushrooms! Perfect for garden or home decor, these easy-to-make creations add a whimsical touch to any space.
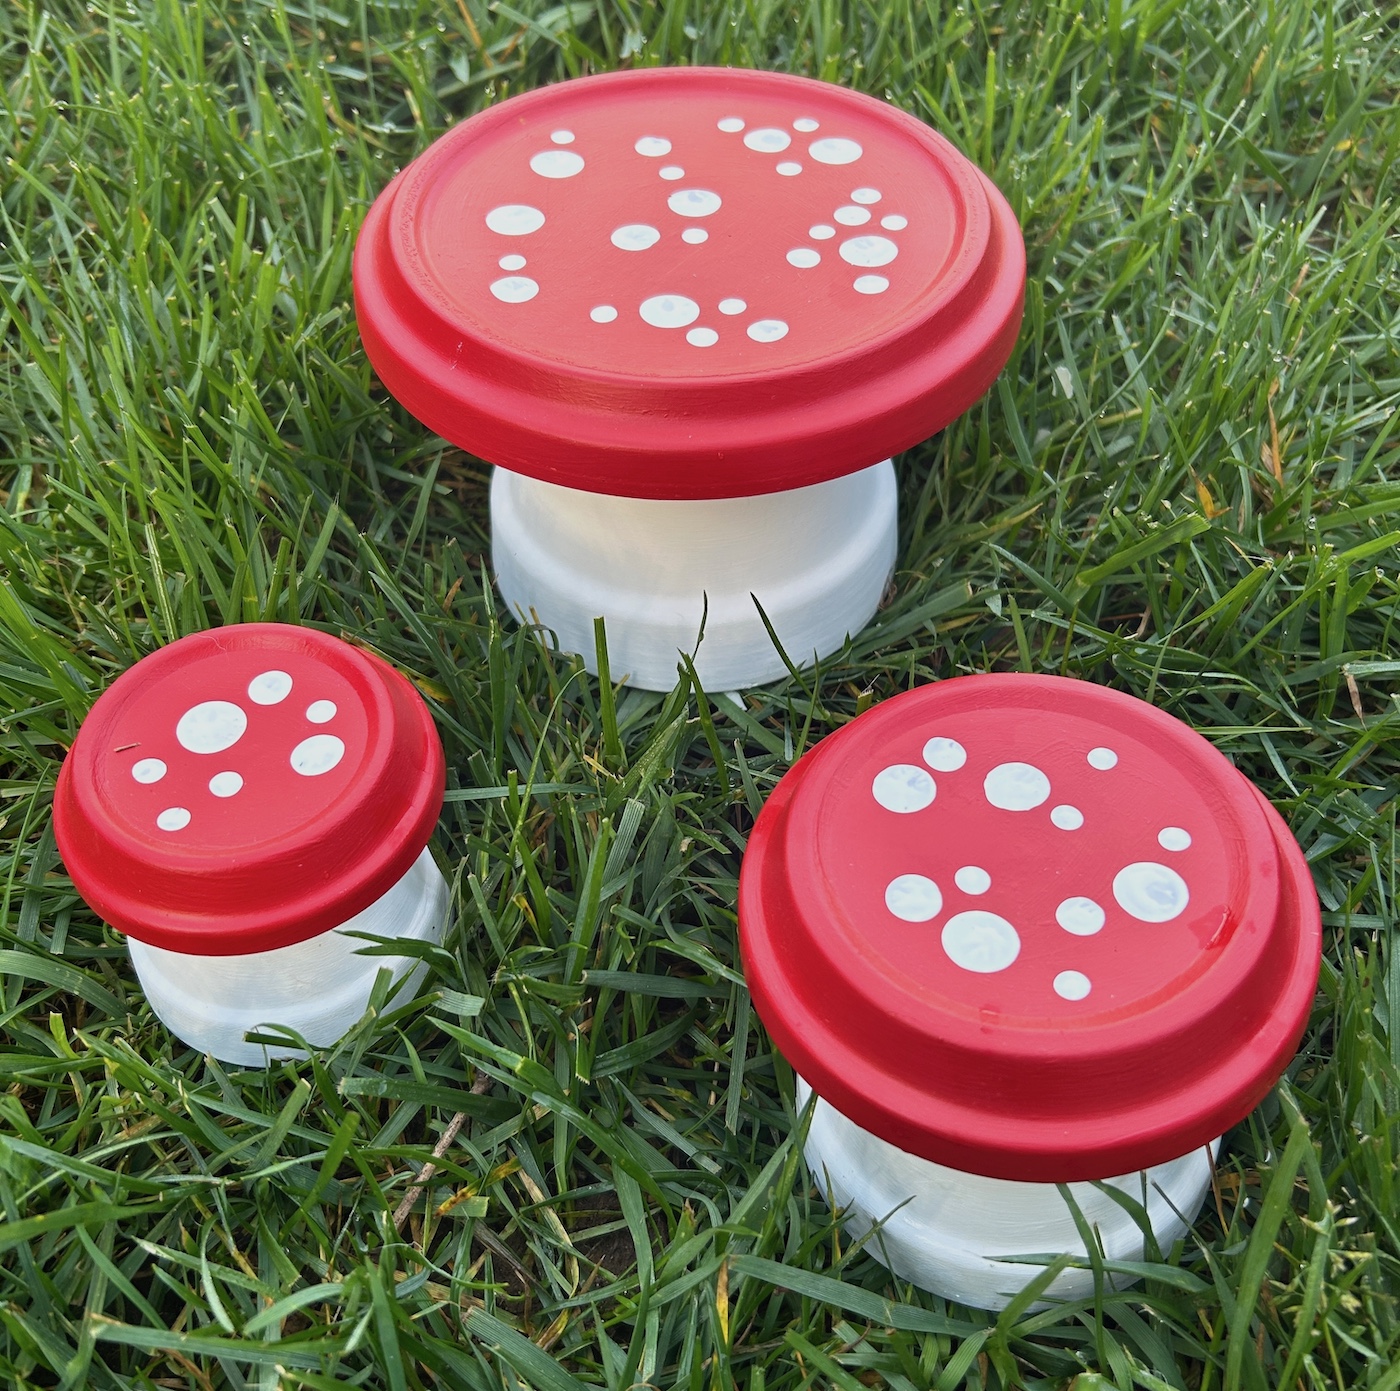
I don’t know what it is about little garden mushrooms, but they instantly make everything feel more magical.
You put a few of these outside near flowers or tuck them beside a walkway and suddenly your yard looks like woodland creatures might be paying rent there.
That’s the dream honestly.
These clay pot toadstools are one of those projects that are almost dangerously cute because once you make one set, you immediately start thinking:
- “What if I made tiny ones too?”
- “What if I used pink?”
- “What if my entire garden became fairy themed?”
Things escalate quickly.
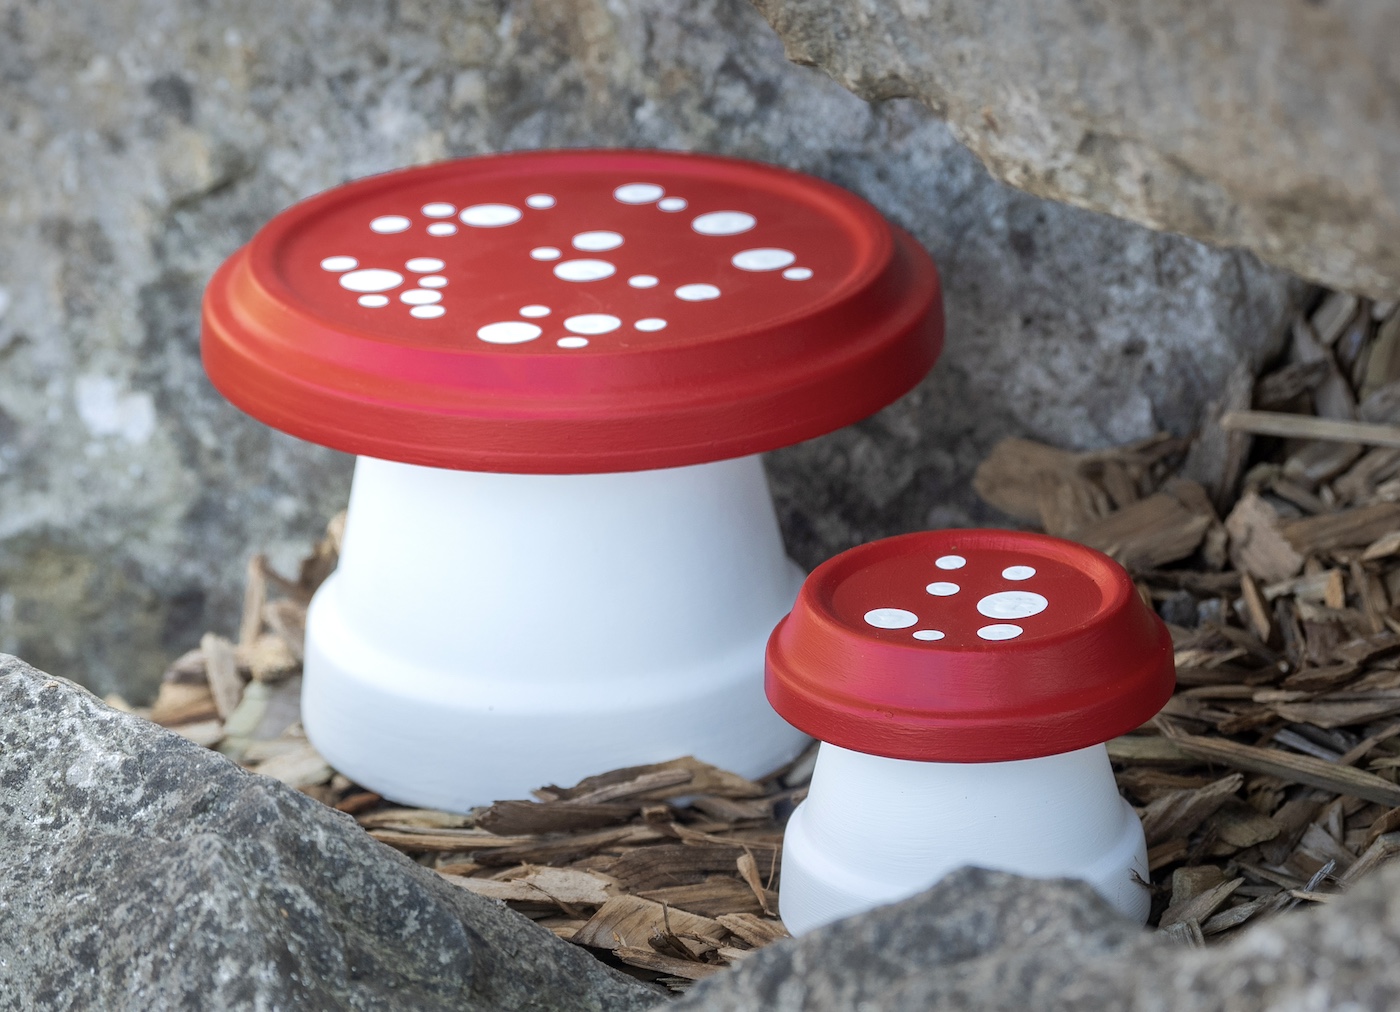
The good news is that these mushrooms are incredibly easy to make. If you can paint and use glue, you can absolutely handle this project. They’re beginner friendly, affordable, and surprisingly durable once sealed properly.
I also love that you can customize them however you want.
Classic red and white always looks adorable, but you can also try:
- teal and white
- pastel colors
- bright polka dots
- striped caps
- floral designs
- earthy neutral tones
You can make the clay pot toadstools match your garden style or go completely whimsical. Either works beautifully.
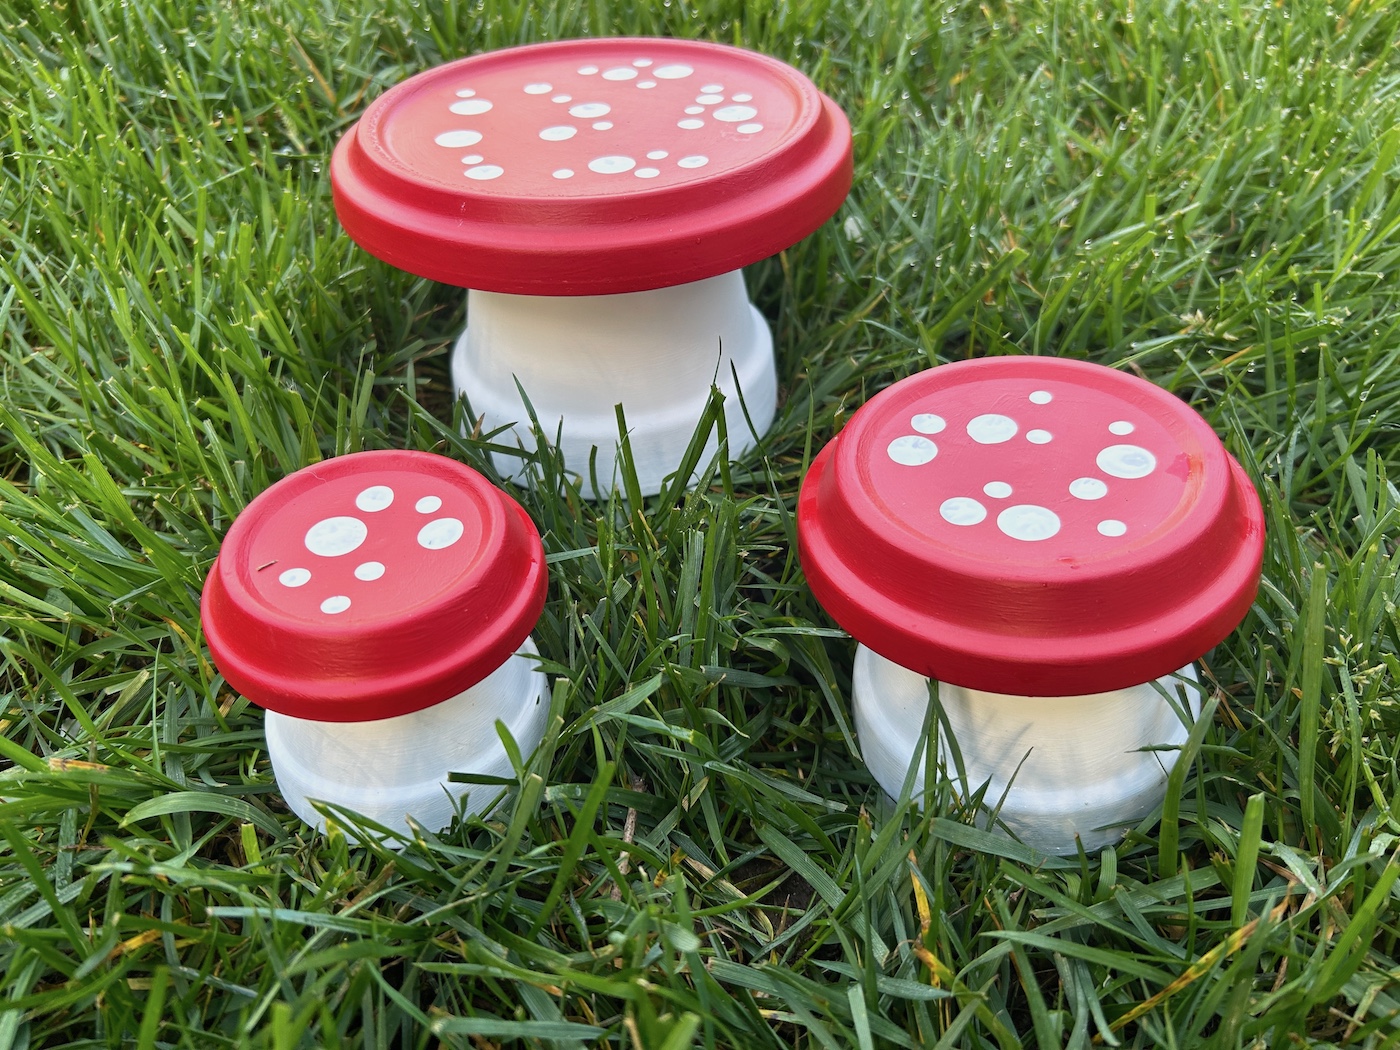
Another thing I love about this project is that you can use different sizes of terra cotta pots and saucers to create little mushroom families. Grouping several heights together makes the display look much more charming and intentional in your outdoor space.
And yes, these look adorable basically everywhere.
Tuck them into flower beds, line a walkway, add them near a fairy garden, or place them beside planters on a patio. They also make really fun decorations for porches, balconies, and backyard spaces that need a little personality.
Honestly, the hardest part is stopping after one set.
Tips for Making Clay Pot Toadstools
Before you start painting, there are a few things worth knowing that make this project turn out even better.
First: seal everything.
If your mushrooms are going outside, sealing the terra cotta pots and saucers is REALLY important. Clay naturally absorbs moisture, and without protection the paint can crack or peel over time.
Mod Podge Outdoor works well, but I’d also recommend an additional outdoor spray sealer if your outdoor space gets heavy sun or lots of rain.
Second: use strong glue.
Hot glue alone usually won’t hold up outdoors long term, especially during weather changes. You’ll want something stronger like E-6000 or another waterproof adhesive for attaching the saucers securely.
You can combine hot glue with stronger adhesive if you want the pieces to hold immediately while drying.
Another fun idea is experimenting with the placement of the saucers. Matching sizes create a classic mushroom shape, while oversized saucers make the caps look extra whimsical and dramatic.
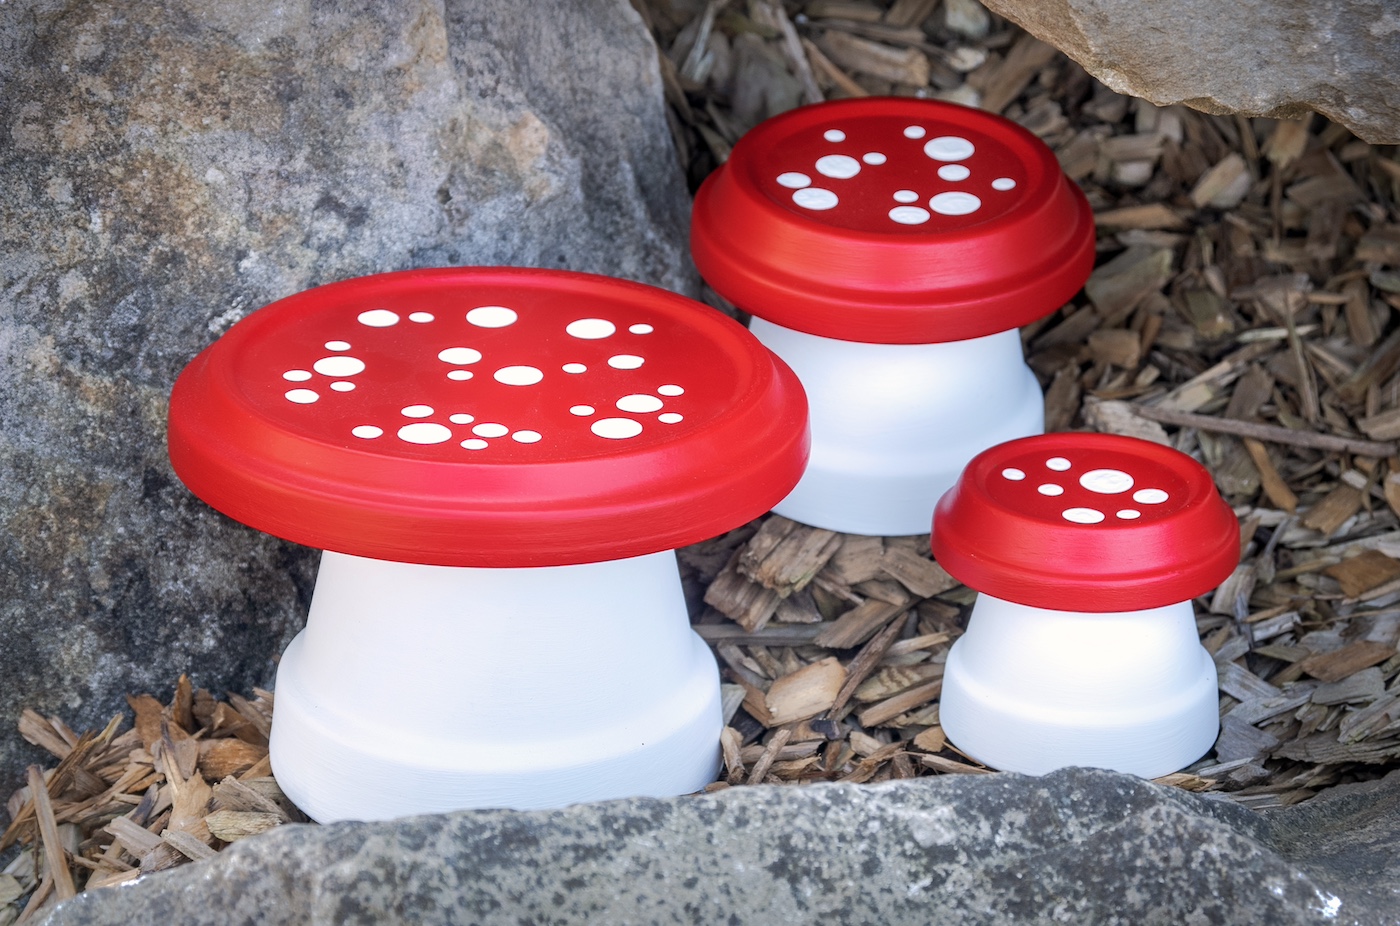
And honestly? These are some of my favorite clay pot crafts because they’re simple enough for beginners but still ridiculously satisfying once finished.
Why These Are So Fun to Display
One of my favorite things about these mushrooms is how cheerful they look year-round.
Even when flowers aren’t blooming yet, the bright colors still make the garden feel alive and playful. They bring so much personality to an outdoor space without requiring much effort at all.
I especially love them tucked between plants where they look like little hidden surprises.
And if you have kids? They’re probably going to become instantly obsessed.
The second these went outside, my brain immediately started imagining tiny fairy doors, miniature garden paths, and entire mushroom villages.
It’s impossible not to.
Get the printable how to card below:

Clay Pot Mushrooms
Equipment
- Spouncers or dotters
Materials
- E-6000 or other waterproof glue
- Multisurface craft paint – white and red
- Mod Podge optional
Clay Pots
- 1 2 3/4" pot with 3" saucer
- 1 3 1/2" pot with 4 1/4" saucer
- 1 4 1/2" pot with 6 1/4" saucer
Instructions
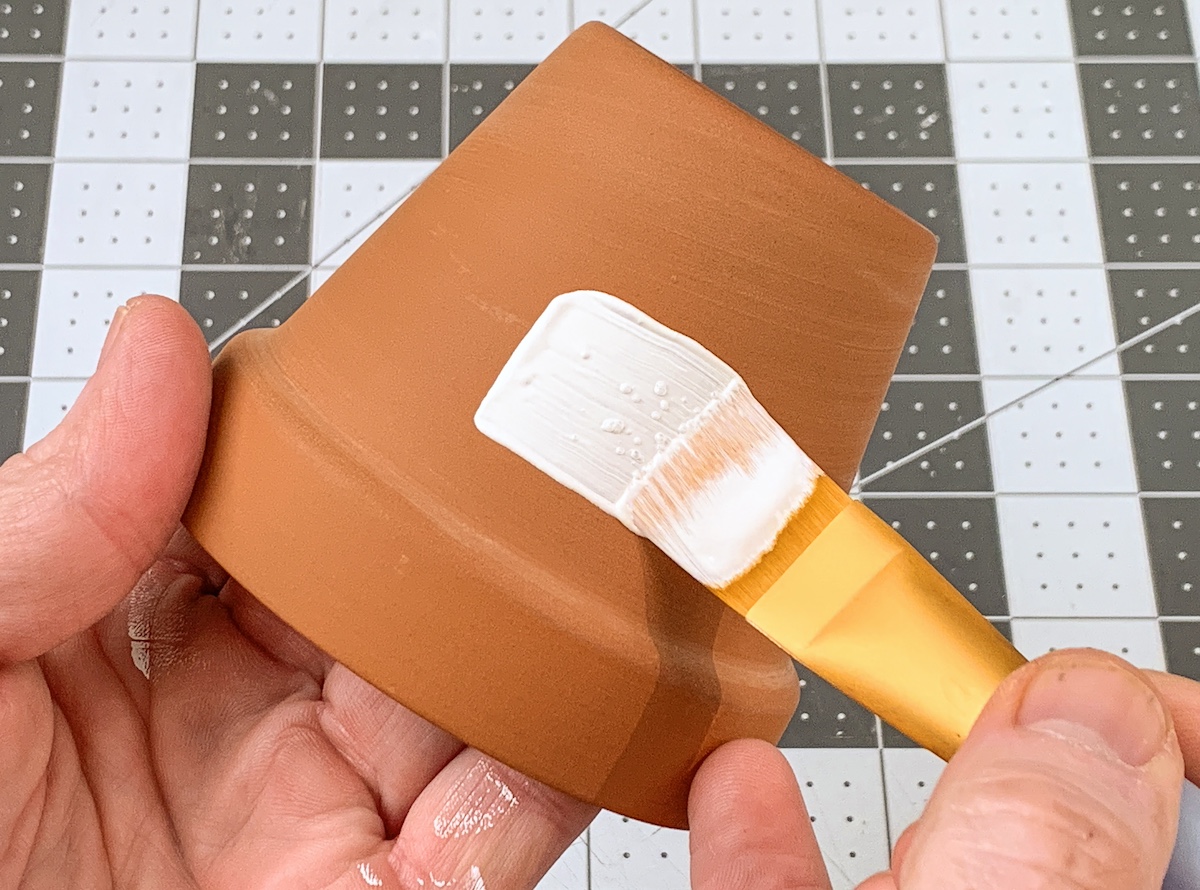
- Clean pots if necessary. Paint a layer of white paint on all pots (not the saucers). Let dry and repeat for full coverage.
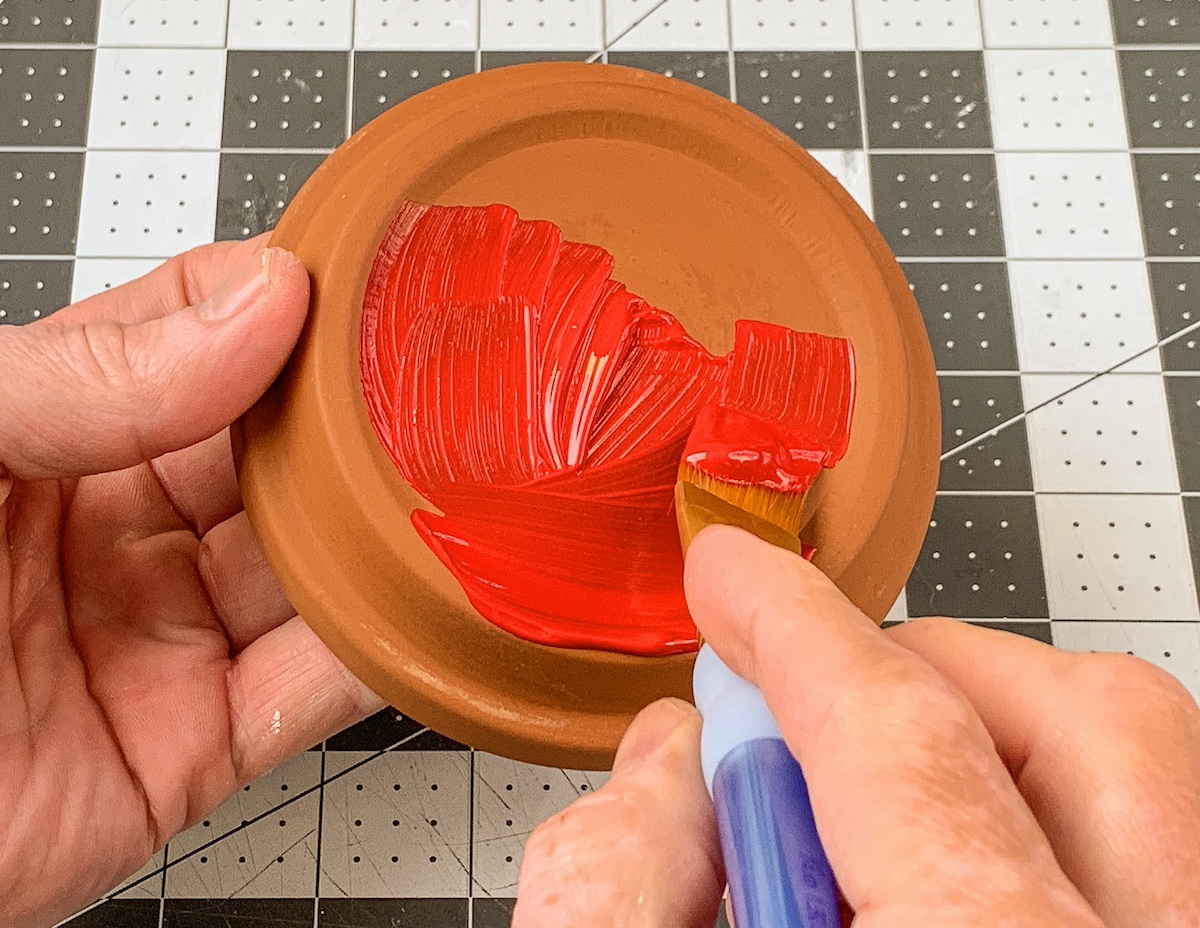
- Paint all of the saucers with red paint. Let dry.
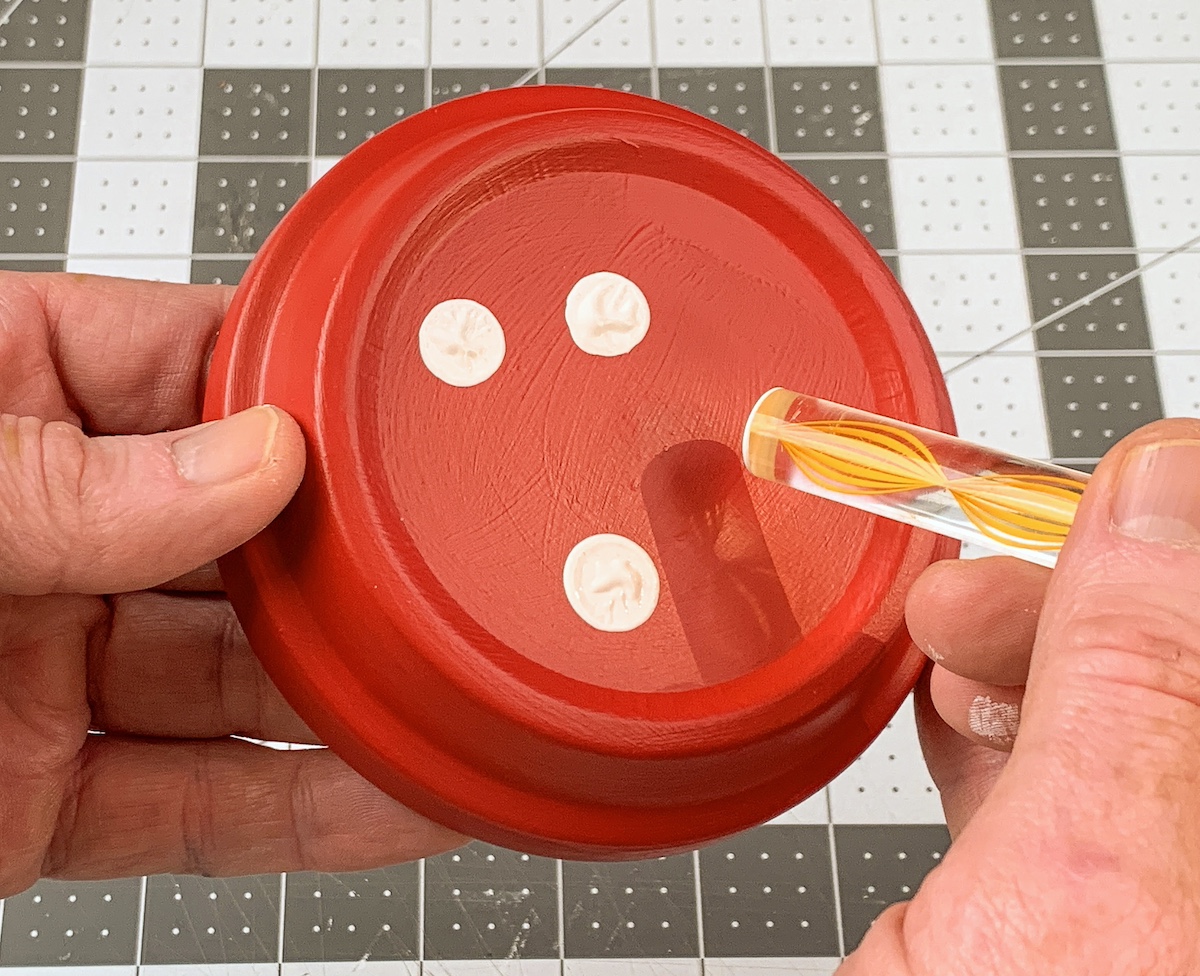
- Dot the tops of the pots with white paint using the spouncers and dotters of your choice. Use various sizes. Let dry.
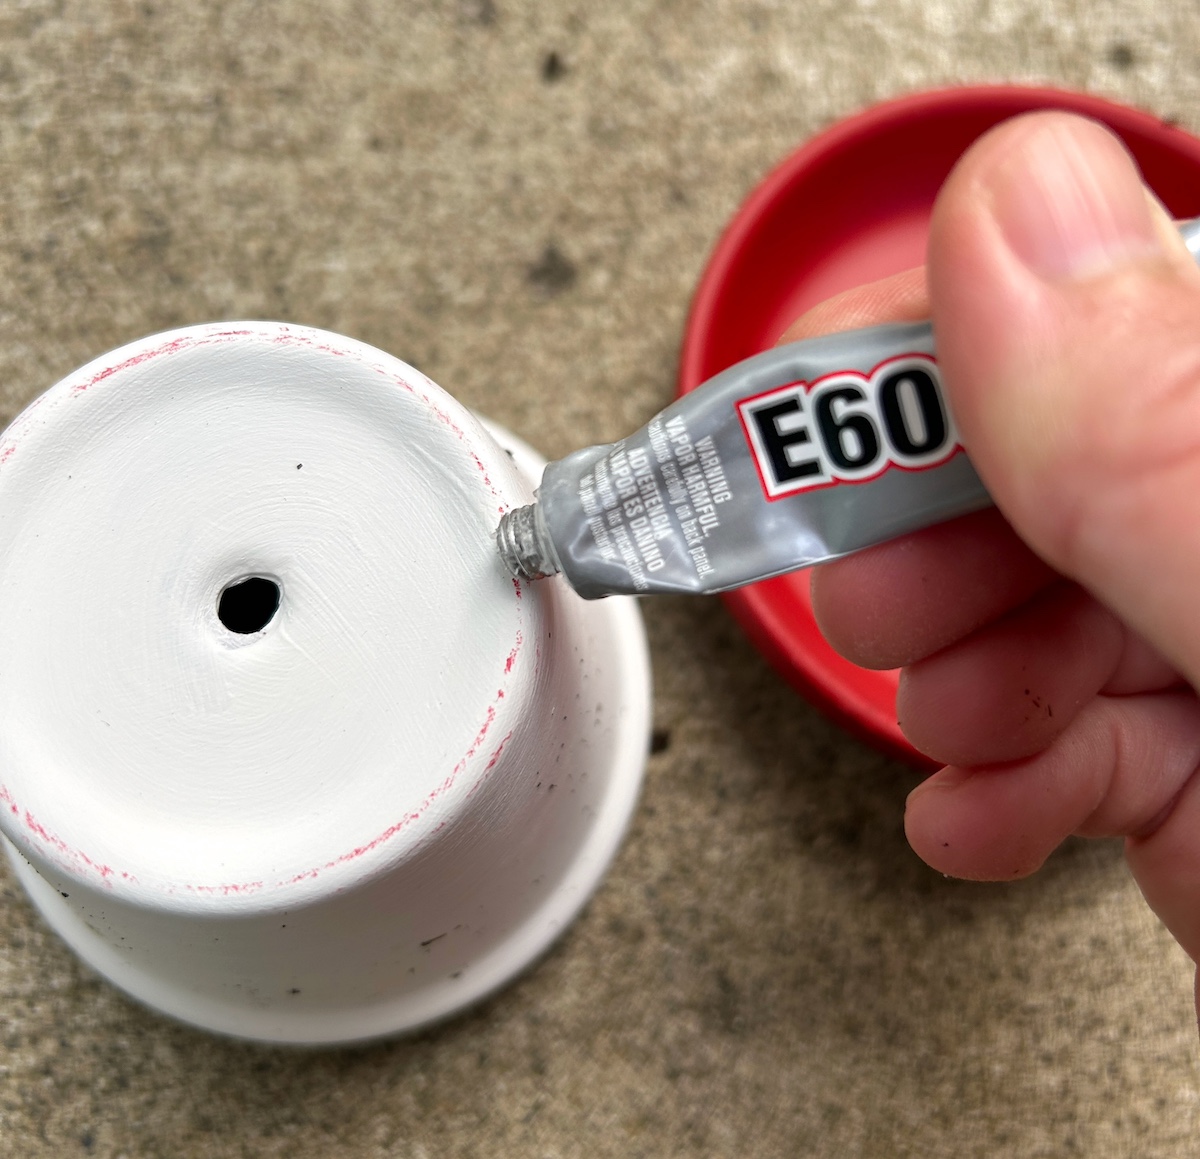
- Attach the saucers to the bottoms of the pots (turned over) using E-6000 or another waterproof glue. Let dry completely before displaying.
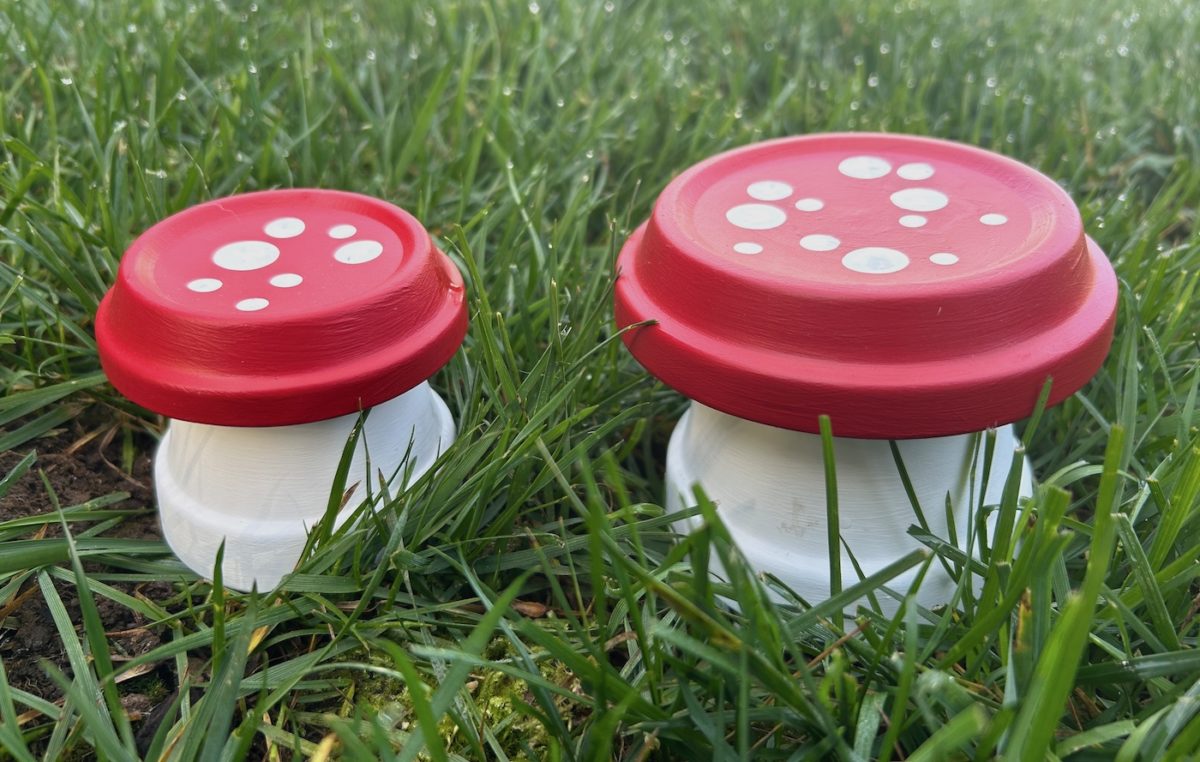
These mushrooms look adorable in fairy gardens, flower beds, and on a patio. They also make fun handmade gifts for garden lovers. What do you think? Let me know in the comments! I’d also love for you to check out these other craft ideas:
Clay Pot Gnomes • Clay Pot Lighthouse • DIY Fairy Gardens • Fabric Flower Pots • Flower Pot Decoration • Mod Podge Terra Cotta • Napkin Flower Pots • Photo Flower Pot • Rock Mushrooms