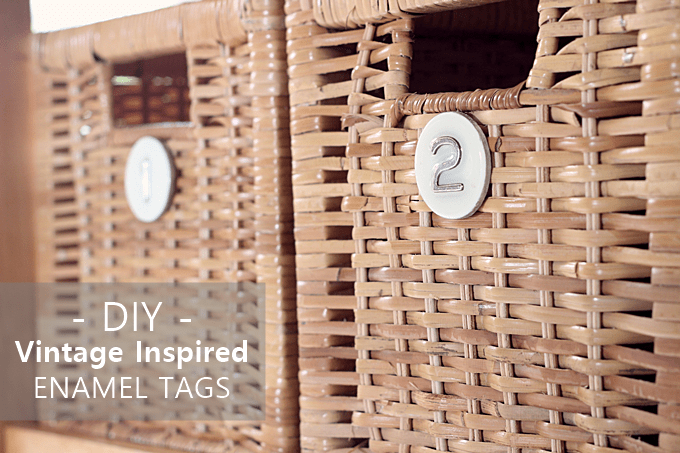
You’ll love this unique organization project! Make these knock off vintage enamel basket labels using Dimensional Magic and stickers.
Skills Required: None. Even if you’ve never crafted before, you can make these basket tags. Just try the Dimensional Magic on a test piece to make sure you have the hang of it before you start your final project.
Once the holidays are over and the decorations are packed away, I find that I want to organize and purge our home. But, like many crafty people, I like my storage to look pretty!
My husband and I just had a baby this summer and we needed a place in our kitchen to store lots of new baby paraphernalia. We had a cart in our kitchen that was under utilized.
So we filled the shelves on the bottom of the cart with baskets for storage. I wanted to label each container so it would be easier to remember what goes where.
Using simple wood circles and Mod Podge Dimensional Magic, I made some basket labels that mimicked vintage enamel tags. I love Dimensional Magic.
If you haven’t used it, it is a thick, glue-like medium that you can apply to surfaces to add a resin-like appearance. It goes on cloudy but dries crystal clear. It’s a fun way to dress up a plain tag for a box or basket.
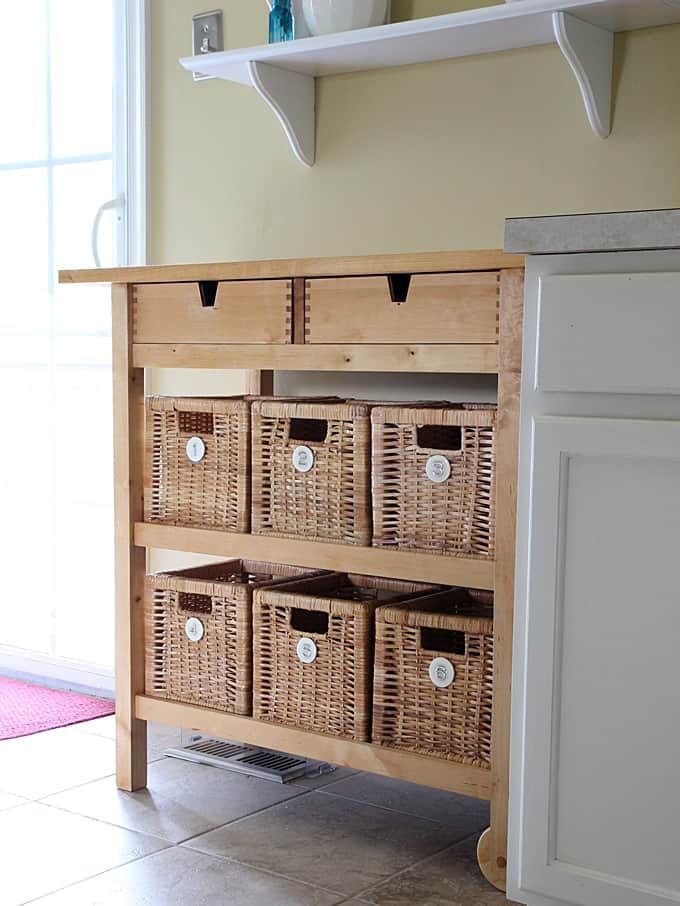
These basket tags are great for labeling just about anything – not just baskets, but plastic containers as well (you can double stick tape them to the ends). They’re perfect for organizing in the kitchen, home office, school area, closet, or anywhere else you can think of!
Gather These Supplies
- Small wood circles
- Raised metallic stickers
- White craft paint
- Brush
- Mod Podge Dimensional Magic
- Hot glue gun
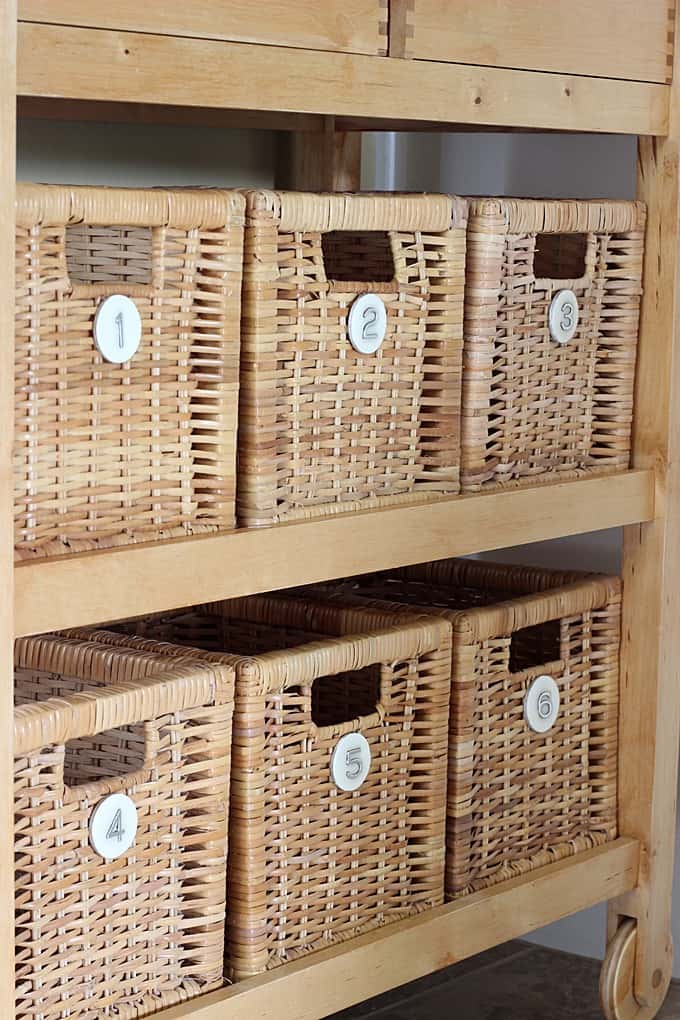
These labeled baskets are so handy now. I love having them marked because I can just direct someone to ‘’basket 2” to grab me a bib for the baby. Cute storage always makes me happy!
Get the printable how to below:
How to Label Baskets
Materials
- Wood circle(s)
- Mod Podge Dimensional Magic
- Raised stickers
- Craft paint white
Instructions
- Paint each wood circle with craft paint. Allow the paint to dry and brush on another coat if needed.
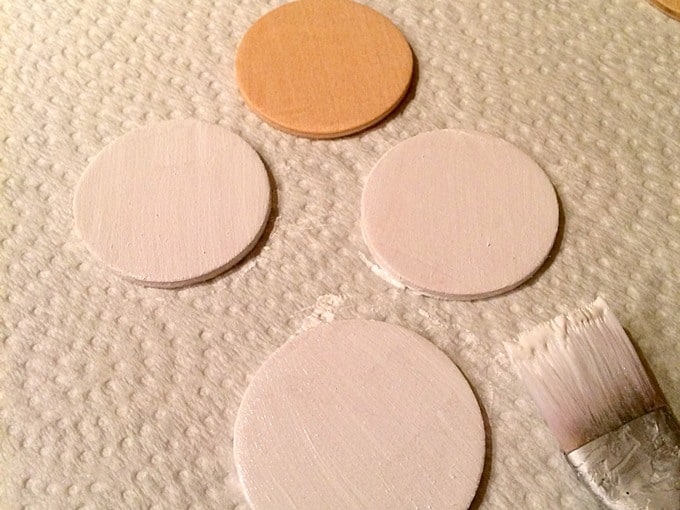
- Apply a sticker to the front of each circle.
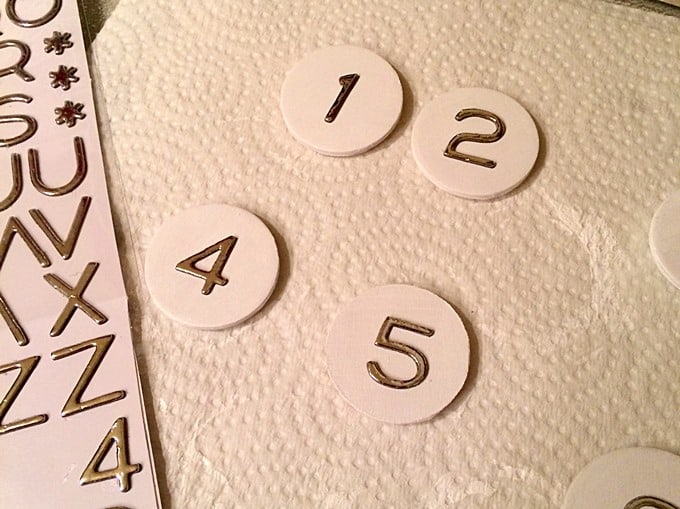
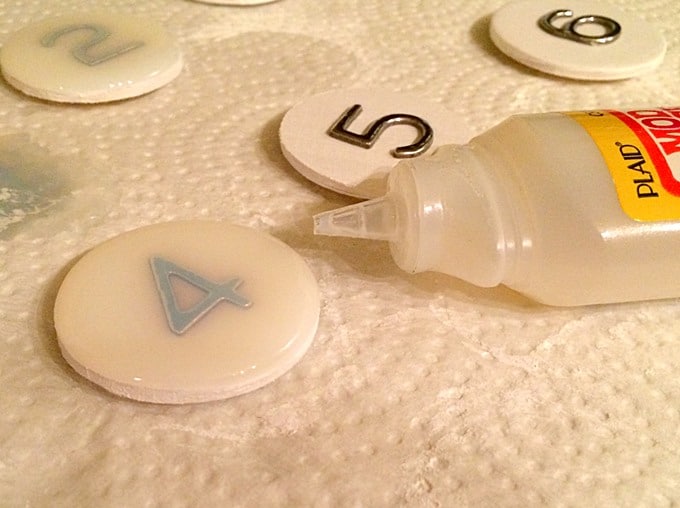
- Very carefully squeeze the Dimensional Magic (DM) over the top surface of the tag and the sticker. I find it is easiest to start at one edge and slowly pipe the medium over the area to the other edges. Allow to dry overnight.
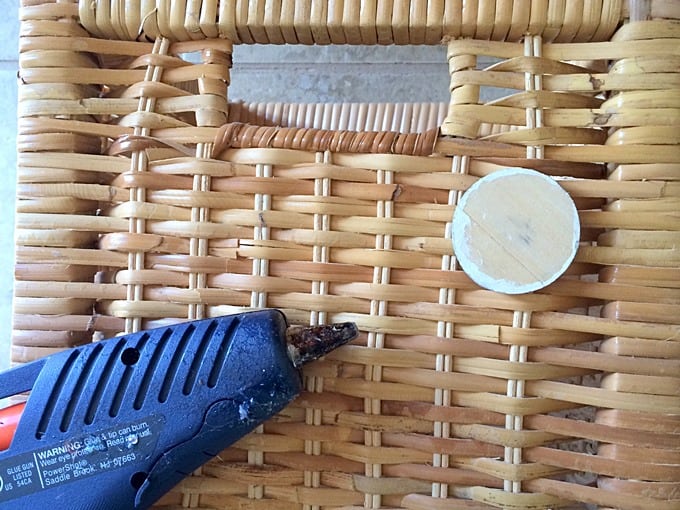
- Use a hot glue gun to attach each basket tag to the container of your choice.
Would you make these basket labels? Let me know in the comments! I’d also love for you to check out these other related posts:



This is so cute! I will have to try this soon. 🙂
Oh my gosh, I love it! So clever and looks so easy to do. I Love Dimensional Magic…use it all the time.