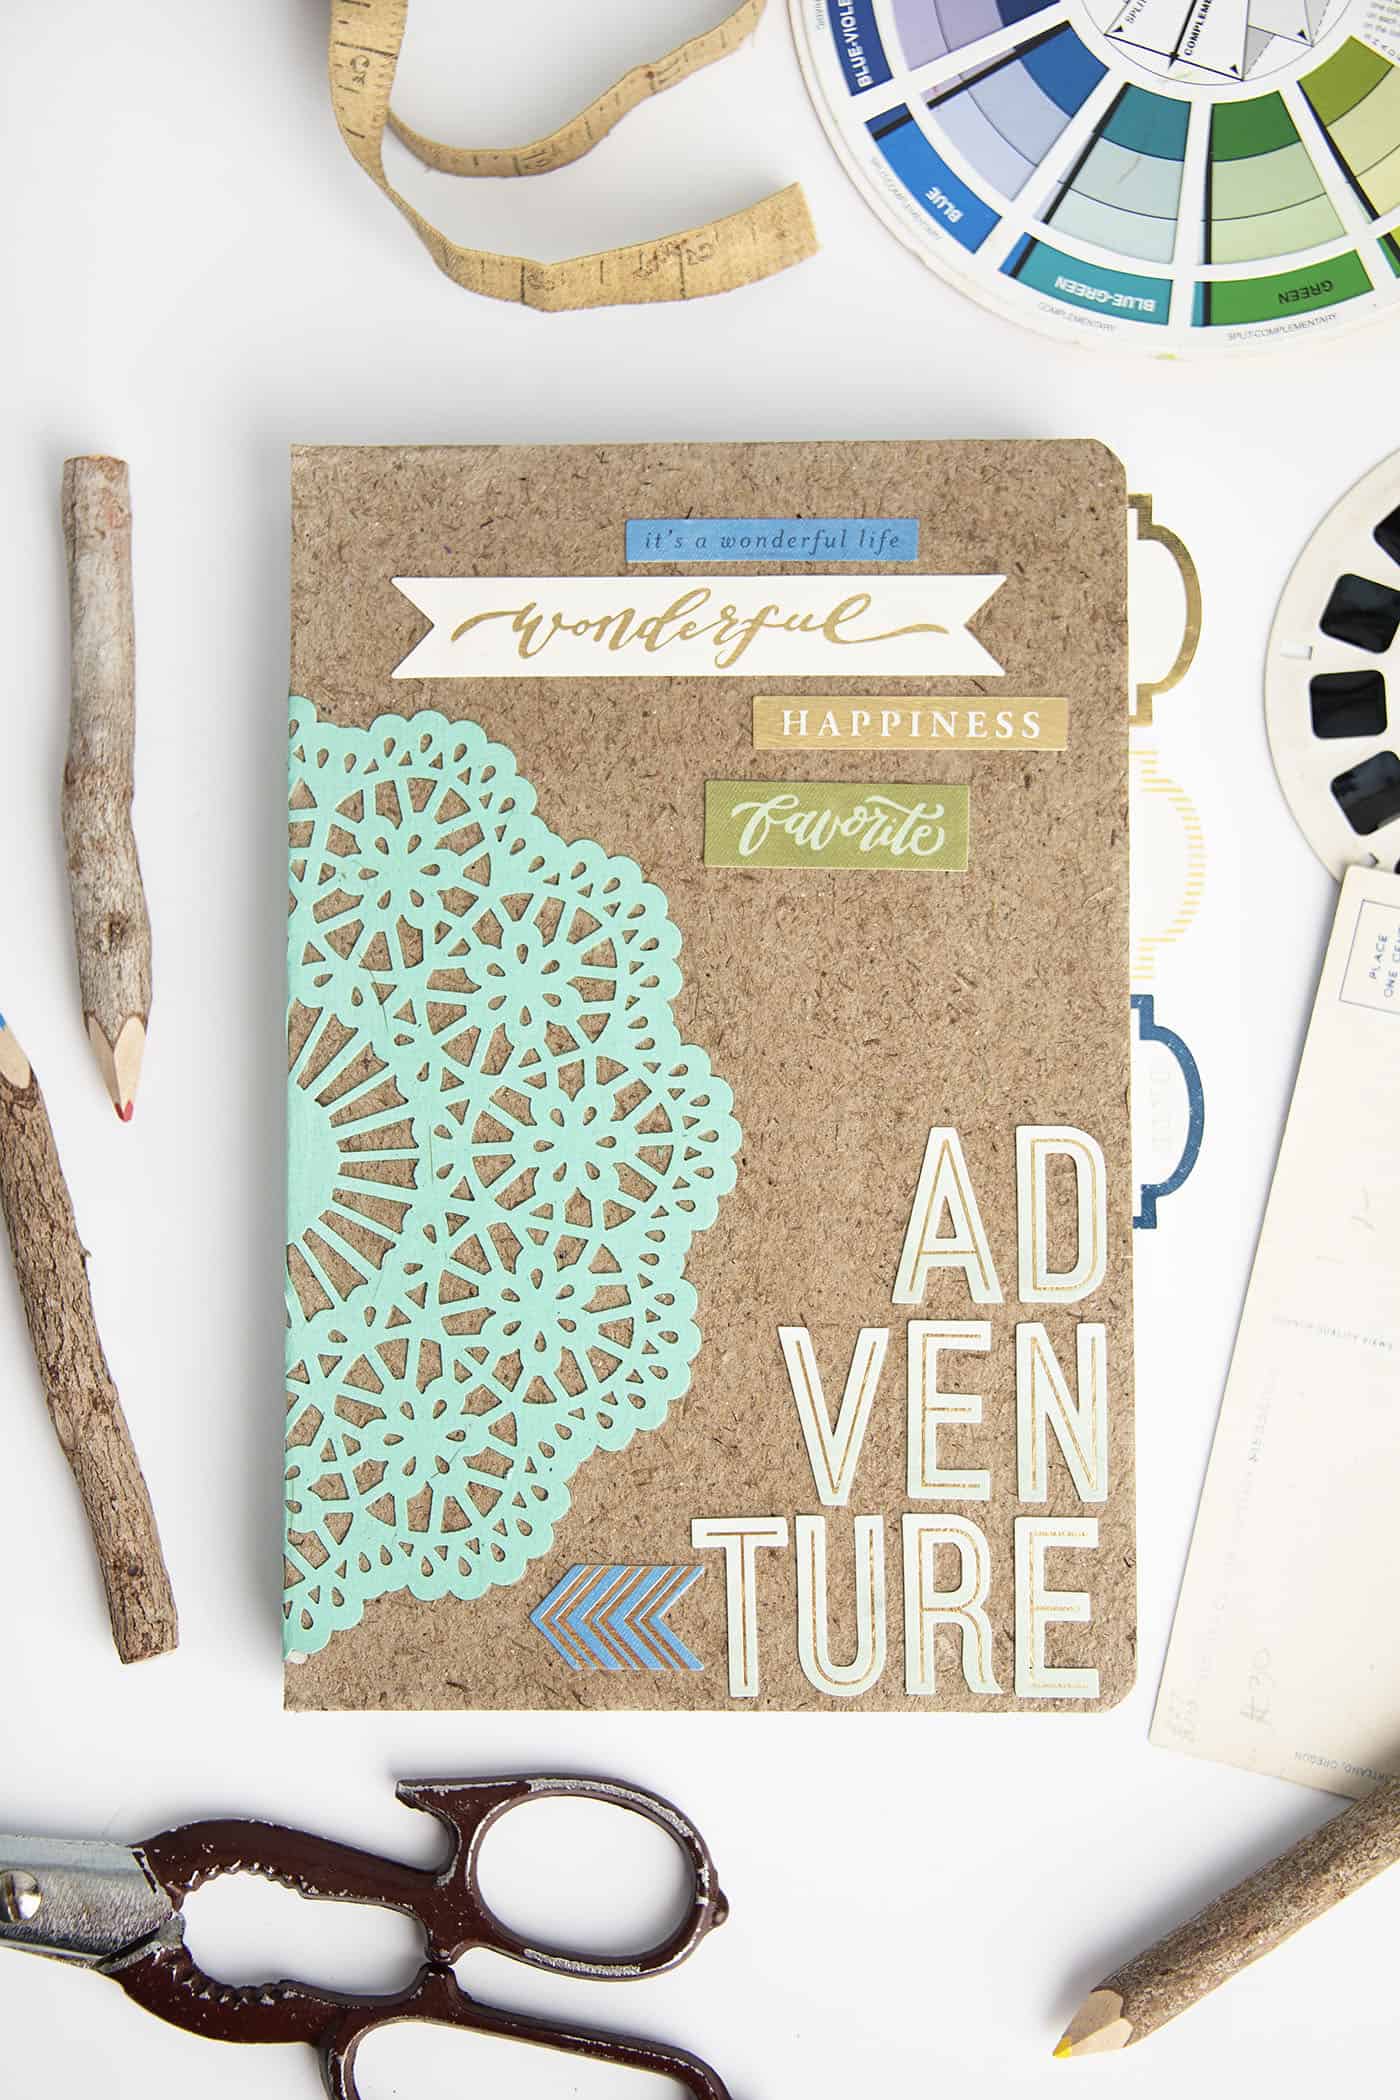
This adventure themed DIY notebook is the perfect gift idea for everyone from hostesses to teachers to kids! So simple to personalize.
Skills Required: None. Even if you’ve never Mod Podged before you can complete this project with ease. Perfect for adults, tweens, or kids!
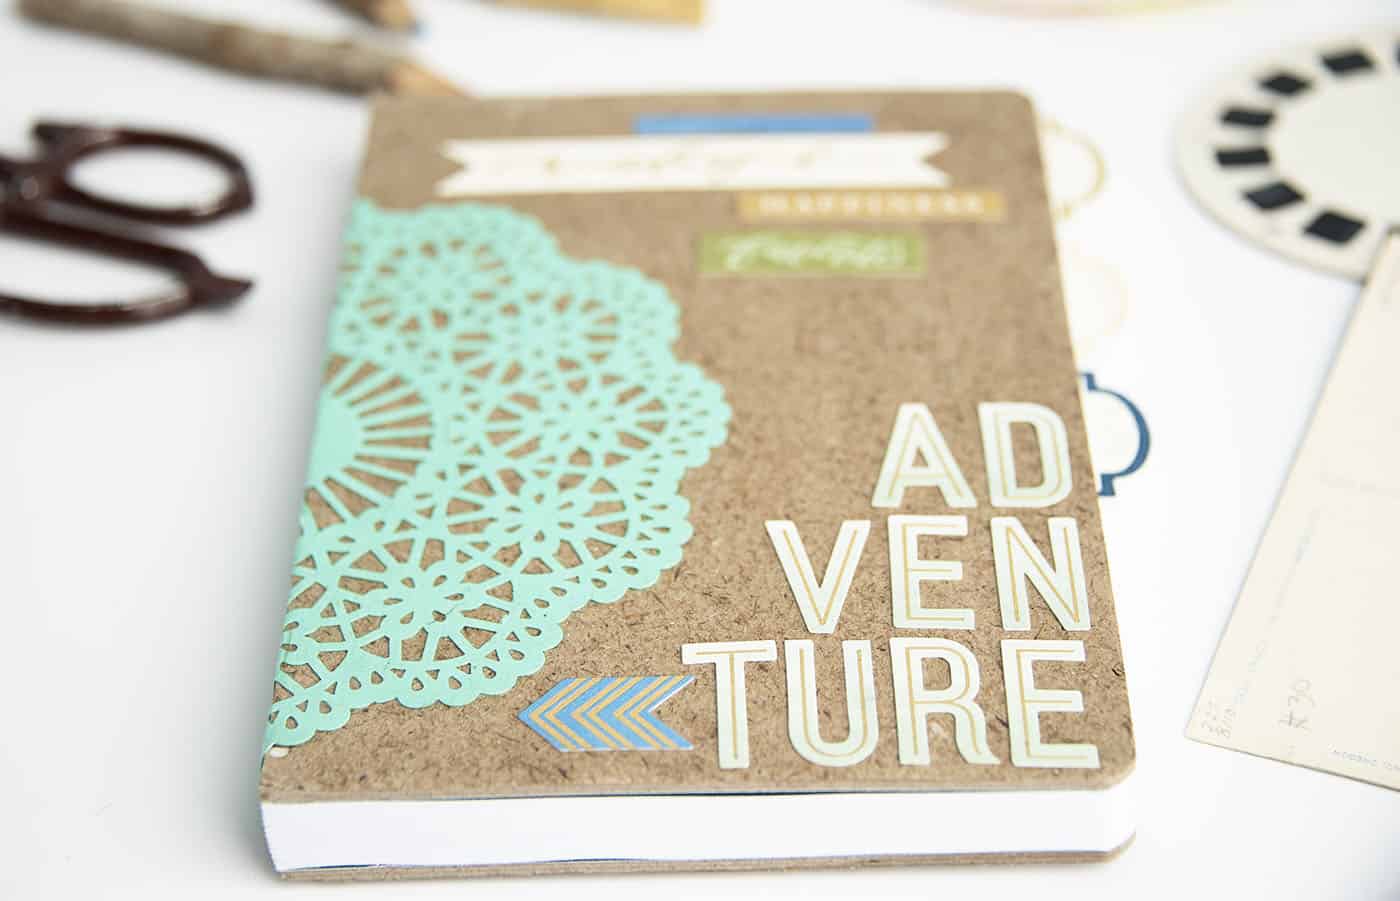
Hello, friends! Are you also working like crazy on Christmas gifts? Every year I give my kids a new sketchbook or notebook to write in, and this year I thought it would be fun to make it myself!
I love the idea of each of my kids having their own personalized DIY notebook for the year. They can use it to draw, write down ideas and thoughts, or just color when they need something to do.
My kids have such different personalities, I love the idea of creating something unique just for them. And encouraging them to write and draw is just another added bonus!
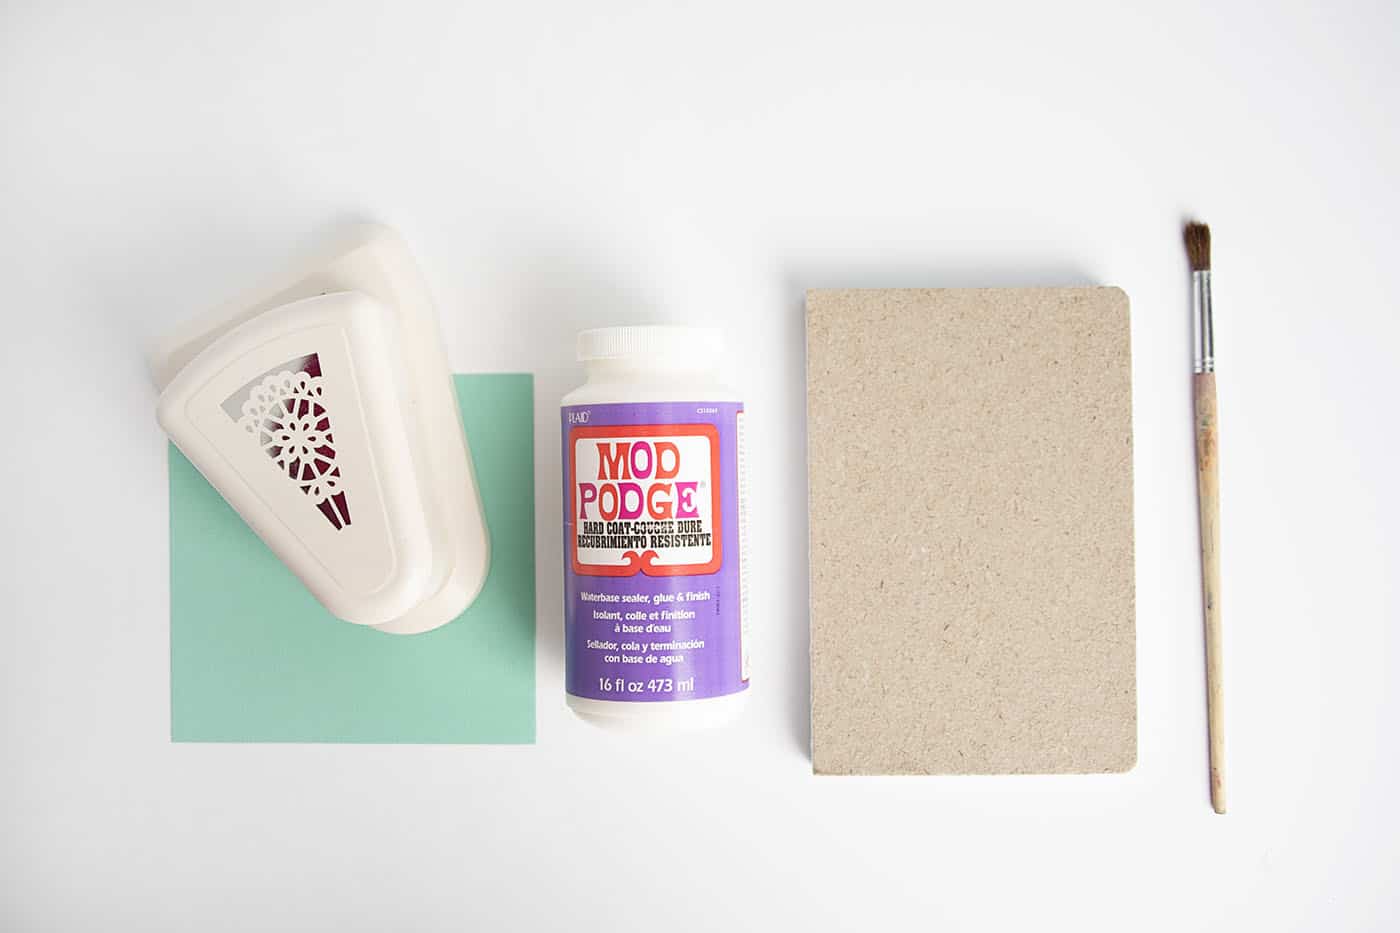
If you aren’t familiar with Mod Podge Hard Coat sealer, it hands down one of my favorite Mod Podge products. My kids are . . . well kids! They are rough on just about every surface in our house.
It’s important to me that if I am going to put a lot of time into this project, that I create something that will last. The Mod Podge Hard Coat is the perfect solution.
It works as a sealer, glue, and durable finish. It’s just the thing to keep my handmade books safe. Let’s jump into this DIY notebook!
To make this decoupage idea, I started with a few supplies. A doily punch (or paper doilies), embellishments, paint brush, and a blank sketchbook. You probably have most of these things lying around the house!
Gather These Supplies
- Blank sketchbook – a paper or chipboard cover works best
- Mod Podge Hard Coat
- Scrapbook paper
- Design punches (like my doily)
- Adhesive letters
- Stickers or other scrapbook embellishments
- Paintbrush
This notebook gift idea is so easy! My oldest is going to LOVE it. She loves to draw, and she is such an adventurer.
Get the printable how to below:
Homemade Notebook
Equipment
- Craft punch(es)
Materials
- Blank sketchbook a paper or chipboard cover works best
- Mod Podge Hard Coat
- Scrapbook paper
- Adhesive letters
- Stickers or other embellishments
Video
Instructions
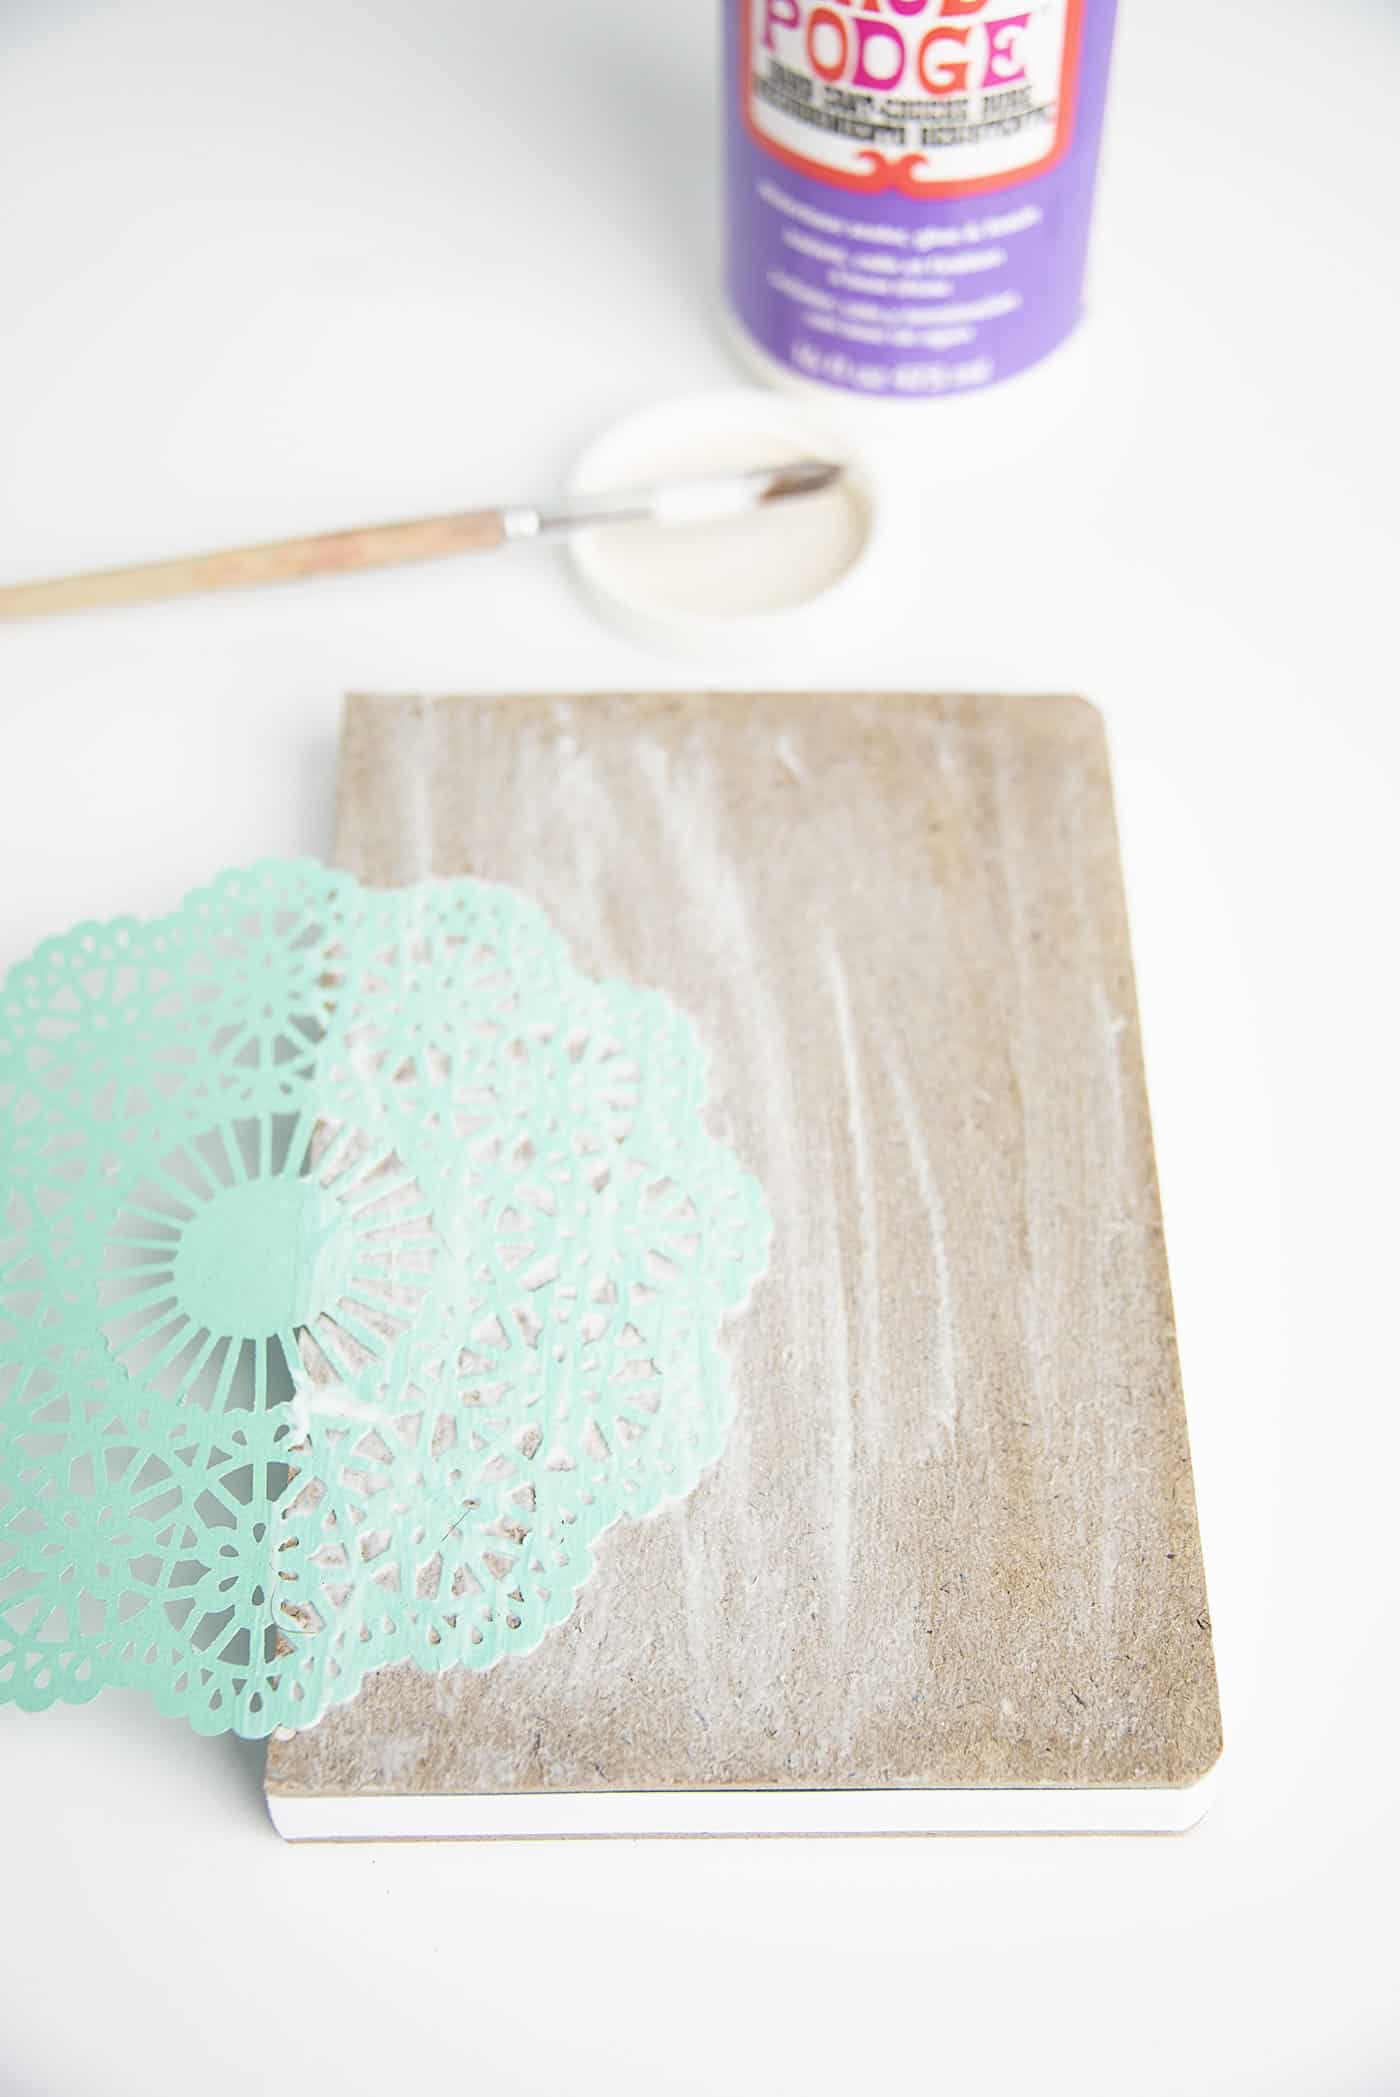
- Coat the notebook in a thin layer of Mod Podge Hard Coat.
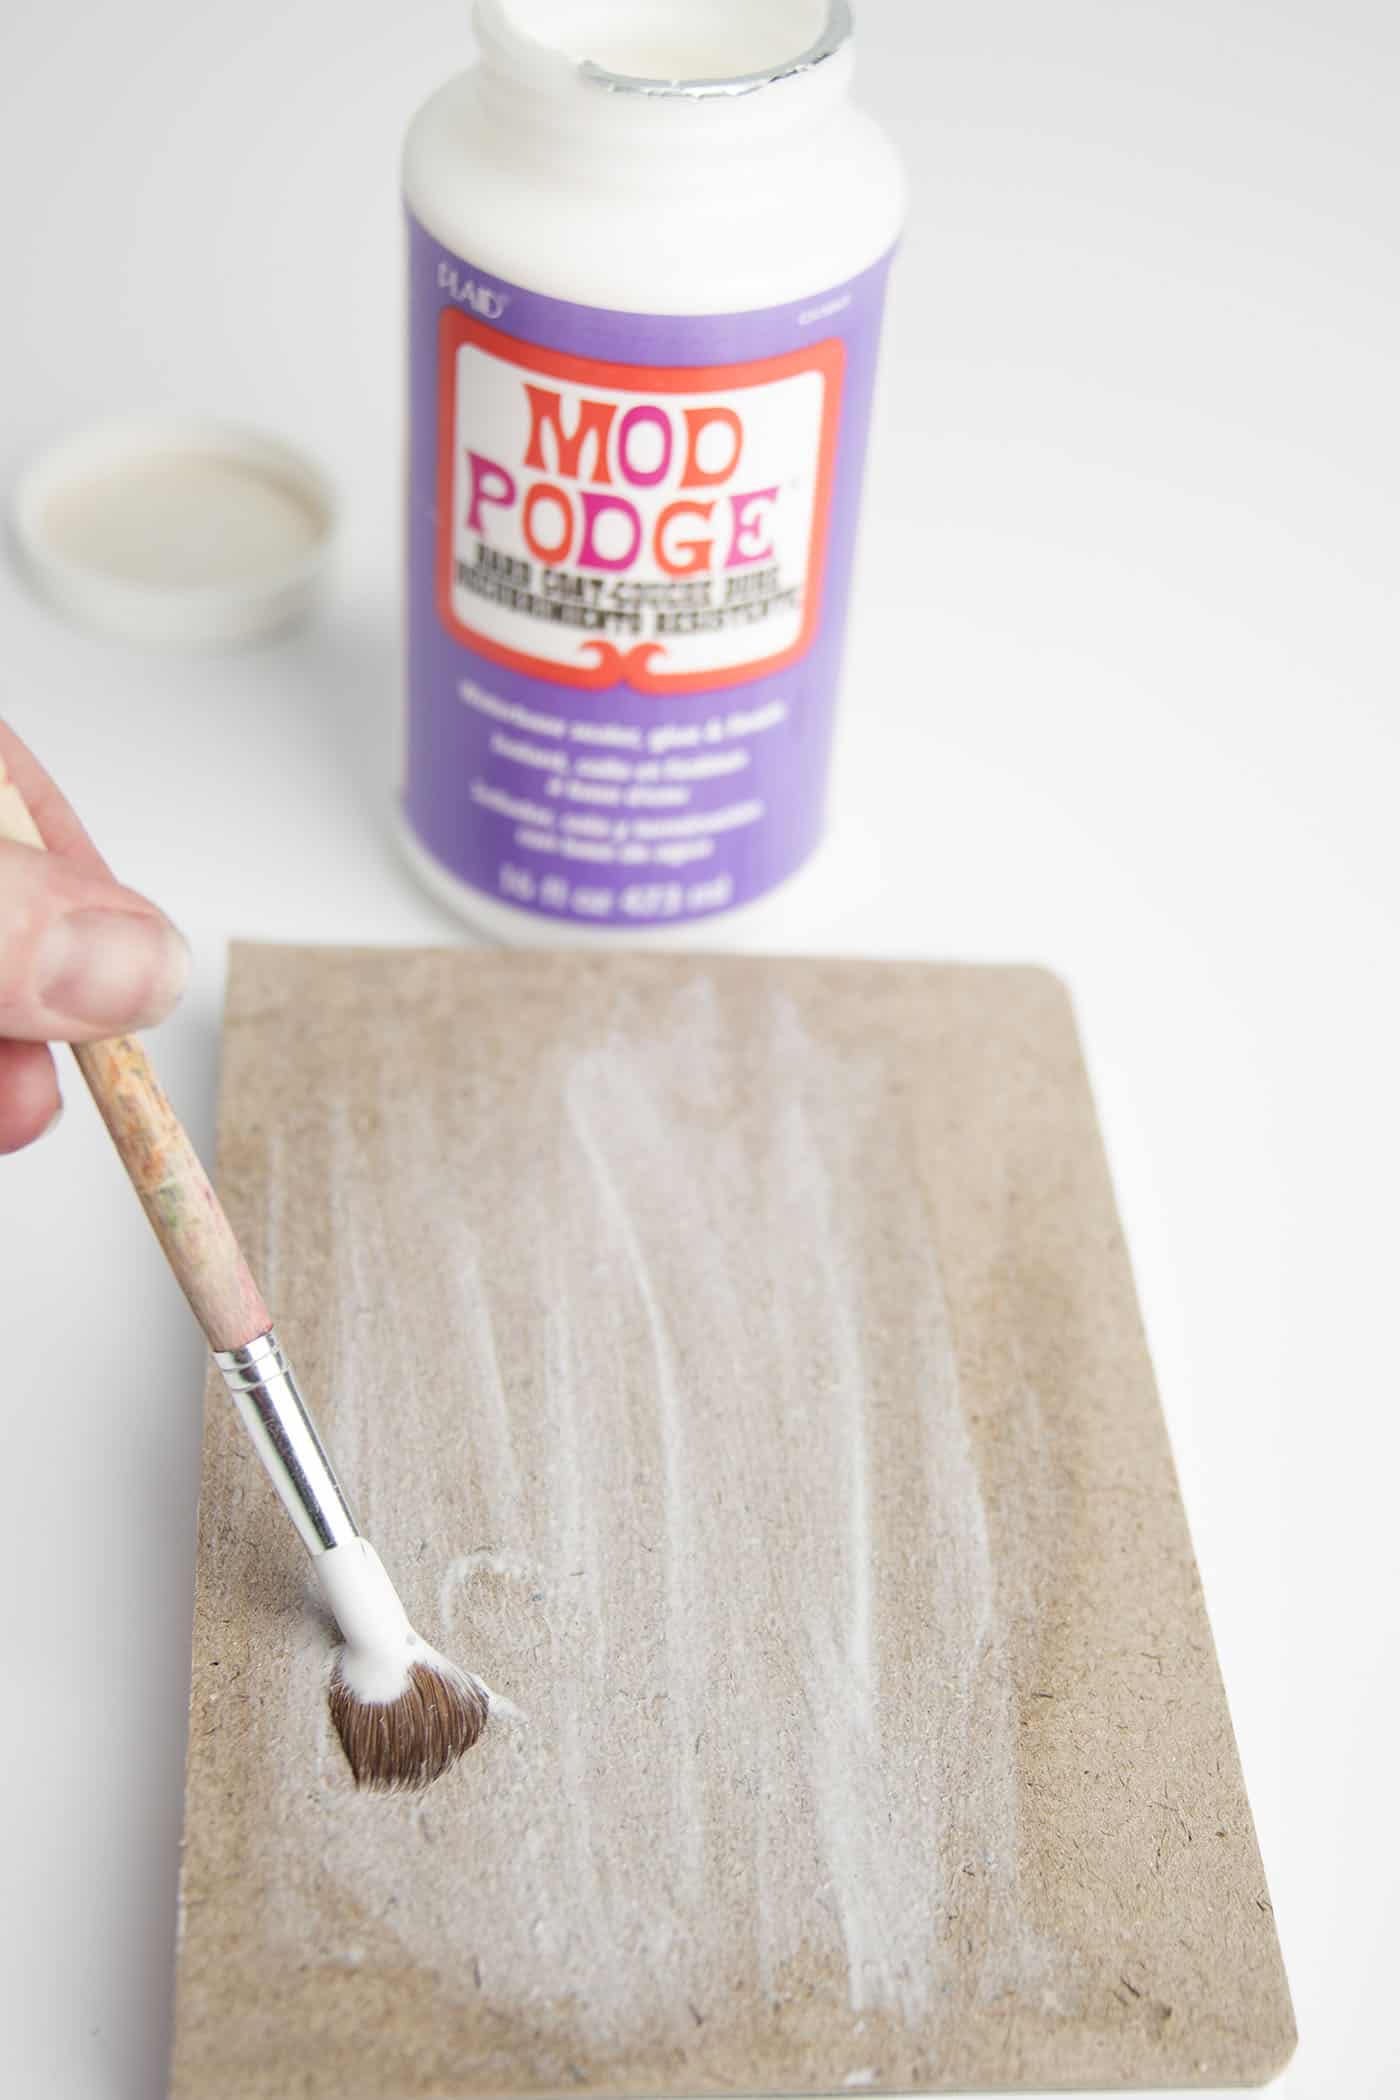
- Punch out a doily or other shape. Apply a think coat of Mod Podge Hard Coat to the back of the shape and adhere to the book. Smooth down and let dry 15 – 20 minutes.
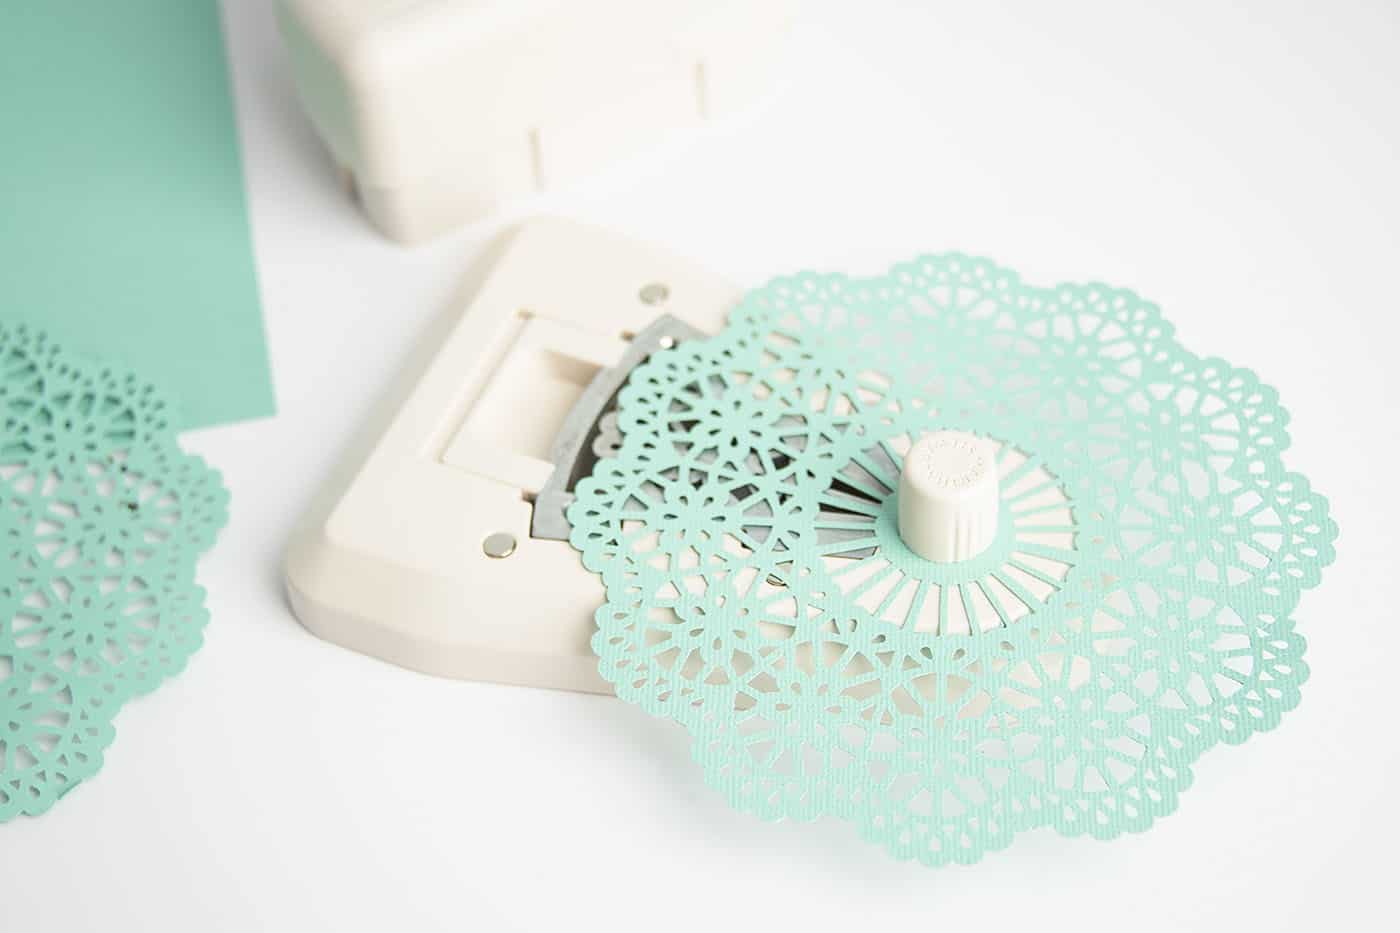
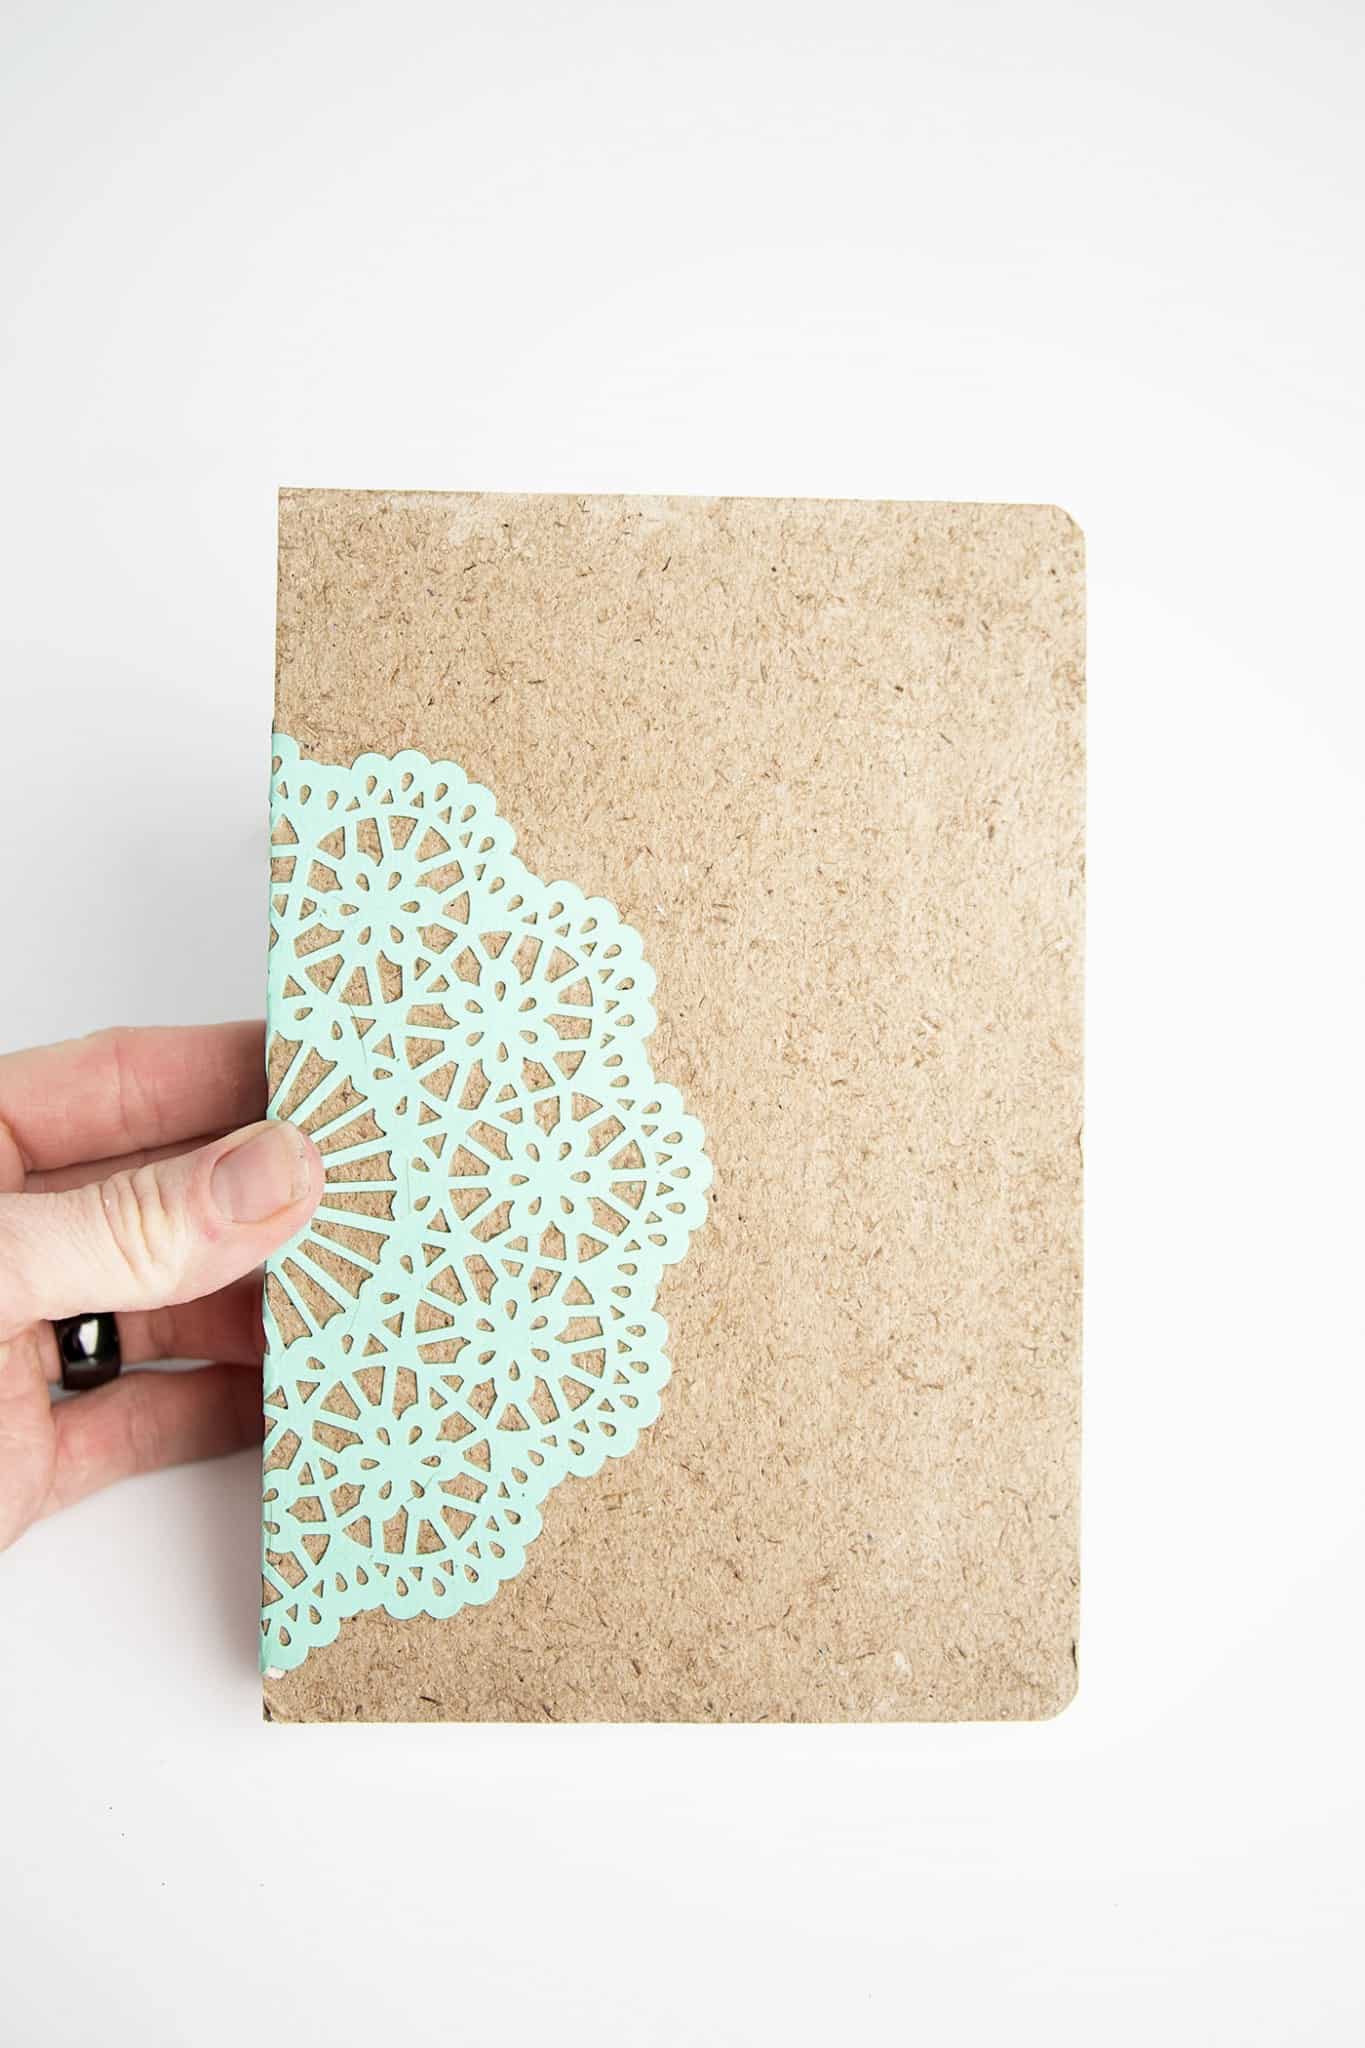
- Apply another thin coat of Mod Podge to the top and let dry.
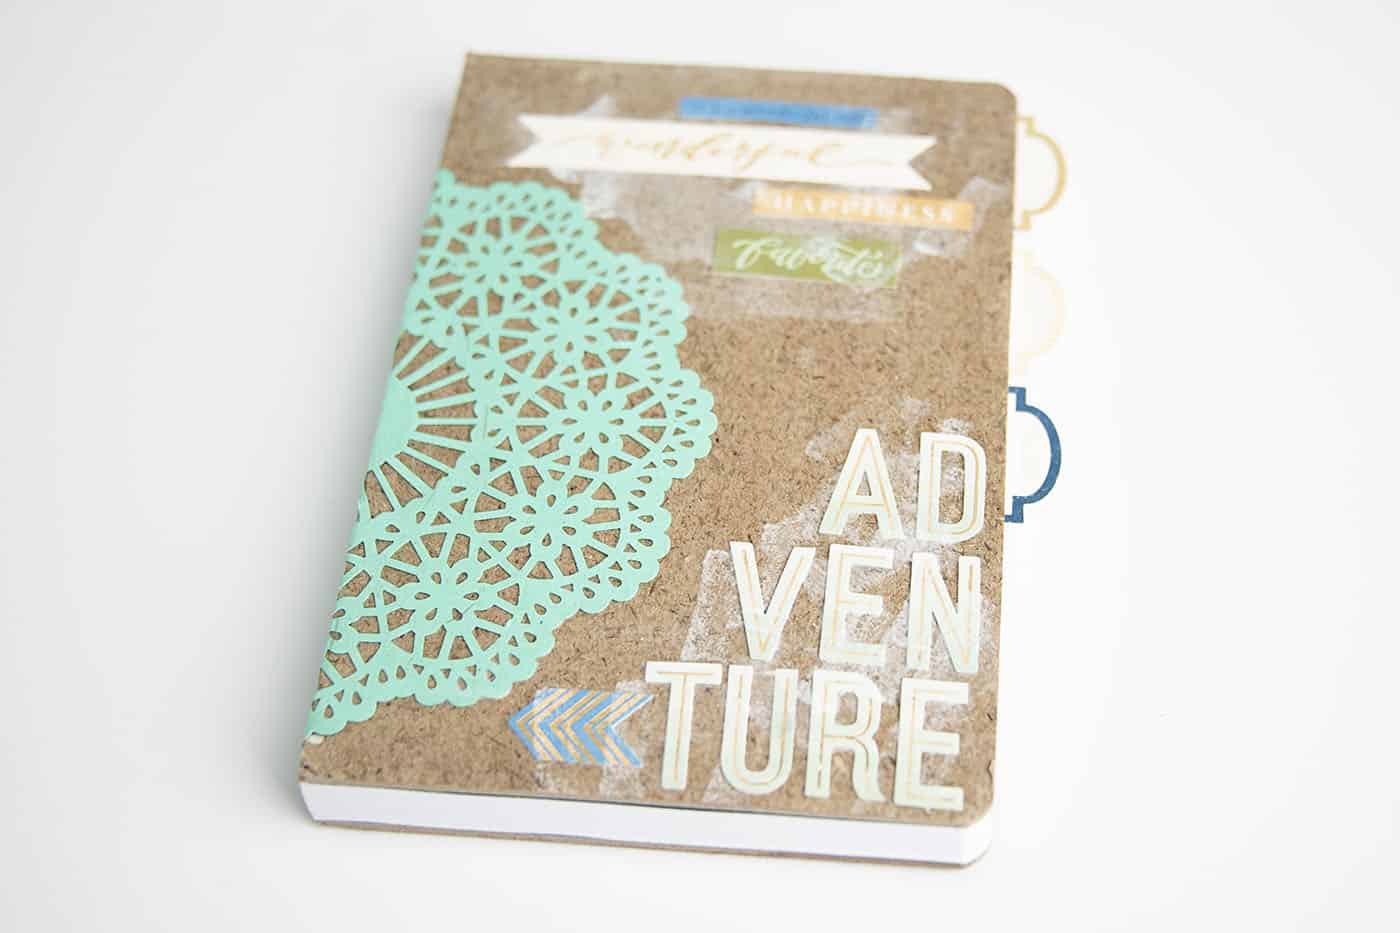
- Add additional embellishments to the book following the same method. Keep the coat of Mod Podge thin and even.
- Check the book for any areas that are lifting up. Some embellishments May need more Mod Podge than others. Keep your coat of Mod Podge thin and even, letting dry between coats. Let dry completely before using.
Notes
I just love creating gifts that showcase how much I love and appreciate others. Now I am off to make more! Maybe I need to make these for close friends and family too. I better get craftin’! 😉 Check out these other cute posts too:



This is so pretty.. Love it 🙂 I enjoyed decorating my diary & planner with mod podge & podgeable paper!
Thanks Natalie for sharing!
This is fantastic idea! I made a travel journals for my daughters and they fell apart at the end of the trip. I do need this Hard Coat! Thanks for the inspiration!
so good
do u have to use that certain glue though?????????