Use unfinished wood to make this unique chalkboard message board. Perfect for writing messages for Thanksgiving and other holidays!
Skills Required: None. Even if you’ve never crafted before, you’ll be able to make this project. You’ll be painting and prepping the chalkboard. It’s so easy, even a kid could do it.
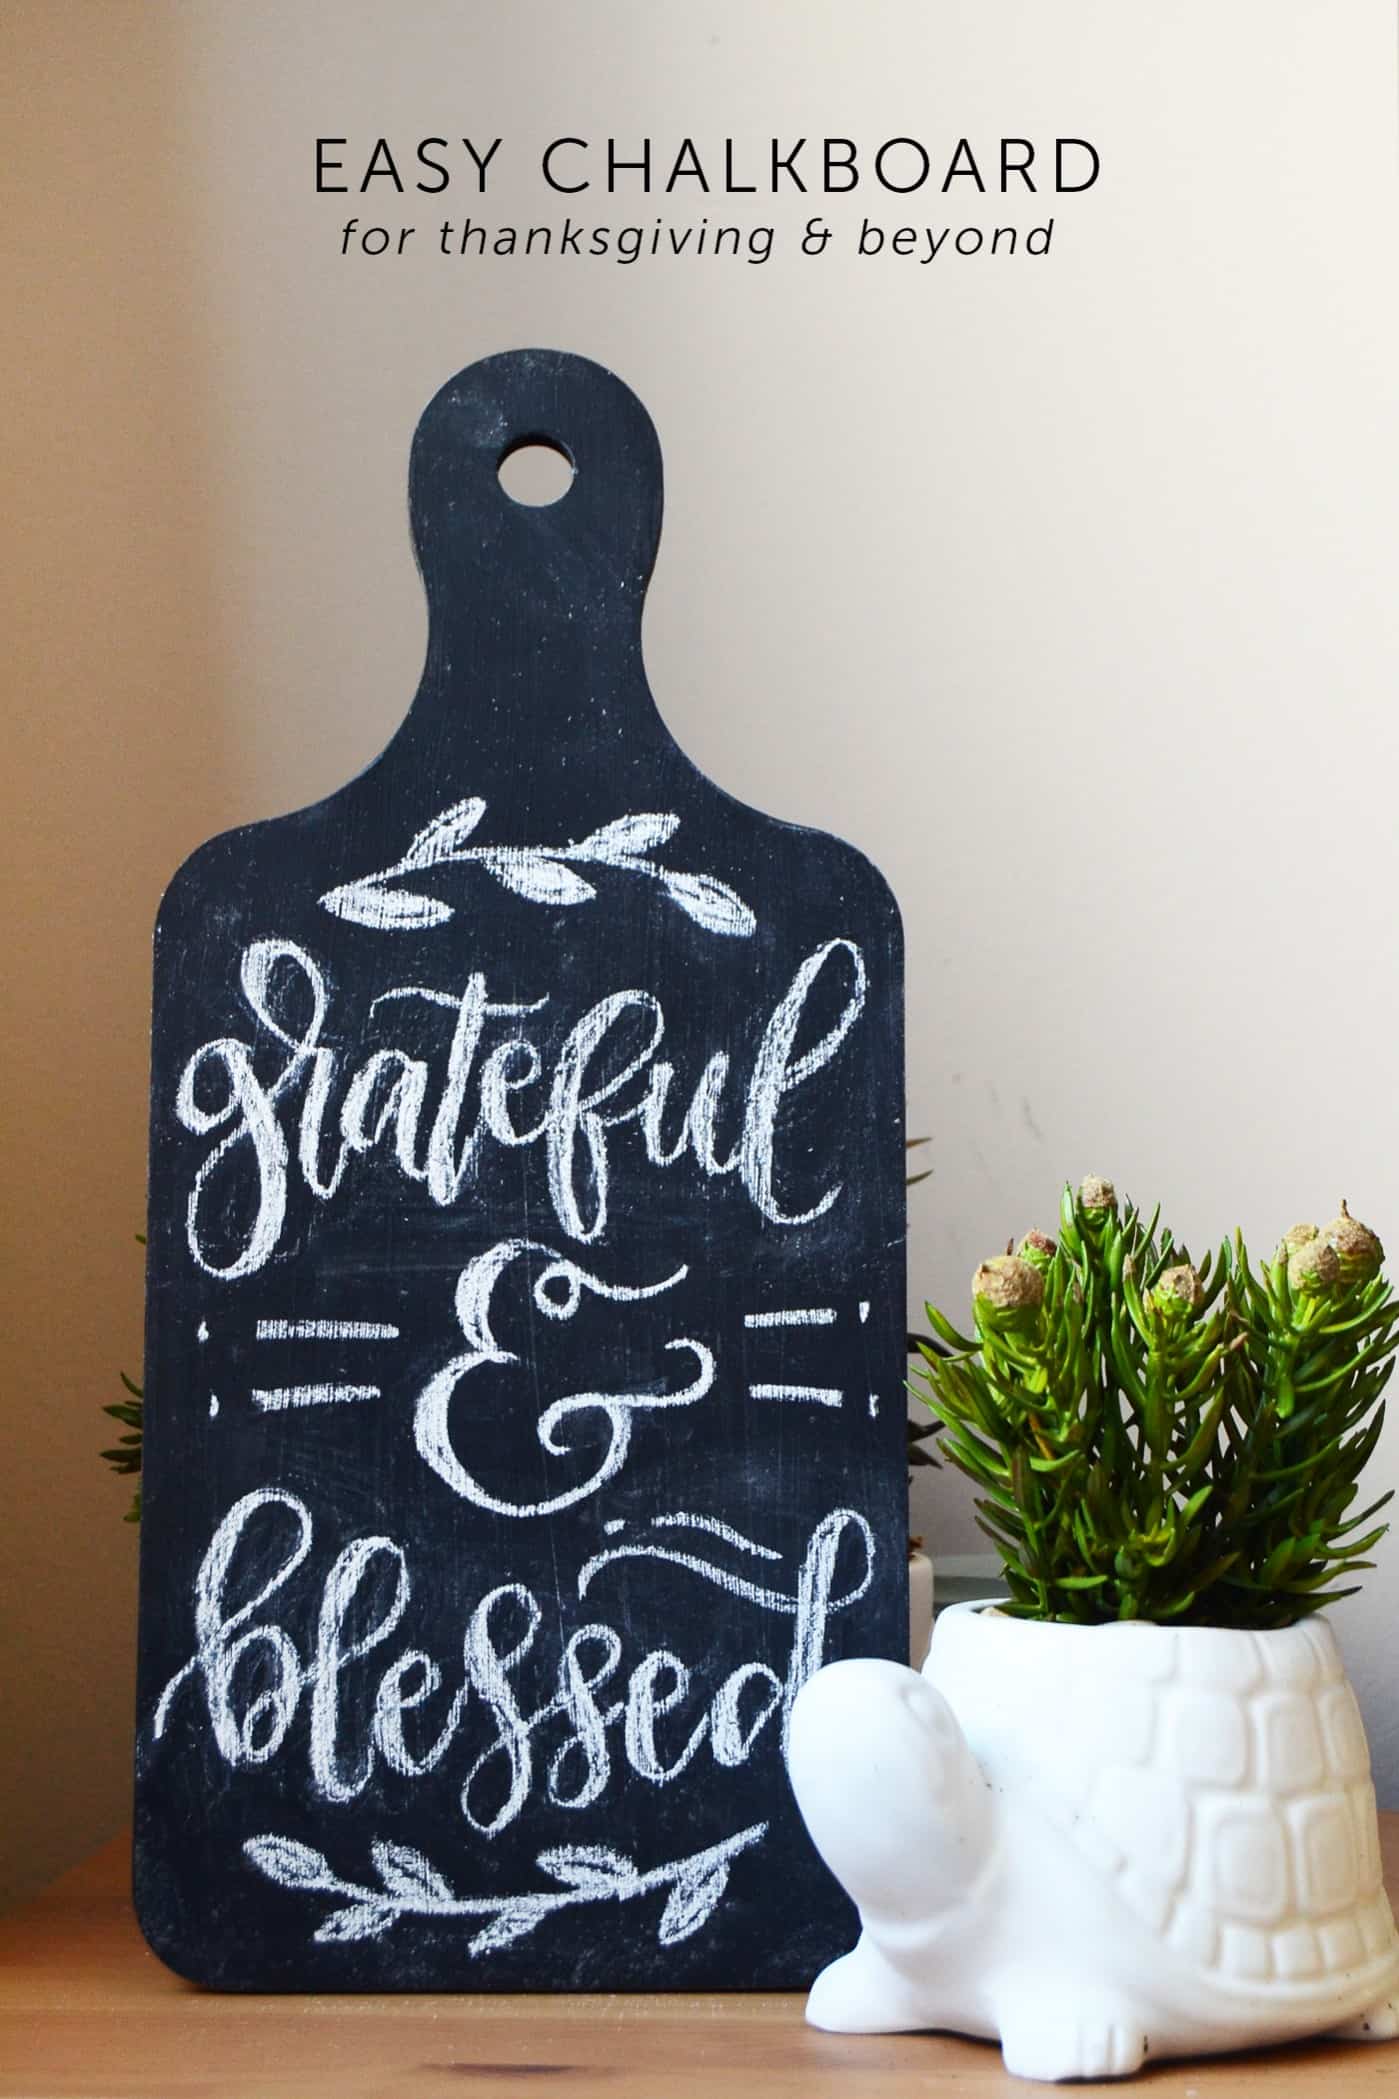
Hey there folks! Today I’ll be sharing with you how to create this SUPER EASY chalkboard message board with chalk art!
I love chalkboards and I have them all around my apartment – they’re very handy in writing down things I most likely will forget as well as things that I need in the kitchen.
But it’s also a great surface for hand lettering and writing encouraging messages. This chalkboard is a perfect decor idea for your kitchen and can be used for Thanksgiving and other holidays (or even normal days).
Also learn how easy it is to make a ton of these in less time – it’ll be perfect for gifts for the holidays. So let’s jump in and see how I made it!
DIY Chalkboard Message Board
Gather These Supplies
- MDF breadboard cutout OR just a regular piece of balsa wood would work as well
- Inexpensive spray paint – any color!
- Clear chalkboard paint
- Chalk
- Q Tips
- Sandpaper
Note: you can use any piece of unfinished wood for this project AND any color of paint. You can use spray paint or acrylic craft paint. Chalkboard paint will work over either of these.
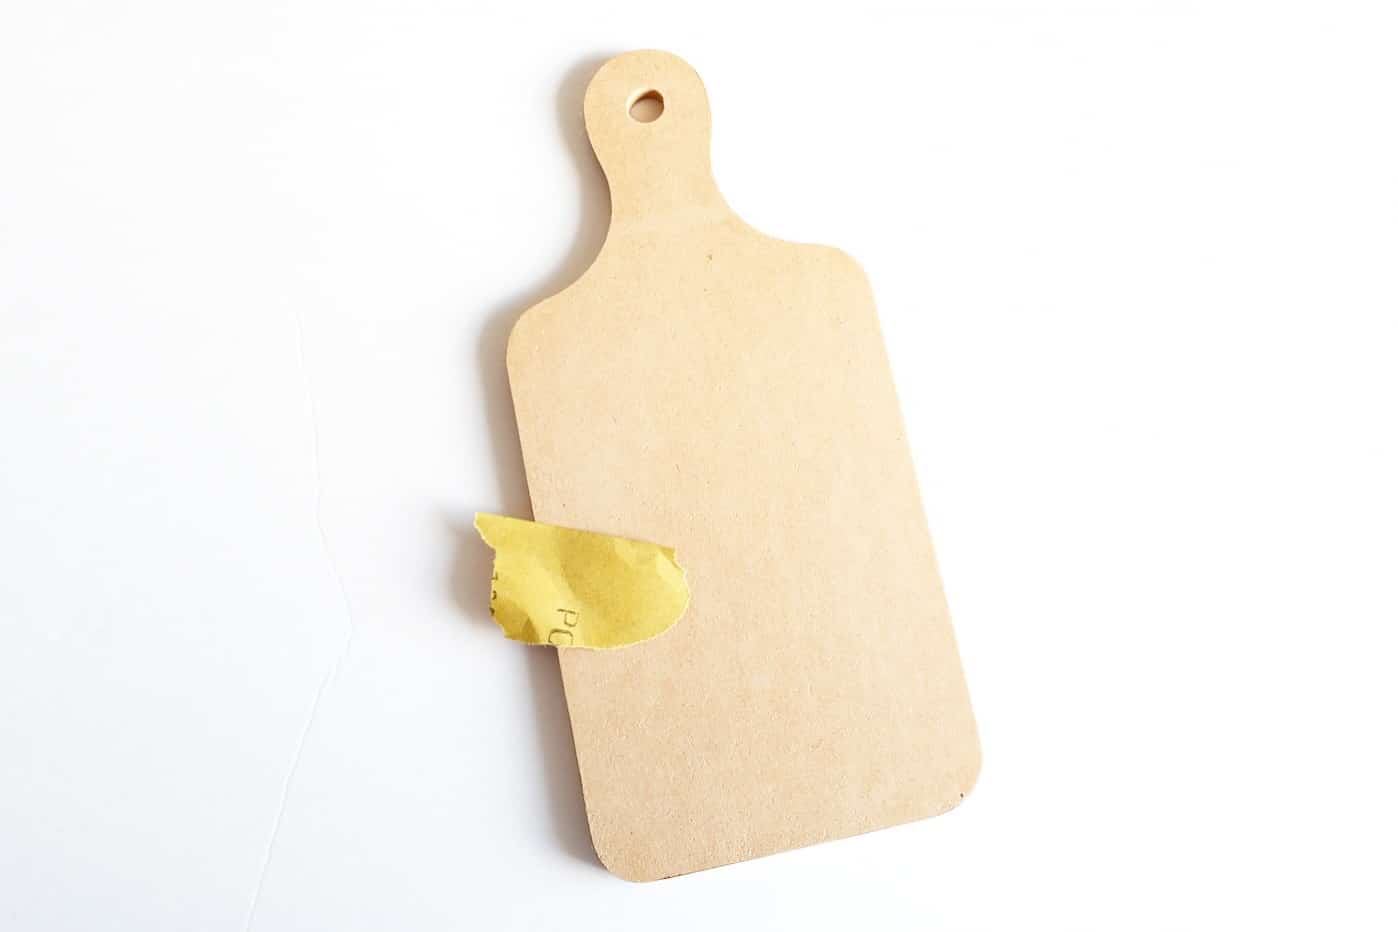
Step 1. First, sand your wood or MDF board. You want it completely smooth.
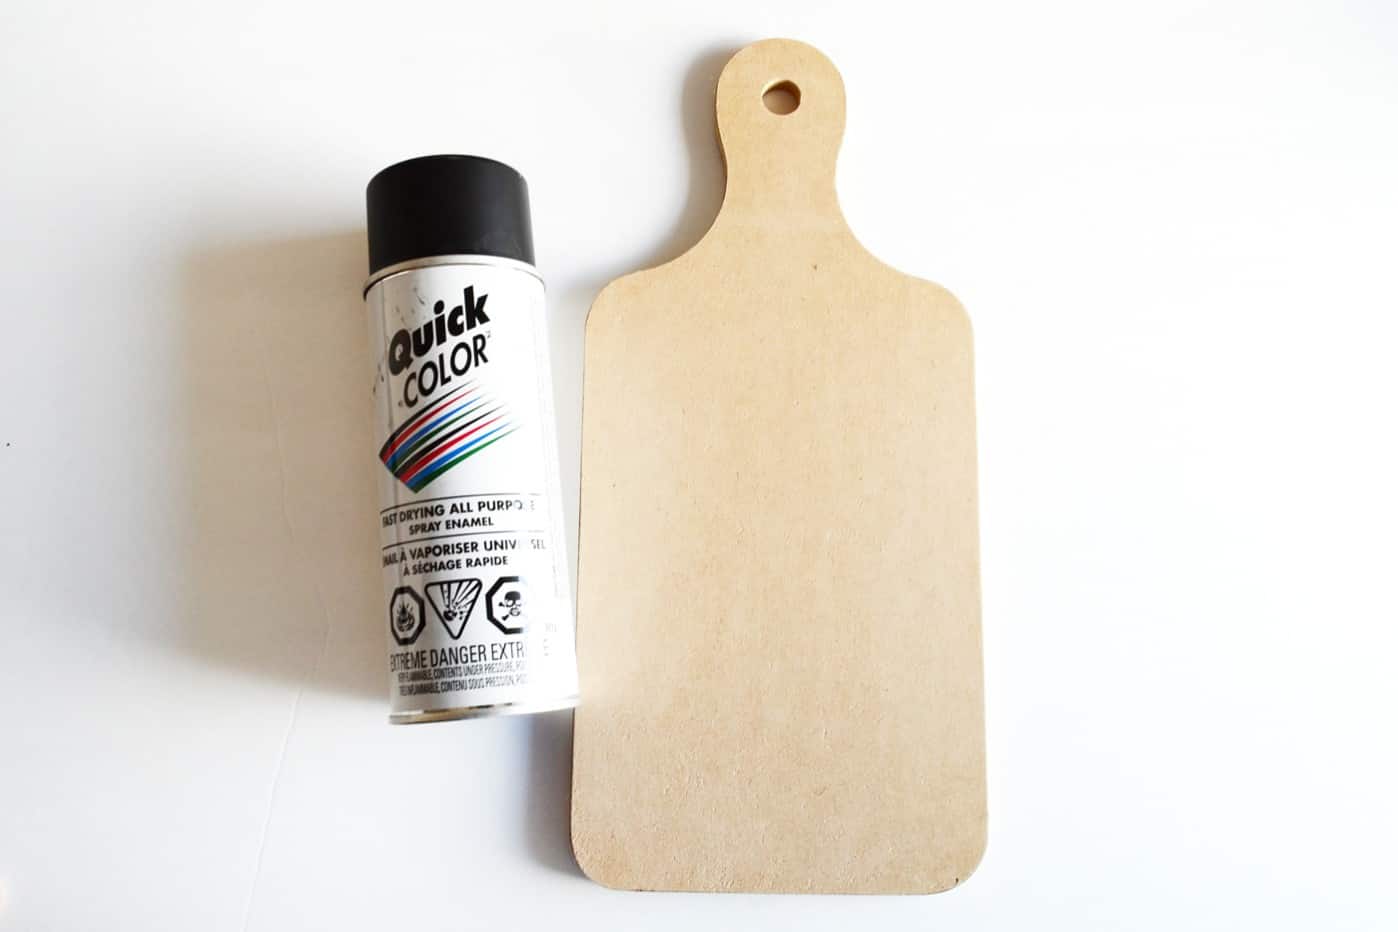
Step 2. Spray paint the surface of your board – it doesn’t matter what color or even how inexpensive the spray paint is! This is one of the secrets.
This is actually less than $2 at hardware stores, so you don’t have to buy expensive chalkboard spray paint!
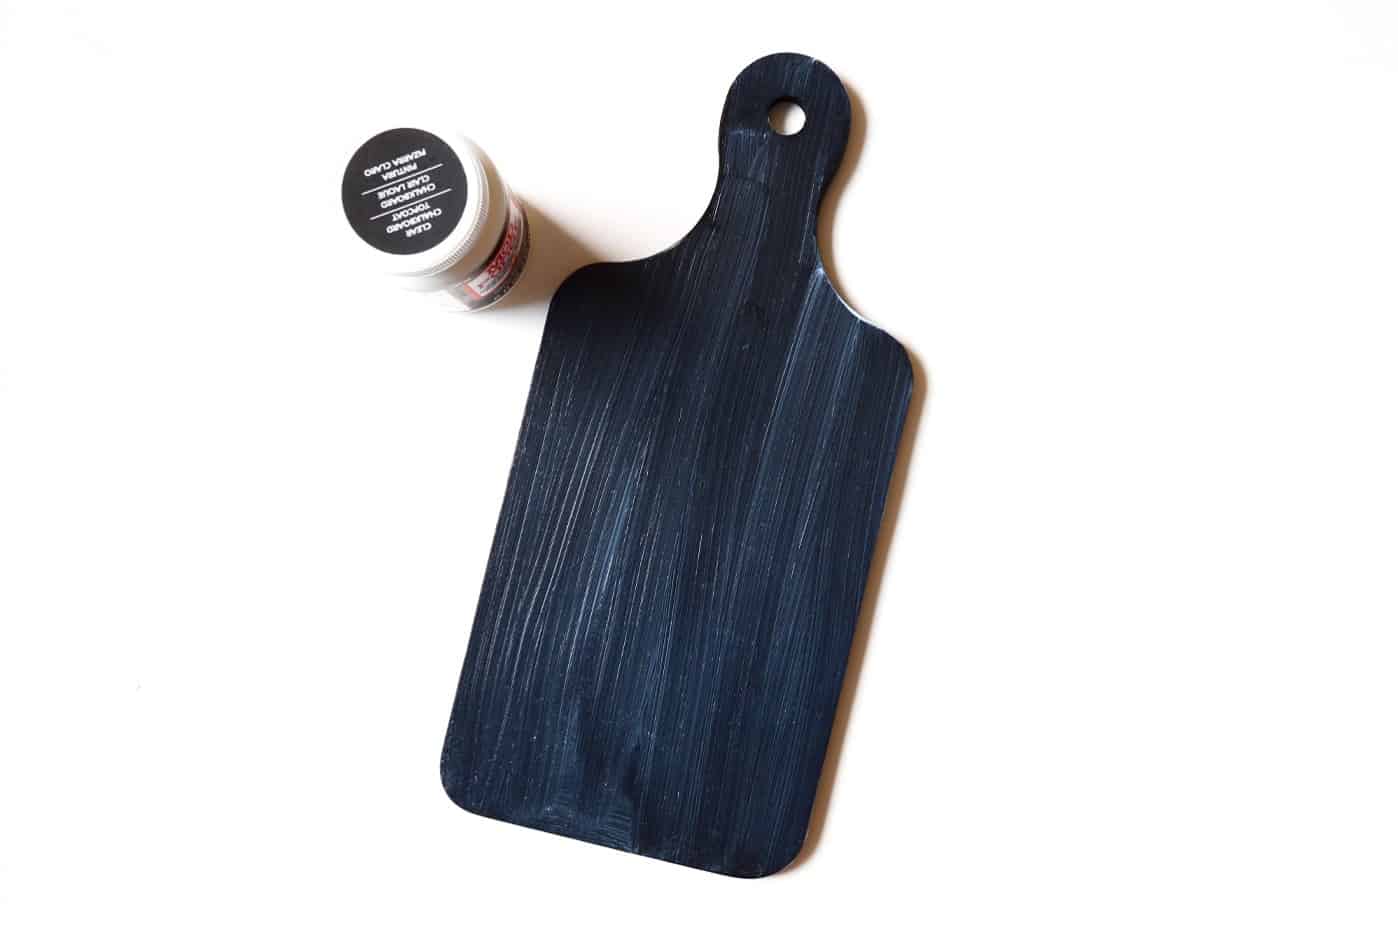
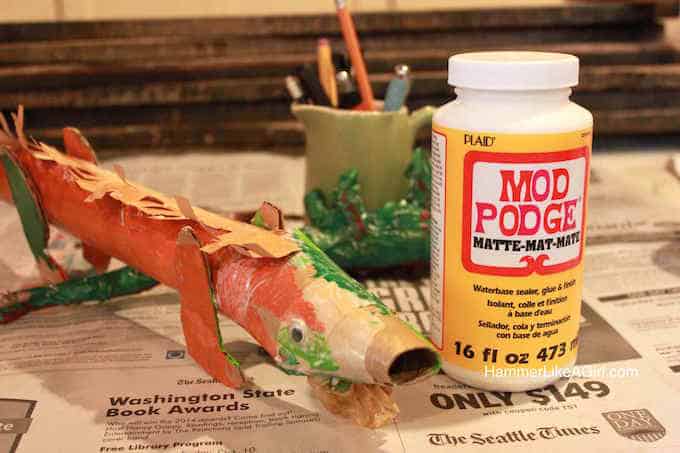
Step 3. The magic trick in this DIY is the clear chalkboard topcoat from Mod Podge – seriously this thing turns any surface into a chalkboard-ready surface – it’s awesome.
Note: Mod Podge clear chalkboard topcoat is no longer available, hence the recommendation of clear chalkboard paint in the supplies.
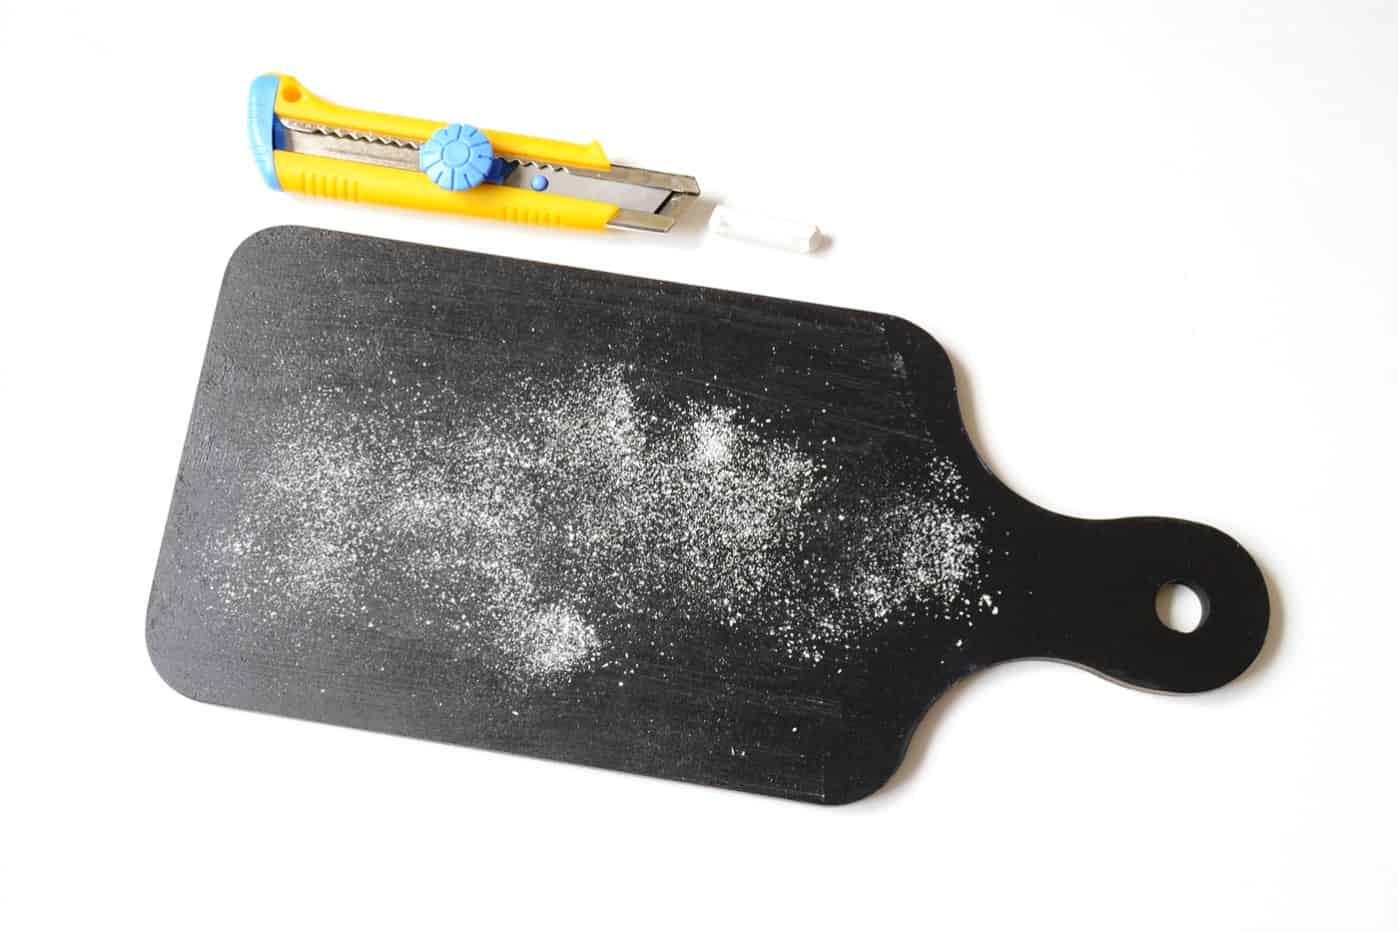
Step 4. Once your chalkboard is dry, season it with some chalk shavings. Wipe the excess with tissue paper or paper towel.
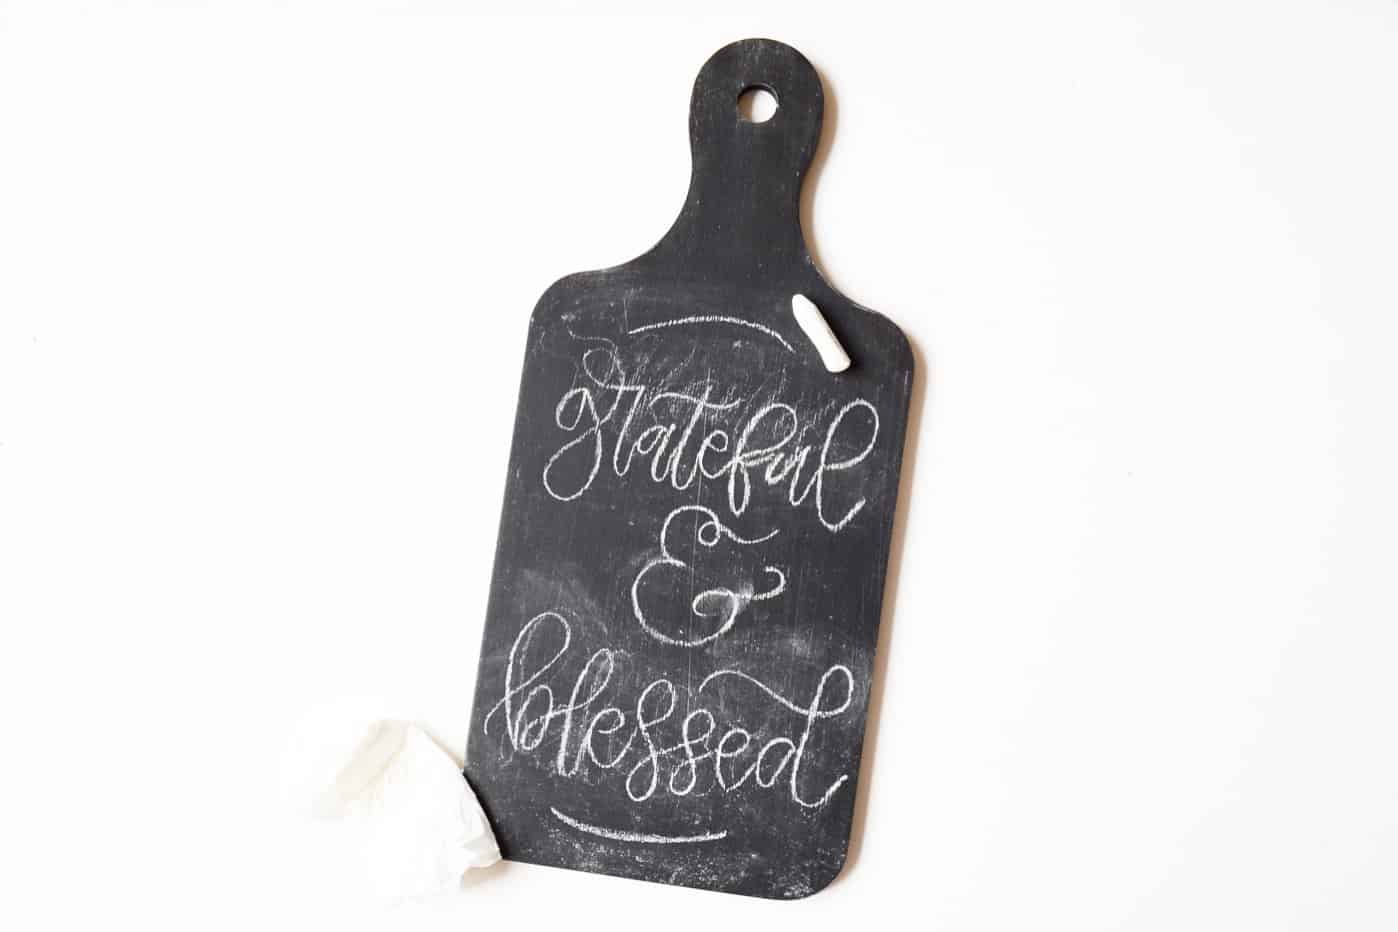
Step 5. Sketch out your design – use a piece of chalk, but you can use a chalk marker or pen if you want it more detailed and precise. If you aren’t into hand lettering, you can always print out your design and trace it to transfer and fill on your board.
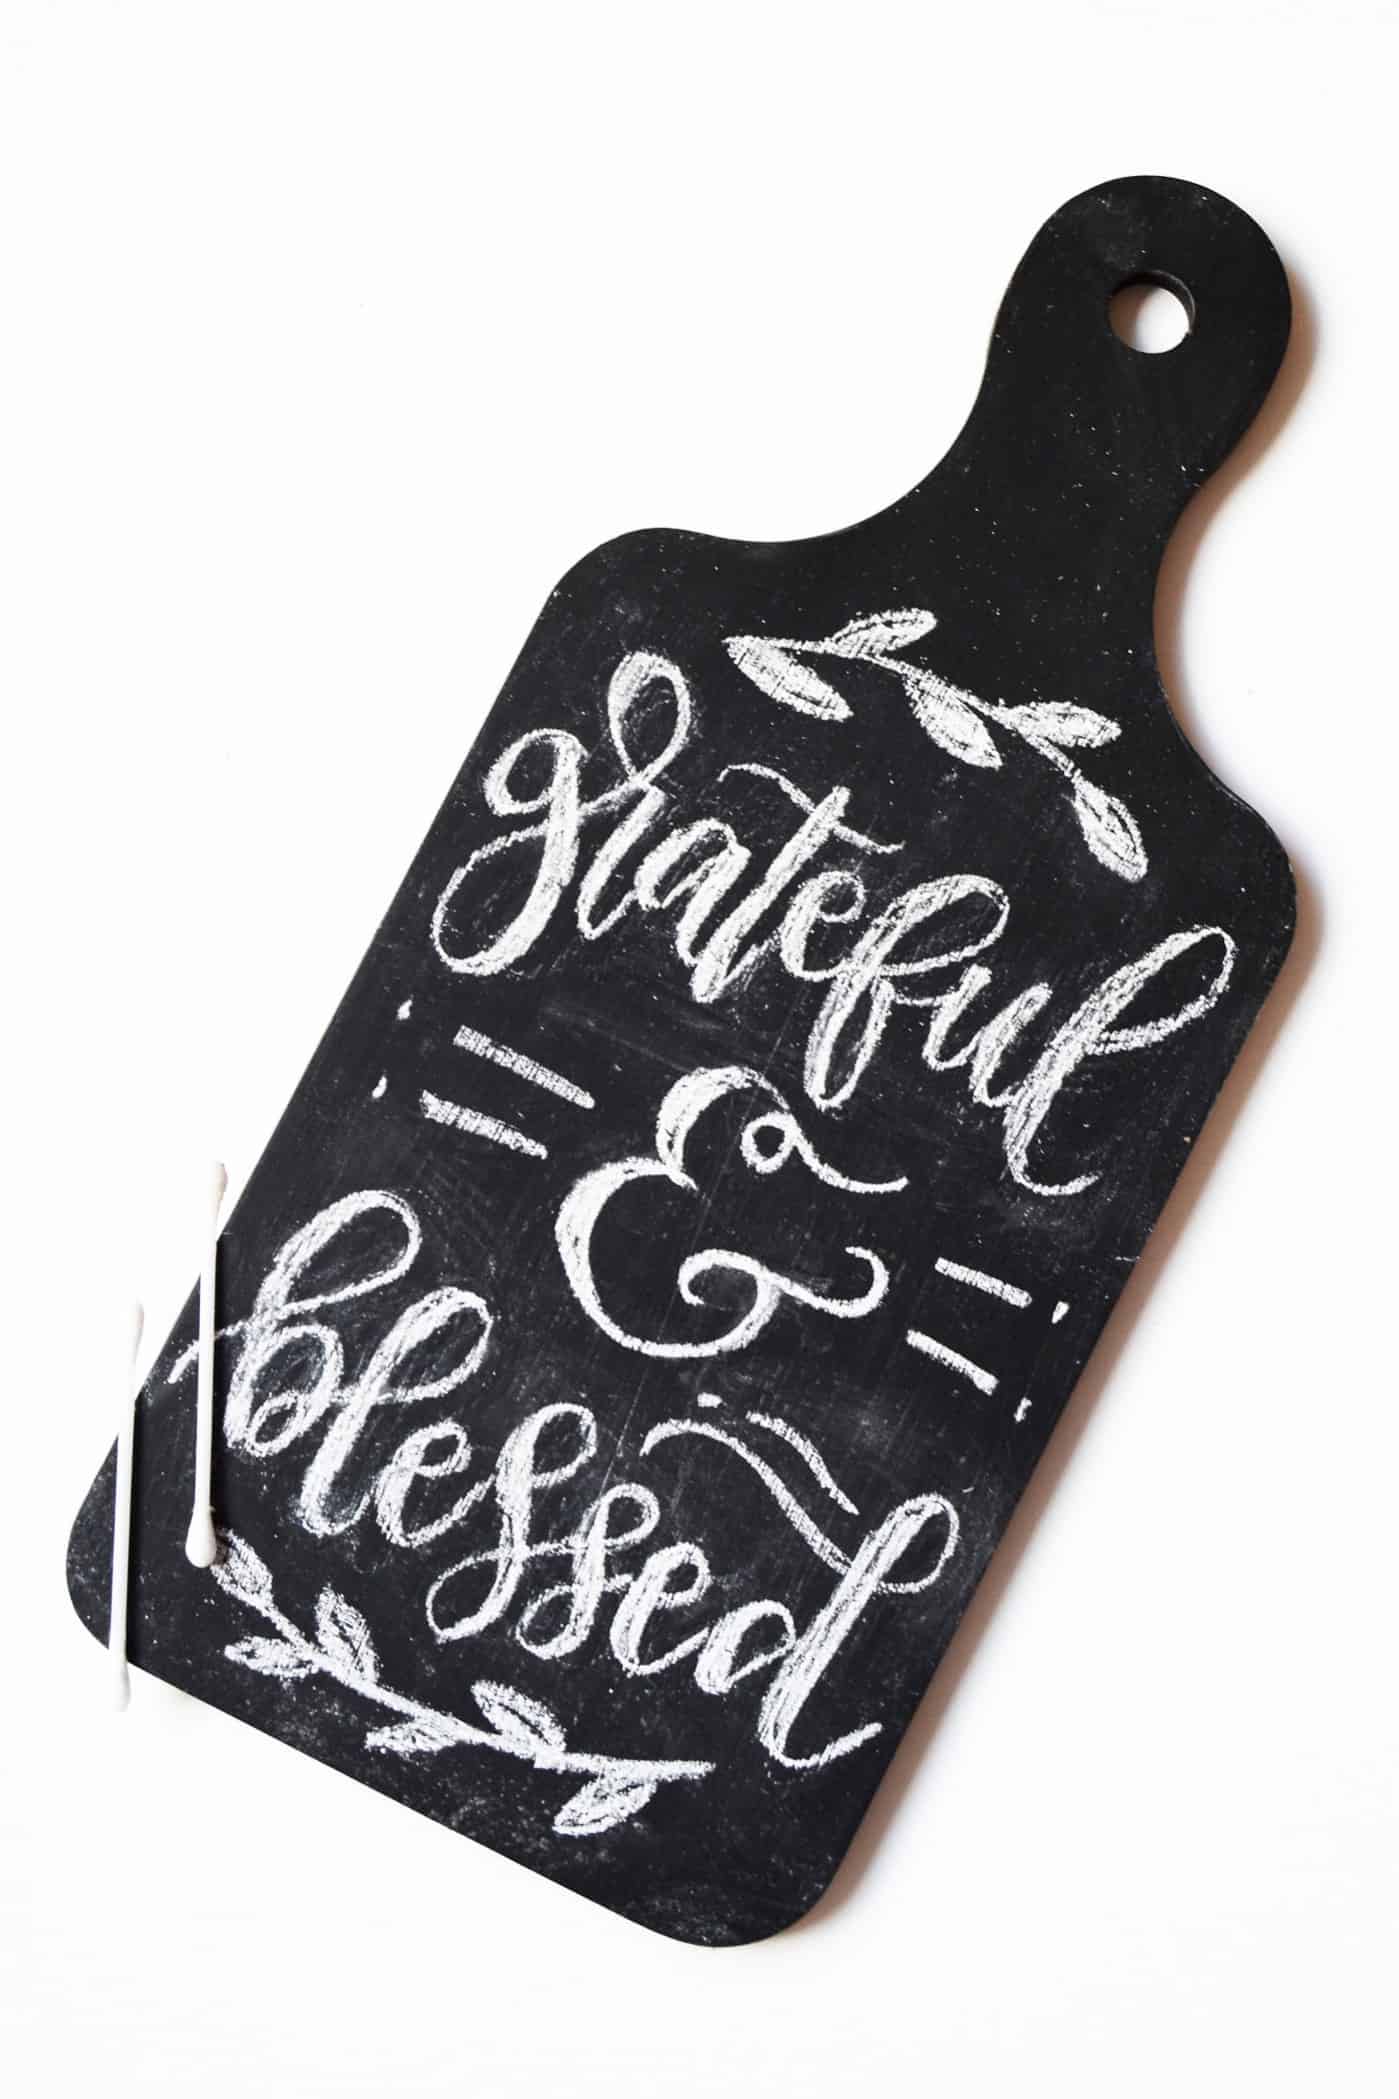
Step 6. Use a clean damp q-tip to clean up your design and you are done!
If you want to preserve your design, you can use a clear spray fixative to keep your design secure.
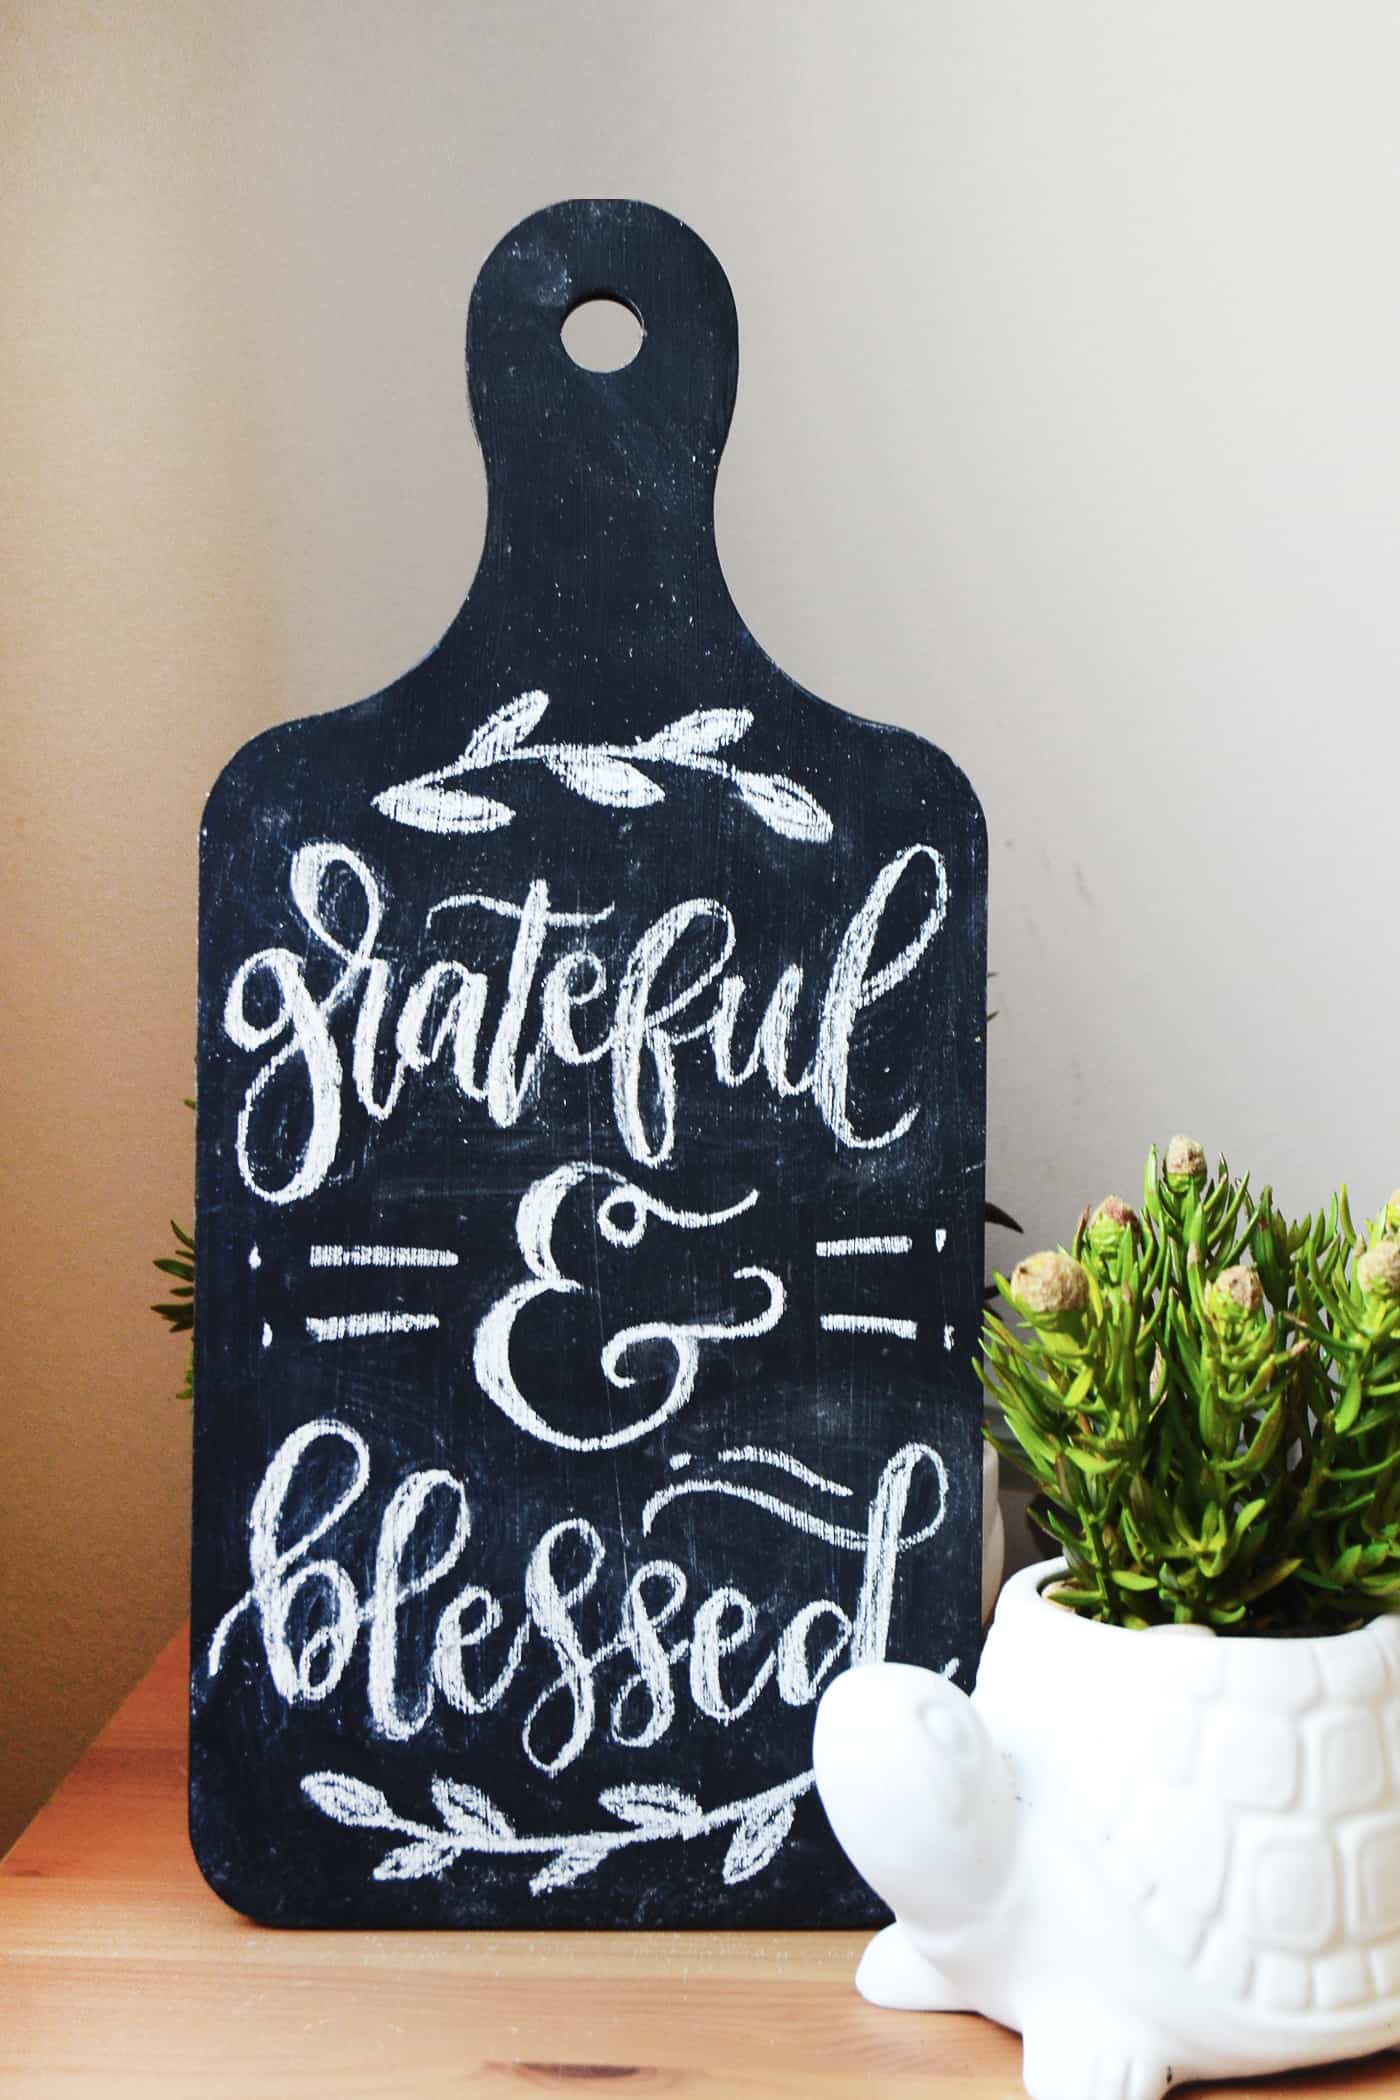
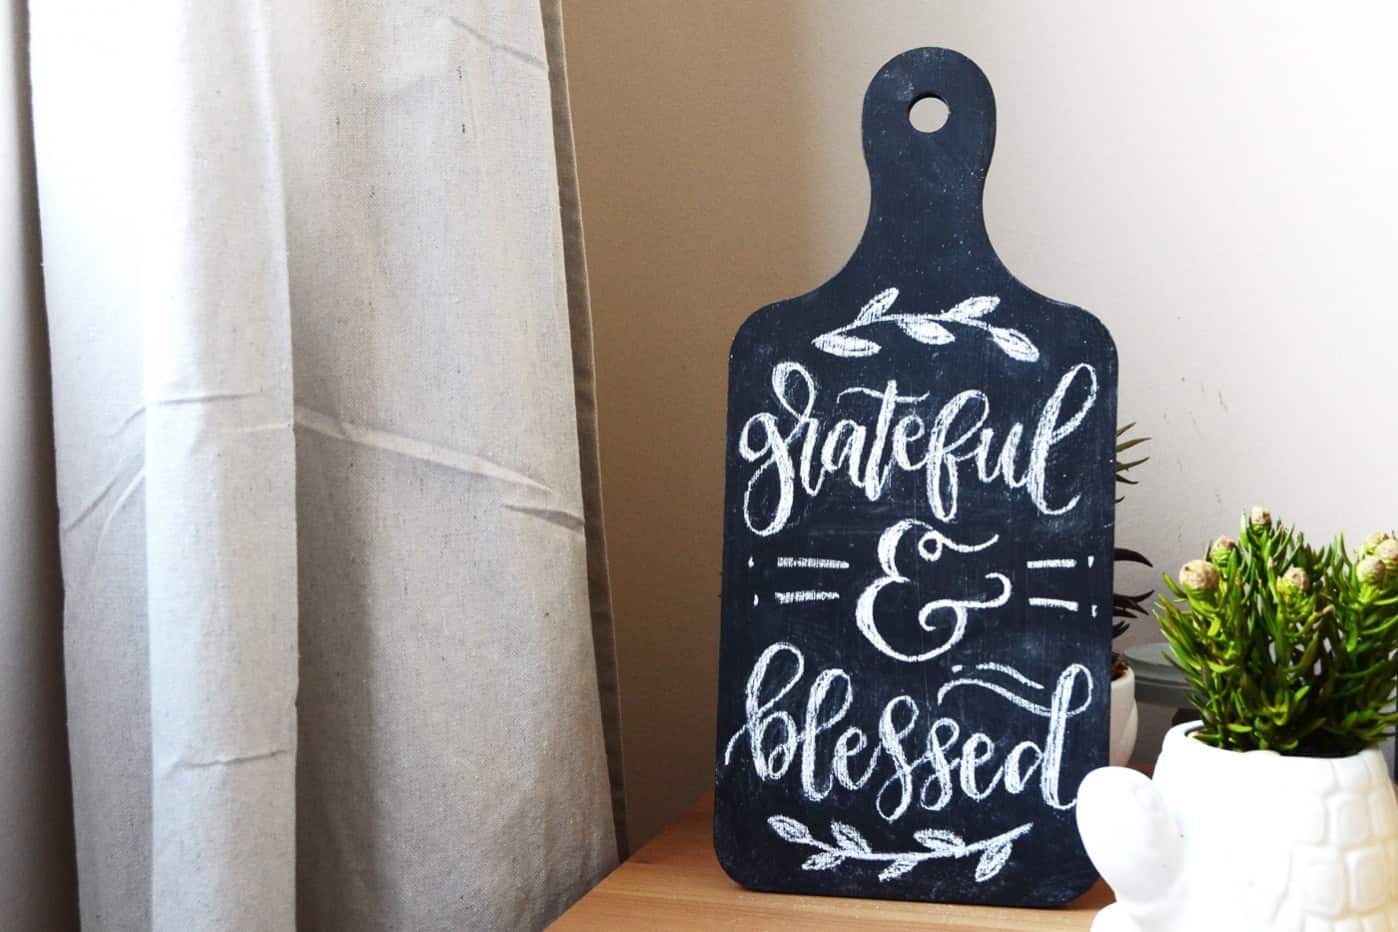
Not only is this chalkboard message board perfect for hand lettering, you can use it as a menu board or a sign board for parties, or even maybe a cheese tray!
Don’t forget to check out my blog for other Thanksgiving crafts and free printables! Happy crafting, friends!
If you enjoyed this craft I’d love to hear in the comments – I’d also love for you to check out these other ideas:




Beautiful and so easy!