
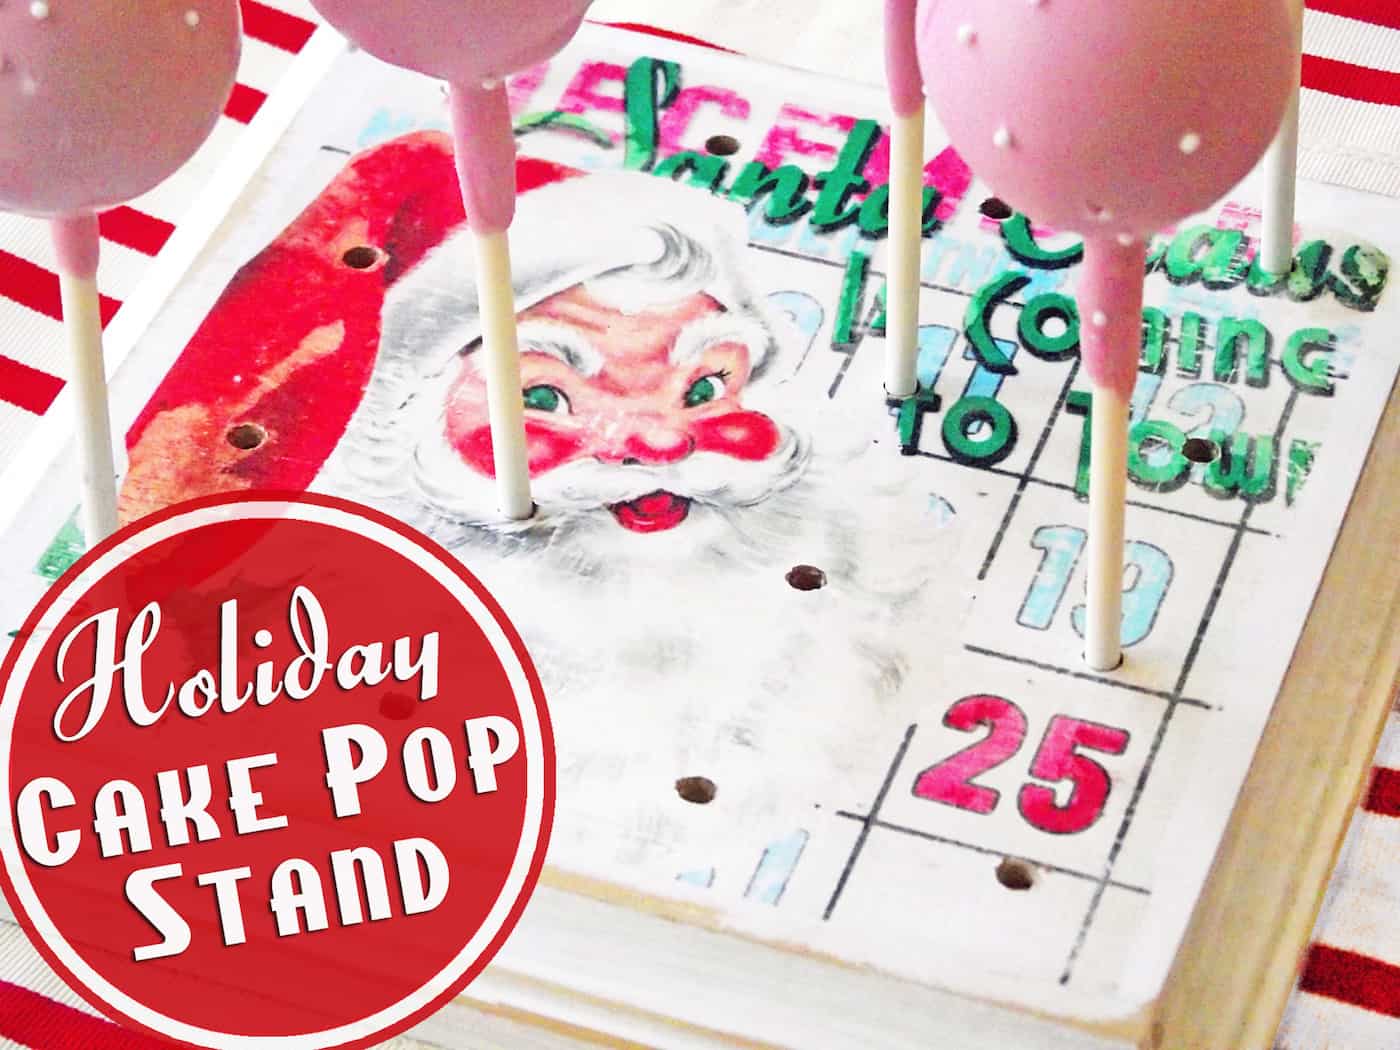
Learn how to make this DIY cake pop stand from a wood plaque, vintage Christmas graphics, and Mod Podge. It’s really easy and the perfect party display!
Skills Required: Beginner. You’ll need to know how to use Mod Podge, and a drill. The holes you’ll be drilling are basic, as is the decoupage portion of the project.
Hi, it’s David from Cheltenham Road.
Each year I throw a big Christmas Dessert Party. It’s one of my favorite things to do for the holidays. Tons of great friends and, of course, a chance for me to eat share a lot of my favorite desserts!
This year is no exception, and I’m really looking forward to it. I’ve been building my list of recipes and ideas over on Pinterest and trying to get things done as far in advance as possible so I can relax and enjoy the season.
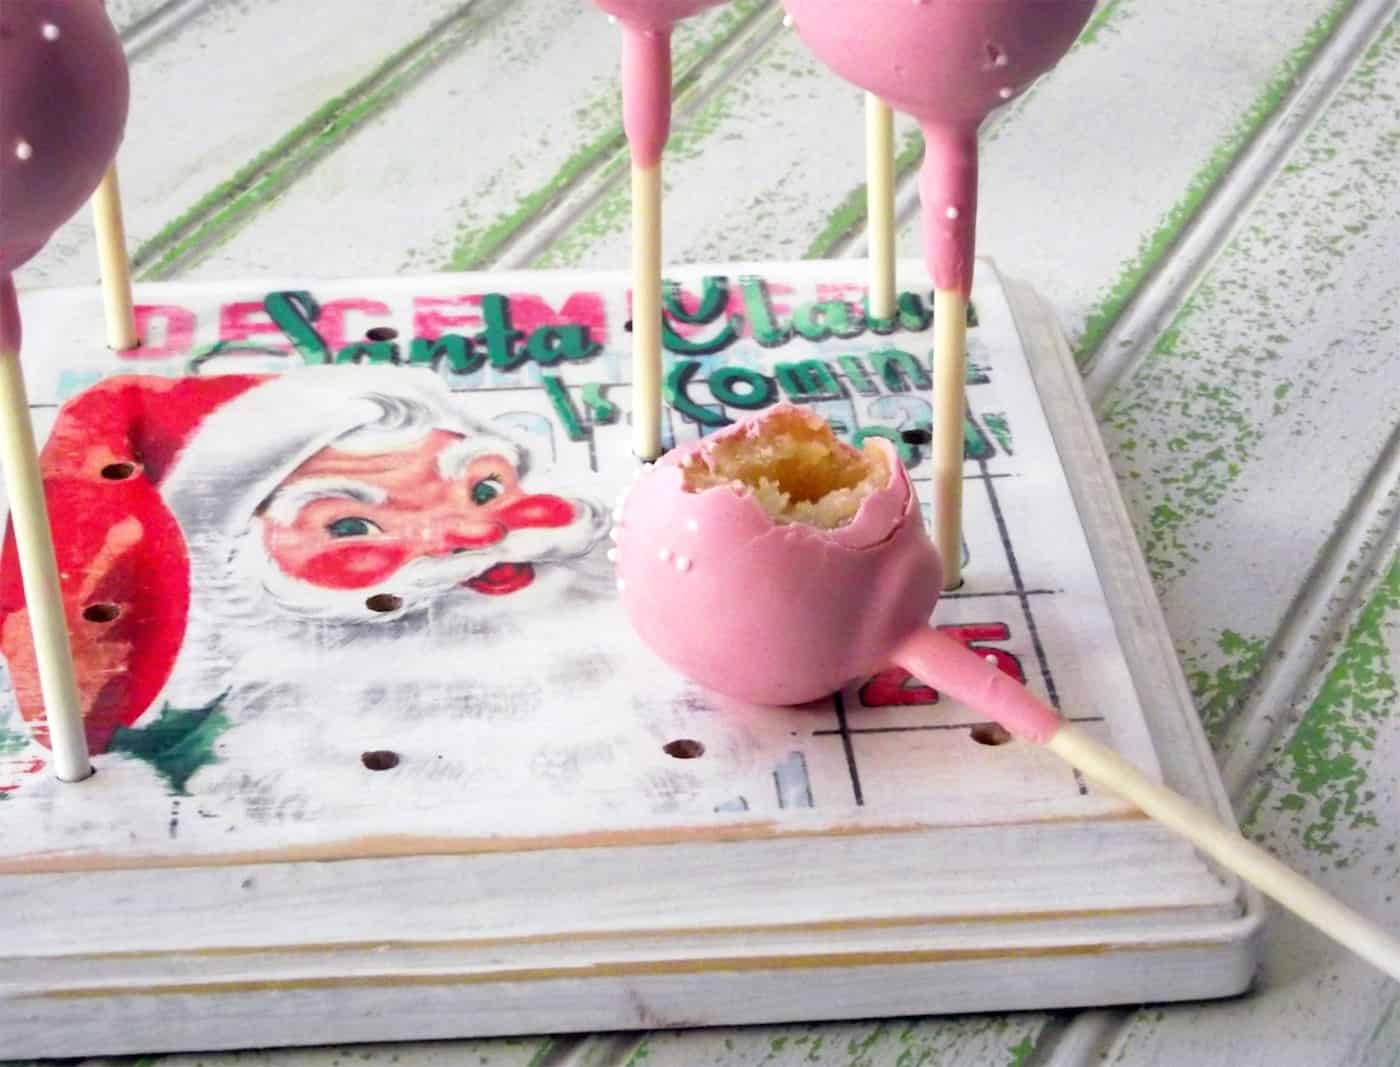
I always try to make each dessert just a nibble, and cake pops are always a big hit.
In years past I just stuck them in some styrofoam, covered it with fake snow for a festive look, and called it a day. This got a bit messy as the evening wore on.
This year I thought I’d kick it up a notch and create a DIY cake pop holder just for the cake pops (or anything else I might “stick on a stick”! Last year I made s’mores on sticks. I highly recommend s’mores on sticks!).
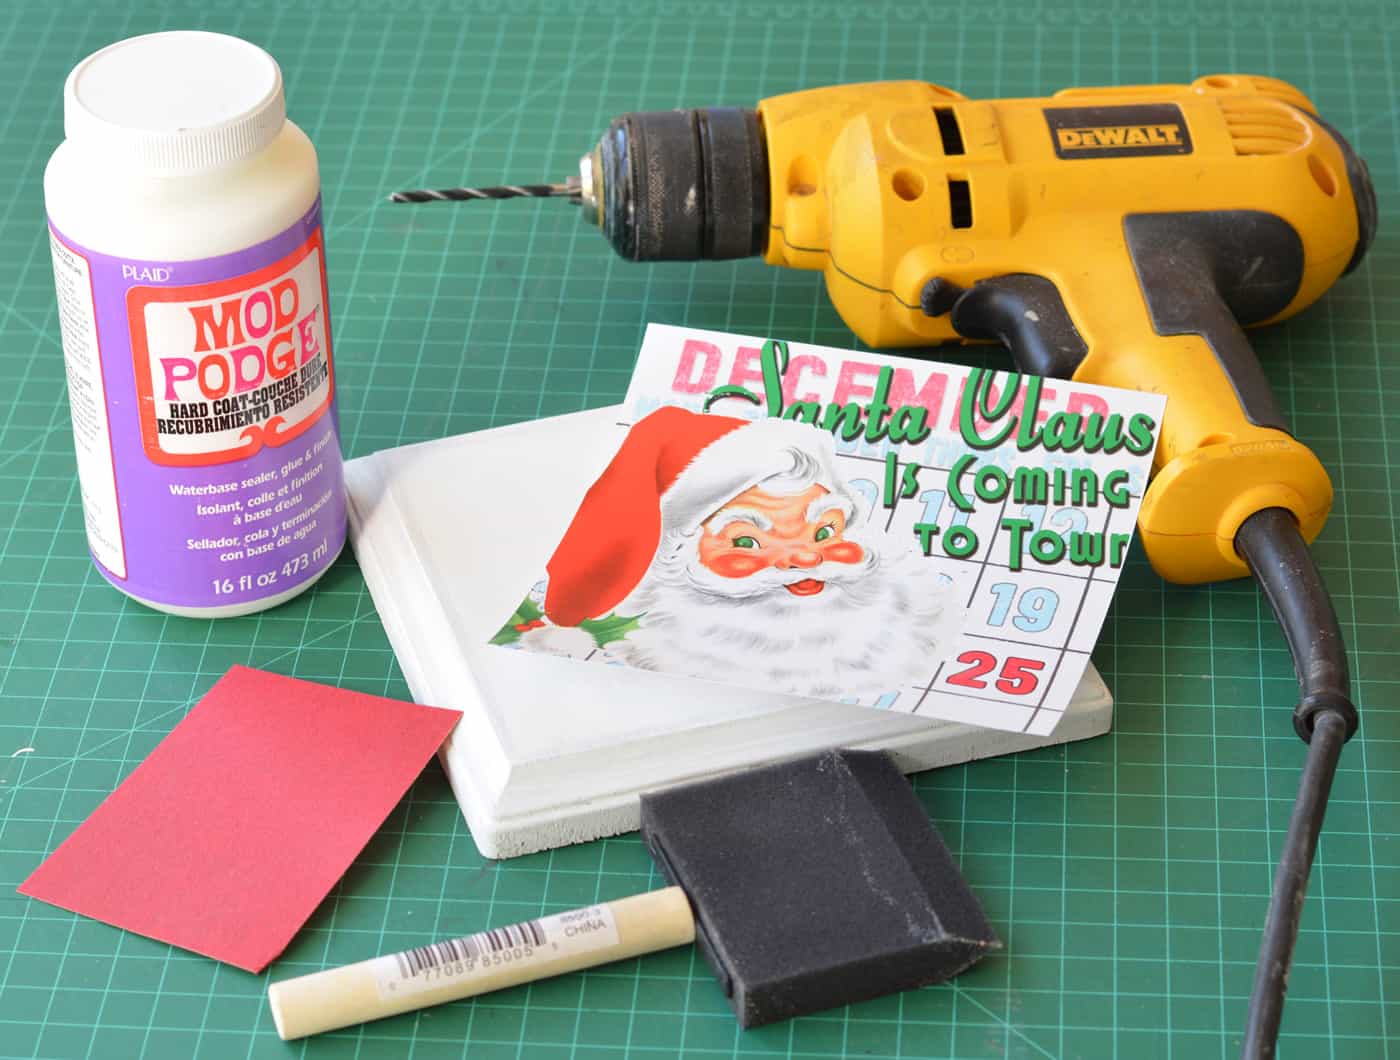
Anyway. I gathered my supplies for this wood Christmas craft. Here’s what you’ll need.
Gather These Supplies
- Square wood plaque from Michaels (painted white)
- Print out of an vintage Christmas graphic scaled to the size of the plaque (Graphics Fairy is great for that)
- Matte Mod Podge (not pictured)
- Hard Coat Mod Podge
- Foam Brush
- Sandpaper
- Painter’s Tape (not pictured)
- Electric drill and a bit sized to the diameter of the sticks
One Holiday Party Project knocked out. Now I just need to go buy a Costco sized bag of sugar, and I’m all set! Have a great Thanksgiving everyone. -David
Get the printable how to below:

DIY Cake Pop Holder
Materials
- 1 Square wood plaque
- 1 bottle Craft paint white
- Vintage Christmas graphic sized to the plaque or scrapbook paper
- Mod Podge Matte
- Mod Podge Hard Coat
- Sandpaper
- Painter’s tape
Instructions
- Paint the plaque with white acrylic paint and let dry. Distress the edges with sandpaper.
- Print out a graphic to fit your plaque on a laserjet printer. Cut paper to fit the top of the plaque.
- Mod Podge the graphic into place on the top of the plaque and let dry 15 – 20 minutes. Then brush over the top using Mod Podge, and let dry.

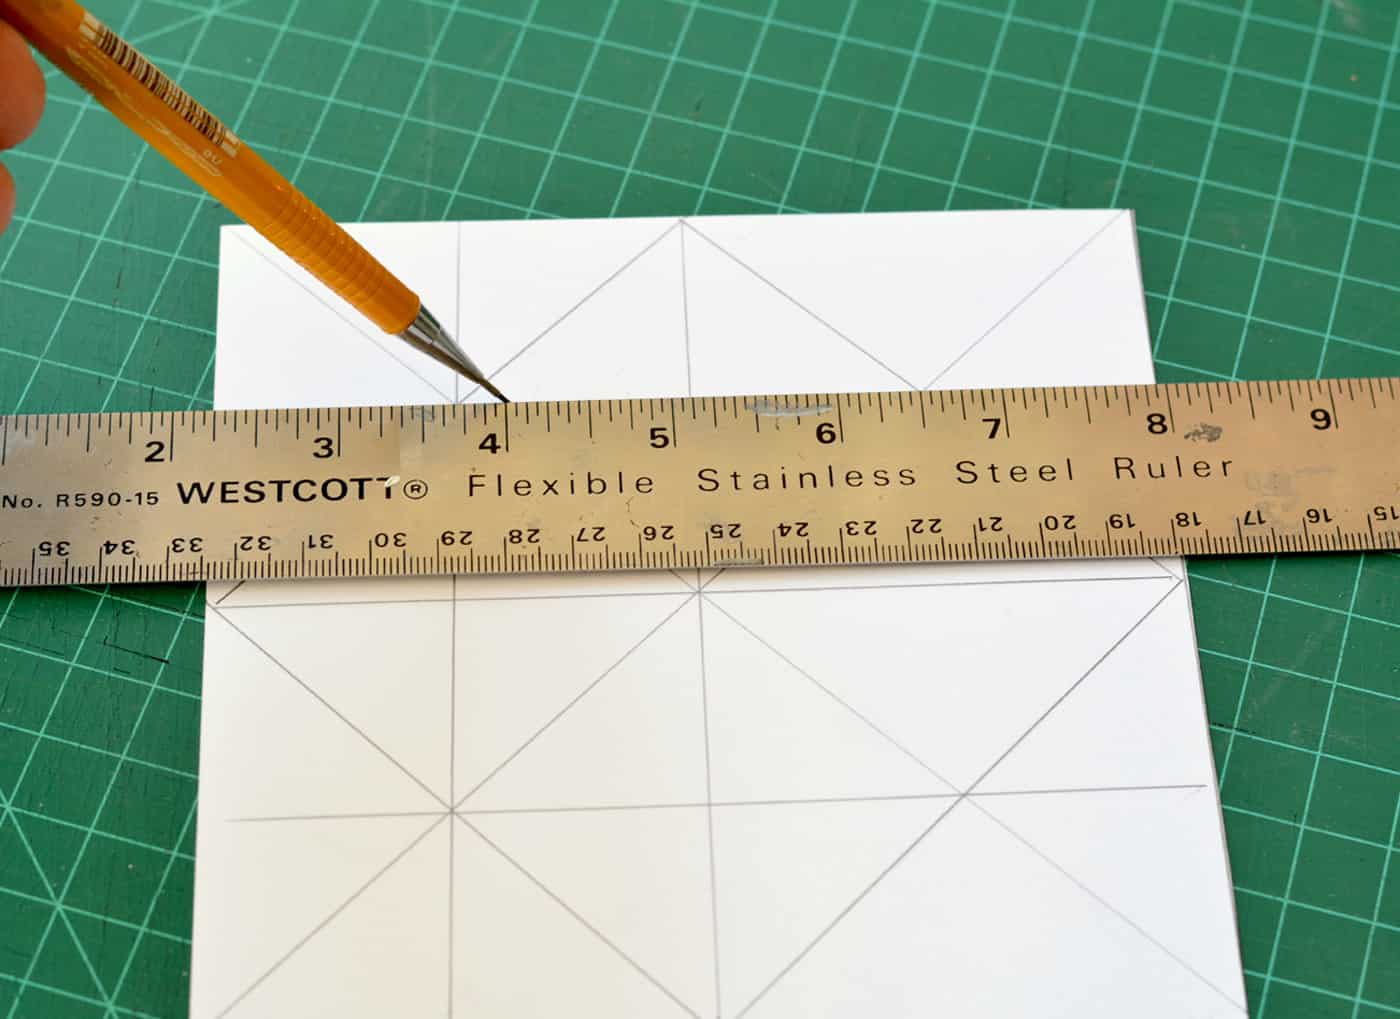
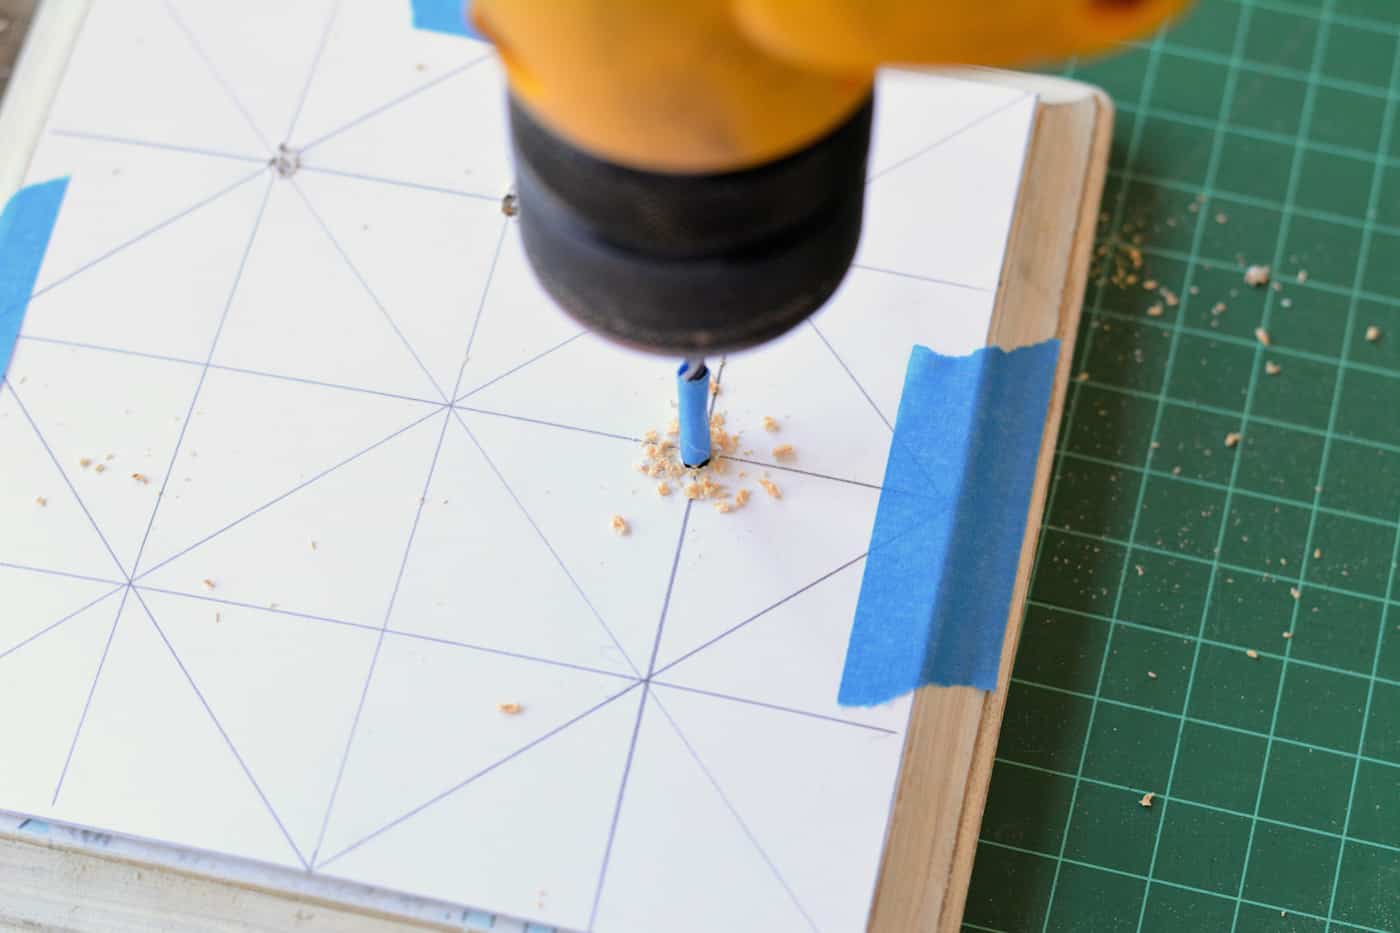
- Make a simple grid sized to fit the number of cake pops you have.

- Tape over the top of the plaque using painter's tape. Drill directly into the paper and plaque at the marks.

- Seal the entire plaque with Hard Coat Mod Podge and let dry.

Notes
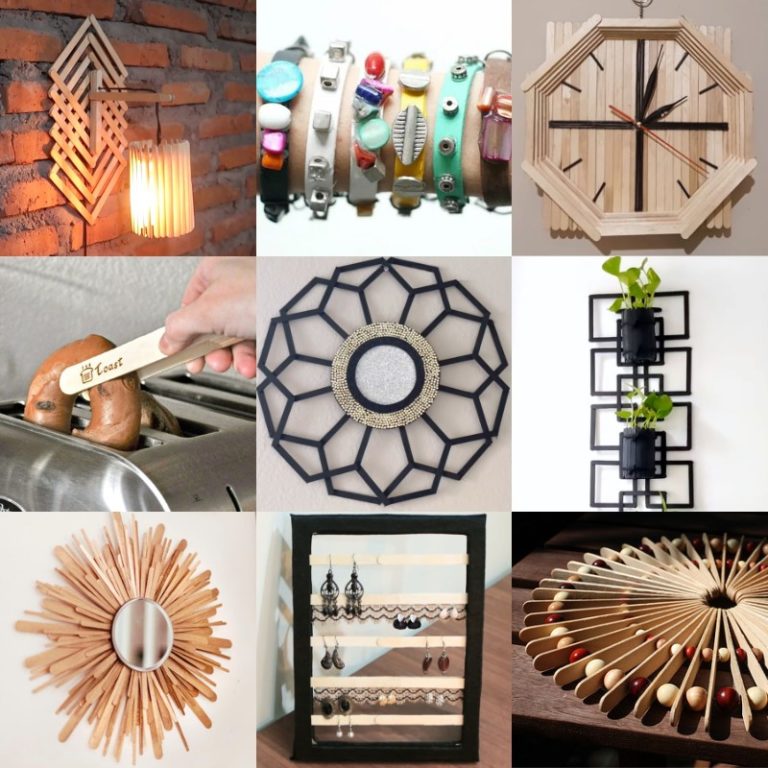
If you enjoyed making this Christmas craft, I think you’re going to like these other crafts as well:


This is a great idea!
Will have to try this out!