
DIY Cake Pop Holder
Learn how to make a wooden cake pop stand from a plaque! This is such a cute idea for parties or holidays, and is reusable year after year.
Yield: 1 stand
Cost: $5
Materials
- 1 Square wood plaque
- 1 bottle Craft paint white
- Vintage Christmas graphic sized to the plaque or scrapbook paper
- Mod Podge Matte
- Mod Podge Hard Coat
- Sandpaper
- Painter's tape
Instructions
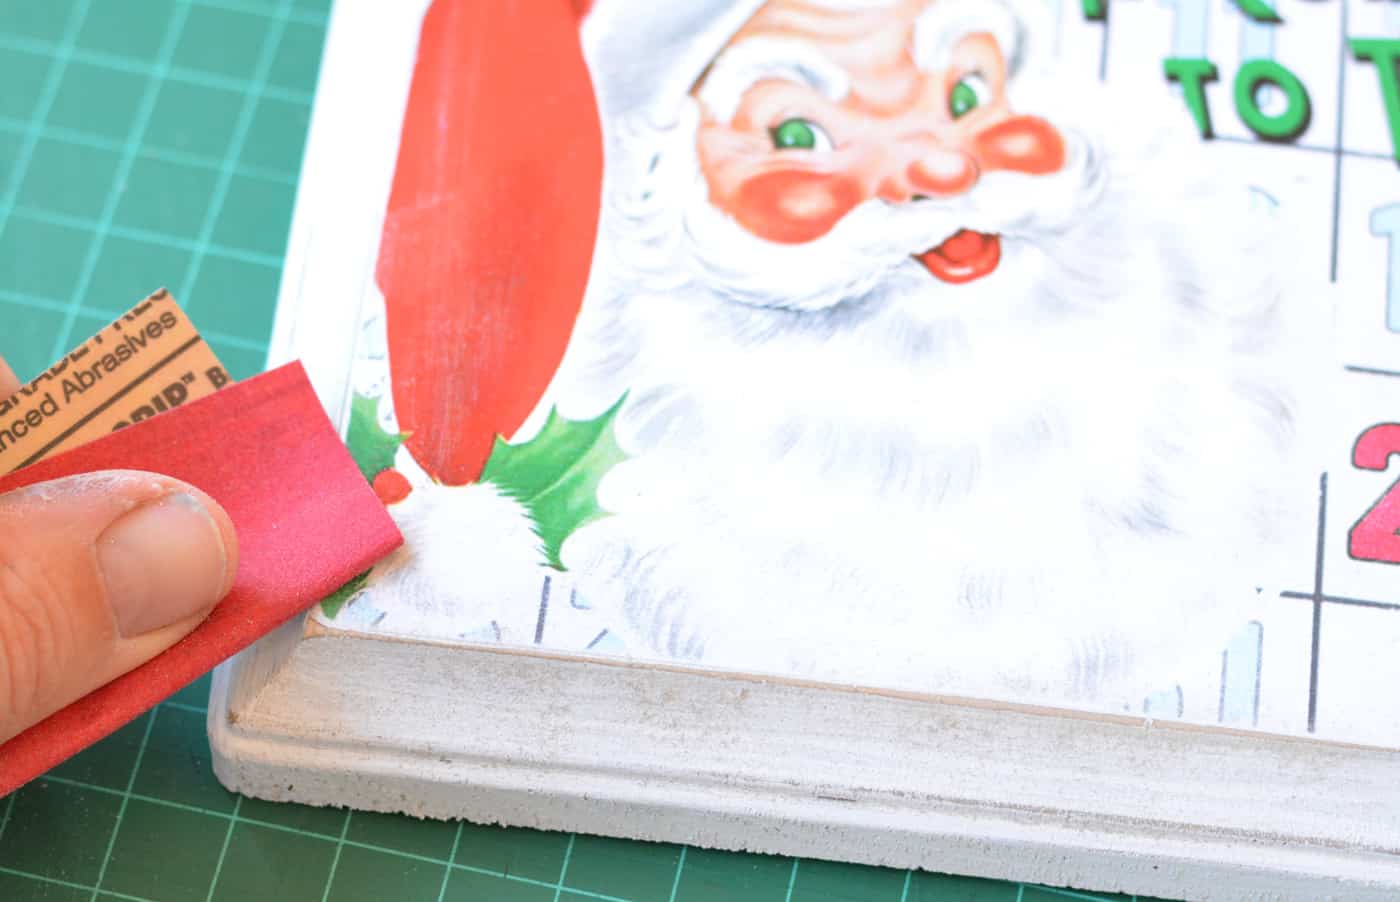
- Paint the plaque with white acrylic paint and let dry. Distress the edges with sandpaper.
- Print out a graphic to fit your plaque on a laserjet printer. Cut paper to fit the top of the plaque.
- Mod Podge the graphic into place on the top of the plaque and let dry 15 - 20 minutes. Then brush over the top using Mod Podge, and let dry.
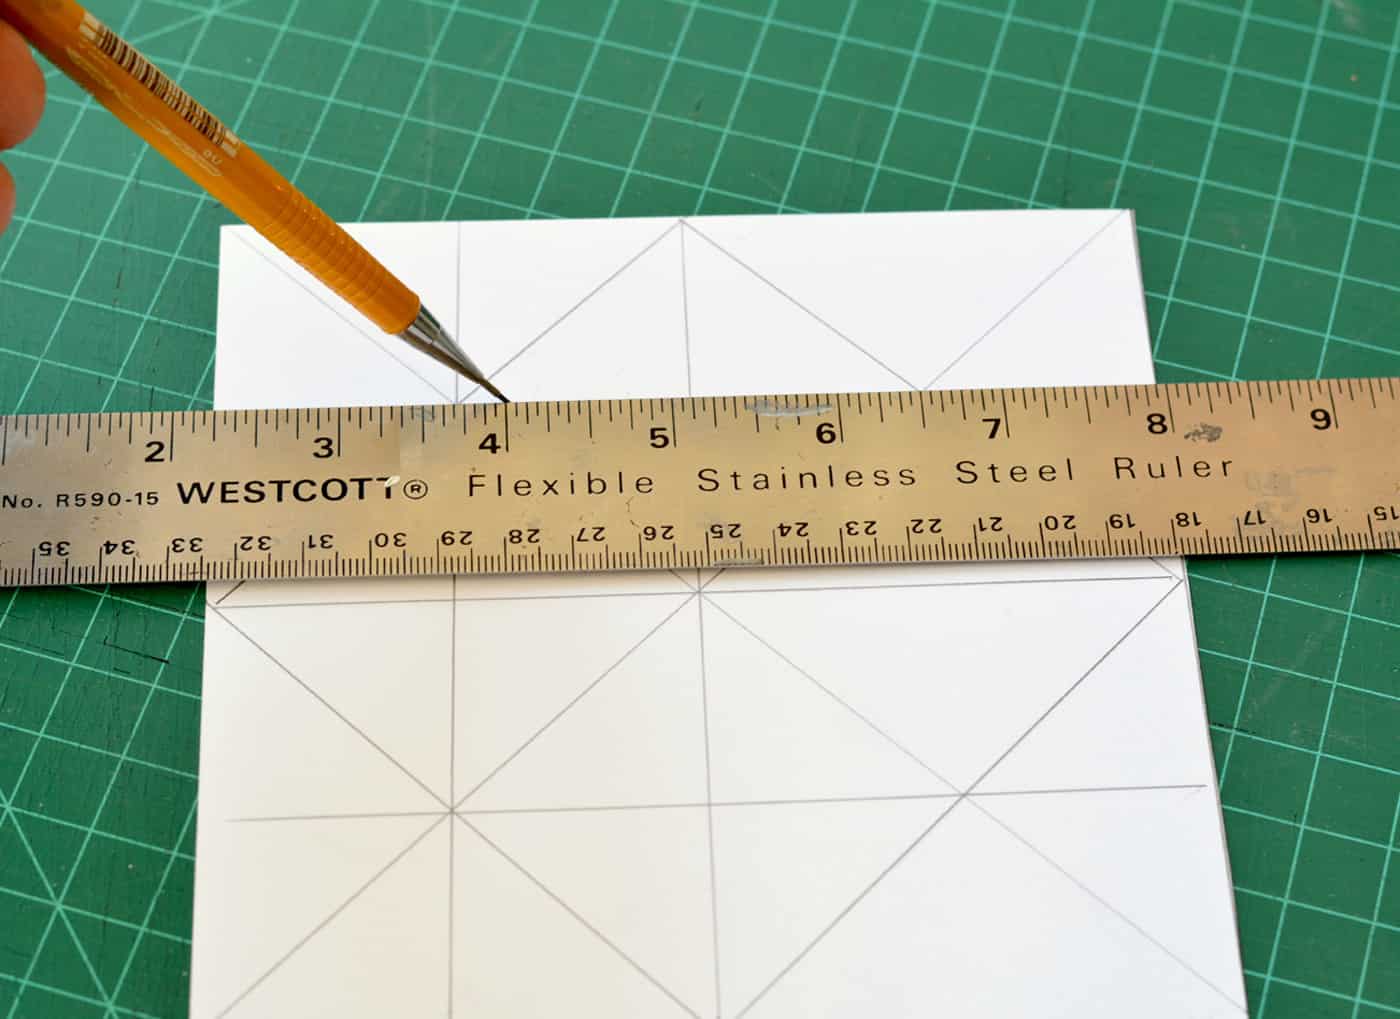
- Make a simple grid sized to fit the number of cake pops you have.
- Tape over the top of the plaque using painter's tape. Drill directly into the paper and plaque at the marks.

- Seal the entire plaque with Hard Coat Mod Podge and let dry.
Notes
I only paid $1.50 for the wood plaque from the dollar bins up front at Michaels - everything else I had on hand. Costs will vary.
To keep the depth of each hole the same, I used a scrap of painters tape on the drill bit so I'd know when to stop drilling each time.