If you love ombre and shades of blue, check out this tutorial for a DIY bracelet from Rachel. It’s so easy even a kid can do it!
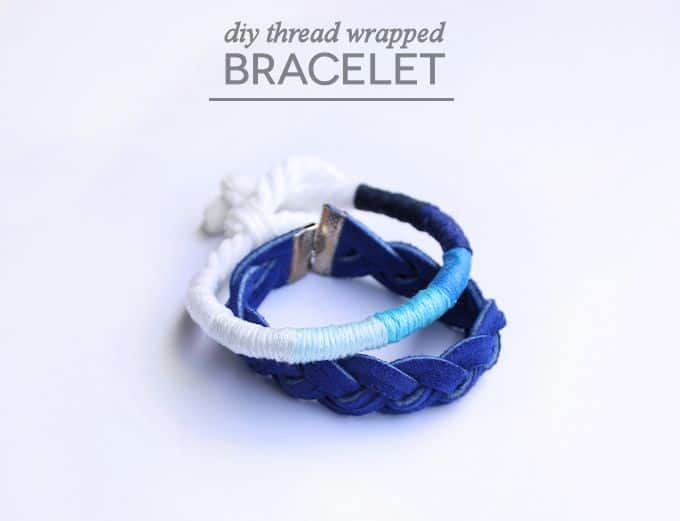
Hello there, it’s Rachel from Lines Across. Today I’m sharing a fun and simple ombre DIY bracelet that can be made completely with scraps and Fabric Mod Podge.
I have a special love for shades of blue, and I really love how the blue ombre bracelet turned out.
However, it would also be fun to create more of a color-blocked look with bright colors, or even stripes of just two colors. Are you ready to dive into this fashion craft? Keep on reading.
DIY Bracelet
What you need:
- Embroidery thread (I used 7 different shades of blue)
- Rope (I used some very soft white “rope” in the trim section of the craft store)
- Fabric Mod Podge
- Scissors
What you do:
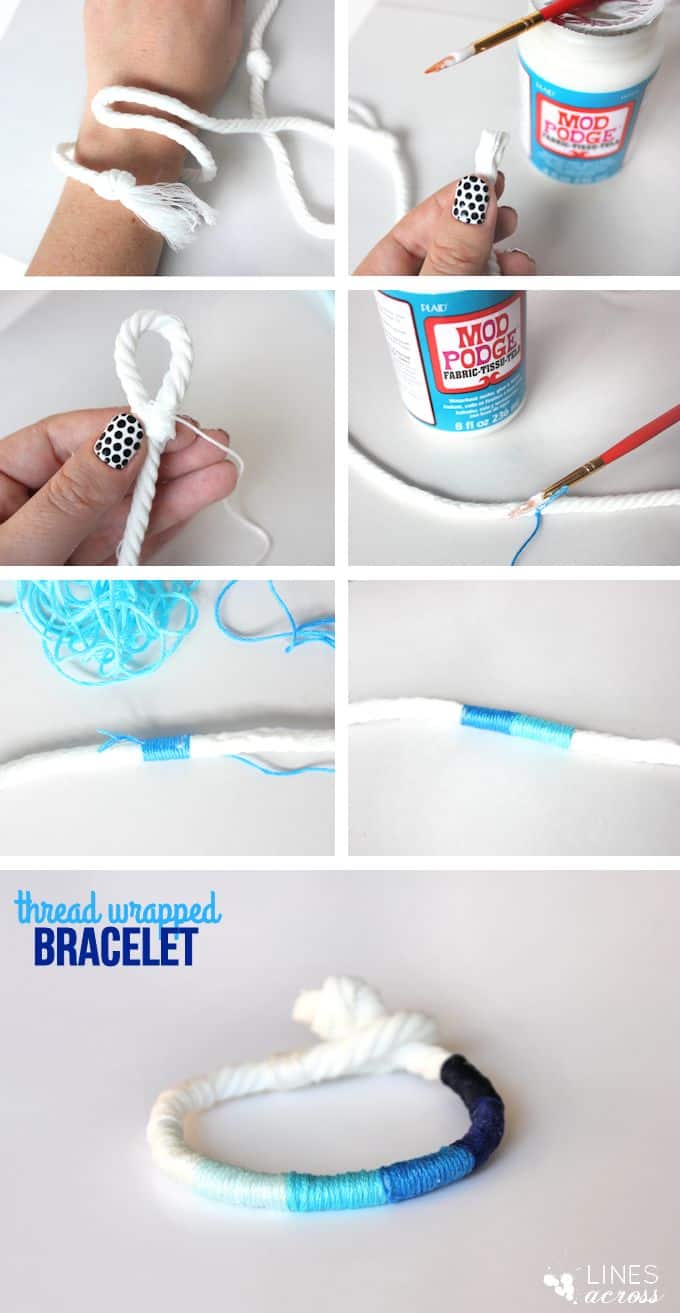
1. Tie a knot at the end of your rope. The kind of trim I was using frayed very easily. Then measure how long you want your bracelet to be (leaving extra room for the loop at the other end) and cut.
2. Add some Fabric Mod Podge to the end you just cut to keep it from fraying. Also trim the end of your knot and cover it with Mod Podge as well.
3. Loop the second end around and use Fabric Mod Podge to create a loop. Make sure that the loop is slightly bigger than your knot, but not too much bigger. Start wrapping some white embroidery thread around the base of the loop for support. Cover the thread with Fabric Mod Podge.
4. Decide what colors you want to use and lightly sketch on the bracelet where you want each new section to stop and start. Now dab some Fabric Mod Podge across the top of the bracelet where you are wrapping.
You want to make sure all of your thread is secure, but if you use too much Mod Podge, it will show up slightly on darker colors. There is no need to tie knots or anything, just make sure that both ends of each section of embroidery thread are secure with Mod Podge.
5. Cut the thread when you are ready to start a new color, and start wrapping the new color right where you left off. You might need to add a tiny dab of Mod Podge to make sure the ends of your DIY bracelet don’t stick out.
6. Continue with each color, and then wrap the bracelet around something round (I used the Mod Podge bottle) so that it dries in the right shape.
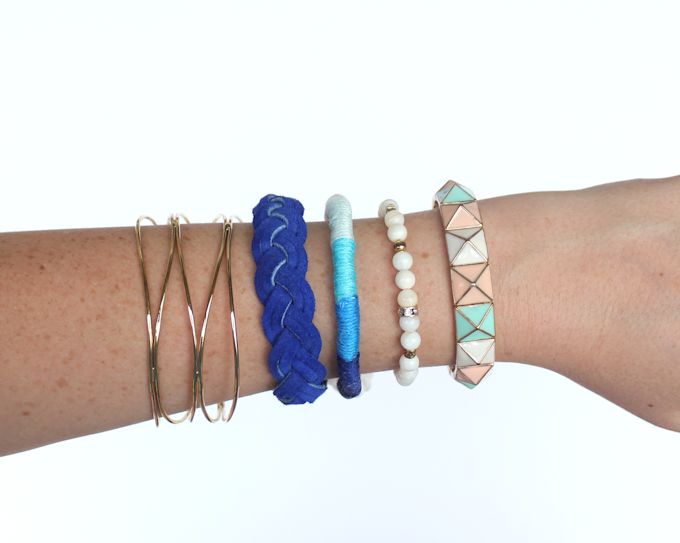
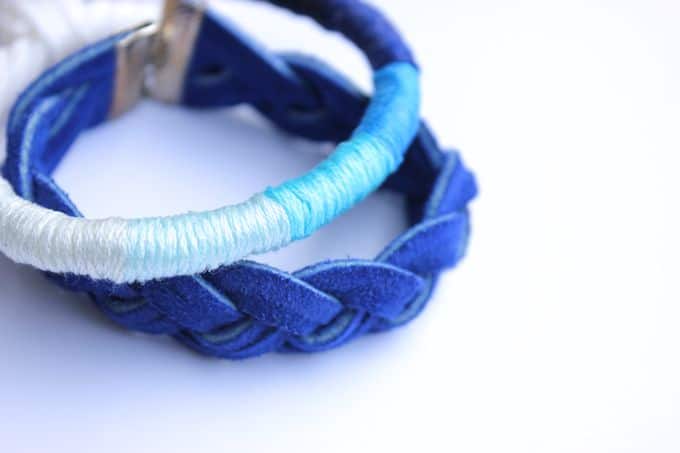
These DIY bracelets are fun to make, and the colorful possibilities are endless. The best part is that you could make it entirely from fabric and thread scraps that you’ve saved from other projects.
Stop by and check out some of my other Mod Podge jewelry tutorials! I’d also love for you to check out these other handmade bracelets:



I love it!!!! Definitely a must do project-thanks for sharing!! 😀
Love this site❗️
I’m an Arts and crafts teacher and always looking for new ideas.
The instructor is always very clear and precise. I never have to question the lessons.