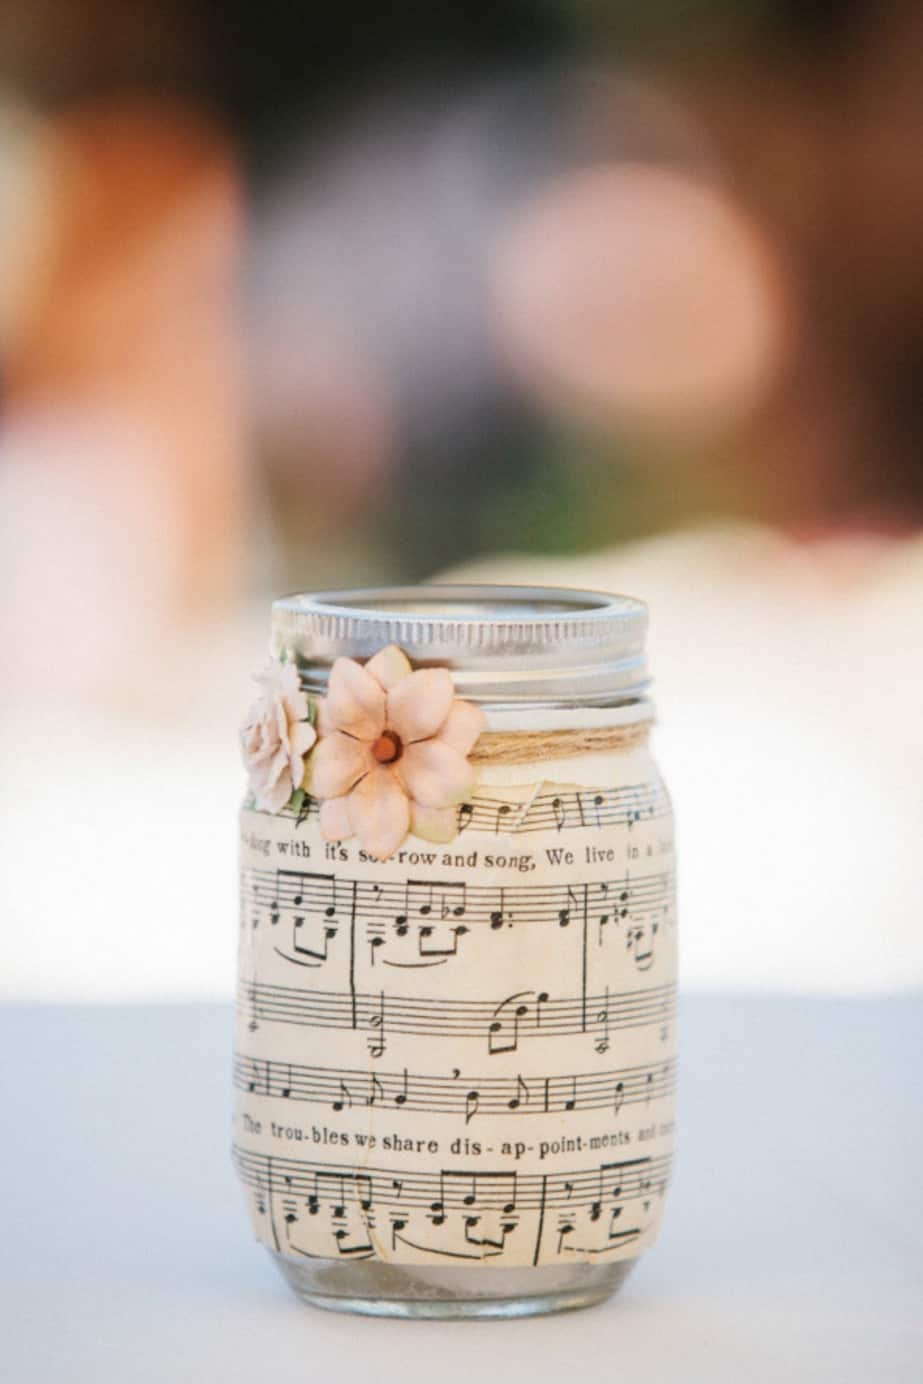
Maybe you need table decorations for a party or wedding on a budget? Mason jar centerpieces are a great idea!

Did you know the average cost of a wedding these days is $34,000? That’s insane to me. I’m just a thrifty sort of gal, so I can’t imagine spending that much on one day!
If you’re one of those people who are DIY-ing your own wedding, you’re going to want some mason jar centerpieces. They are the perfect party craft no matter what the celebration! They’re also just great for some cute spring decor.
The thing about that is when I first hear “mason jar centerpieces” I tend to think of something cheap and janky looking. But the truth is, mason jars can look great and, as attractive projects go, speak for themselves.
This sweet little DIY mason jar does just that (really! There’s no words, just images). I love how just a little sheet music, twine, and flower embellishments completely transformed a plain old jar into something beautiful.
Can’t you just see these at a wedding or party? And you won’t believe how easy they are to make. You might even consider making them for people to take as favors or to decorate your home afterwards. You’re going to love this decoupage idea.
Sheet music covered jar at Style Me Pretty
Mason Jar Centerpieces
Materials
- Mason jar(s)
- Sheet music or paper
- Mod Podge Gloss or formula of your choice
- Embellishments twine, paper flowers
Instructions
- Measure the sheet music or scrapbook paper by wrapping it around the jar and trimming to fit.
- Apply Mod Podge to the surface of the jar; wrap the paper around and smooth. Let dry for 15 – 20 minutes.
- Use the scissors to cut darts at the top and bottom of the jar. Fold the paper over itself, applying Mod Podge to keep it down. Let dry.
- Apply a coat of Mod Podge over the outside of the jar and let dry.
- Use scissors to trim ribbon and embellishments to fit the outside of the jar. Use the hot glue gun to attach.
- Let dry for 24 hours before using a candle with the centerpiece.
If you love mason jar crafts, I’d love for you to check out these other ideas!


Can you please show where to make darts on the bottom and top of sheet music ?
Hi Linda! It’s where the jar starts curving. You have the flat portion and then the portion that starts coming in towards the top. You would cut darts down to the point where it starts coming in . . . I’ll try to make a diagram!
@LINDA LEE AUTRY, here’s the dart diagram!
https://modpodgerocksblog.com/wp-content/uploads/2022/04/How-to-cut-a-paper-dart.jpg
Hi! Is the paper on the outside of the jar or on the inside?