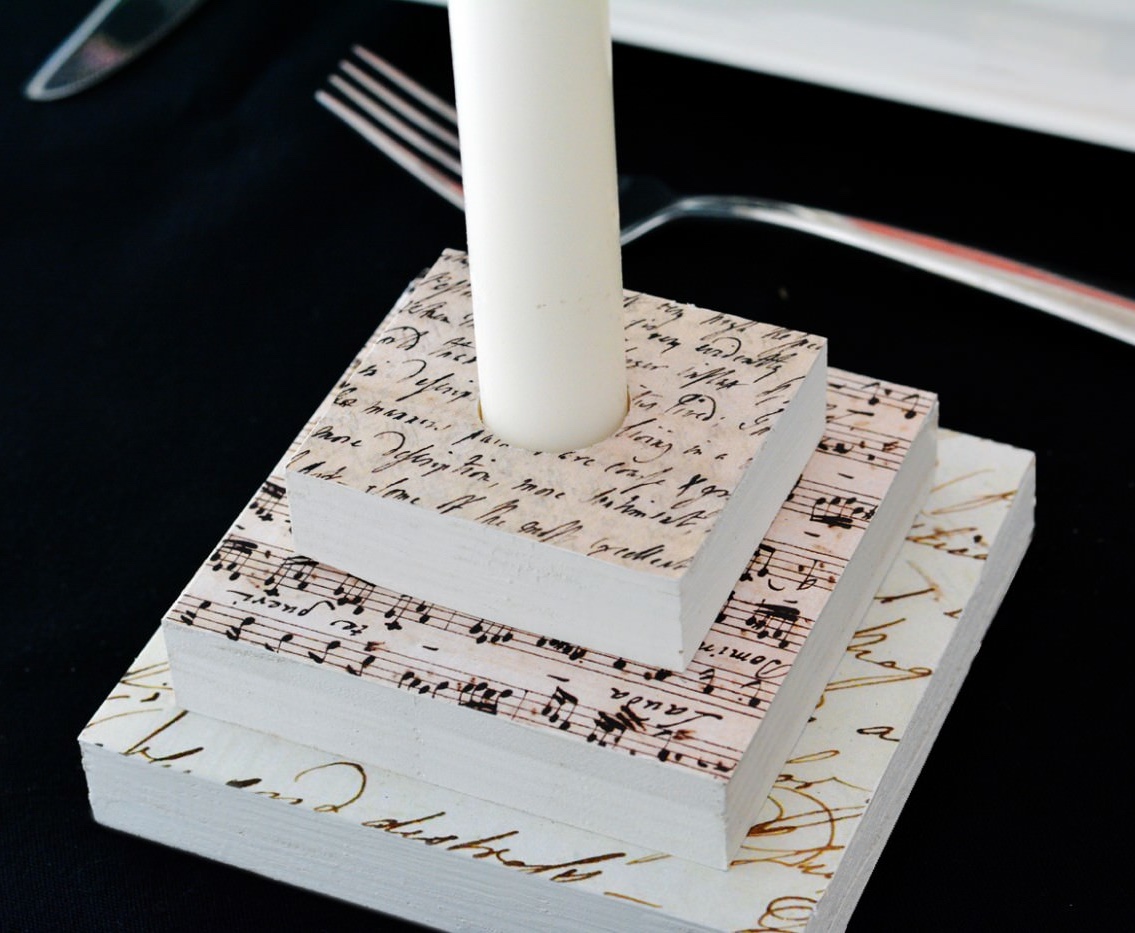
What to do with pieces of scrap wood? Turn them into home decor! These DIY wooden candle holders are easy to make, easy to customize.
Skills Required: Intermediate Beginner. This is a very easy project, but as a Mod Podger you might not have experience with tools. I recommend having used tools to make these – or have someone else cut the wood for you.
Hi there! I’m David, the mastermind behind Cheltenham Road, and I’m here to confess a quirky little quirk of mine. You see, in my world, the term ‘waste’ is practically taboo, especially when it comes to wood.
Why, you ask? Because tucked in those seemingly insignificant bits and bobs of wood lies the potential for something extraordinary. And who am I to deny them their moment of glory?
Now, if your garage (like mine) resembles a lumberyard after a creative tornado, then you’re in just the right place. It’s time to roll up our sleeves and transform those piles of wood scraps into something both beautiful and functional.
I’ve embarked on a crafty adventure, dabbling in the art of making DIY wooden candle holders, and let me tell you, it’s been nothing short of a revelation.
Why DIY candle holders, you wonder? Well, besides their obvious utility, there’s something undeniably enchanting about the warm, flickering light of a candle cradled by a piece of art you’ve created with your own hands.’
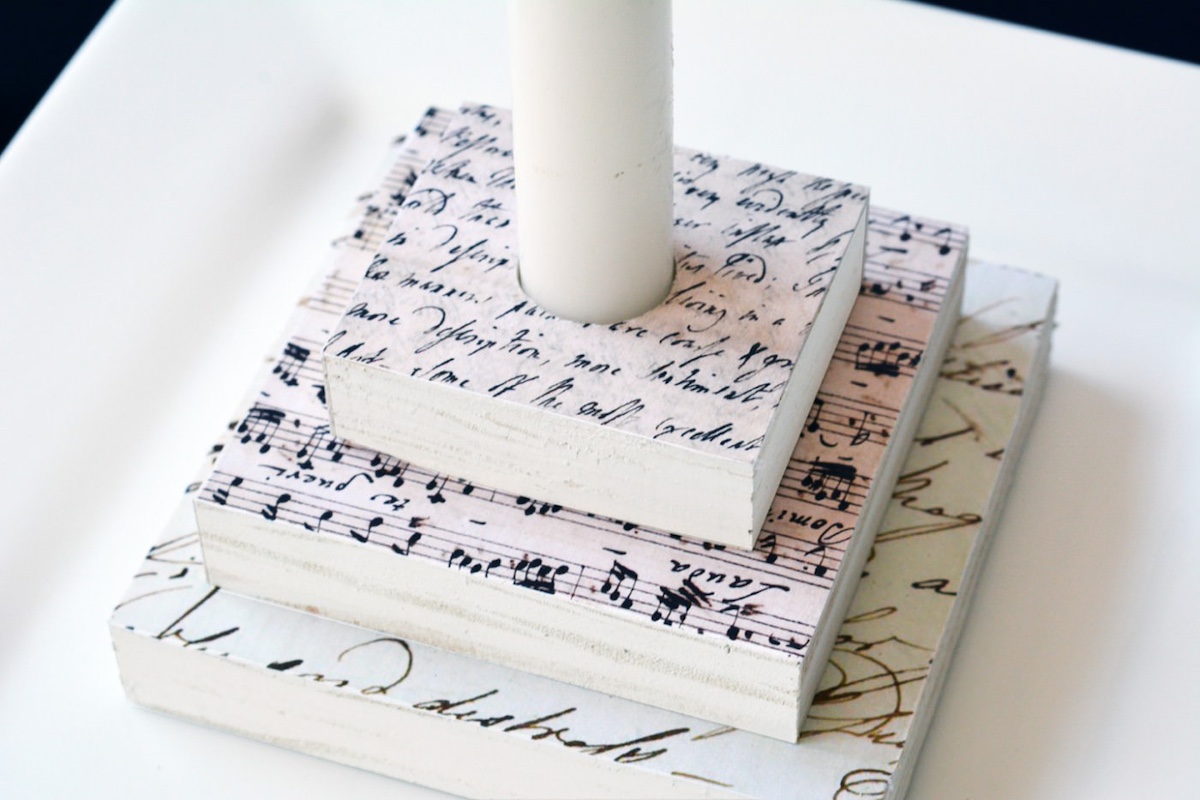
It’s like infusing a bit of your soul into your decor. And the best part? We’re going to jazz up these wood candle holders diy style, using nothing but scrap wood, some charming scrapbook paper, and the magic of Mod Podge.
So, whether you’re a seasoned crafter or someone looking to dip their toes into the DIY waters, this journey is for you. I’m thrilled to guide you through the process of creating your very own DIY wood candle holders.
I’ll share all my tips and tricks to ensure your candle holders are not just objects, but stories. Stories of creativity, sustainability, and the joy of bringing a piece of discarded wood back to life.
Get ready to unleash your creativity, reduce waste, and add a personal touch to your home decor. Let’s embark on this crafty voyage together, and who knows?
By the end of it, you might just find yourself looking at scrap wood with a whole new lens of possibility. Welcome to the wonderful world of “how to make candle holders” – where every piece of wood gets to shine.
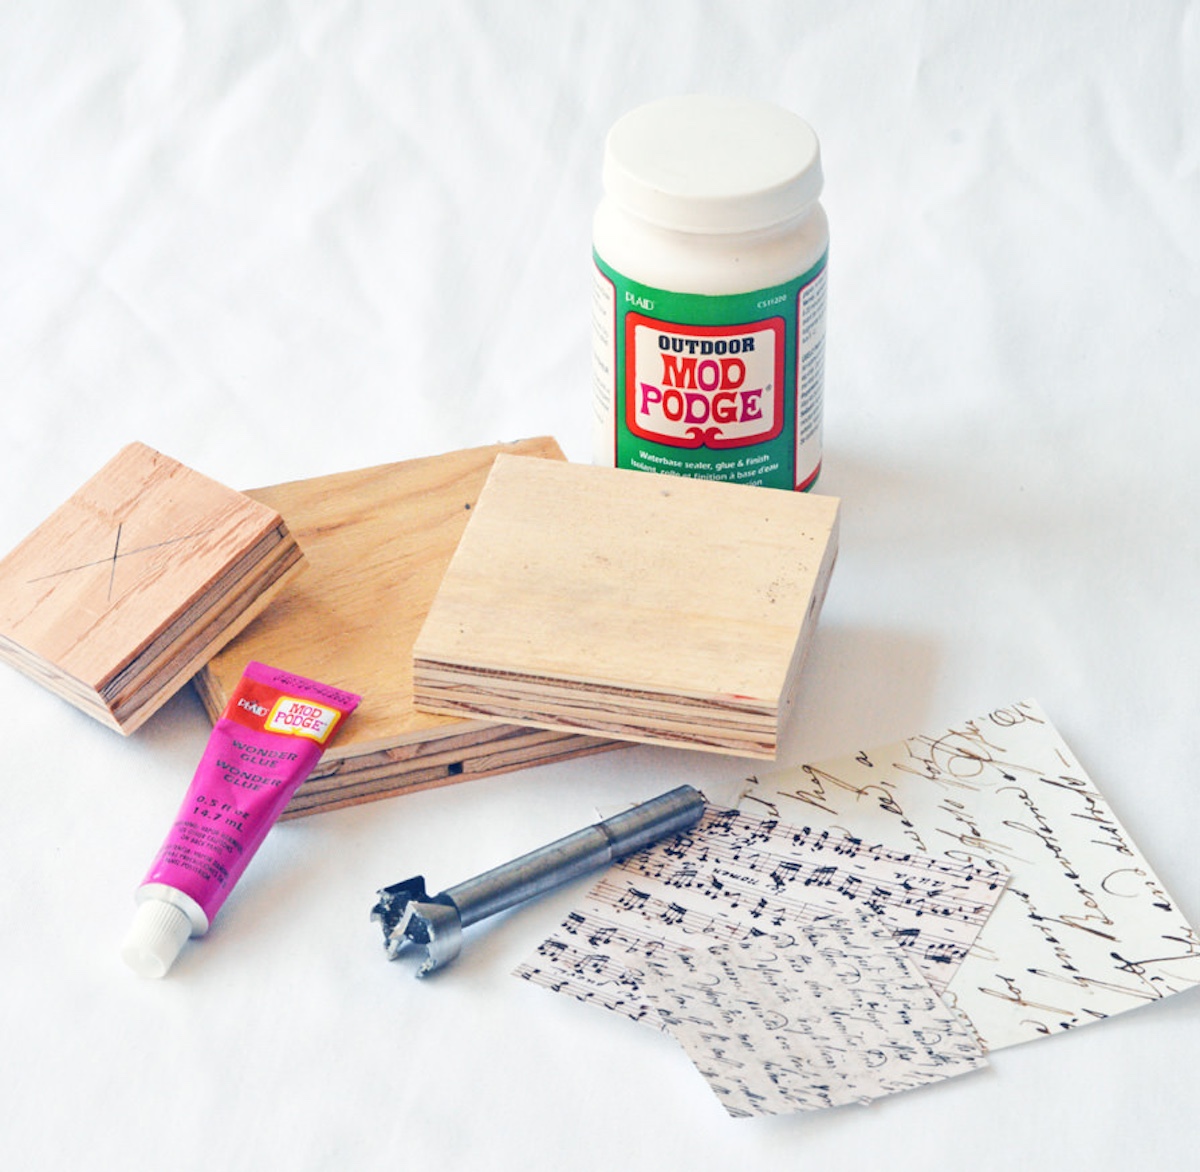
Gather These Supplies
- Outdoor Mod Podge (this is what I had but you don’t need it – use Hard Coat)
- Matte Mod Podge
- Scrap plywood
- Sandpaper
- White craft paint
- Scrapbook paper
- Craft knife
- 3/4″ Forstner bit (pictured) or spade bit
- Super glue
- Chop saw or hand saw
- Drill press or electric drill
- Clamps
Tips and Thoughts for This Project
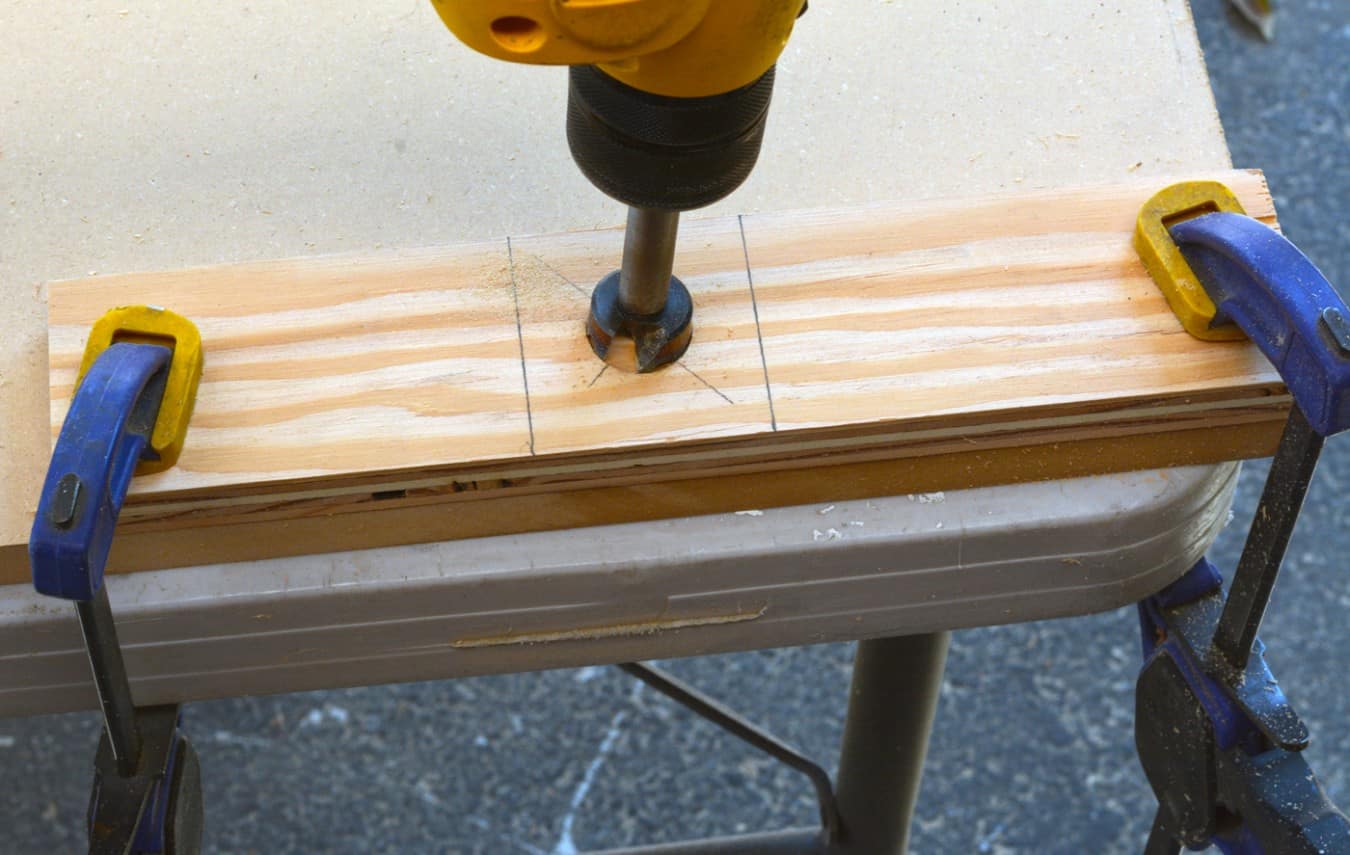
I do realize that not everyone has access to a drill press and a 3/4″ Forstner bit. So, this step can easily be done with a basic electric drill as long as you take proper precautions.
It would be tough to hold or clamp the small 2.5 x 2.5 square in place while you drilled through it. So, before you cut the plywood down to size, mark the size of the final square and mark the center. Place the marked plywood on top of a piece of scrap wood and clamp them both to your worktable.
Don’t forget to wear your eye protection while you’re drilling!
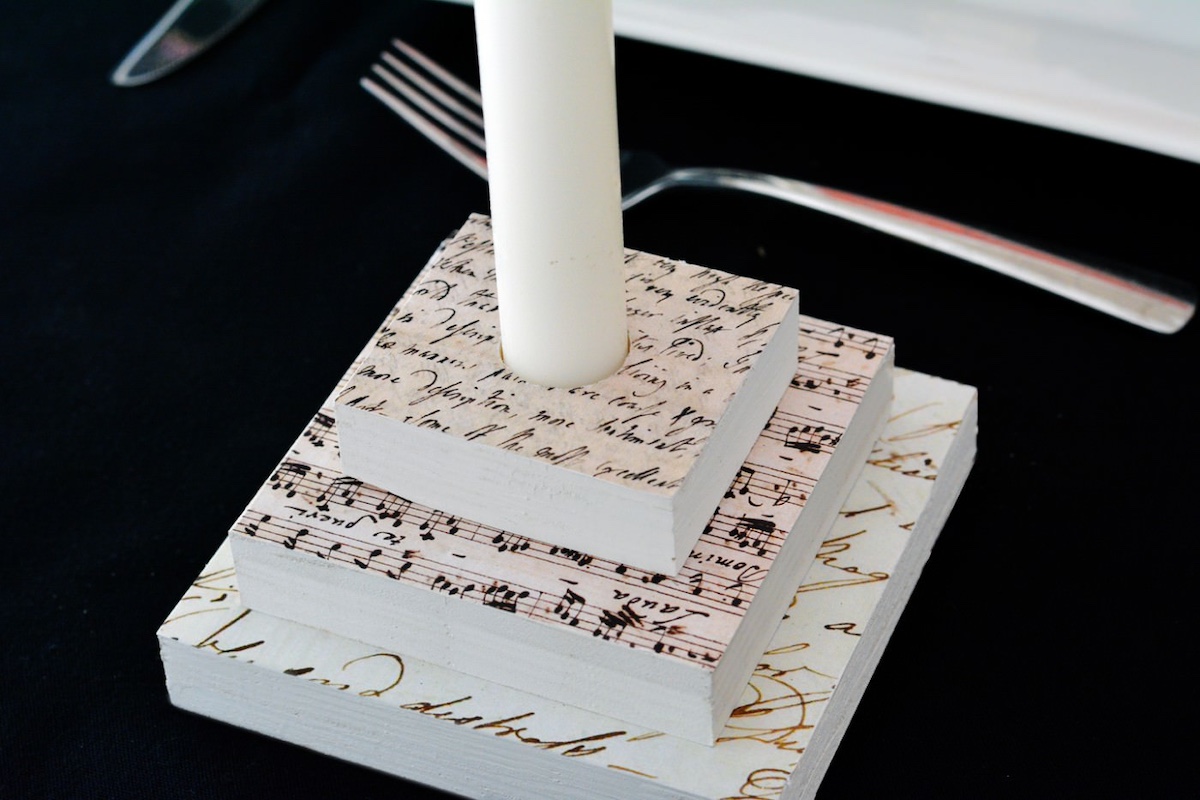
I think there are about a million variations that one could do with these wood candle holders.
The scrap wood could be cut into circles or rectangles.

You could create a wooden candle holders centerpiece using one long block with varying height raised sections. The paper could be coordinated for wedding colors, Christmas wrapping paper, etc.
With these wood candle holders I think I may have stumbled upon a fun and easy way to use up all those scraps! See!!!??? I’m not crazy! I DID need them!!!!!!!
DIY Wooden Candle Holders
Equipment
- Chop saw or hand saw
- Drill press or electric drill 3/4″ Forstner bit or spade bit
- Clamp(s)
Materials
- Mod Podge Outdoor and Matte
- Scrap plywood
- Sandpaper
- Craft paint white
- Scrapbook paper
- Super glue
Video
Instructions
- Cut the scrap plywood into three squares: the base should be 4.5", the second square 3.5", and the third square 2.5".
- Cut a recession into the top square to fit your candle – I used a drill press and 3/4" Forstner bit to drill a hole all the way through the center of the top piece.
- Sand the rough edges from each piece of wood and remove the dust with a tack cloth.
- Paint the squares with white acrylic paint or the color of your choice; let dry.
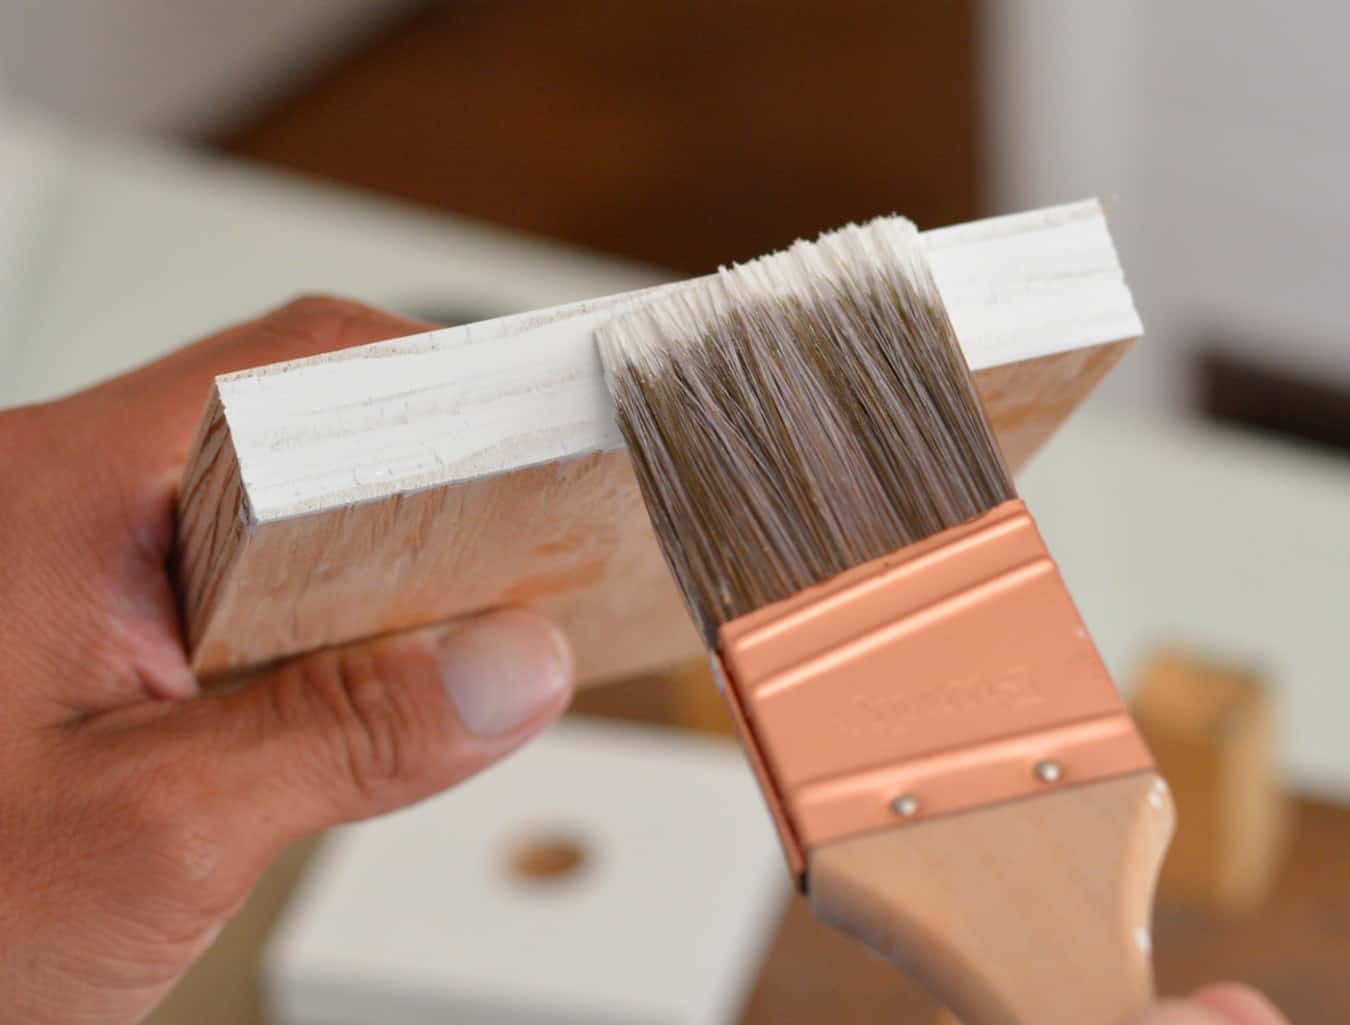
- Cut the scrapbook paper to size, and use Mod Podge to attach to the tops of the wood pieces. Let dry.
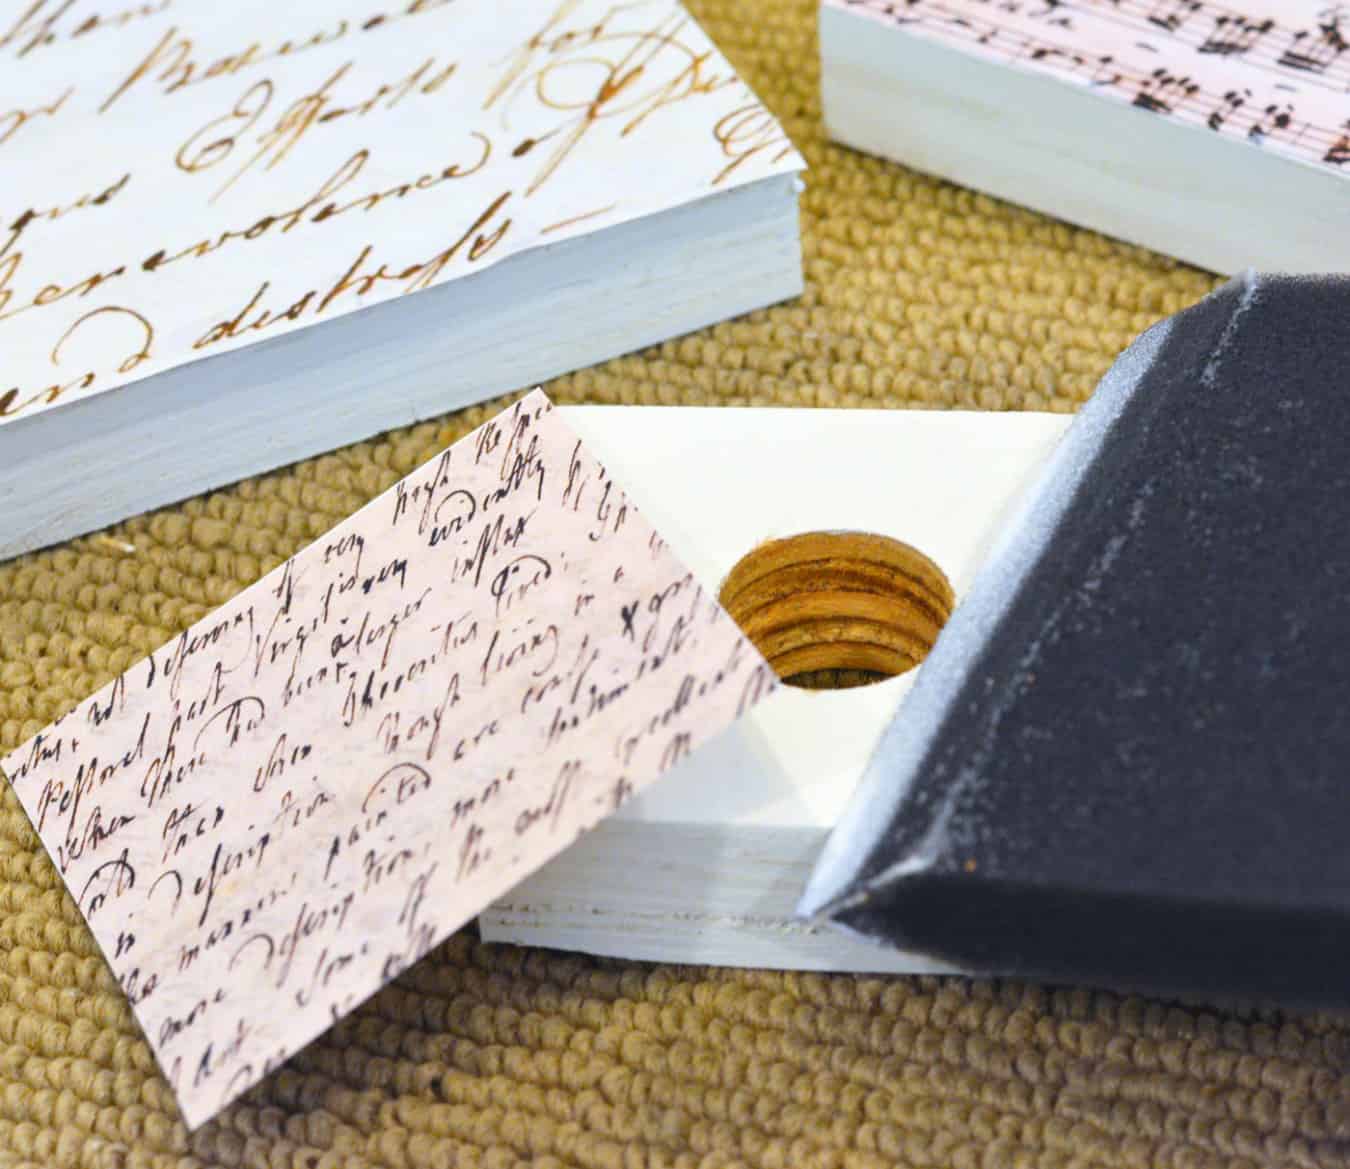
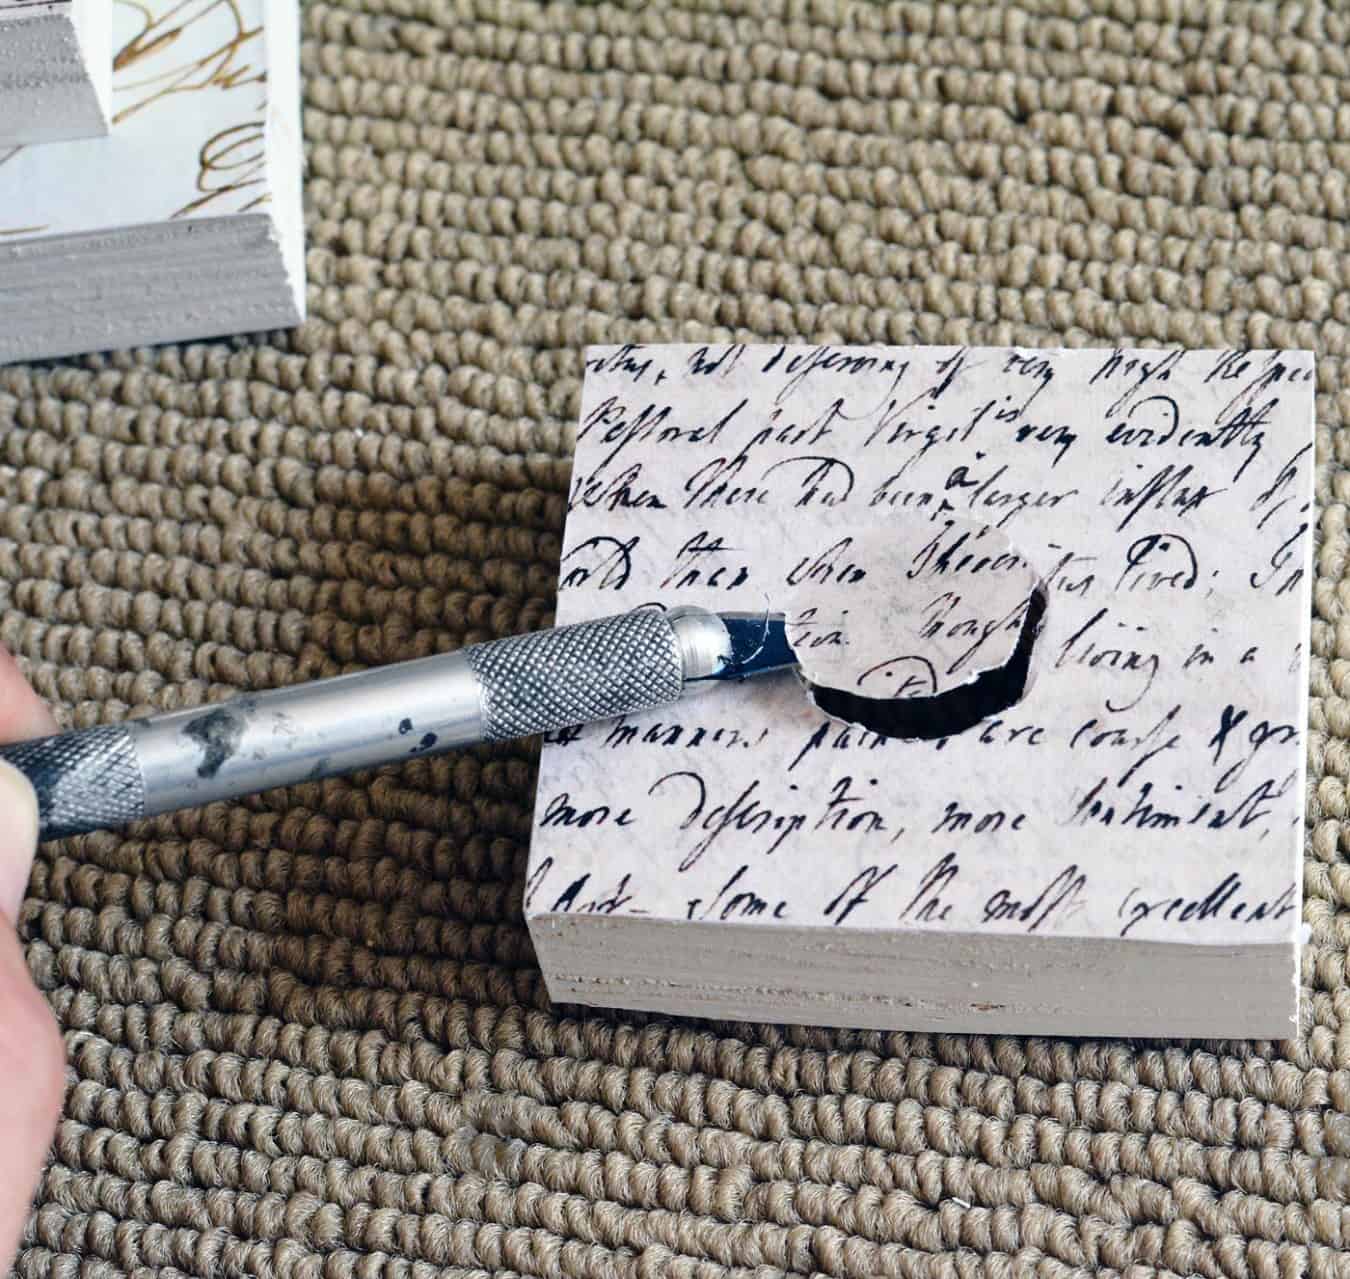
- Trim away excess paper (including in the candle hole) with a craft knife.
- Glue all three blocks together using super glue and then seal everything with Mod Podge. Let dry overnight before using.
Notes
If you like these DIY wood candle holders, let me know in the comments! I’ve also got some other projects I think you’re going to love:




Like you, I have pieces of wood that I dare not throw away! How clever to drill before you cut… I’d have never thought of that! And that’s a Forstner bit? I have that. Didn’t know what it was for! I also have every Dremel tool known to mankind, and “ordinary” saws, like a scroll saw and a circular saw. I have made little houses from scrap, and last week I made a sort of case/bookcase shelf thing to hold long boxes of my parchment craft inventory. Pieces I don’t have, Home Depot will happily cut for me.
Thanks for the idea. Now if I can only get the ModPodge to lay flat…..