DIY Wooden Candle Holders
Learn how to make wood candle holders using scraps! This DIY project is simple and you can customize it to any style.
Yield: 2 candle holders
Cost: $5
Equipment
- Chop saw or hand saw
- Drill press or electric drill 3/4″ Forstner bit or spade bit
- Clamp(s)
Materials
- Mod Podge Outdoor and Matte
- Scrap plywood
- Sandpaper
- Craft paint white
- Scrapbook paper
- Super glue
Video
Instructions
- Cut the scrap plywood into three squares: the base should be 4.5", the second square 3.5", and the third square 2.5".
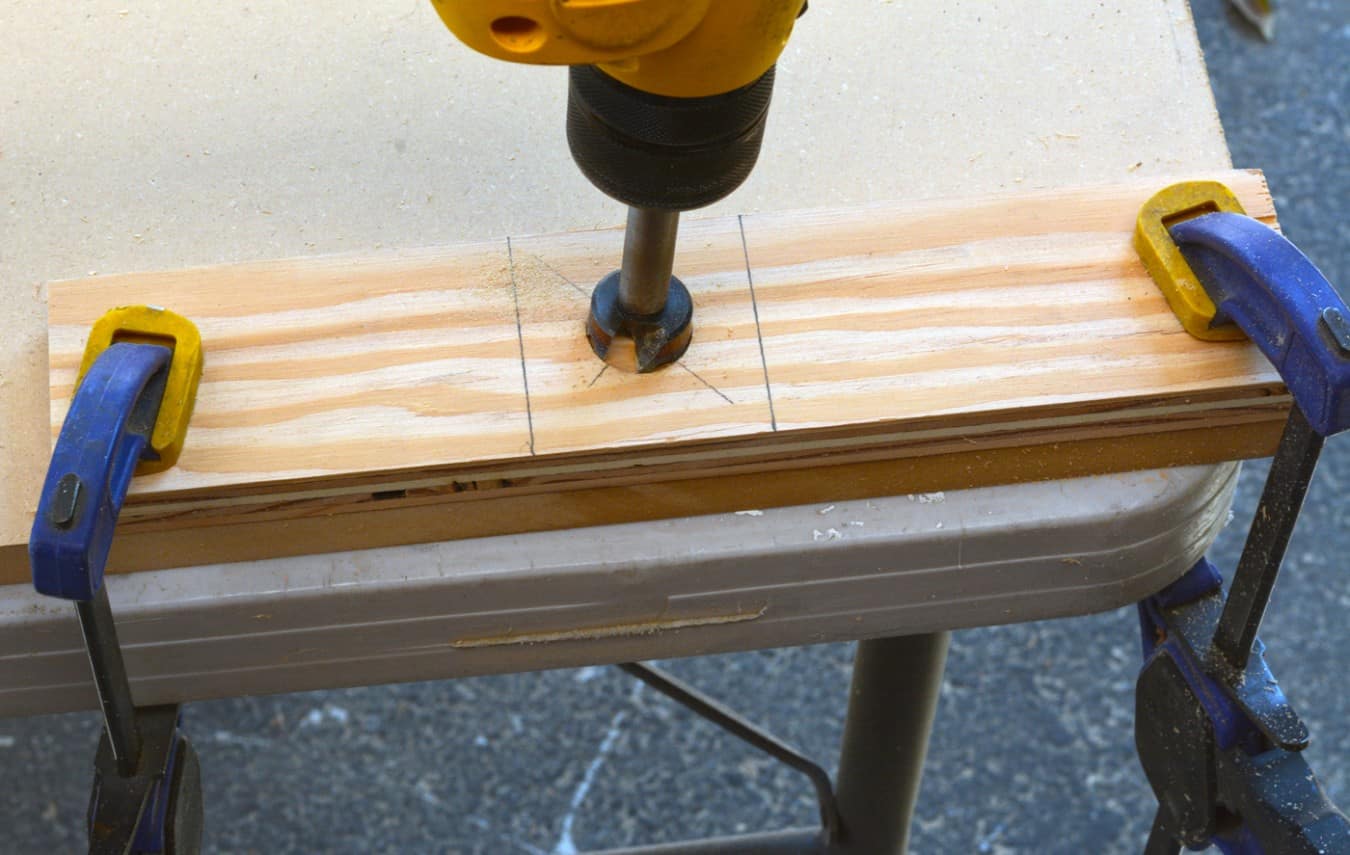
- Cut a recession into the top square to fit your candle - I used a drill press and 3/4" Forstner bit to drill a hole all the way through the center of the top piece.

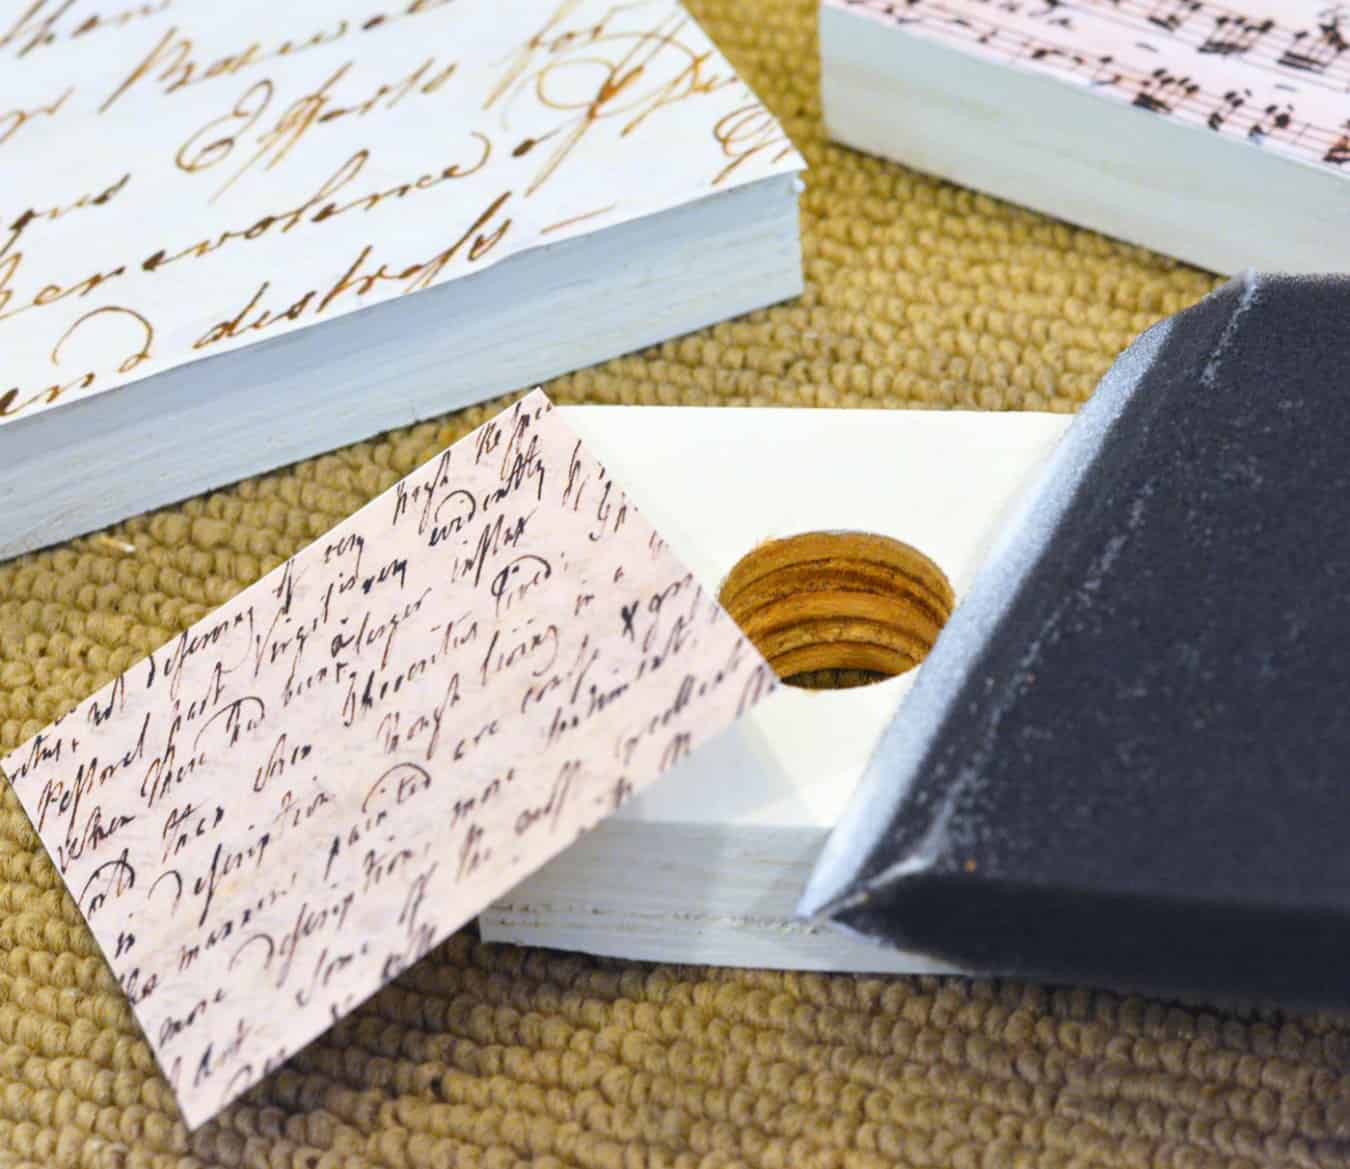
- Sand the rough edges from each piece of wood and remove the dust with a tack cloth.
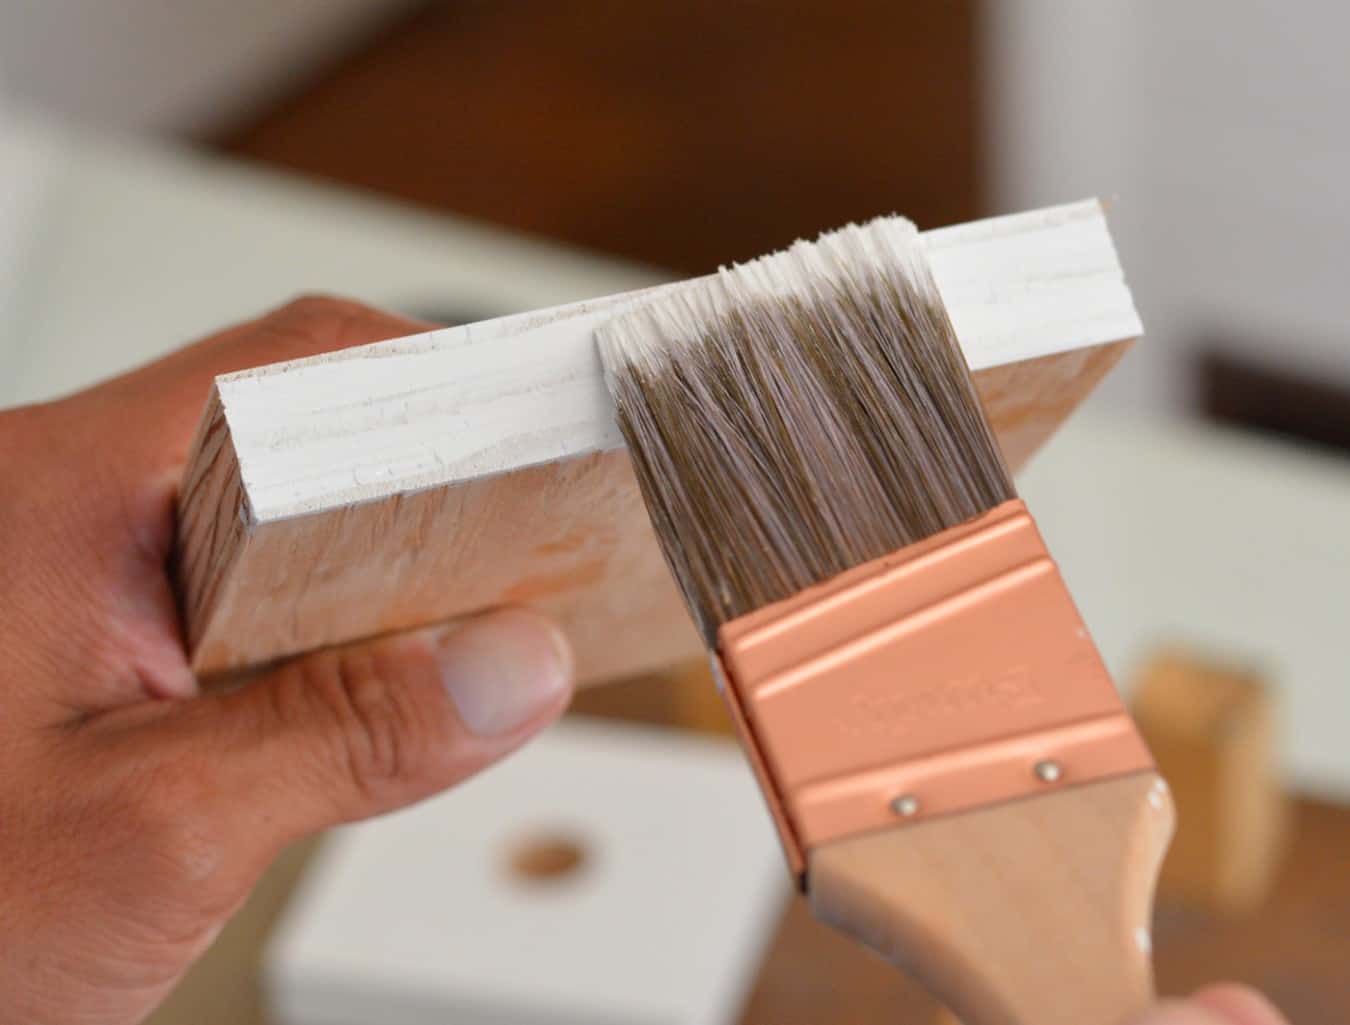
- Paint the squares with white acrylic paint or the color of your choice; let dry.

- Cut the scrapbook paper to size, and use Mod Podge to attach to the tops of the wood pieces. Let dry.

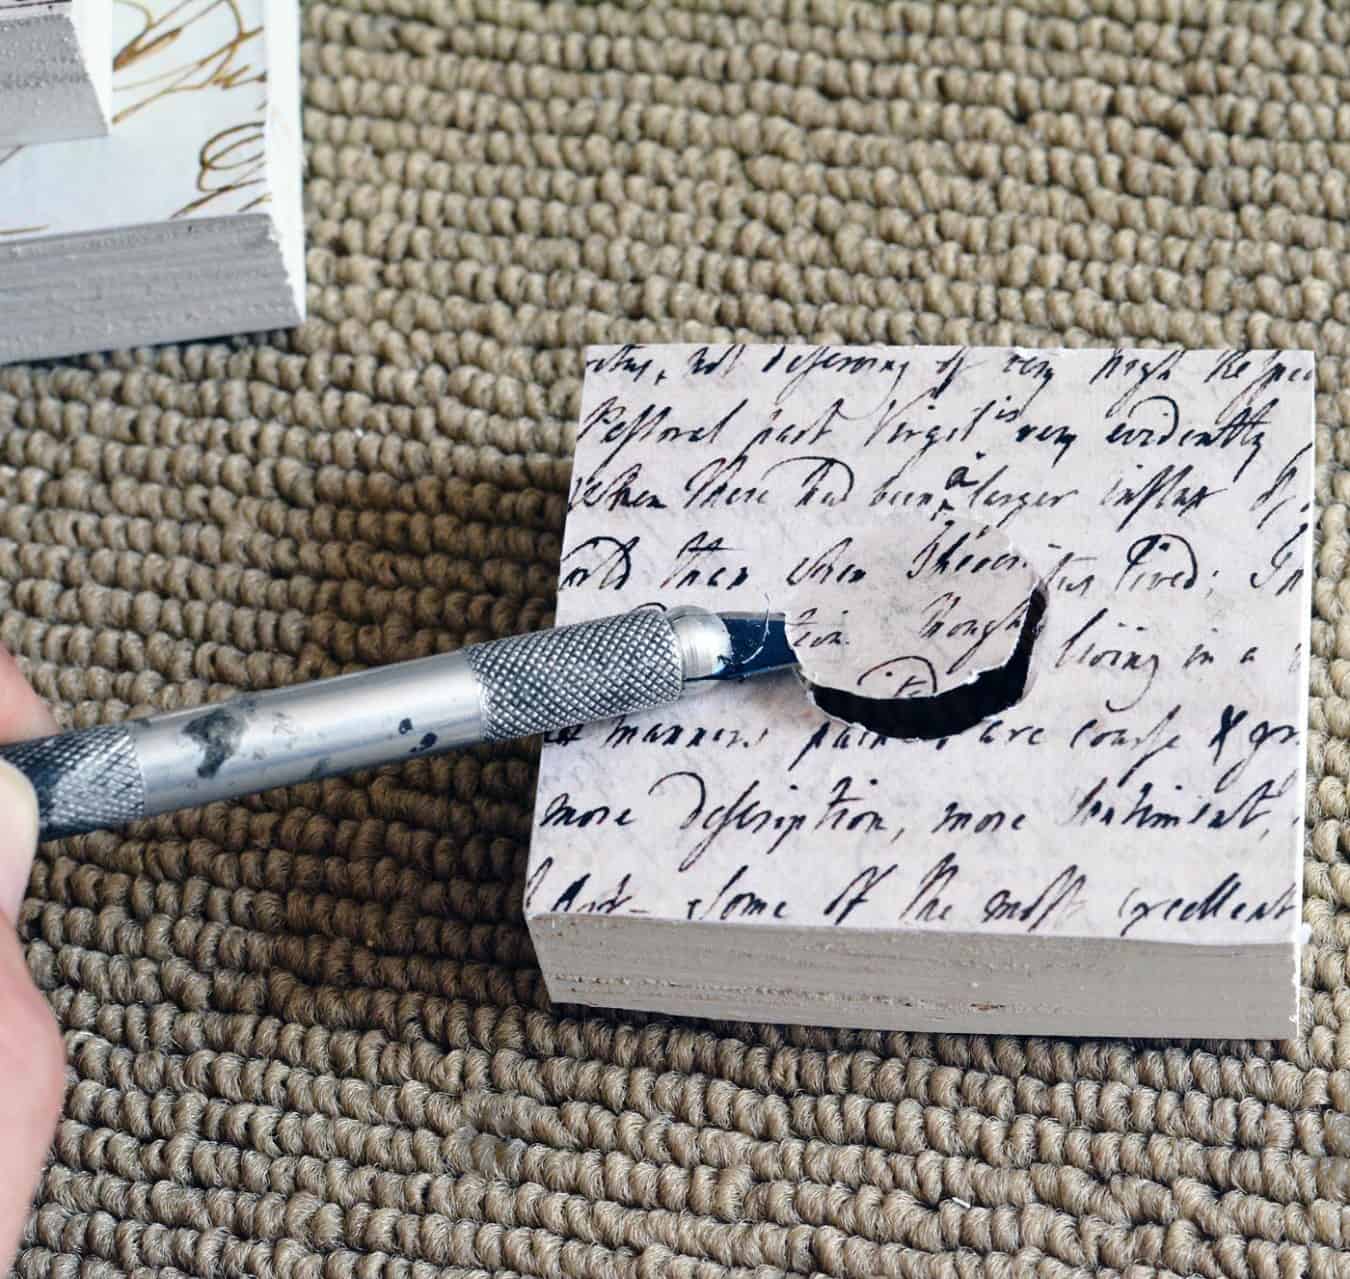
- Trim away excess paper (including in the candle hole) with a craft knife.

- Glue all three blocks together using super glue and then seal everything with Mod Podge. Let dry overnight before using.
Notes
It may be easier to cut the hole in the 2.5" square piece of wood before you cut it out, so that you can easily clamp it down.
