Learn how to create photo booth canvas art using your favorite pics and four mini canvases! Perfect for adults, pets, or kids.
Skills Required: Beginner. This is not a difficult project, but it helps to have experience with Mod Podge before trying it. However, if you’ve never used Mod Podge before, you should still be okay; just read instructions carefully.
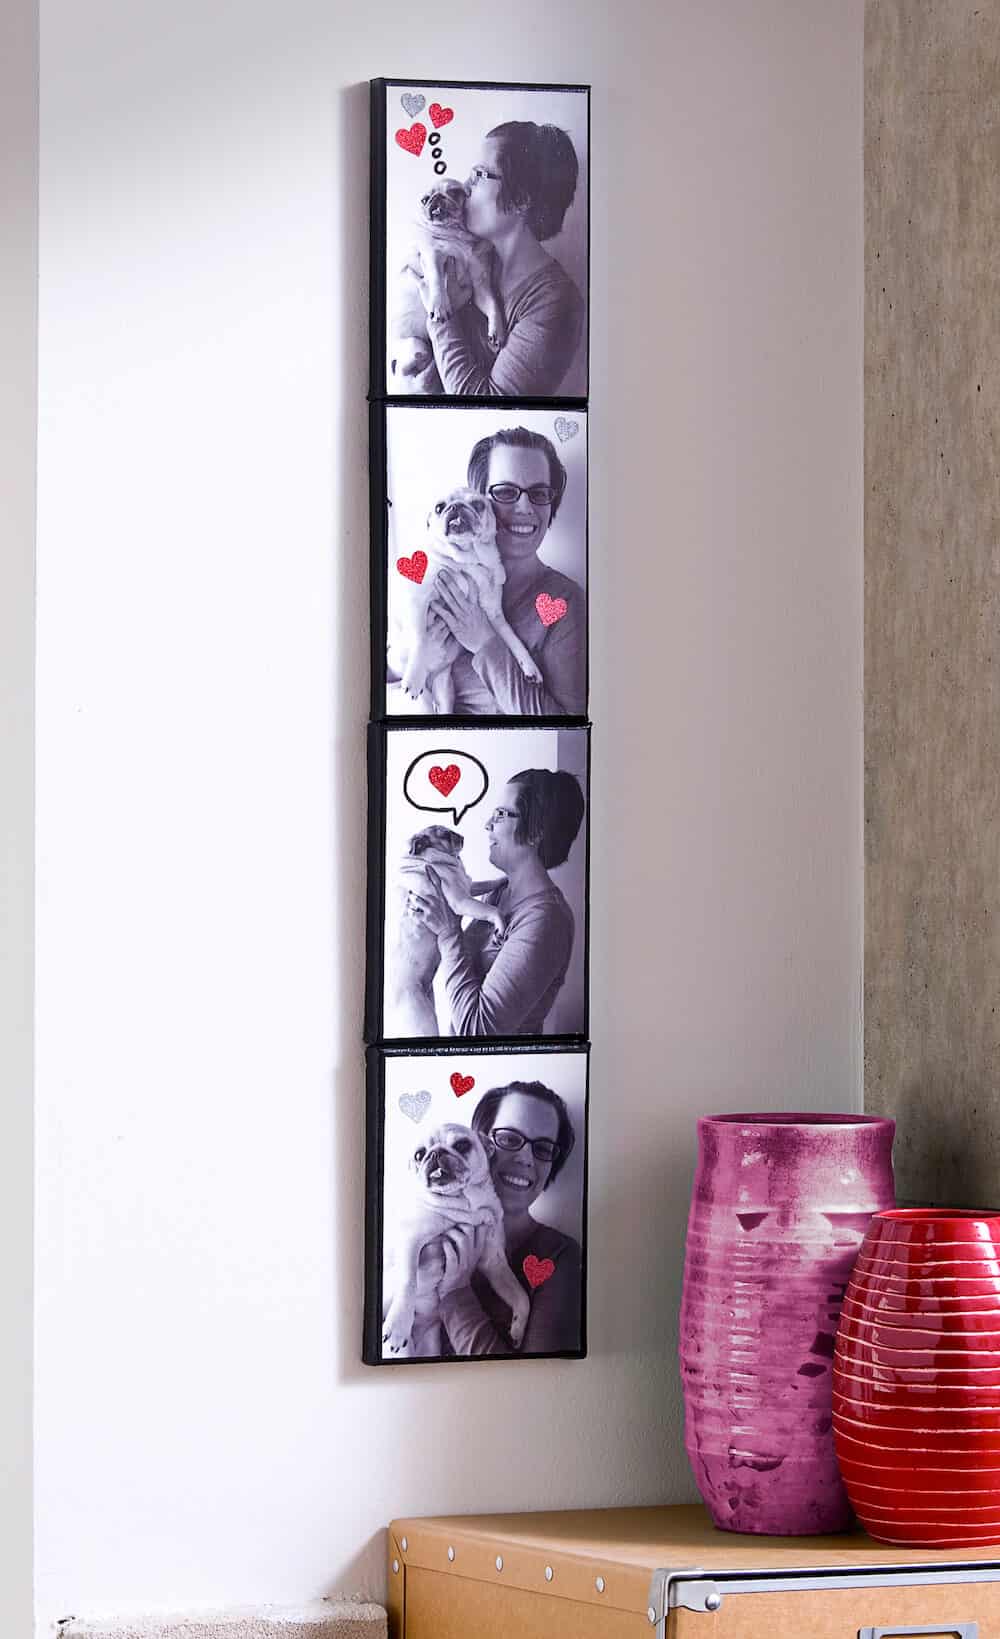
Do you remember photo strip booths? They used to be in every movie theater I went to when I was young. Now I see them from time to time, but never when I have someone with me to take photos.
I decided I wanted to recreate the photo booth experience in my own apartment, and make it larger so that I could use it as canvas art – so that’s exactly what I did!
You can make this canvas idea with photos of you and your significant other, friends, family, or even pets. Anyone or anything you love is fair game! This canvas art would also make a great gift for a wedding or anniversary.
Photo Booth Canvas Art
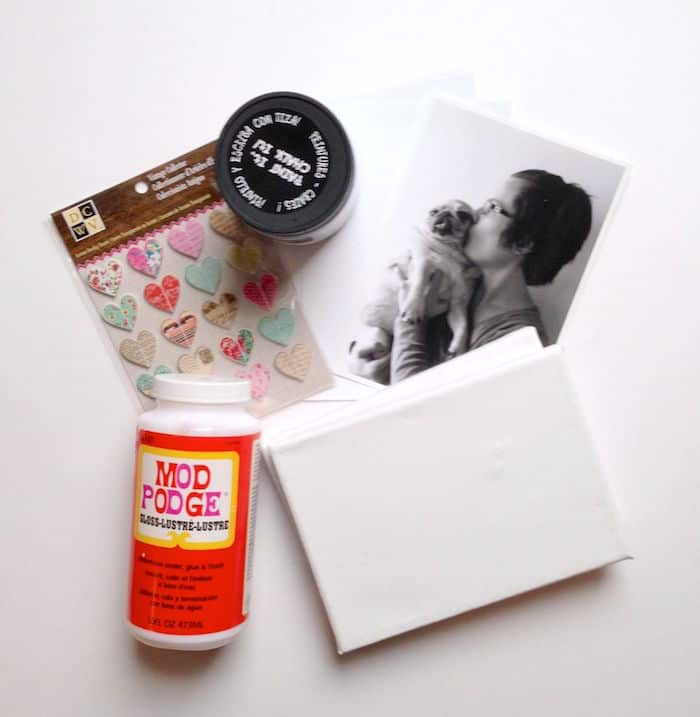
Gather These Supplies
- Computer and printer
- 5 x 7 photo paper (and photos to print)
- 5 x 7 canvases – 4
- Mod Podge Gloss
- Acrylic paint – black
- Scissors or paper cutter
- Paintbrush
- Heart stickers or other embellishments
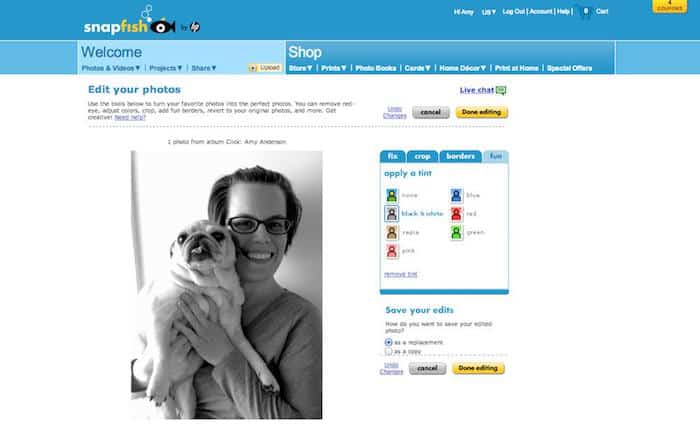
Use Snapfish or your computer’s software to edit your photos and print them. I took my four photos on my phone, turned them black and white on Snapfish, then printed them on HP premium 5 x 7 photo paper.
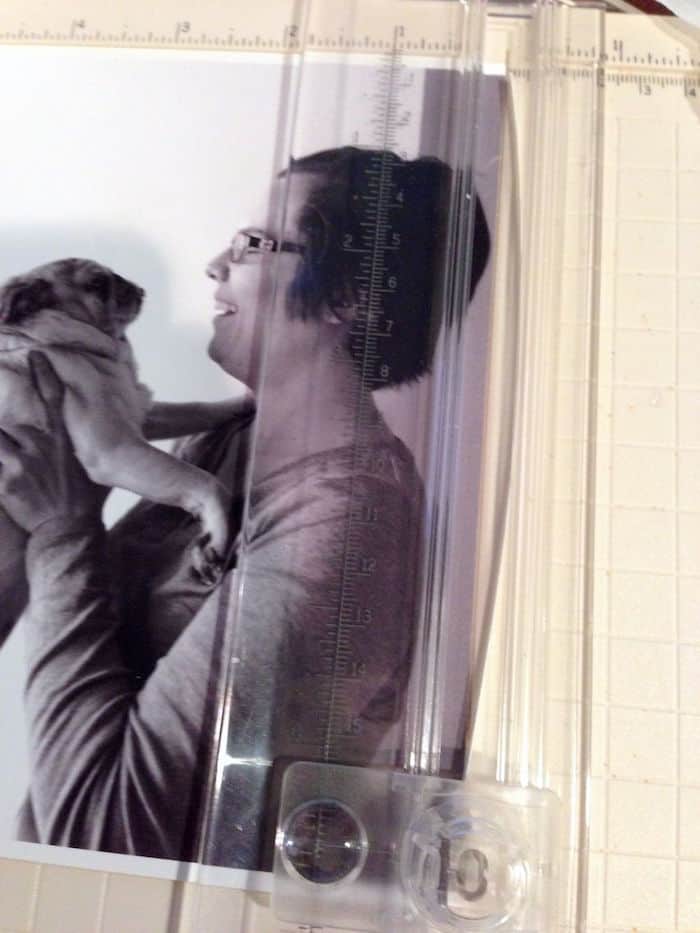
Trim the edges of your photos slightly to fit on the canvas – use scissors or a paper cutter.
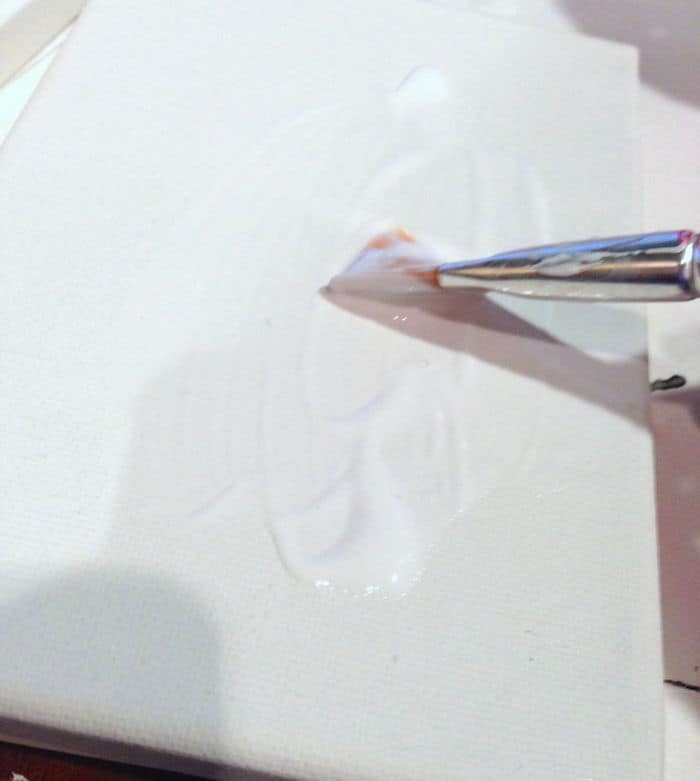
Add a medium layer of Mod Podge to the top of one of the canvases – cover the entire thing.
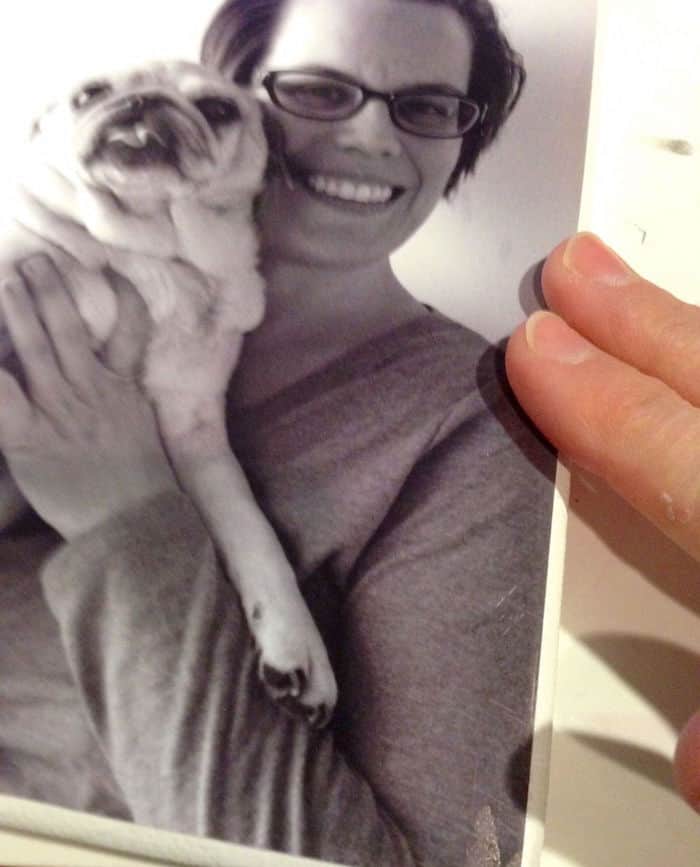
Smooth your photo down on the top of the canvas. Flip over and smooth from the inside as well. Let dry for 15 – 20 minutes.
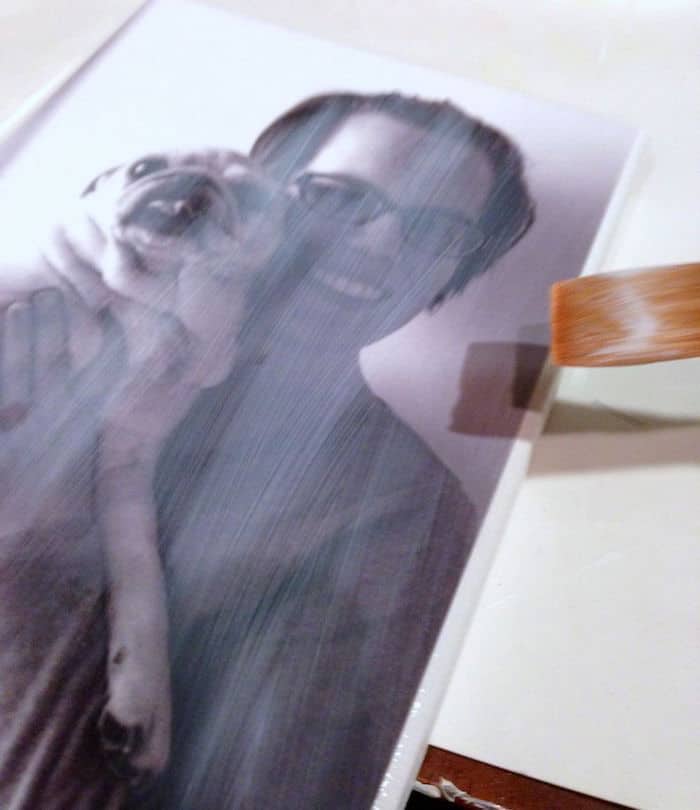
Mod Podge over the top of the canvas to seal. Let dry and repeat steps 2 – 4 with the other three canvases.
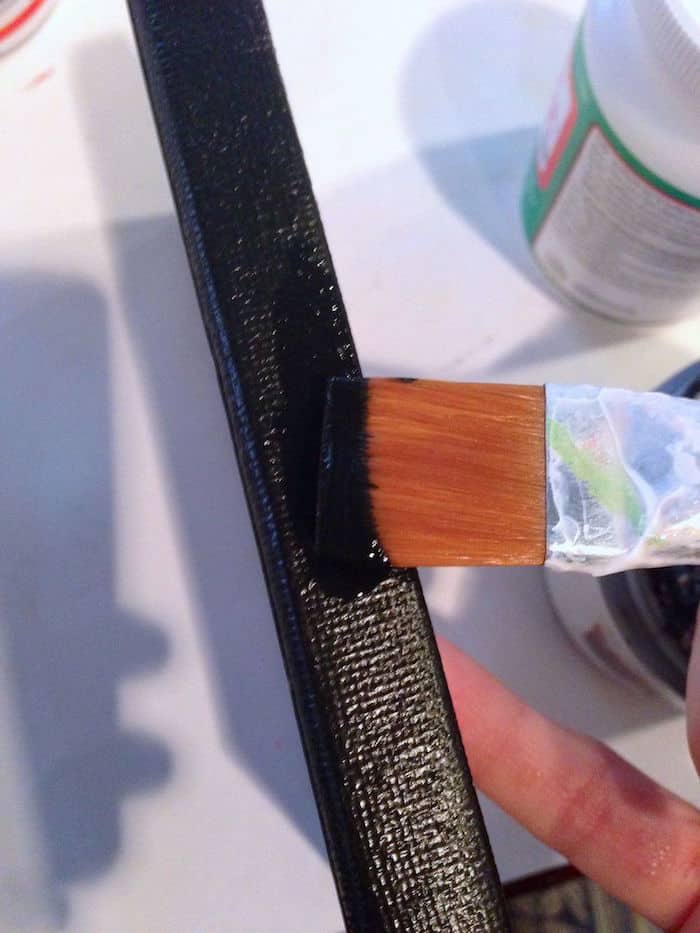
Paint the edges of all four canvases with a paintbrush and black acrylic paint. Let dry.
Tip #2: Use the photo edge as your painting guide. If you are a beginner painter, you may want to use stencil tape to block off the edges before painting.
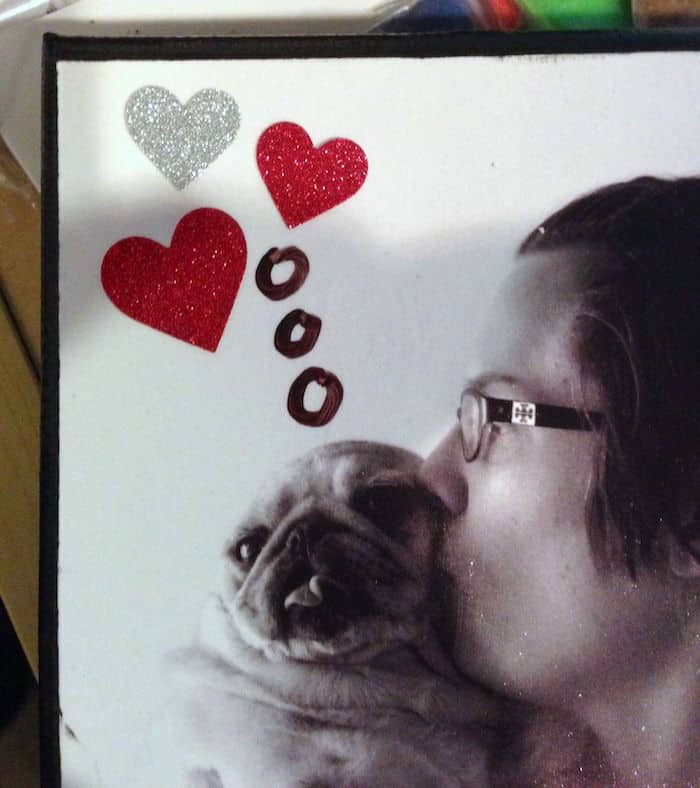
Add any embellishments you like to the fronts of all four canvases – I added heart stickers and also drew on my canvases with Sharpie markers.
When you are done, you have two options for hanging the canvases. You can glue them together, end to end, and then hang them as one large canvas.
You can also secure each canvas to the wall separately, keeping them close together as you hang.

This photo booth canvas art project was so quick to make – and now everyone knows how much I love my dog Roxie (who has passed away). It’s the perfect memorial. I want to make a few different versions of these for friends!
If you love this photo craft, I’d love for you to check out these other wall art ideas:
Busted Canvas • Button Canvas Art • Comic Wall Art • Decoupage Napkins on Canvas • DIY Love Canvas • DIY Quote Art • Doily Wall Art • Fabric Canvas Art • Geode Canvas • Image to Canvas • Instagram Mini Canvases • Magazine Collage • Map Canvas Art • Mount Pictures on Canvas • Nautical Wall Art • Ocean Resin Art • Paint Chip Art • Paint Swatch Art • Photo Transfer to Canvas • Photo Wall Collage • Plastic Animal Canvases • Poster on Canvas




Can you paint the entire canvas before adding the Mod Podge and photo?
Hi Donna! You can! The only reason I did the edges only was to preserve paint 😀
Hi, I tried printing a photo on canvas by the way explained above. What happens after you put mod pudge on the photo after it has been pasted to the canvas? After the mod pudge dried it picture looks white as though painted on top by white. Do I have to remove the mod podgy from top of the photo after it dries? What to do?
Hi Swati! I’m not sure – I’ve never had that happen! I wrote an article about Mod Podge drying clear here: https://modpodgerocksblog.com/does-mod-podge-dry-clear/
Please check out the troubleshooting section and contact Plaid if you need to.
What a great idea Amy…Love it and it’s so easy to do! By the way your pug is a cutie??
Great idea Amy and so easy to do. By the way your pug is a real cutie!??
My friends and I were always taking pictures in the photo booths when we were younger. This would be a great project for one of them as a present!
Absolutely! If you try it, share it with me!
hi, can u please explain to me what kind of printer did you use? u said photo paper, regular printer? Or did you use laser printer???? thanks so much!!!!!
Hi there! This is the exact printer I used: https://amzn.to/39lRX9p
It’s inkjet – but HP has a dry, locking ink which makes it easier to decoupage than other inkjet printers 😀
You really should paint the edges first. If you don’t you have to be extra careful not to get paint on the photo. I have a photo business where I make these kinds of pictures and if I need a black canvas I paint the edges and just a thin stripe around the front of the canvas. Then mount the photo when dry. When I cover it with mod podge, I cover the sides as well to protect the whole piece.
I appreciate the feedback – I like painting them afterwards but everyone should do what works best!