
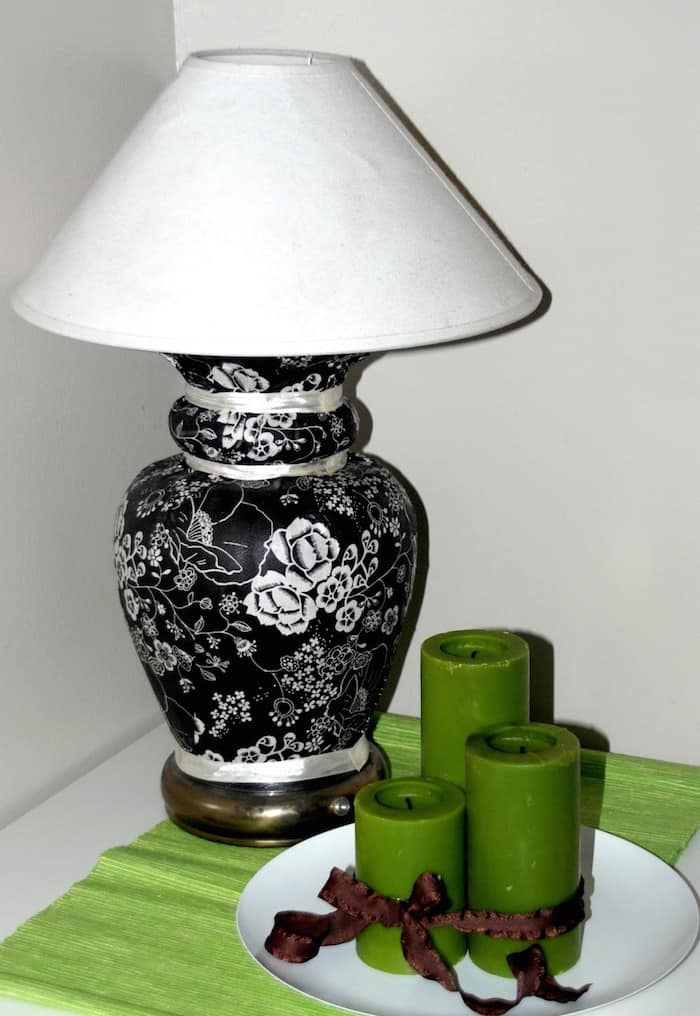
This DIY lamp base was created by adding fabric with Mod Podge. You can recreate with any fabric you like – this easy tutorial shows you how.
I love guest bloggers, and I’m so glad to introduce you to Natalie of The Creative Mom and her DIY lamp base and cabinet. You will certainly love her budget friendly revamps! Check out her tutorials below.
Hey there! I’m Natalie, and I blog over at The Creative Mom. I am so excited to be guest posting on Mod Podge Rocks. Amy is so talented and creative and it really is an honor to be here
Today I’m going to share with you how I decoupage my TV cabinet (see a pic at the end of the post) and my lamp. I got both items from yard sales in not-so-perfect condition, but with a little TLC, they turned out perfect!
DIY Lamp Base
Here’s what you’ll need for both projects, and I’ll show you what to do with the lamp base first.
- Furniture or Lamp
- Mod Podge Matte
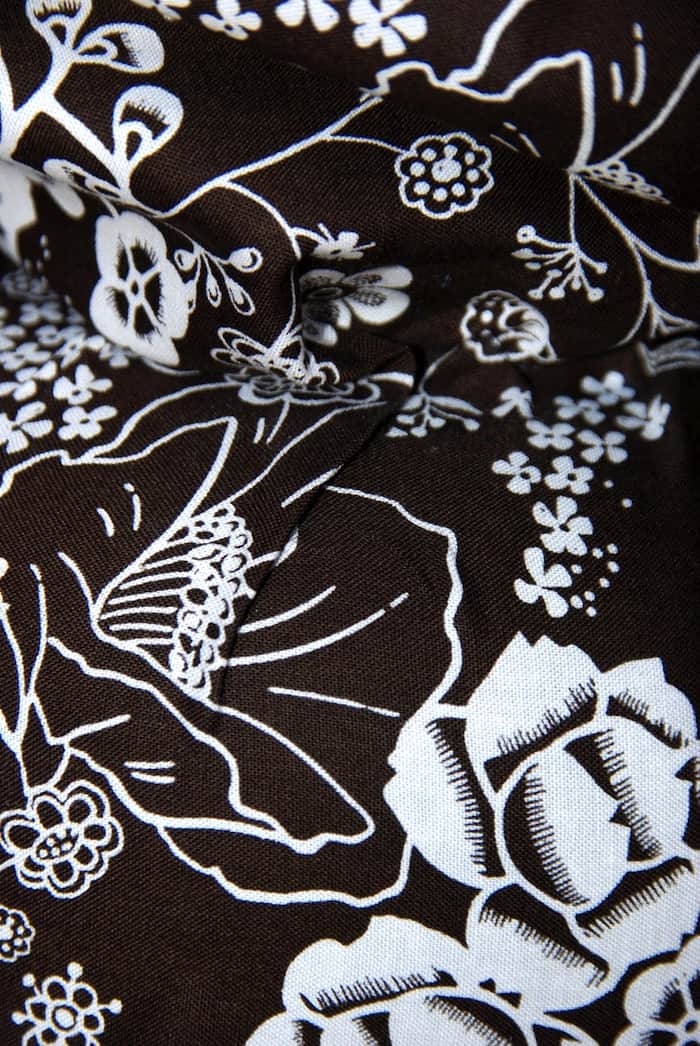
- Fabric
- Paint (for cabinet)
- Ribbon (for lamp)
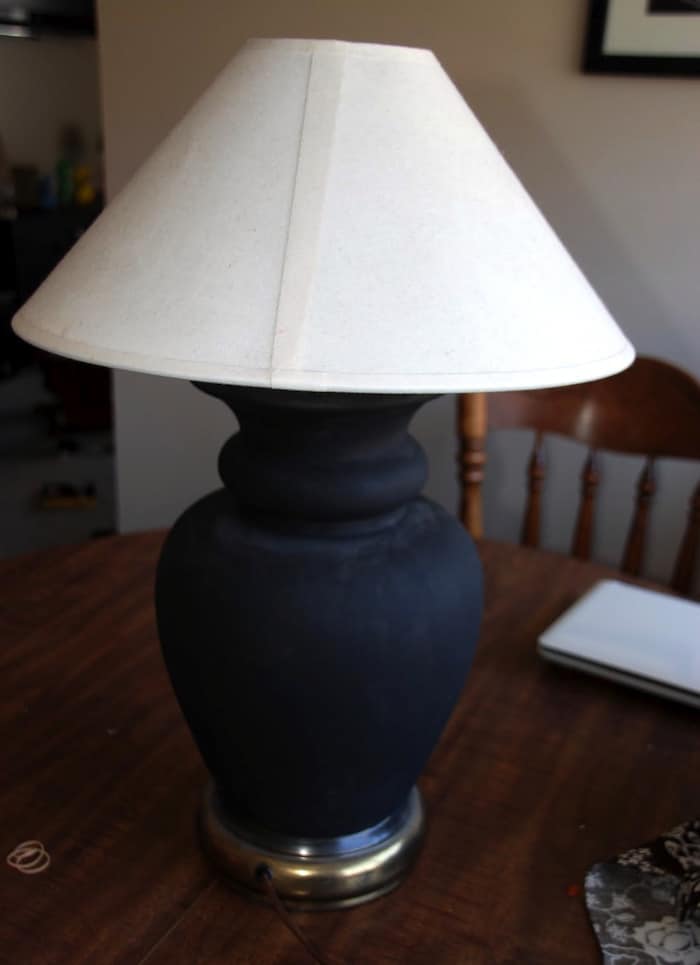
I’ll show you how I did my lamp first. It started out as an ugly old $2.00 lamp.
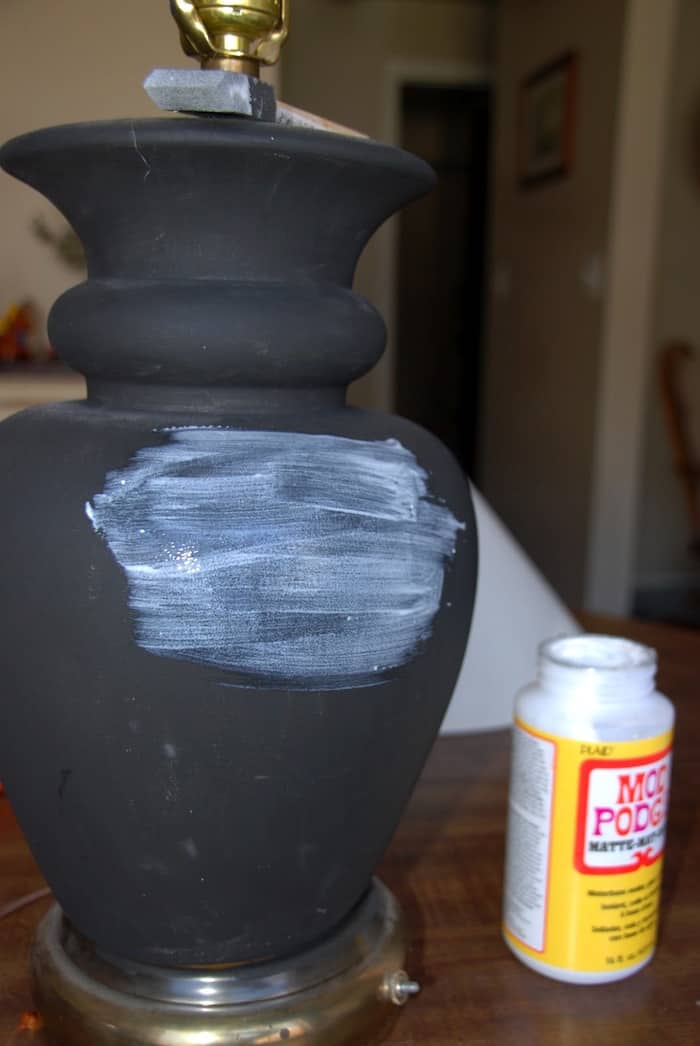
The first thing you do is spread a good amount of Mod Podge on the lamp.
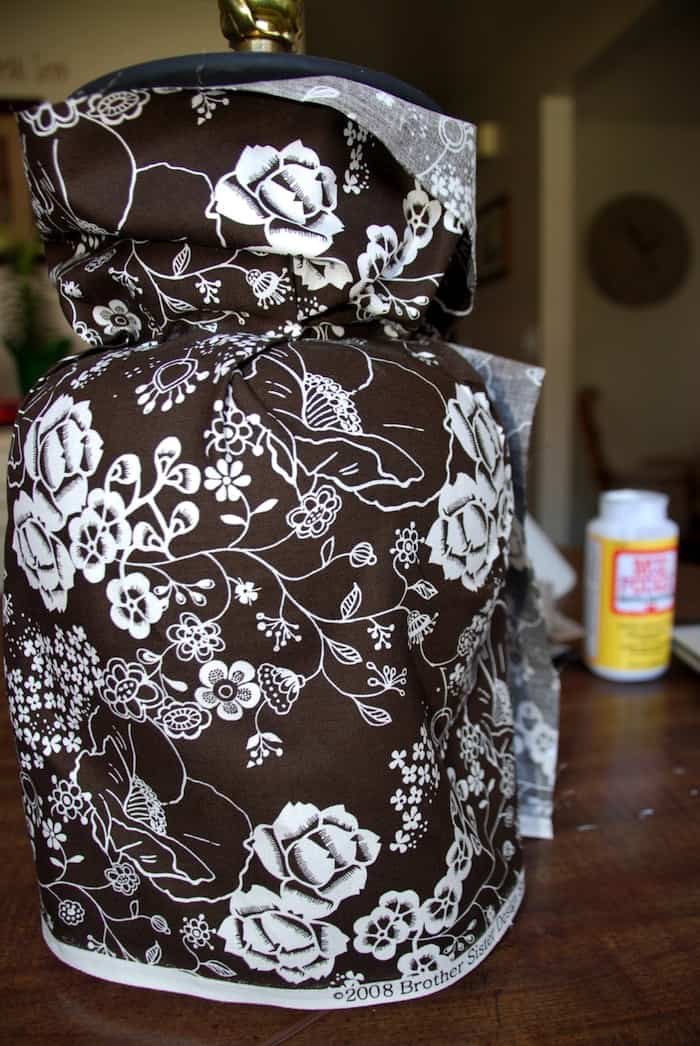
Then take your fabric and started wrapping it around the lamp. I had no idea how much fabric I needed, so I just cut it about 4 inches taller than the lamp and 4 inches more around than the lamp. I had to cut some off in the end, but it’s better to have extra than not enough.
When you’re doing this, make sure you STRETCH it. On the tapered parts of the lamp, you’ll need to fold your fabric. That’s why it’s best to use fabric rather than paper, because you can stretch and fold your fabric.
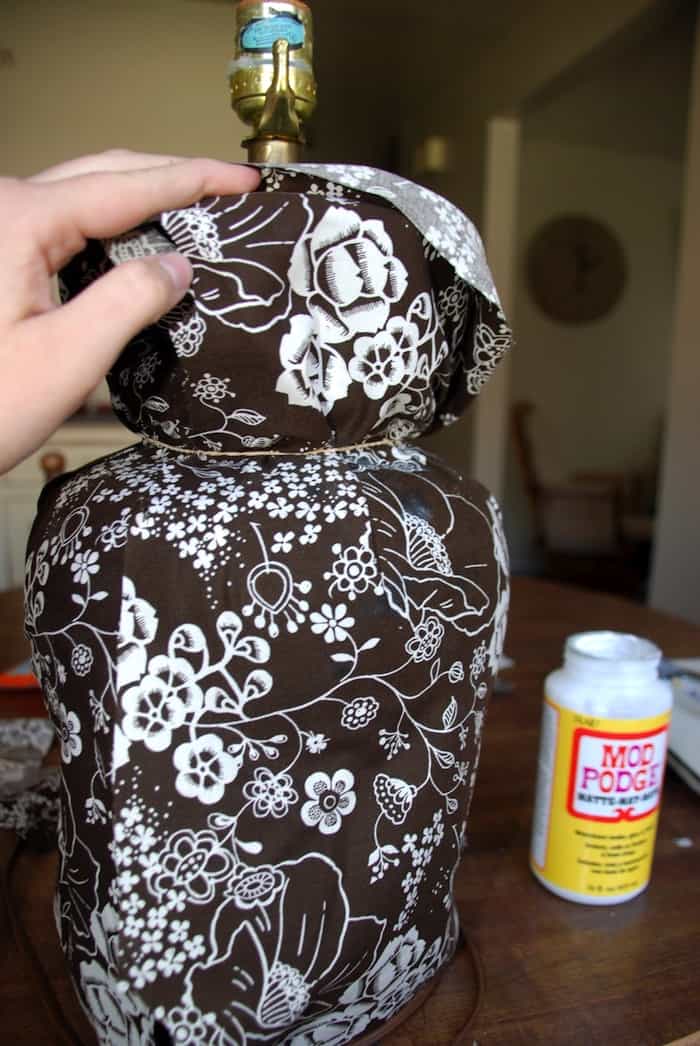
It really won’t stay tight until it dries, so I put a rubber band around the tapered part to hold the fabric.
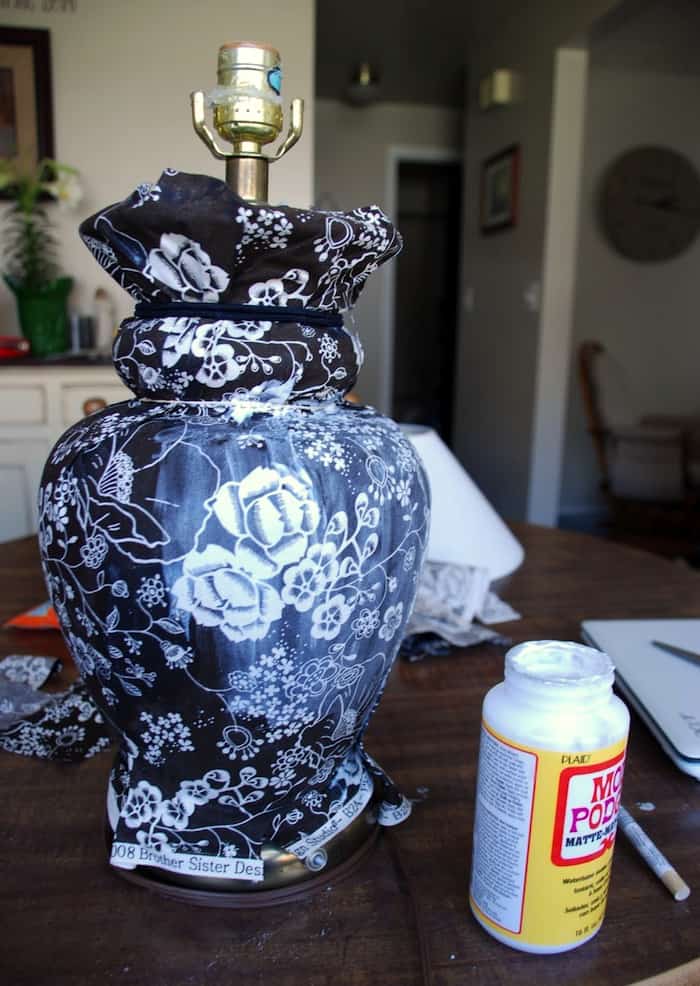
Spread a good layer of Mod Podge over the top of the fabric.
And, like I said, you’ll have to fold and stretch. The more curvature you have in your lamp, the more you’ll have to do this.
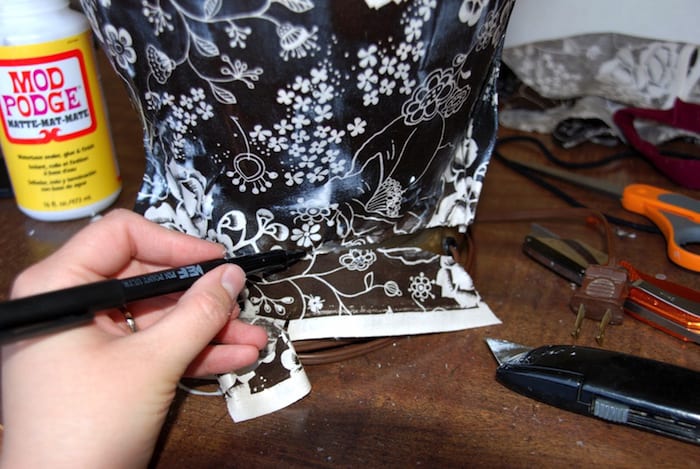
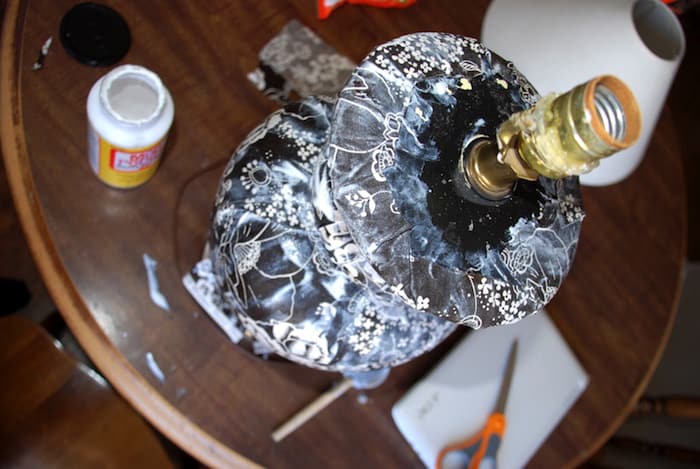
Then I took a utility knife {you could use an X-Acto knife} to cut off the excess. I actually marked it with a pen before I cut.
I didn’t get pictures, but I wrapped some ribbon around the tapered parts and the bottom and secured it with hot glue. That will complete your DIY lamp base.
I did this because the tapered parts weren’t perfect, and I cut it a little uneven on the bottom, so I wanted to hide the imperfections. The finished product: Now, here’s how I did my TV cabinet. It’s pretty easy.
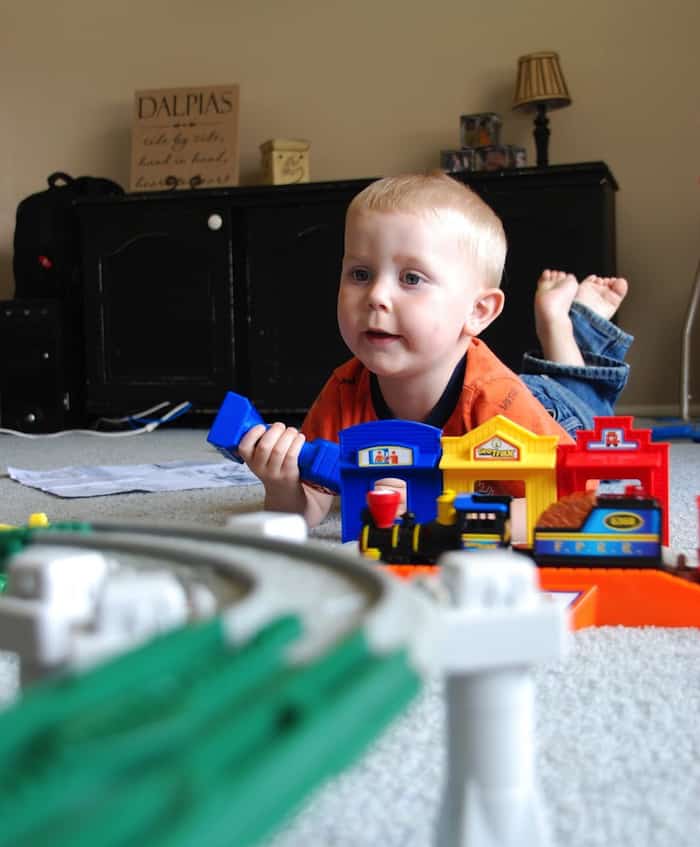
Here is the best before picture I have: I know, what kind of a blogger doesn’t have before pictures? But this way you get to see my cute little boy too.
The first thing to do is paint your cabinet whatever color you want. I painted mine an off-white color. It was a mismatched color from my hardware store, so it was super cheap.
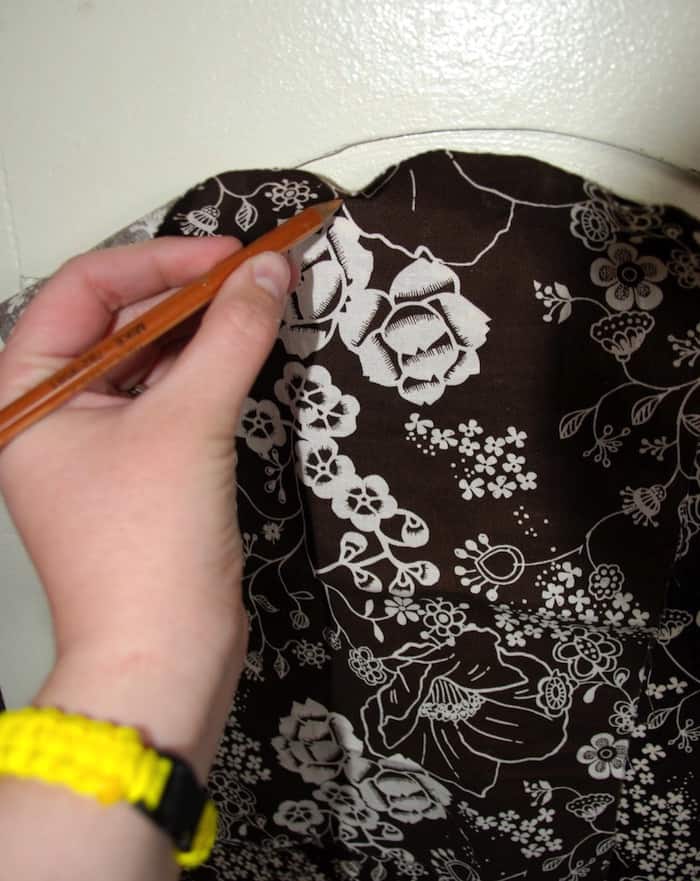
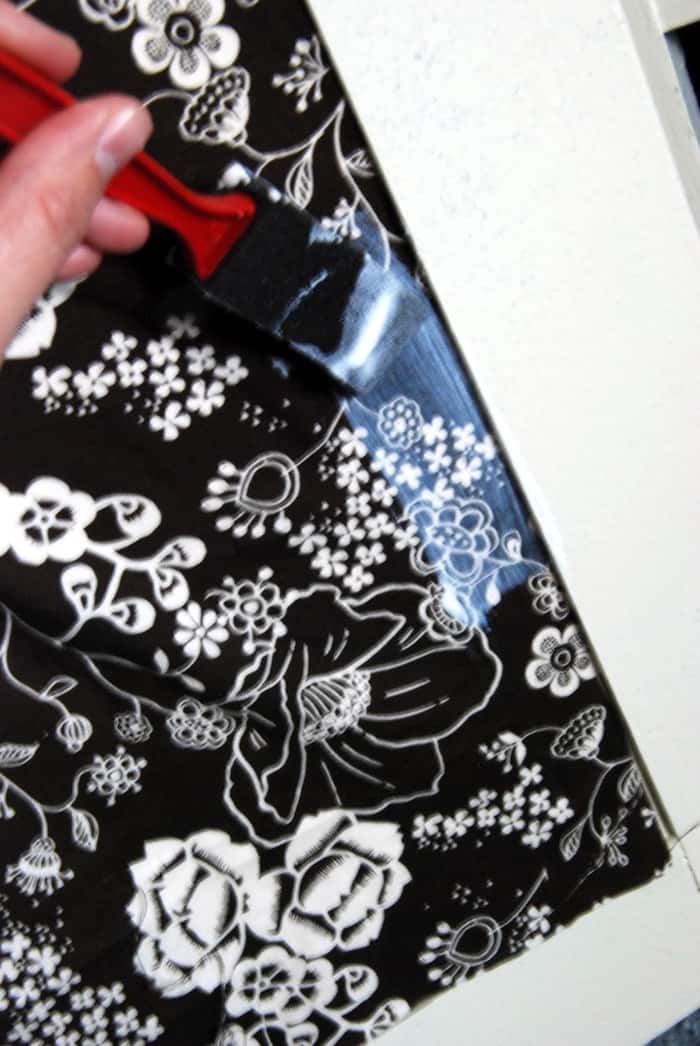
Once your paint is completely dry, you can start Mod Podging your fabric on. Just take a pencil and trace the shape of your cabinet doors. Then cut out your fabric.
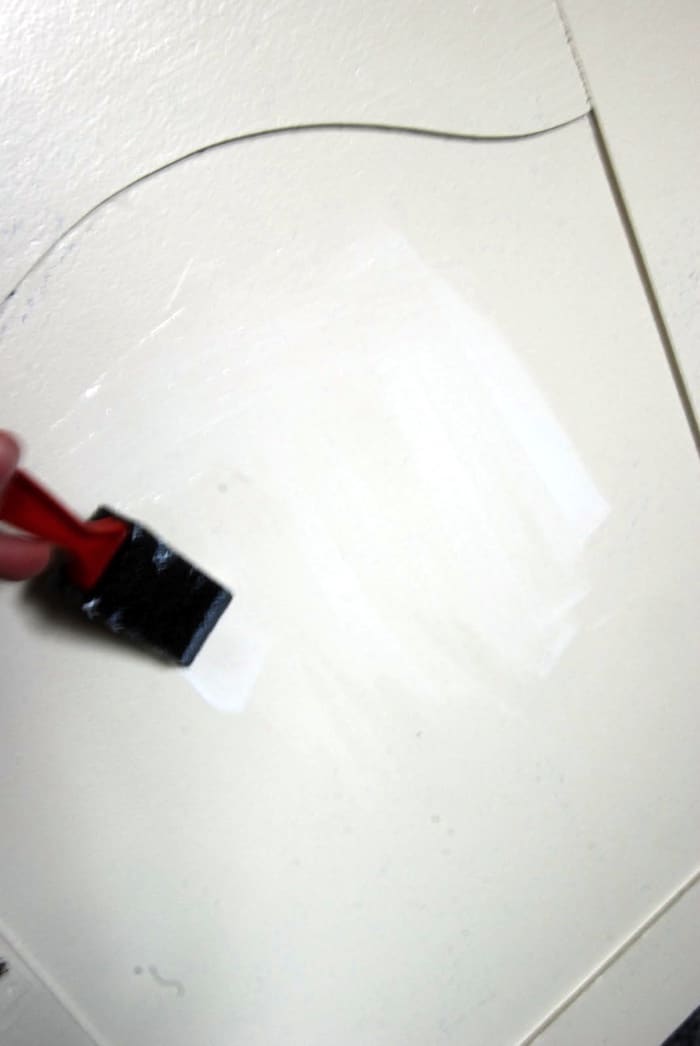
Spread a thin layer of Mod Podge on your cabinet and stick your fabric on.
Let it dry again, and then spread another layer of Mod Podge on the top of the fabric. Do the same thing for each door’s panel, and again on the top (if you want). Lightly sand the edges to give a distressed look, add some cute knobs, and you’re done!
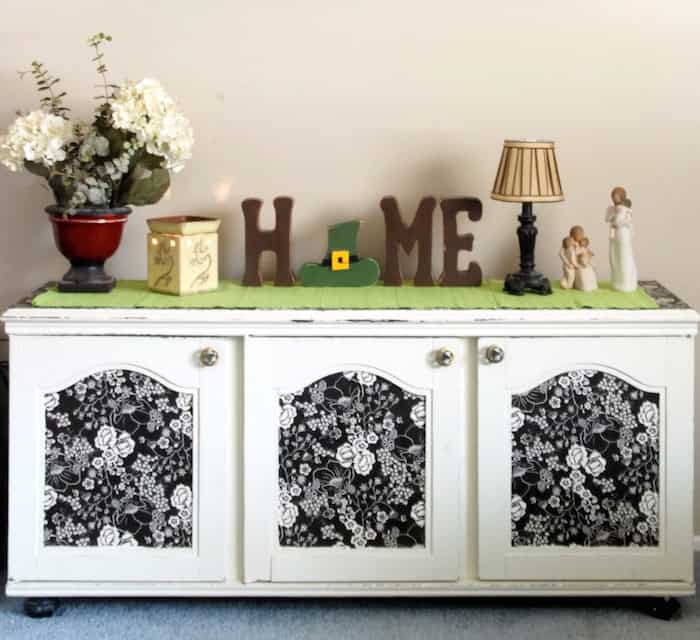
Somebody wouldn’t let me turn off the TV to take pictures. I put a green table runner {clearance from IKEA} on top and I love it! It’s nice to have a cute cabinet to hide The Mr’s xbox and all of the other ugly TV stuff.
Thank you so much for having me, Amy. Please make sure to check out my blog to see what I’m up to. I’ve always got something going on, and I’d love to have you visit me.
If you enjoyed Natalie’s makeovers, I’d love for you to check out the following projects:


This is so cute & what a redo! I’ve actually seen ginger jar lamp bases mod podged using paper. It was just cut into pieces & you overlap & continue on until the whole thing is covered. Your fabric is so cute, though, & your process looks like it might be easier or at least less stressful. The cabinet is awesome.
CAS
I LOVE THIS!!!! Corduroy dreams is one of my new favorite craft stops along with Mod Podge Rocks! I’m happy to be able to taste a little bit of creativity everyday. Thank you girls for a very un-guilty pleasure 🙂
I love that she shared the cabinets because that it EXACTLY what I am planning in my master bath. Now I know it will not only work, but it will also look cute.
this is so cool! What a great idea! And it looks so chic!!