If you want to make sure you have a unique canvas project as part of your decor, check out this easy paint chip art made with Mod Podge.
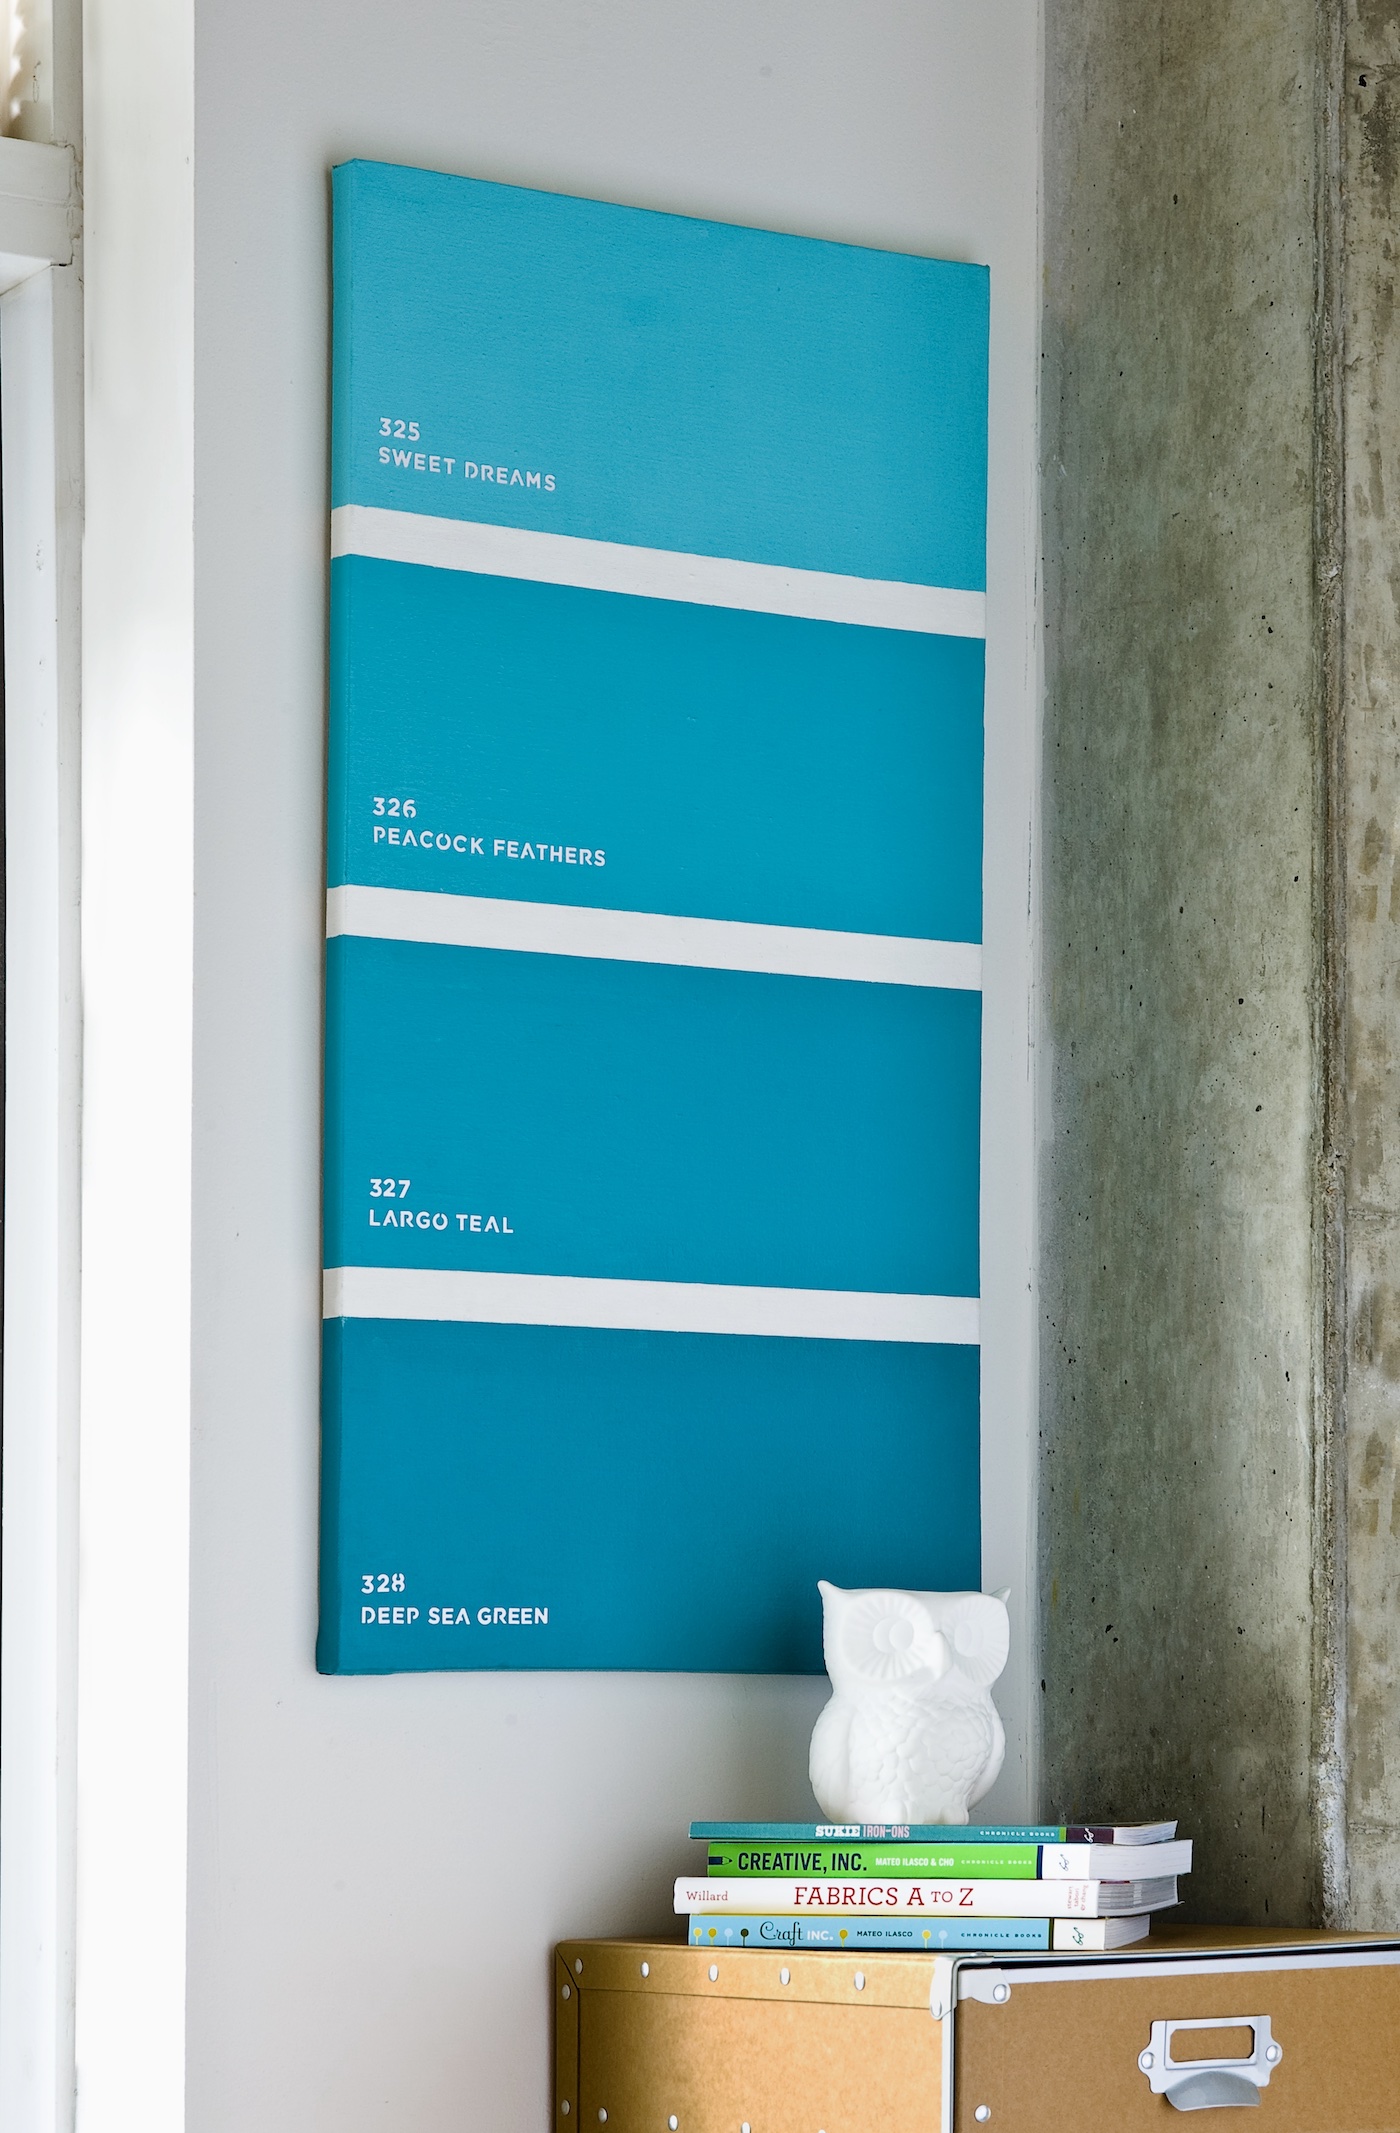
I bought a rectangular canvas that sat in my apartment corner for quite a while. I had one idea for it, but that idea didn’t stick . . . so then it just sat there. I actually think it was in the trunk of my car before it made its way to the corner.
And then, as I was browsing easy things to paint on Pinterest, I realized what I was going to do with it – make paint chip art on canvas. It was the perfect size and shape (well, at least for a large faux paint chip).
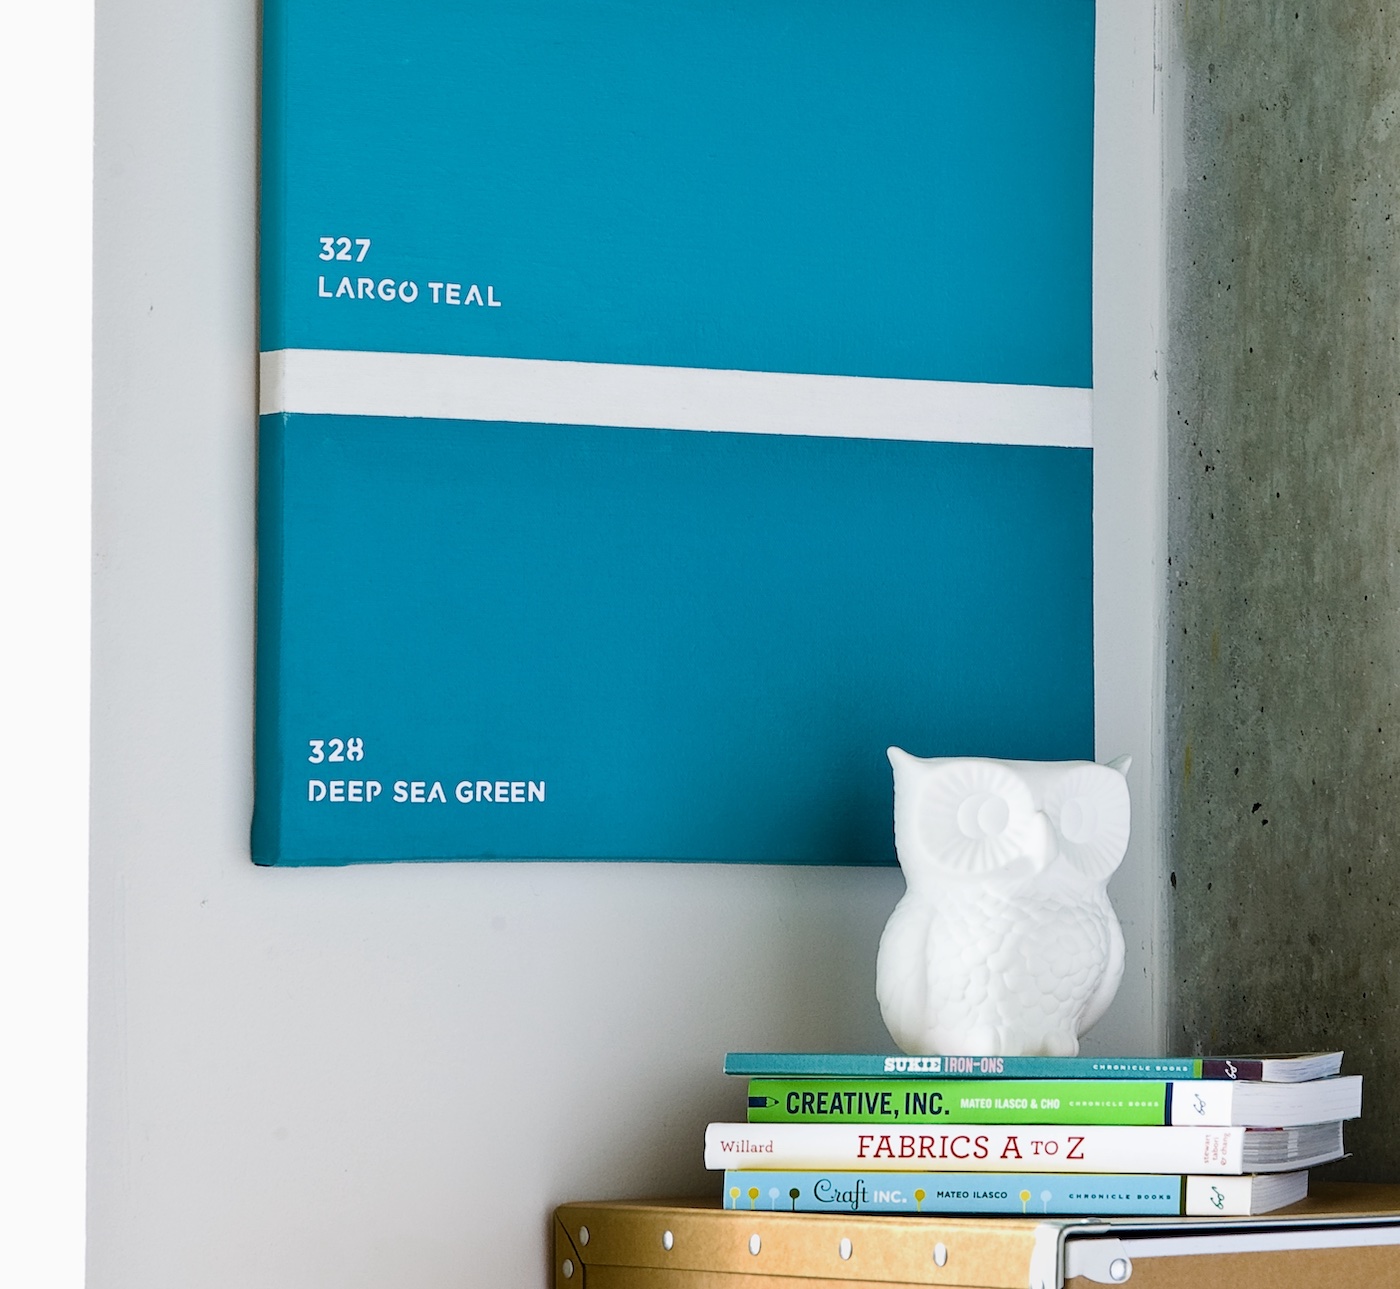
I was lucky that I already had some number and letter punches from Martha Stewart to make it a little easier on myself. If you don’t, I’ll make some alternate suggestions.
If you need paint chip art ASAP, which I know you do, learn how to make this canvas idea below.
Paint Chip Art
Gather These Supplies
- Rectangular canvas
- Mod Podge Satin
- Martha Stewart Alpha Punches and Number Punch
- Scrapbook paper, one sheet of white
- Acrylic paint – three bottles of one base color (I used Teal) and then a few bottles of white
- Four containers for mixing paint
- Painter’s tape
- Pencil
- Tape measure
- Paintbrushes
- Tweezers (optional)
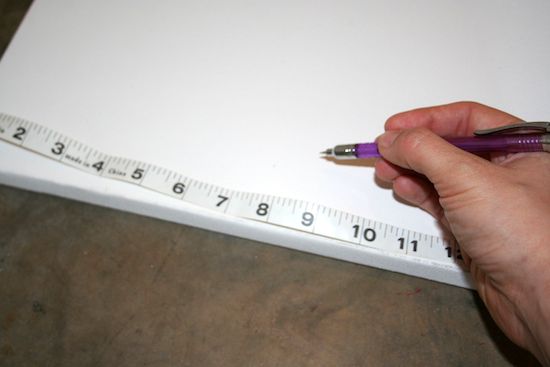
Measure your canvas and separate into four sections; mark with pencil.
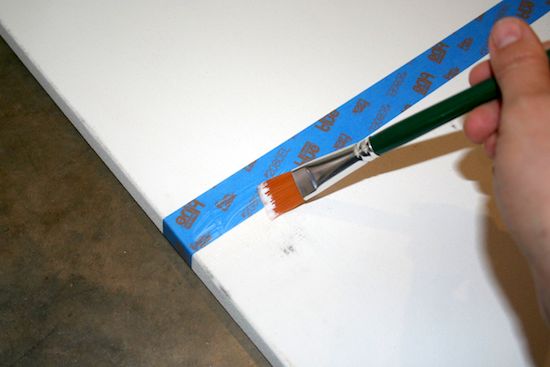
Tape at your marked areas with painter’s tape. Your canvas should have four “compartments.” You can seal the tape down with Mod Podge to prevent bleeding if you want.
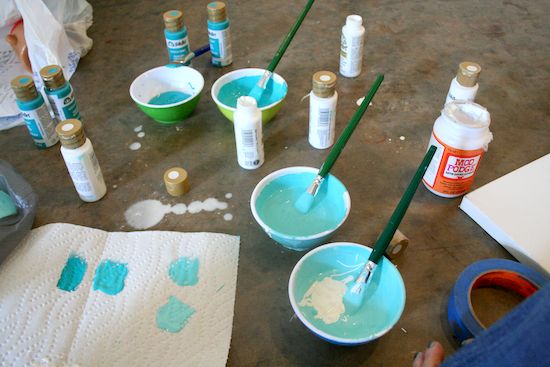
This is where it gets a little crazy, and as you can see I made a little bit of a mess. Don’t do what I did.
You just want to put a LITTLE bit of paint in each of four containers. One you will use straight out of the container, and each of the other three will get white.
One will get a little, the other a little more, and the last a lot more. Keep mixing and testing on paper towels until you are happy with the four colors.
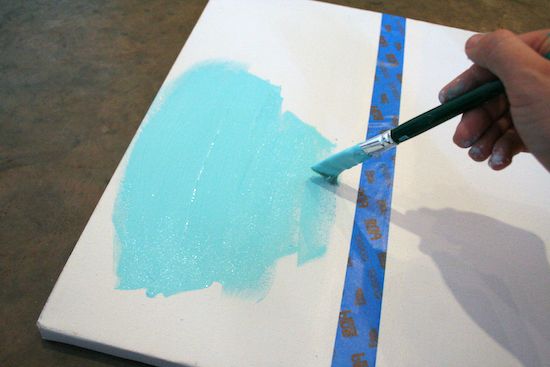
Once you are happy with your colors, paint the sections.
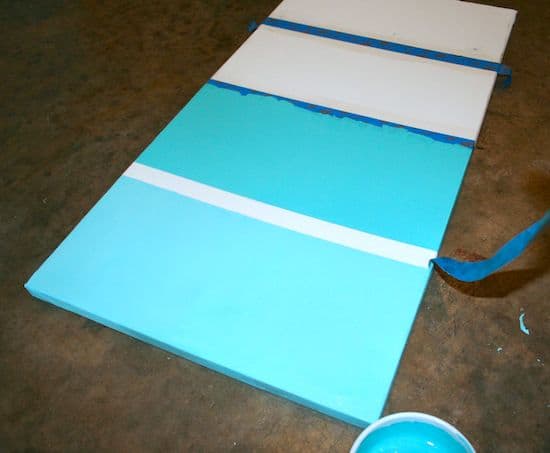
Peel up between each section so that the paint doesn’t dry on the tape. Let the paint sections dry.
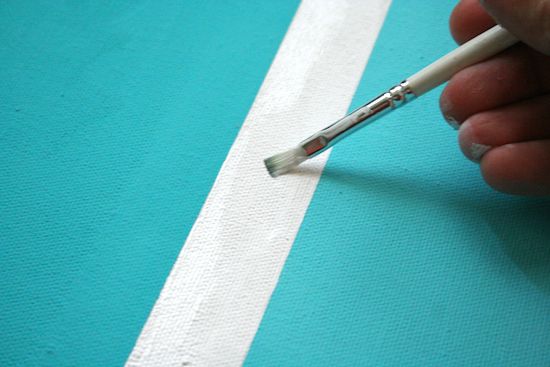
Then, if you need to, use a smaller brush to paint the strips in between the paint colors. You might not need to. I needed to because my canvas was dirty from rolling around in my trunk for so long (sad).
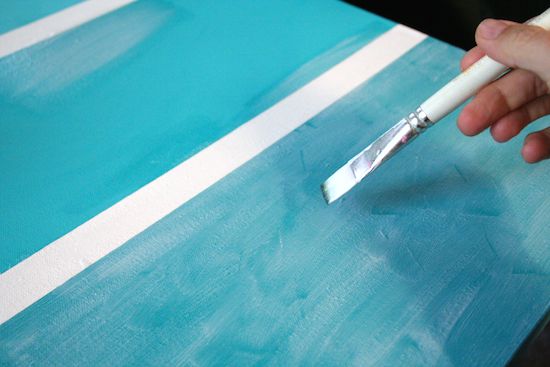
Then give your entire canvas a coat of Mod Podge Satin.
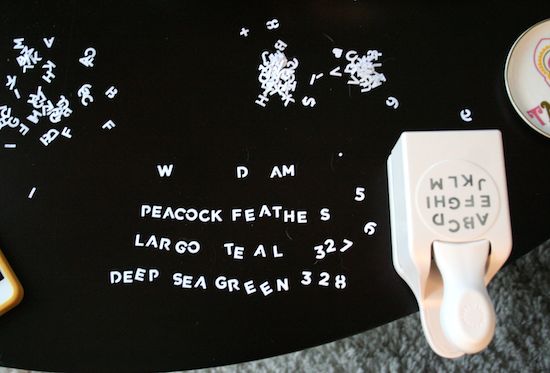
Use your punches to make paint names and numbers. If you need help with names, look at “real” paint chips to help you.
If you don’t have punches, you have a few options:
- write the names and numbers on using an oil based Sharpie (use white)
- print out the names onto paper and decoupage them on (though they won’t have a transparent background)
- purchase letter and number stickers in the size and font you like and adhere them to the canvas (you can Mod Podge over the top to make them secure)
- use clip art and detail scissors to cut out letters
- use paint and small letter/number stencils
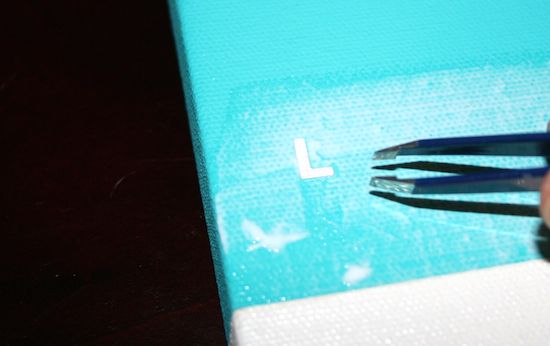
When your numbers and names are ready, apply Mod Podge to the canvas, then use tweezers to put them down in the right order. Unless you have a really steady hand, which I don’t. Let it dry and then paint the whole thing with Mod Podge again.

Hang and admire. You now have paint chip art hanging on the wall, and you didn’t even have to go into Home Depot, stuff them in your purse and make a run for it. Just kidding!
If you enjoyed making this canvas, I’d love for you to check out these other project ideas:



Love this! Very inventive.
Brenda
I absolutely adore this! Such a creative idea. Simple and bold.
totally cool! genius idea.
i love this!! pinning!!
Hi Amy
I l.o.v.e.your paint chip canvas! What a clever idea.