
It’s a lot easier to decoupage napkins to surfaces than you think! Learn how to do it with Mod Podge – tips, tricks, and a video included.
Are you ready to decoupage napkins? Some crafters think that decoupage with napkins can be difficult . . . and there is a learning curve.
But I’m here to tell you that if you have a little bit of patience and determination, you’ll learn to decoupage napkins in no time!
Why Decoupage Napkins?
- Napkins are inexpensive to purchase
- They come in beautiful designs
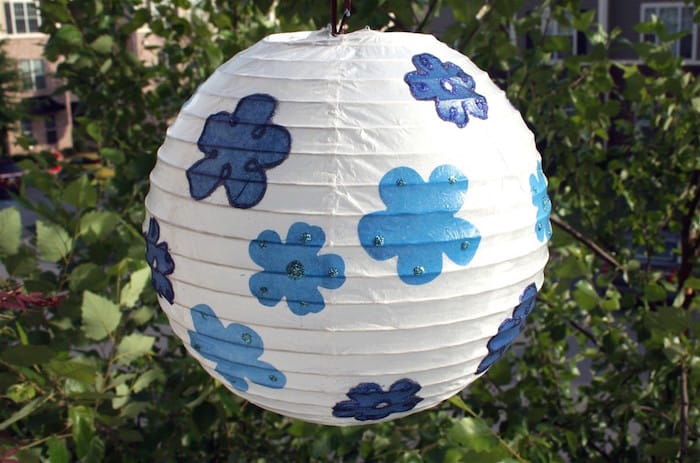
- You can achieve delicate projects that have a different look than scrapbook paper or fabric can provide
You can see the types of projects you can do in our article decoupage ideas with napkins. The results are truly beautiful and unlike any other medium!
Once you learn to decoupage with napkins, you’re going to be hooked! I want to share a bit of the process with you and some tips gathered from my Getting Crafty with Mod Podge group on Facebook.
- Separate the napkin layers before beginning. This means peel the (typically) white layer off the back of the front layer. You can gently rub the layers together to separate or use a piece of Scotch tape in one corner and pull.
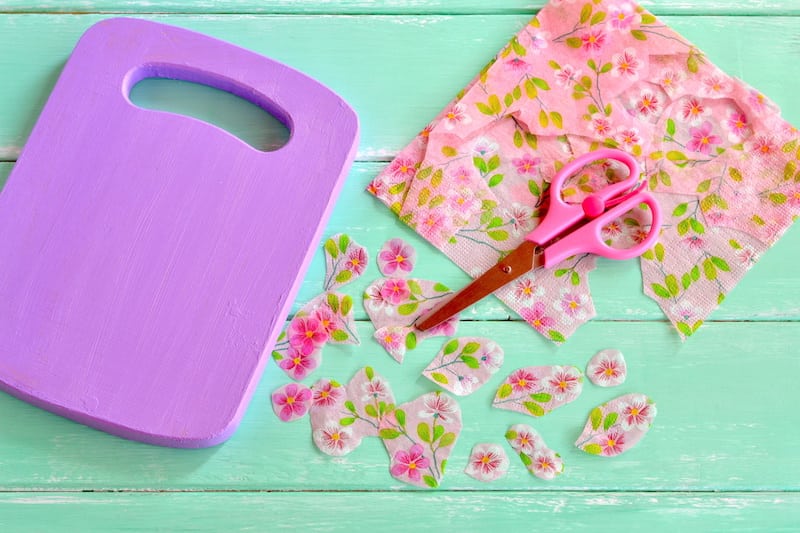
- You can cut or tear your images. The way to tear them is to use a detail brush, dip it in water, and trace around the part of the image that you want to save. The napkin will easily pull away.
- Place Mod Podge on the surface of the item and then place the napkin (or portion of napkin design) down on top. Use a piece of plastic wrap on top to smooth the image. This will help you smooth the napkin down without tearing. Work on smoothing from the middle out.
- Alternatively, some use hair spray on their napkins before decoupage. Spray with several coats of hair spray, let dry, and then Mod Podge your napkin as usual.
- Pressure of your brush is crucial. Don’t be light as you’re just weakening the napkin, and don’t be rough as you will tear your napkin. Practice and patience are key!
- Always do a light sanding and varnishing at the end of your project. Sand until it is smooth.
One of my favorite alternate methods for decoupaging napkins to tile coasters comes from Pat Rhoads in the Facebook group: “If putting a napkin on a tile coaster, put down Mod Podge, wait for it to dry and iron the napkin on. Will be wrinkle free!”
Pat uses teflon sheets between the napkins and the iron, but suggests you could also use parchment paper or a thin towel instead.

Decoupage Napkins
Equipment
Materials
- Decorative paper napkin(s)
- Mod Podge
- Scotch tape
Instructions
- Separate the napkin layers before beginning. This means peel the (typically) white layer off the back of the front layer. You can gently rub the layers together to separate or use a piece of Scotch tape in one corner and pull.
- You can cut or tear your images. The way to tear them is to use a detail brush, dip it in water, and trace around the part of the image that you want to save. The napkin will easily pull away.
- Place Mod Podge on the surface of the item and then place the napkin (or portion of napkin design) down on top. Use a piece of plastic wrap on top to smooth the image. This will help you smooth the napkin down without tearing. Work on smoothing from the middle out.
- Alternatively, some use hair spray on their napkins before decoupage. Spray with several coats of hair spray, let dry, and then Mod Podge your napkin as usual.
- Pressure of your brush is crucial. Don’t be light as you’re just weakening the napkin, and don’t be rough as you will tear your napkin. Practice and patience are key!
- Always do a light sanding and varnishing at the end of your project. Sand until it is smooth.
Are you ready to decoupage napkins? Check out the videos below!
These are crafters’ favorite places to buy napkins for decoupage:
What questions or tips do you have in regard to napkin decoupage? Let me know in the comments!


I just decoupaged napkins in a wooden tray. They look good but don’t I need to put a coat of mod Podge over them now to make them waterproof??
Hi PJ! I’ve got a post for you with all the info: https://modpodgerocksblog.com/is-mod-podge-waterproof/
I love tissue paper with so many designs and colors. BUT I’m giving up it seems like my work always looks sloppy and bubbly. Rrrrrrr 😞
Tissue paper is harder for sure! Takes some practice! I recommend trying the iron on method. Check out YouTube!
@Amy, I use a glue stick with tissue paper, I have a ton of the purple dries clear Elmer’s glue sticks, those are the best and I just swipe it across a couple times put an inch or two of the tissue paper, then I swipe another couple swipes, put a little more of the tissue paper down and I keep doing that until I’m done, and then I’ll take parchment paper and heat up my tiny little $13 Walmart iron that’s amazing and get all the wrinkles out if there are any, but if you do a little at a time with a glue stick it’ll be much easier. If my surface isn’t flat like a coffee can then I have to use mod podge but I do the same thing an inch or two at a time later napkin down, repeat until the napkin is fully down, and I haven’t had any wrinkles in any of my coffee cans.
How do you prevent wrinkles on a oval object. Egg or ball??
I cut darts in curved areas like you would on a garment. Basically cutting a triangle shape and then joining those two lines. If there is a pattern it won’t be perfect but it will look better than wrinkles.
New to decoupage. Thanks for making it easy to follow.
My pleasure!
@Amy, would the pot be water proof so you can put it outside?
I love your videos! I loved the top with the seran wrap. Thank you.
Great video, to the point and with great tips
I was wondering if you knew if Modge Podge Stiffy was sold by the gallon and if so where?
It’s not available in stores that way so you’ll have to contact Plaid for larger quantities! https://plaidonline.com/about/contact
Oh this is lovely! never thought to use napkins
I’ve done this project in the past and loved it. Guess I begin doing napkin decoupage again, it’s fun and easy.
What you should say here is “How to decoupage WITH napkins”. You are not decoupaging the napkins, you’re using them to decoupage.
I name things based on what people are searching for – they are searching for how to decoupage napkins (on X, Y, Z) so there you go. My articles are meant as resources and named accordingly. Thanks for the suggestion!
@Amy, I found it easily just the way you had it – thank you! ☺️
My pleasure!
@Jac, very rude