Don’t throw those small fabric scraps away from other projects – use them to make a DIY fabric scrap necklace! This is such an easy jewelry idea that is so fun. It’s great for group crafting.
Skills Required: Beginner. You’ll be painting a wood pendant, applying fabric with Mod Podge, then adding embellishments.
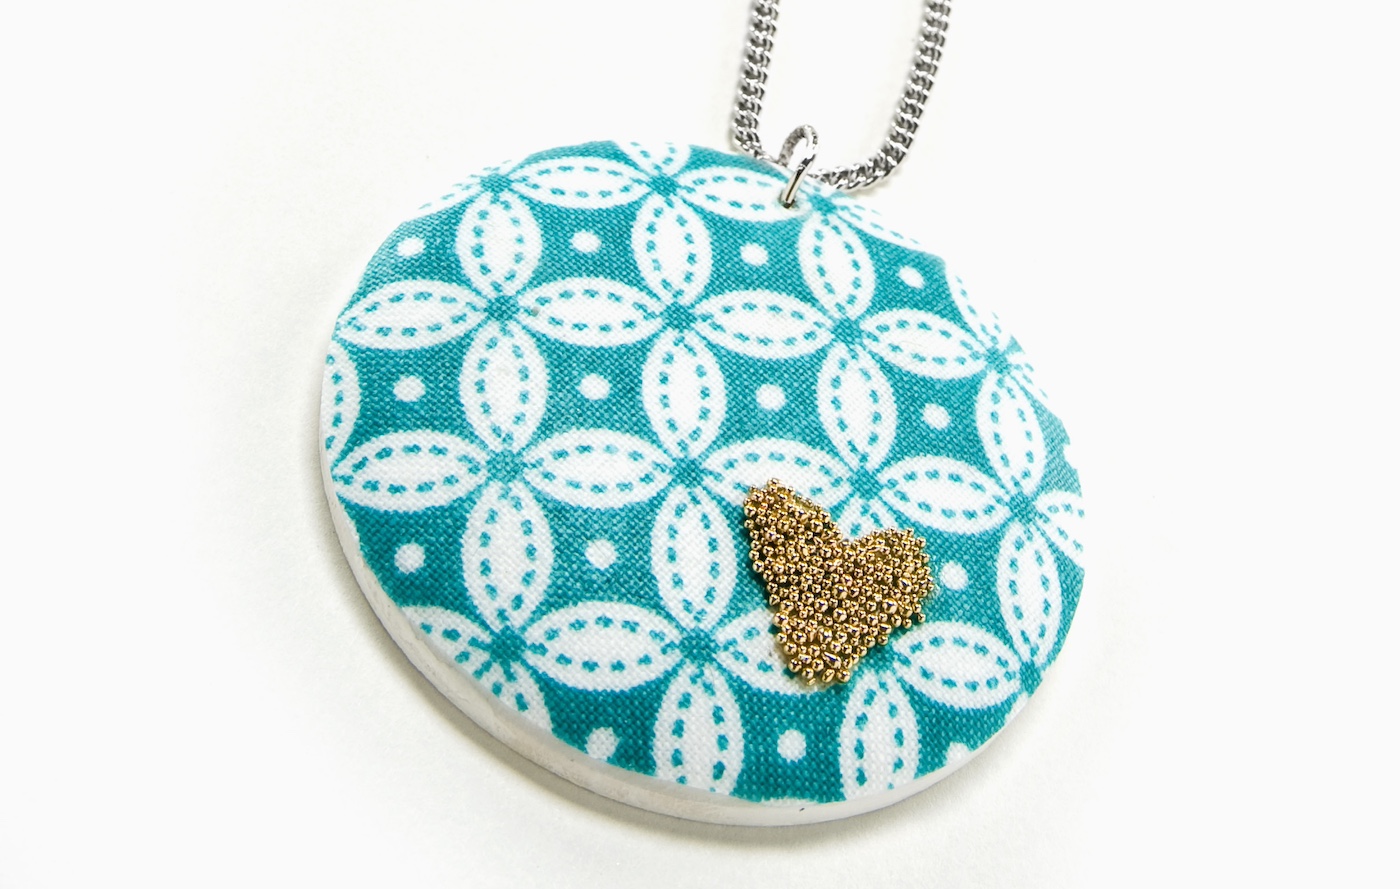
In the cozy corners of our craft room, where fabric scraps lie forgotten and Mod Podge eagerly awaits its next adventure, lies the potential for something truly special.
Today, I’m excited to share with you a jewelry project that I did recently: a fabric scrap necklace that’s not only stylish but also incredibly easy to make. I’m excited to finally have a use for those small bits leftover from sewing projects and other decoupage adventures.
And as far as embellishments? I’ve always had a soft spot for microbeads. Their versatility has brought life to many of my projects, from simple bangles to more intricate pieces. It was this fascination that led me to combine them with fabric scraps, aiming for a unique blend of textures and colors.
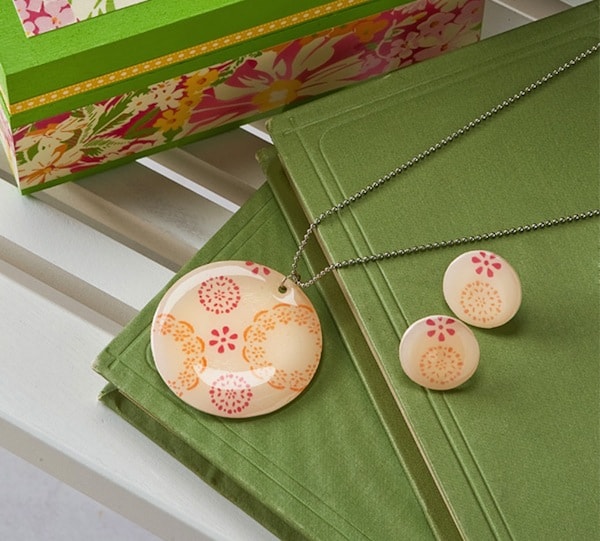
The result? A beautiful DIY necklace that pairs aqua and gold in an unexpected but perfectly harmonious way.
With just a few supplies – a wood pendant, some Mod Podge, microbeads, and those leftover bits of fabric – you can create something truly unique.
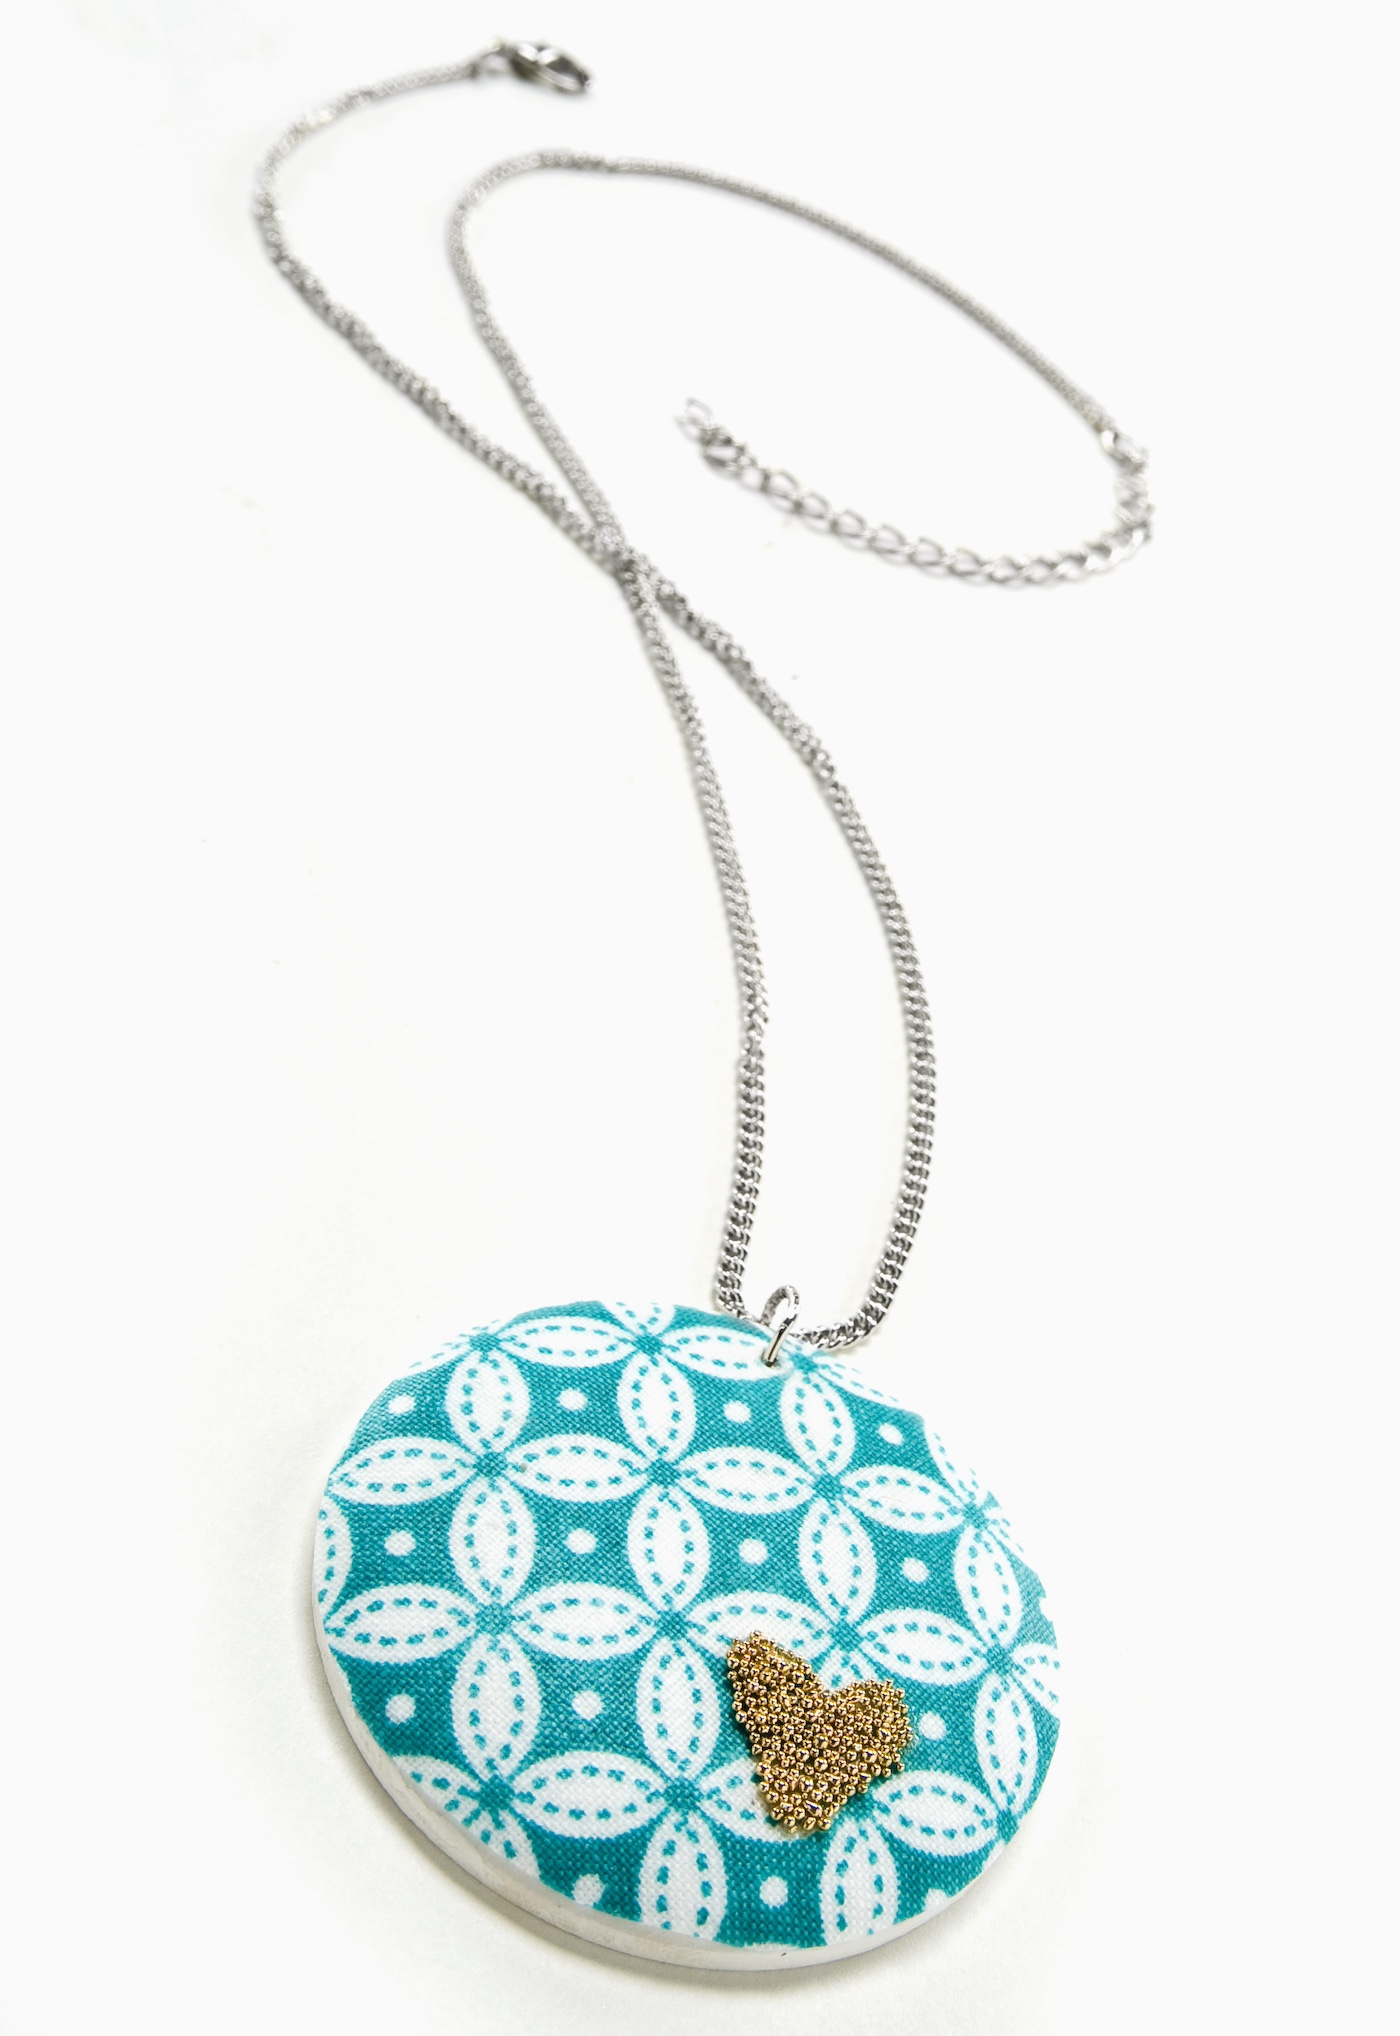
It’s an easy, enjoyable craft that not only adds a touch of handmade charm to your wardrobe but also breathes new life into those fabric remnants you’ve been holding onto.
Whether you’re making a gift for a friend or a little something for yourself, the satisfaction of seeing your fabric scraps transformed into a chic necklace is unmatched. And the best part? It’s so easy, you’ll find yourself dreaming up all sorts of variations to add to your jewelry collection.
So, if you’re ready to dive into your fabric stash and begin making a beautiful new accessory, this tutorial is for you. Grab your Mod Podge, your scissors, and let’s get started on this fun craft.
Whether you’re a seasoned crafter or a DIY newbie, this project is a delightful way to spend an afternoon, resulting in a piece of jewelry that’s as unique as you are. First, here’s what you’re going to need.
Gather These Supplies
- 2″ wood pendant base – or other wood circle, or you can also use metal
- Craft paint
- Mod Podge Matte
- Microbeads
- Fabric scrap larger than the pendant
- Craft glue
- Paintbrush
- Scissors
- Push pin or sharp object
- Silver findings to make a necklace – jump ring and chain
- Jewelry pliers
- Wax paper
Tips and Thoughts for This Project
You don’t need to use Fabric Mod Podge because it’s a piece of jewelry (though if that’s all you have, you can use it). The fabric formula is generally meant for fabric to fabric applications so it can be washable.
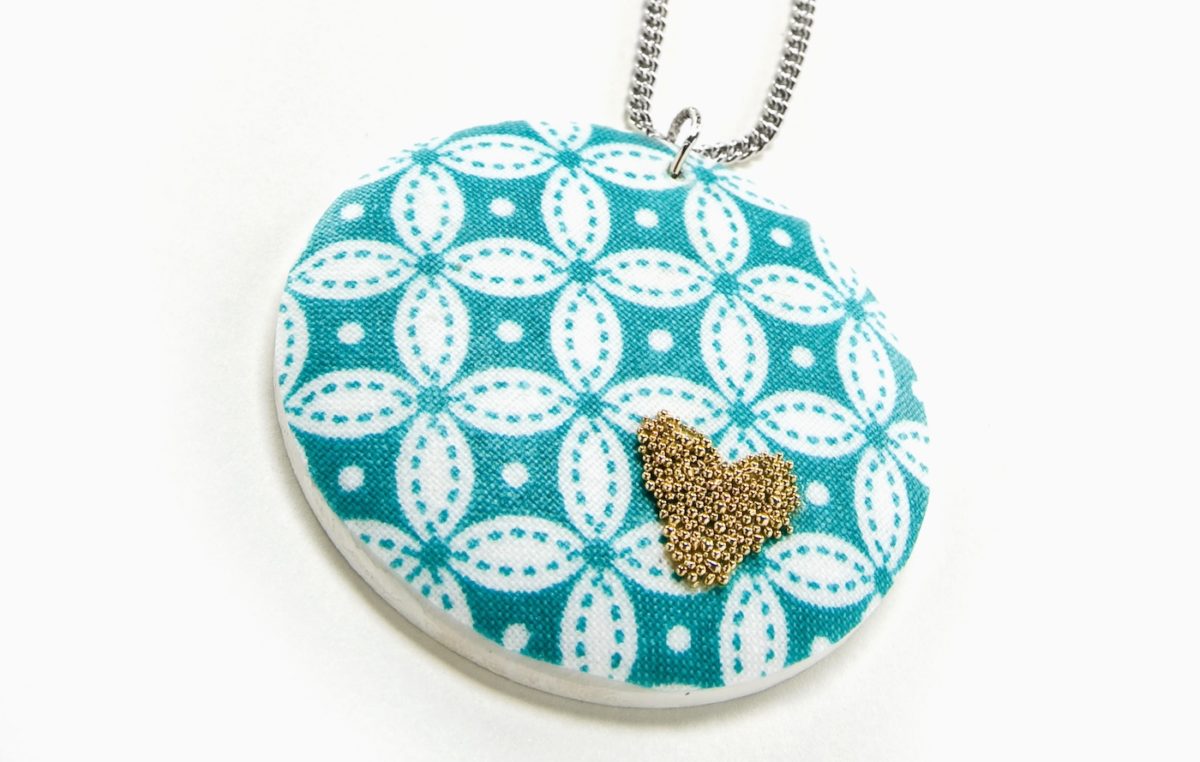
Get the printable how to card for this project below:
Fabric Scrap Necklace
Equipment
- Push pin or sharp object
- Jewelry pliers
Materials
- 1 2" wood pendant basel
- Craft paint
- Mod Podge Matte
- Microbeads
- Fabric scrap larger than the pendant
- Craft glue
- Silver findings to make a necklace – jump ring and chain
- Wax paper
Instructions
- Paint the pendant with white on both sides. Give it several coats and let it dry.
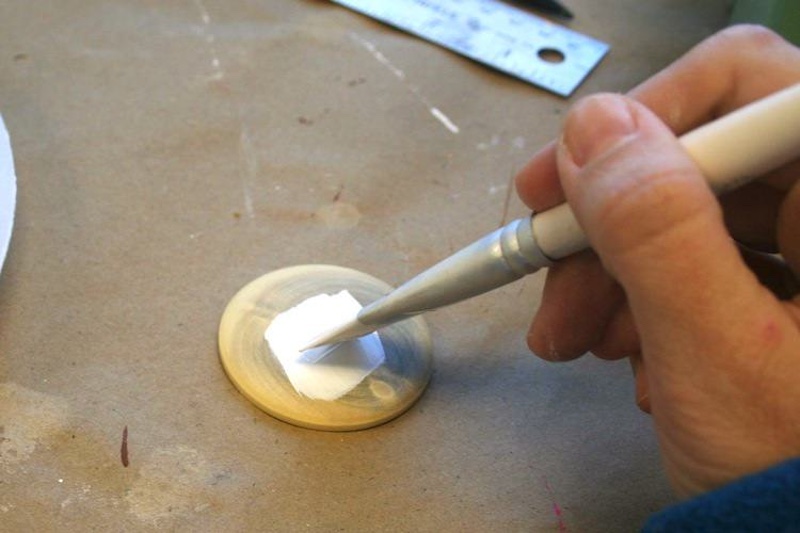
- While your pendant is drying, coat your fabric with Mod Podge on top of a piece of wax paper. The reason for this is so that when you cut it, the edges won't fray. Let dry.
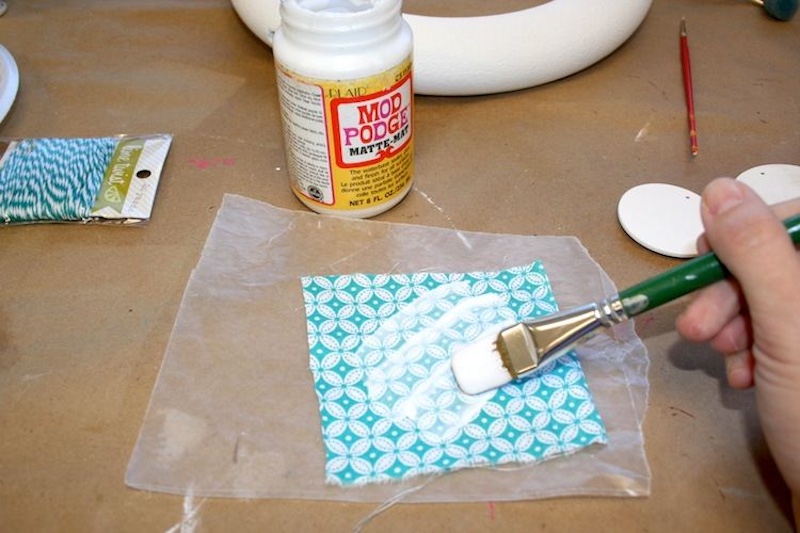
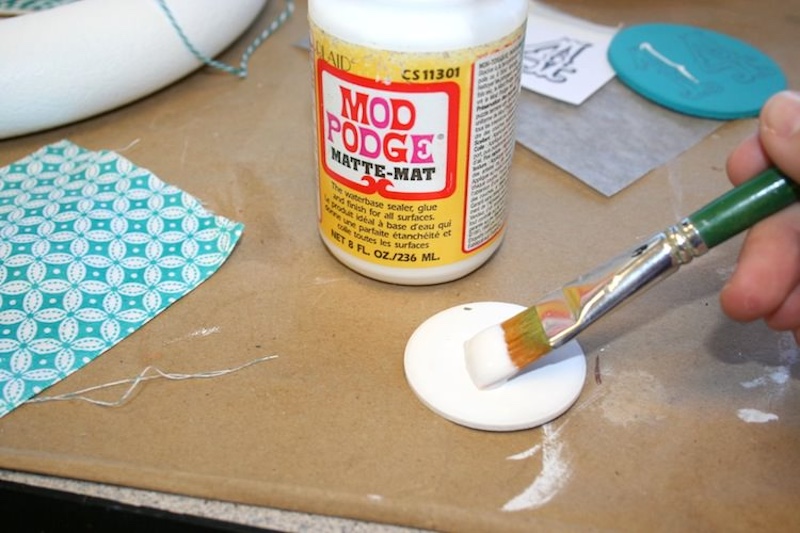
- Paint Mod Podge on top of your pendant,. Make sure it's a medium coat.
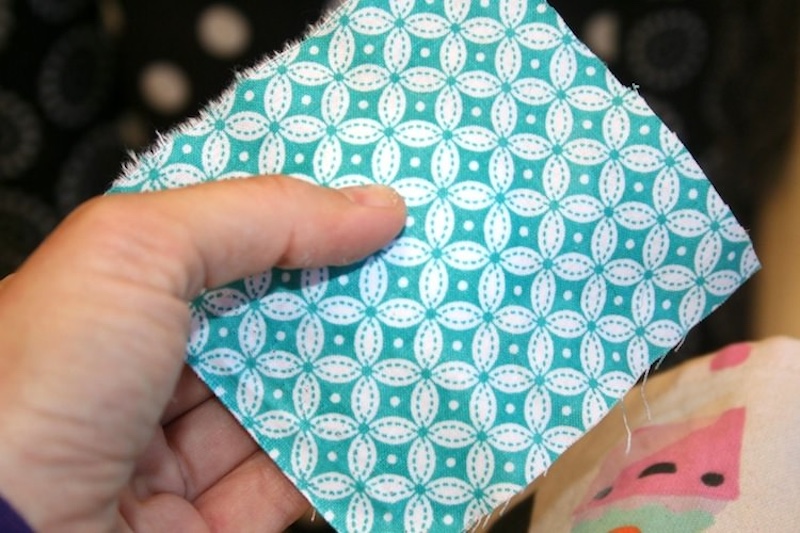
- Smooth the fabric down over the pendant. Keep smoothing until fabric is down on the entire pendant. If Mod Podge comes out the sides, just wipe it away with your paintbrush. Let it dry.
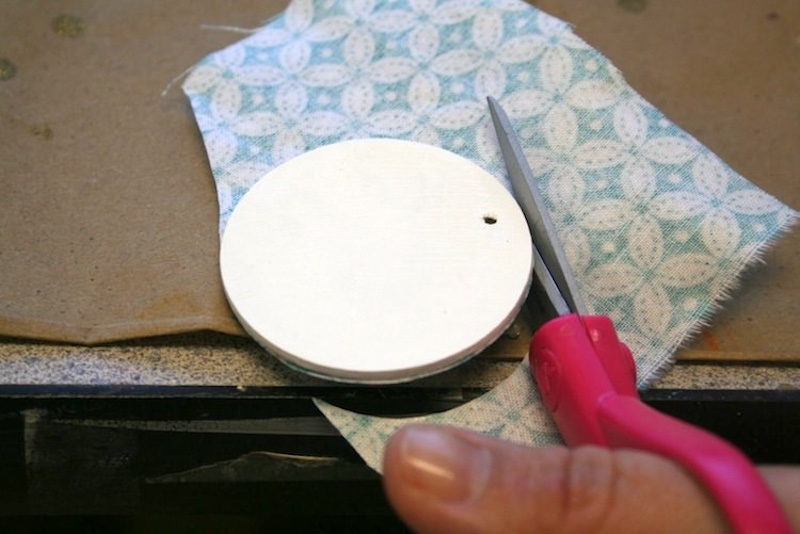
- Cut the fabric off very closely around the pendant. If some of the edges are coming up, just reapplying the Mod Podge, smooth down and let it dry.
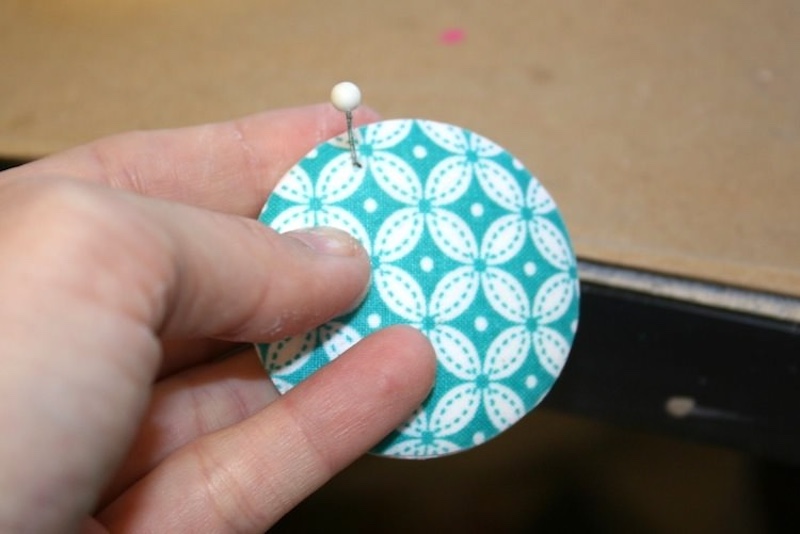
- Use a pin to push through the pendant hole. and move it around to make it wider.
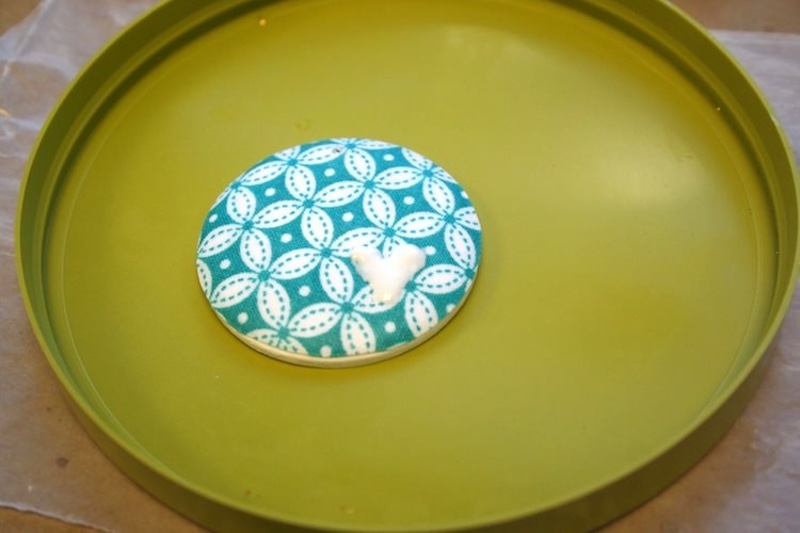
- Place your pendant in an area where you can catch the microbeads and then make a little craft glue heart (I did it freehand).
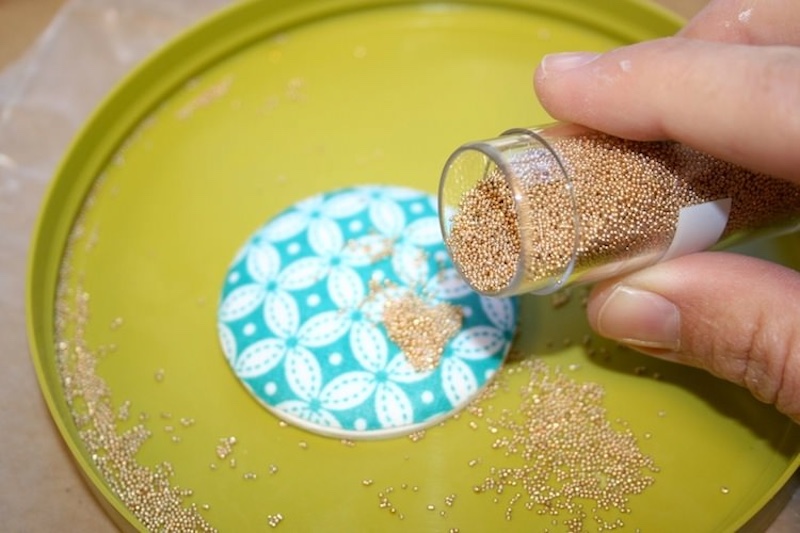
- Sprinkle the microbeads onto the glue. Let the glue dry for several hours and then tap off the excess microbeads. Add the findings to finish.
A gift? Perhaps. But definitely make this scrap fabric necklace for yourself. Let me know what you think in the comments! You should also check out these other projects:



So cute, Amy! I do love the gold and aqua together – a very different feel from the traditional turquoise and silver!
Love the color! Thanks for the fabric fraying tip too. I’ve never seen the microbeads. They look so fun. Great project!
Very cute Amy! I love those Microbeads too! I bought her foil flakes glitter when it was on clearance…its a little bit harder to work with, but still fun!
Can’t wait to upgrade to microbeads sometime soon!
I agree! Aqua and gold looks great together! Sorry, this might sound like spam but could I be able to show this on my blog? I promise I’ll link back to give you full credit. I’ll only be using ONE photo.
If that’s alright with you, please contact me here:
lucyexpresscontact [at] yahoo [dot] com
Thank you very much! Please contact me by February 15 back with a link to this post so I’ll know which post I contacted you about.
Hi Amy great to see you on Craft Schooling Sunday, thanks so much for stopping by! Love the pendant and those micro beads look great! All the best! xoxoxo Sara
Very pretty! Blessings!
Amy, this is so cute! I’ve loved reading your Turquoise series… great ideas and great tutorials!
This is gorgeous & thanks for the tutorial 🙂
That is so cute Amy. I love the unexpected blue color with the heart. Love.
xoxox
Jen
Super cute! I love easy and fun DIY jewelry projects. I definitely have to try this!
An easy unique piece!! I just love it! The fabric is to die for!!
Come check out my blog too 🙂 I have a linky party and a big giveaway going on 🙂
http://thediydreamer.blogspot.com/
OH this is SO cute! Those microbeads are super fun. Thanks so much for sharing!!!
Okay, this seriously rocks! Love the fabric you chose and the micro beads. Definitely going to have to give this a shot!
I’d LOVE it if you’d share this at Feature Friday FREE-FOR-ALL…going on right now!
http://www.fivedaysfiveways.com/2012/02/feature-friday-free-for-all-7.html
Hope to see you soon!
P.S. I’m a new follower. : )
~Abbie
This is adorable! I love the gold and blue together! We would love you to come share this at our weekly link party every Saturday! -The Sisters
https://www.sixsistersstuff.com/
love this cute necklace Amy. I am going to have to get some of those micro beads. They look so cool.
Love this necklace Amy. I love it so much I made one for my blog post today! I made sure to give your book a big old shout out too. 🙂 Thanks so much for the awesome project idea. I can’t wait to make 5 more!
http://whitelightsonwednesday.blogspot.com/2012/06/mildly-crafty-monday-fabric-pendant.html
I love this! What a cute little necklace. 🙂
i agree with you… 😀 awesome lens… thanks for share..
I am really excited about this! I saw a necklace with a piece of her wedding dress. Do you think this technique would work with lace?
Hi Xan! Yes, I think so. I would paint white beneath it (or a similar color to the lace).
So cute! Having trouble locating the wood pendant base on that site. Is it possible they stopped carrying them?
Hi Jennifer! It’s possible – I’d hit the local craft store because they’ll have something similar – or Etsy!
love this little piece. Does any body know where i can get the 2 in disk with the hole in it. i tried DIY bangle. Perhaps i over looked it. Thanks.
Hi Sparkle! Here it is (I had to dig a bit :D)
Thanks!
http://www.diybangles.com/buy/disc-coin-2-pendant-base-10-pcs-dome.html
Just stumbled onto this yesterday, and linked it on my blog!
Thanks for such a creative use of fabric.
<3 — PinkSodaPop