Get creative with emoji rocks! This easy painting craft is perfect for kids, beginners, and anyone who wants to turn their feelings into fun garden art.

Let’s face it. Sometimes your garden (or windowsill or bookshelf or desk) needs just a little extra. A touch more sass. A pop of emotion. A painted yellow face with heart eyes, perhaps?
Enter: emoji rocks.
These easy-to-make painted stones are basically the mood ring of crafts, and they’re here to say everything you’re feeling. Without saying a word.
Feeling silly? 😂 Happy? 😄 Slightly overwhelmed but still cute? 😵💫 There’s an emoji for that, and now there’s a rock for it too.

I love this project for so many reasons:
✔️ It’s beginner-friendly (like, truly . . . even if your emoji ends up looking more like a potato, it’s still adorable)
✔️ It’s budget-friendly (use leftover paints and those rocks you collected and meant to do something with)
✔️ It’s perfect for both kids and adults
✔️ It makes a great gift or surprise drop in a neighbor’s garden
Plus, painting tiny faces is weirdly therapeutic. There’s something about outlining a perfect smiley face emoji that just makes the world feel okay again.

So grab your supplies, pick your favorite faces, and let’s bring some digital expressions into the real world – one painted rock at a time.
Ready to get crafty with your feelings? Let’s go! You’ll need:
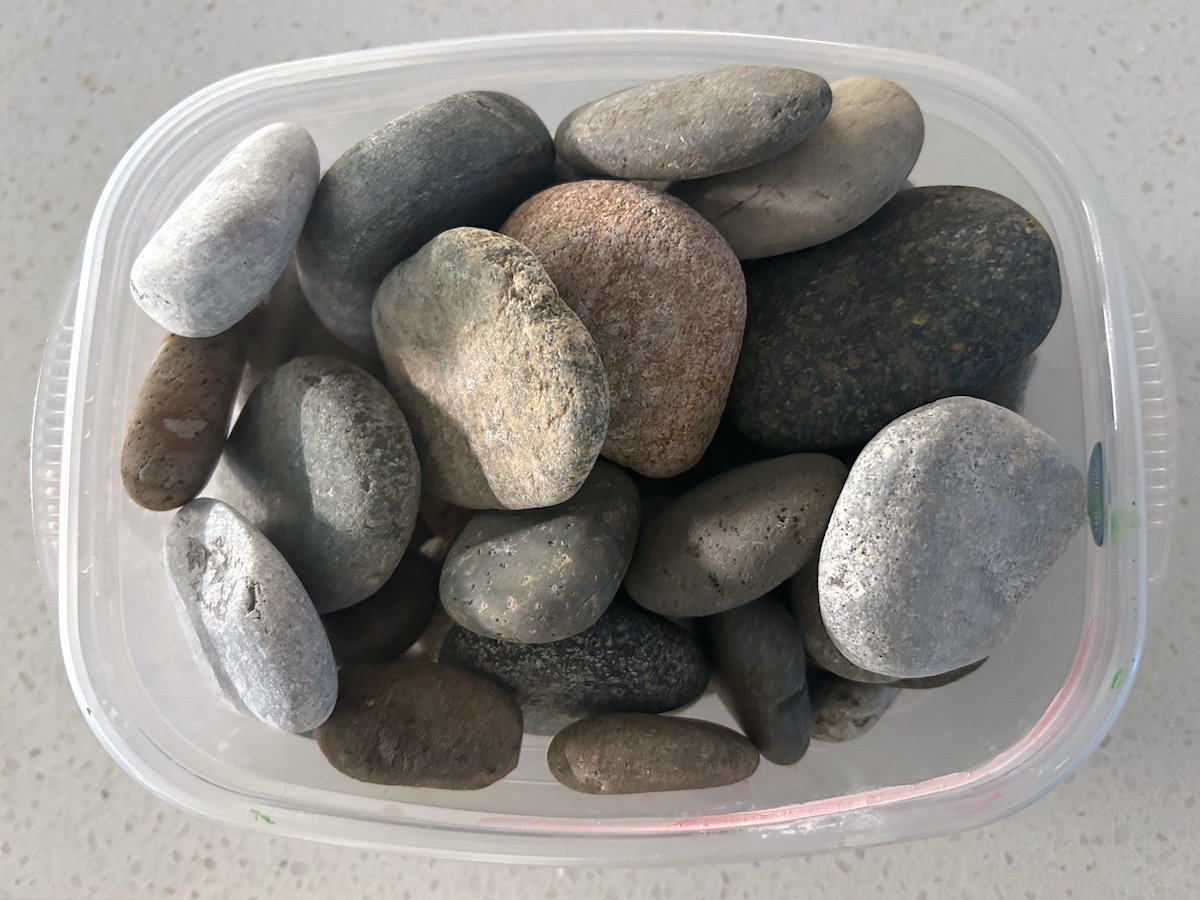
- Smooth, flat rocks (smaller than palm-sized are best)
- Acrylic paint (yellow base + any accent colors)
- Paint pens (Posca are by favorite my favorite brand)
- Sealer (Mod Podge Outdoor or Mod Podge Gloss/Matte/Satin for indoor)
- A pencil (optional, to sketch your emoji outlines)
Pro tip: Start with classic yellow smileys, then move on to niche favorites like the wink 😉 or even the poop emoji 💩 (yes, really – kids love it).
Get the printable how to card below!

Emoji Painted Rocks
Equipment
Materials
- 1 can Spray primer white
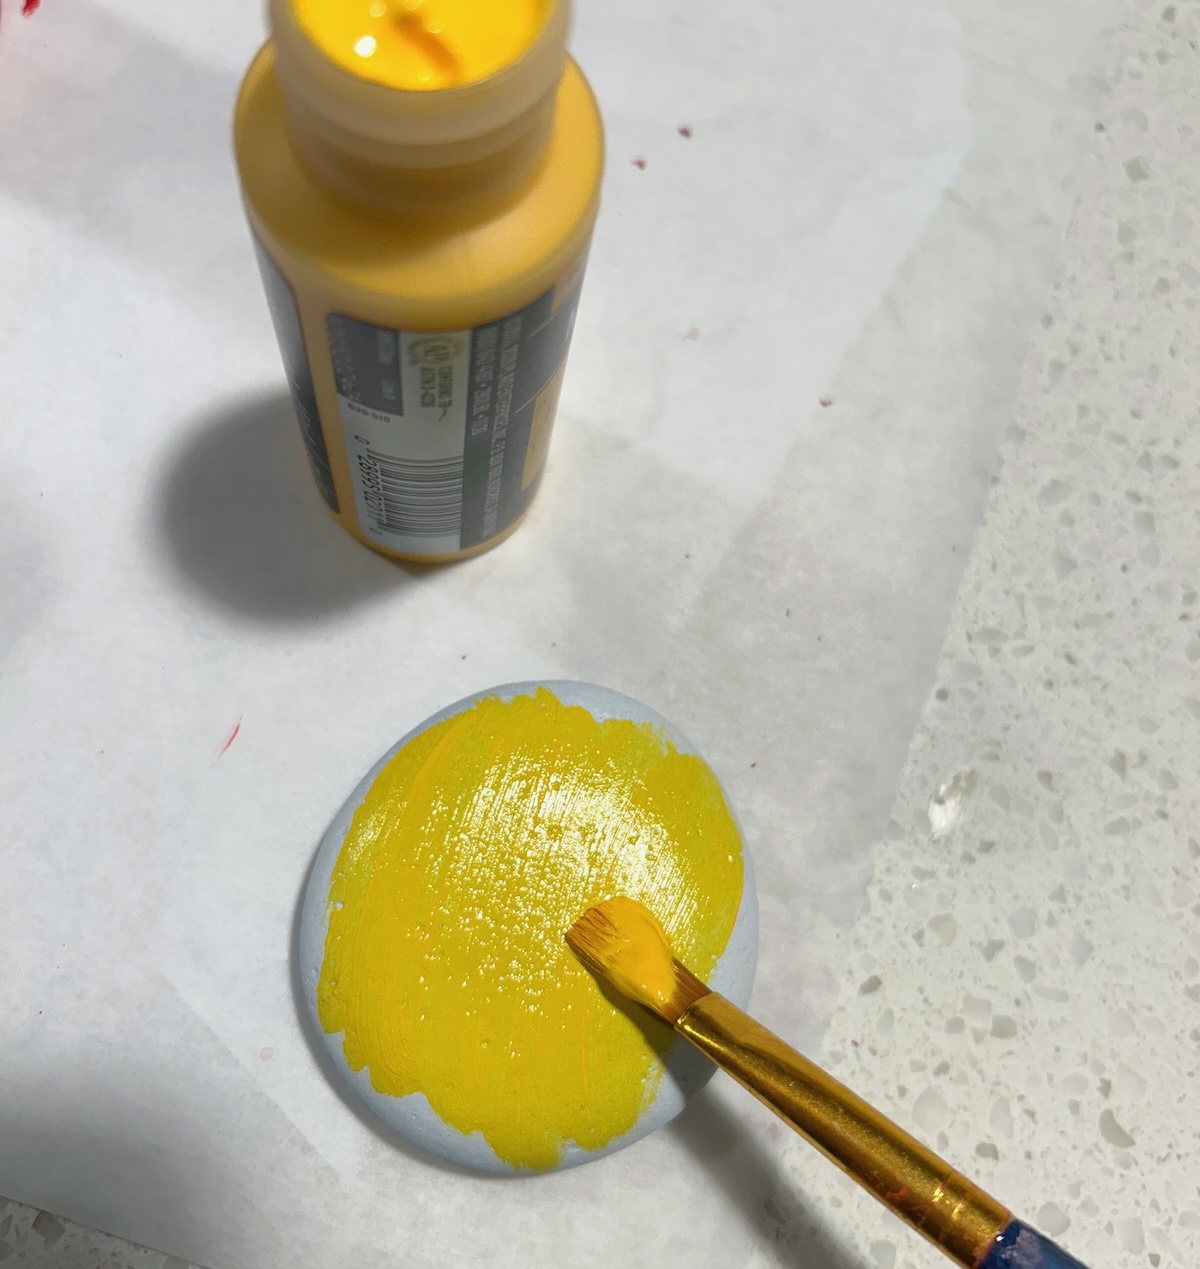
- Acrylic paint various shades of yellow
- Paint pen(s) red, white, black, blue
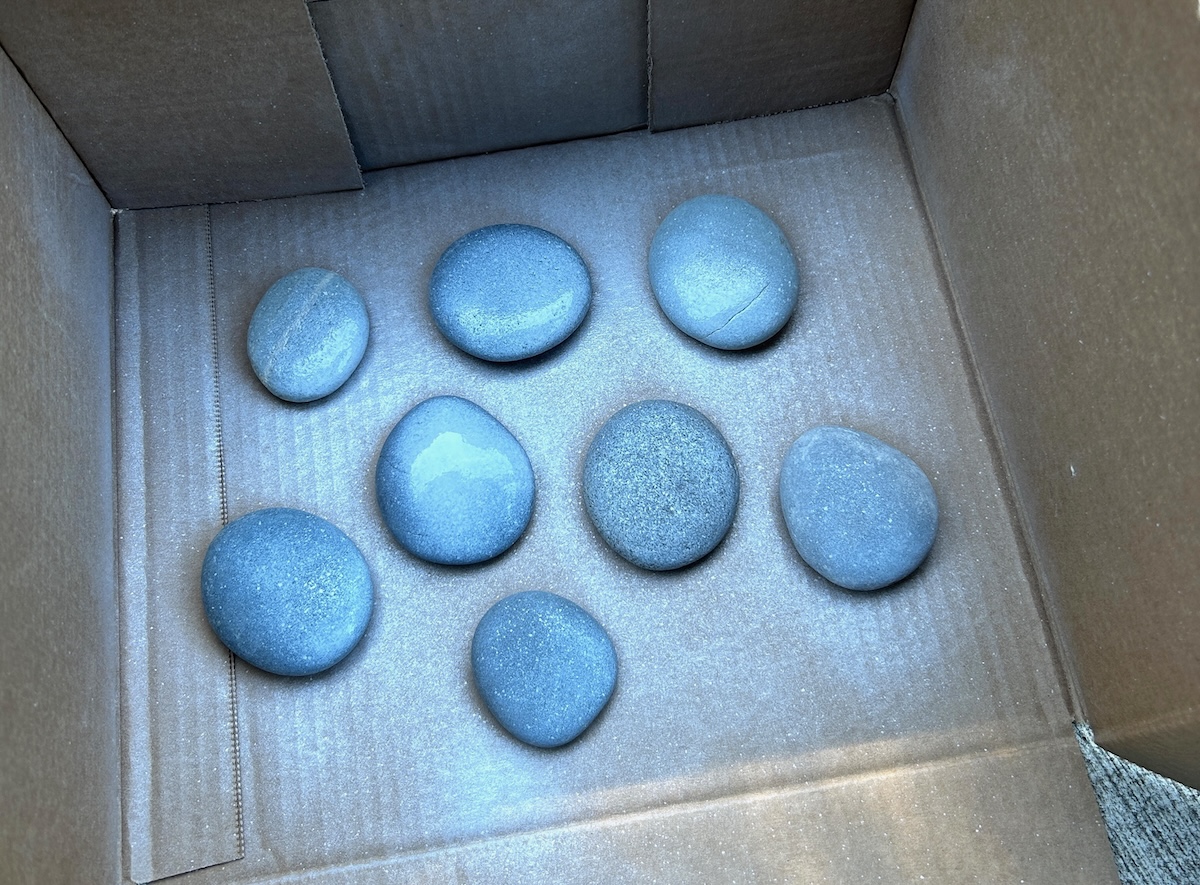
- 8 Rocks medium, round
Instructions
- Wash the rocks using mild soap and water to remove dirt. Let dry.
- Spray paint the rocks with white spray primer. Give several coats and let dry.
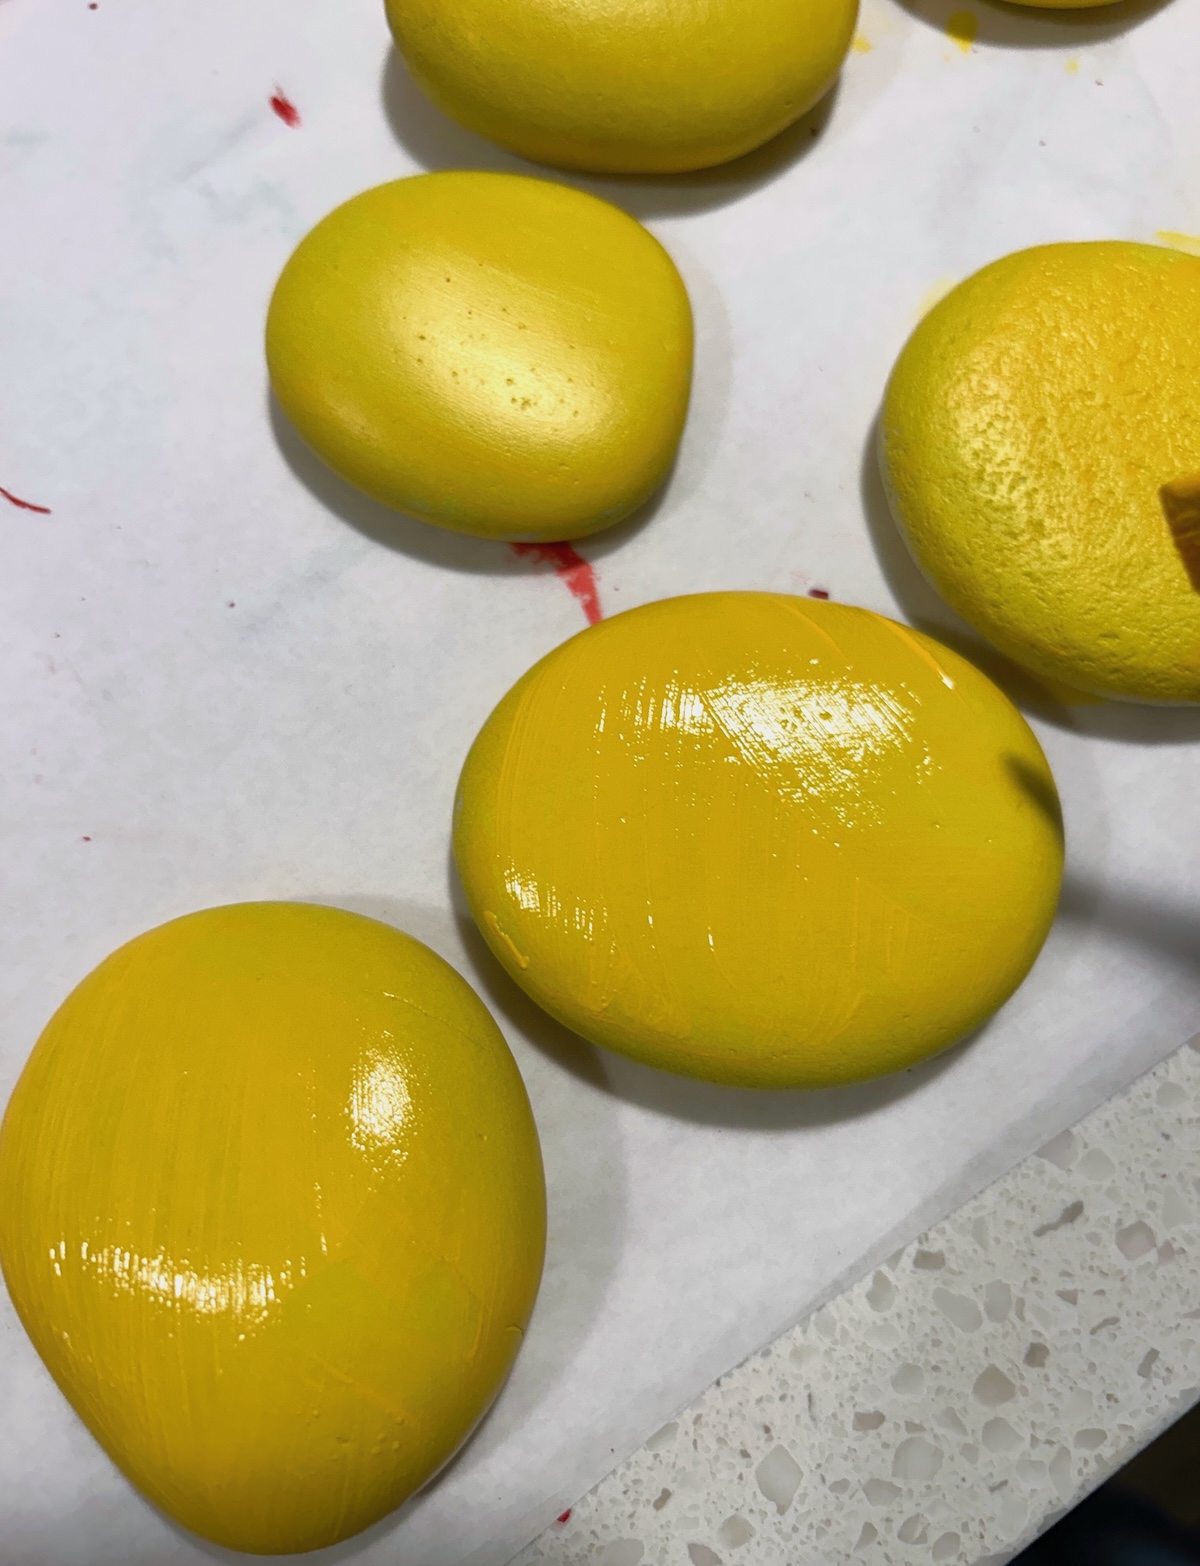
- Paint the rocks with a coat of yellow and let dry. Don't forget to get the sides a little.
- Flip over and paint on the other side. Keep repeating this process of painting each side until the rocks are covered. Let dry.
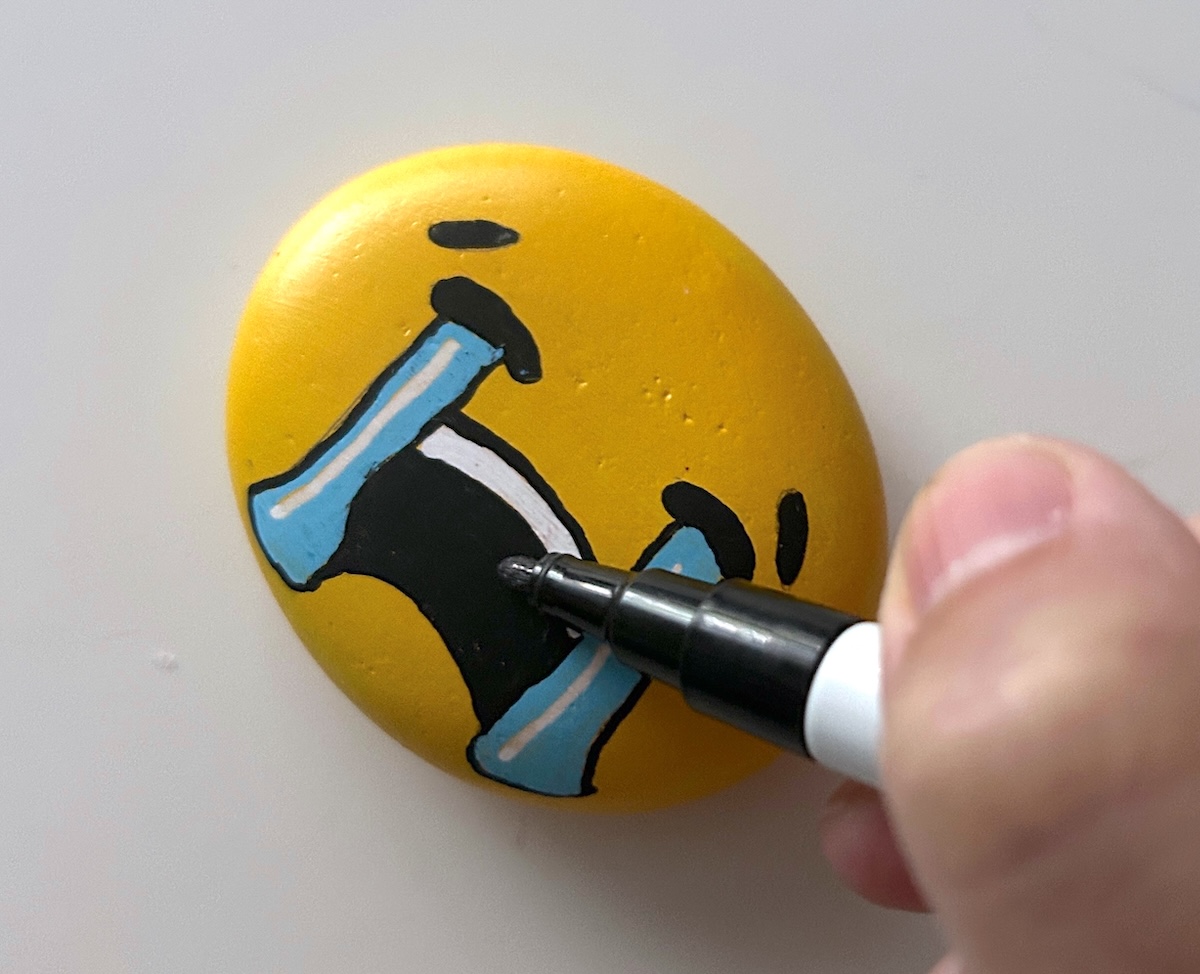
- Draw details on the rocks with paint pens. Begin with a pencil, and get your design sketched out. Then trace the corresponding area with paint pens and color in.
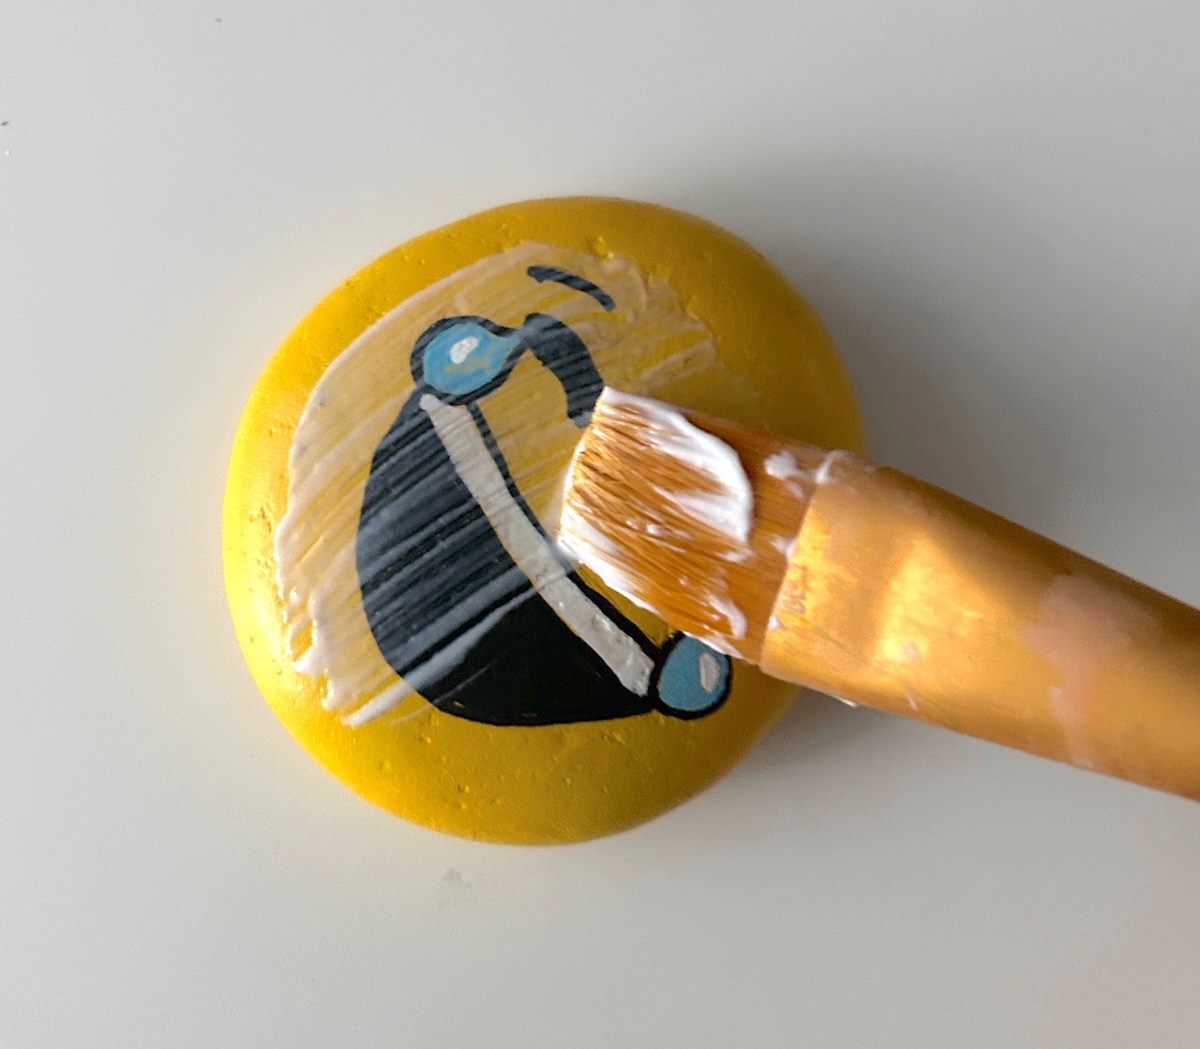
- Seal with several coats of Mod Podge and let dry completely before displaying in your home or garden.
Notes
Did you enjoy this fun painting project? Let me know in the comments! I’d also love for you to check out these other painted rocks:
Easter • Halloween • Ladybug • Strawberries