
Use your favorite patterns of Duck Tape to make these easy backpack charms. Kids will love assembling these in a matter of minutes!
Skills Required: None. These are easy enough for anyone to try. You’ll be cutting tape and stringing beads. It’s no mess, which is nice.

So, I’ve got an obsessed my friends. I’m officially a hoarder of Duck Tape. Yep, I’m one of those people that sees a roll, loves it, and buys it. My collection is a huge plastic tub of patterns and colors, and I use it whenever I can.
And that means anything from crafts to shipping to home repairs. I still want a pretty pattern, even if I’m taping pipes you don’t often see! Recently Duck Tape sent me some of their newest patterns and challenged me to do a back-to-school project.
Well . . . I actually had something in my mind that I’ve wanted to do for a long time, and finally got inspired by their tapes to do it! I combined some of the new patterns with what I had in my stash, and what resulted? Cute backpack charms!

This is such an easy craft for kids that they can make their own charms to match their school backpack and accessories, which they’ll love to do. I think it would be a great craft for teens or tweens as well. Here’s how I made them.

Gather These Supplies
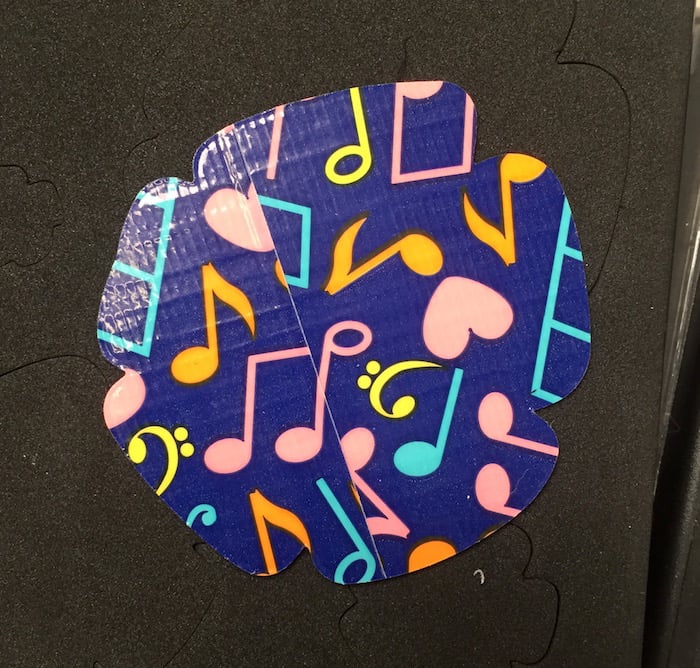
- Duck Tape – the patterns of your choice, but I used Musical Notes, Whale of a Time, S’mores Please, and Blue Chevron
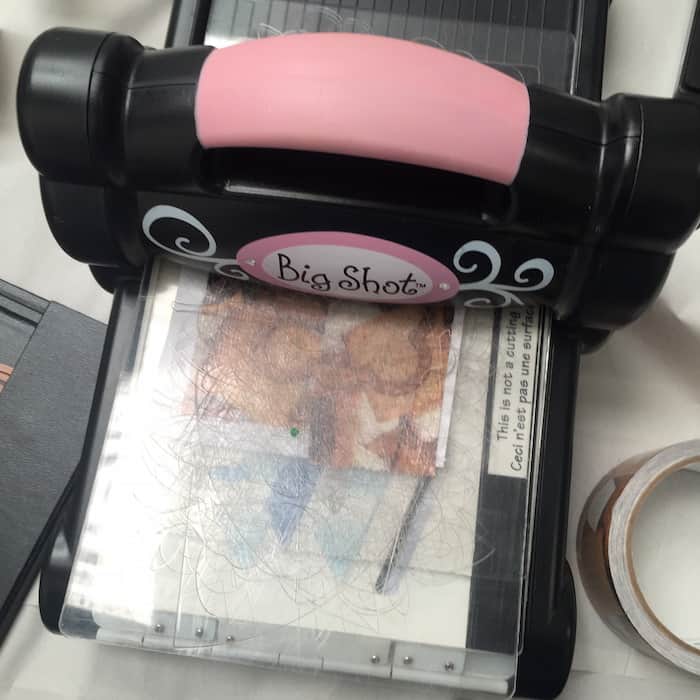
- Sizzix Big Shot with dies (if you don’t have this, use clip art in the shapes of your choice printed from the internet)
- Crop-A-Dile Power Punch with brads or regular hole punch
- Lobster-style metal clasps
- Floss or embroidery thread in various colors
- Beads – I purchased a bag of rainbow pony beads from Michaels
- Sheet of cardstock – you might need more than one depending on how many charms you want to make
- Scissors
Your first question might be, does Duck Tape match up when you line strips next to each other? It depends on the roll; for some you’ll be able to, and some you won’t. Honestly, I don’t think it matters. The charms look cute regardless! I matched up when I could.
You can hook these onto backpacks, coat zippers, or anything else you like.

I cannot be responsible for you or your kids getting addicted to making these backpack charms! They only take a few minutes, and are perfect for girls‘ slumber parties, craft camps (summer camp too), or even adults’ nights in. Just change the tapes and the beads based on your tastes!
Which one is your favorite? I think I love the owl best . . . but every time I look at them again, a different one is my favorite! Get the printable how to below:

Backpack Charms DIY
Equipment
- Crop-A-Dile Power Punch with brads or regular hole punch
Materials
Instructions
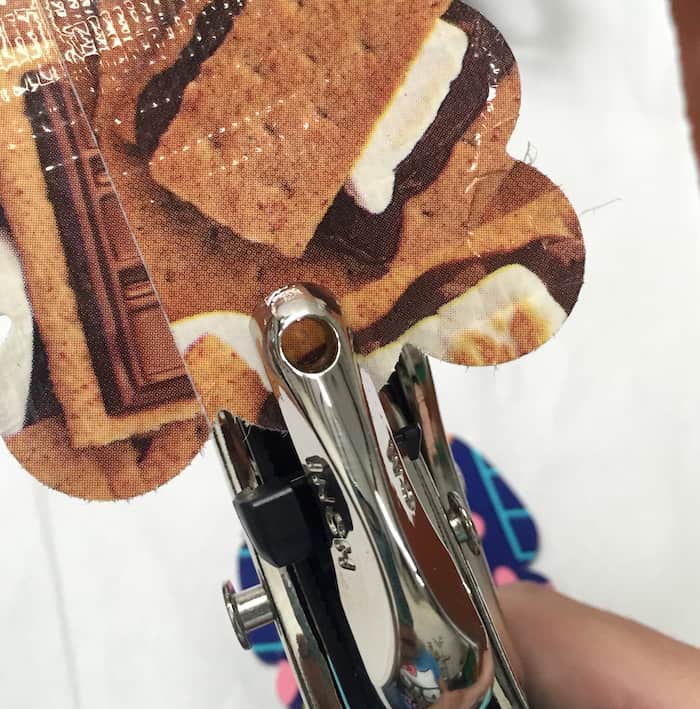
- Tape two pieces of Duck Tape next to each other on one side of a cardstock sheet.
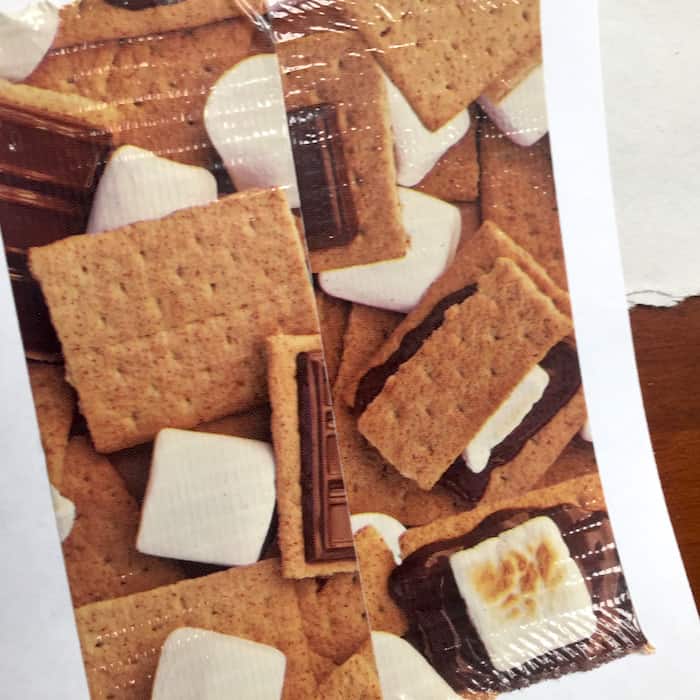
- Cut around the Duck Tape and then flip the paper over; repeat on the other side.
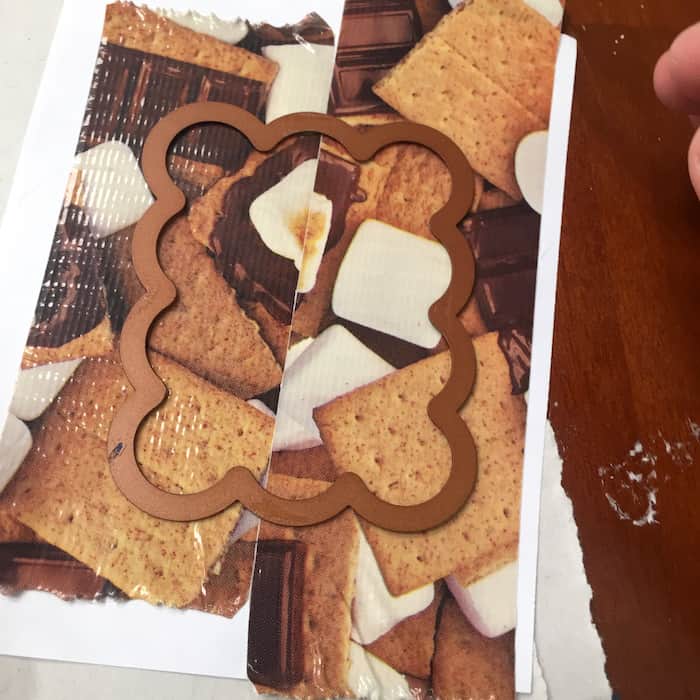
- Cut out the shape, whether it be with a die cutter, or with clip art and scissors.
- Repeat with remaining patterns and then different shapes to create different charms.
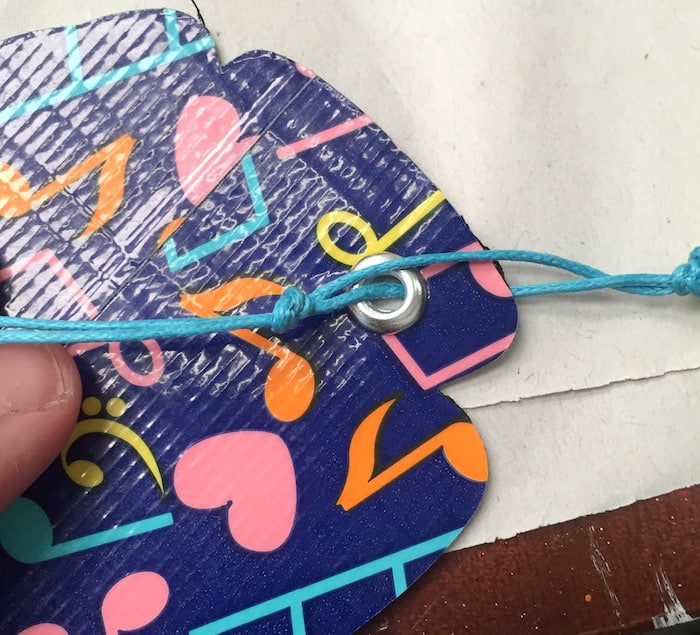
- Punch a hole – I used a Crop-o-dile and placed a metal brad.
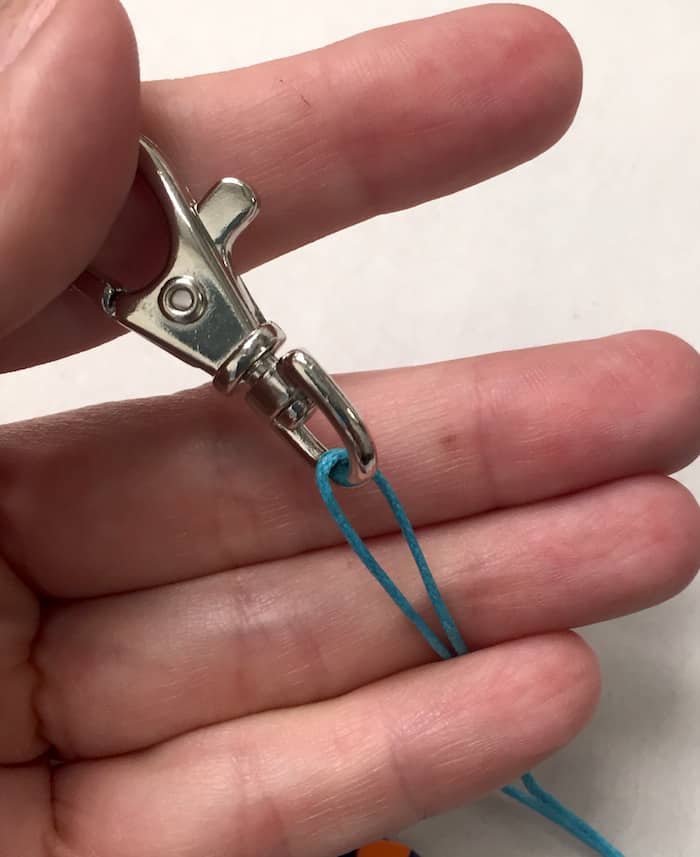
- Set the charm aside and grab a lobster clasp . . . cut about 14 – 20" of floss or thread and stick it through the hole on the clasp. Pull it halfway through.
- Start threading beads onto the floss (onto BOTH parts of the floss) and scoot the bead all the way up to the lobster clasp.

- Keep going, adding beads, leaving about 6 – 8" or so of floss at the end – tie a knot at the end of the beads.

- Place the charm onto the end of the floss (just one end) and tie another knot about 1 – 2" down from that.
- Repeat with the rest of the charms to finish.

Notes
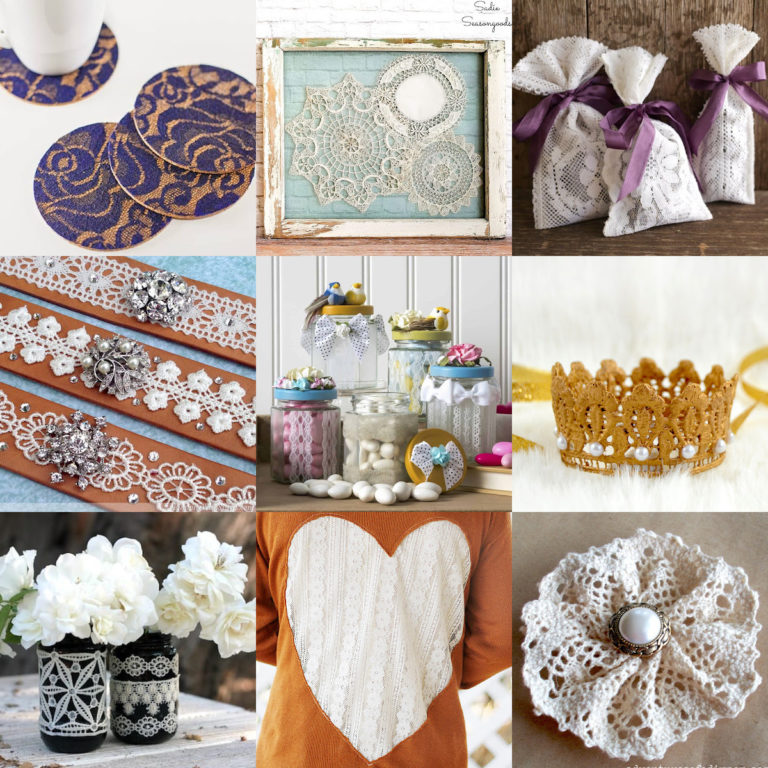
If you enjoyed these backpack charms, I’d love for you to check out these other back to school ideas and craft posts:


it is very cute!ngl
Love this idea! I think these would make a great gift too!
Amazing what you can do with duct tape, I am in love with the smores print!
Thanks for sharing!