
Make your own DIY window clings with this easy tutorial. Fun, reusable, and perfect for decorating any space. Great for kids and holiday crafts. (See the end of this post for a video on how to make them using food coloring!)
Skills Required: None. You can make these with just a few supplies and no prior crafting knowledge.

I really think you are going to like this post. I’m not just fancying myself, I really do. It was a fun to use Mod Podge for something other than gluing down items. This is one of those easy crafts for kids that adults are going to enjoy as well.
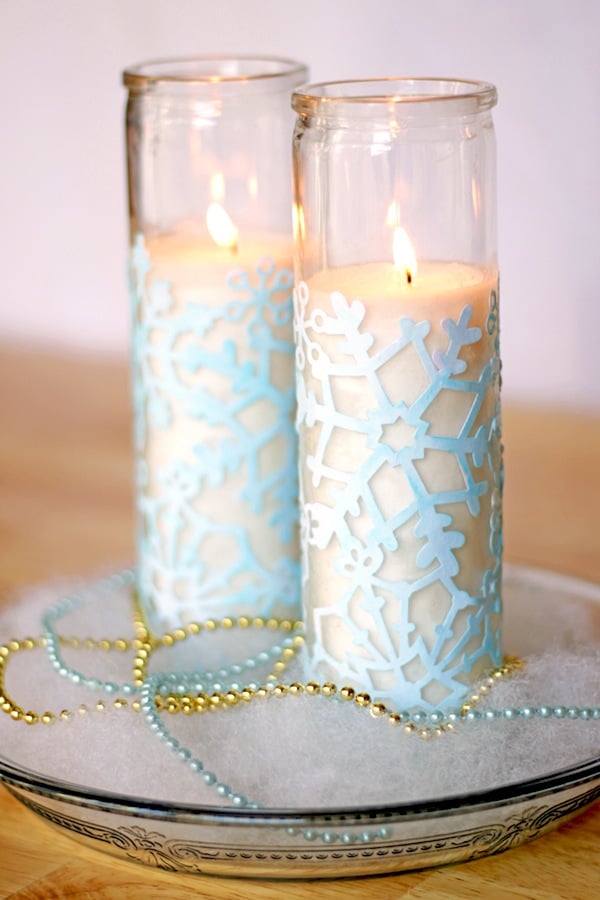
Instead I made DIY window clings that you can put on any vase or in any window! Since the time I originally did this post, I have made these over and over again with my nieces. We really enjoy it as a summer craft or boredom buster. They are a hit each and every time!
The biggest secret to these gel window clings is making sure that you have a non-stick surface to create them on. I used Gallery Glass leading blanks, but those aren’t necessarily easy to find.
I’ve also seen people use silicone mats, wax paper, and clear page protectors. You can try these window clings on a variety of non-stick surfaces and see if they work.
The supplies are so minimal, I had everything lying around the house. Can you say budget crafting at its finest? I hope you’ll make many and stick them all over everything. I highly recommend it.
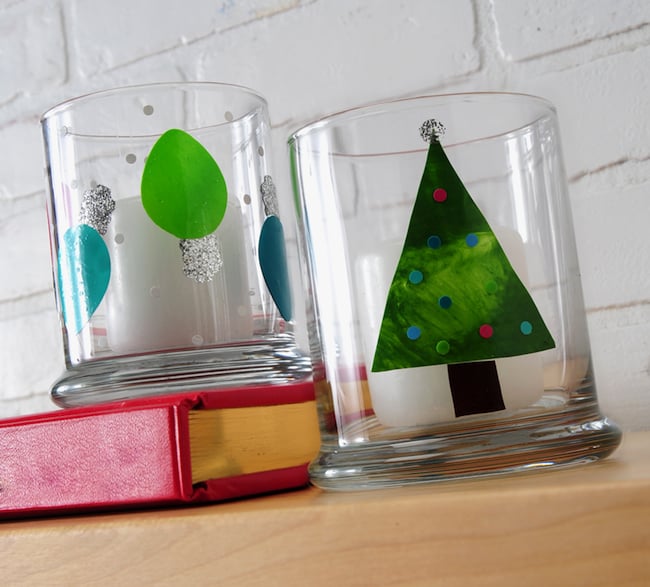
Check out the holiday clings I made – Christmas lights with snow, and then a Christmas tree with hole punched ornaments.
I’m picturing Mod Podge clings all over Mod Podge Command Central, so that it looks like a circus rather than a place to live. I had a blast doing it – what do you think?
Now for a video! Learn how to make clings with food coloring and a similar technique. Just press “PLAY” in the center of the video on this post.
Here’s how they are made.

DIY Window Clings
Equipment
- Hole punch, die cutter, cookie cutter, or craft knife something to cut shapes with
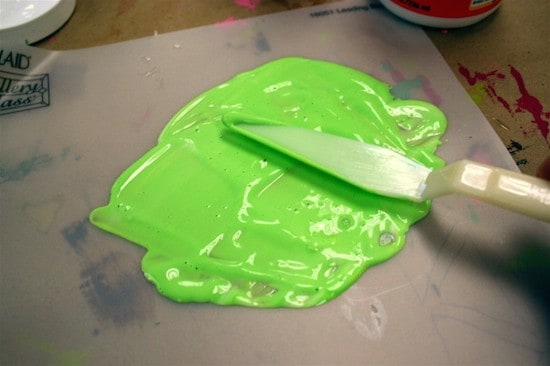
- Palette knife or spreader
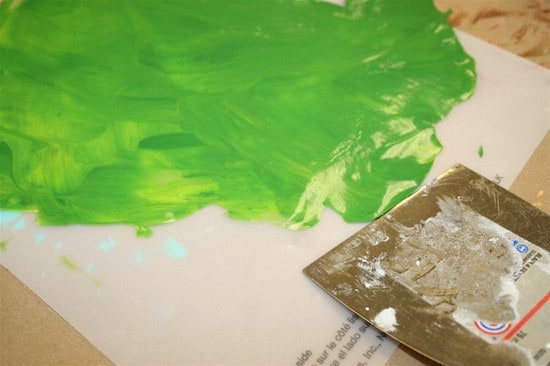
- Scraper
Materials
- Mod Podge Gloss
- Apple Barrel paint in your choice of colors
- Gallery Glass Leading Blanks – or silicone mat non-stick surface
Video
Instructions
Method One
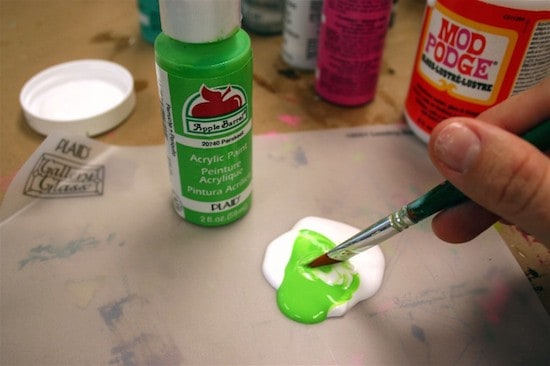
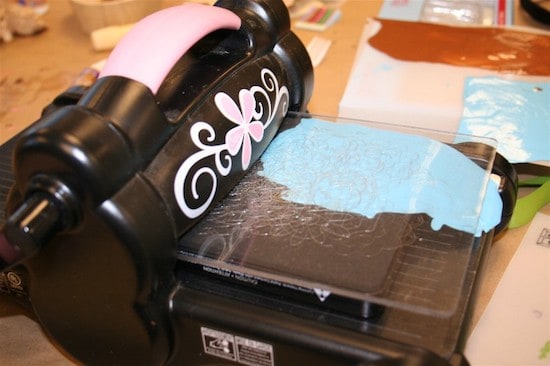
- Mix Mod Podge with a few drops of acrylic paint (in a container or on your mat) until desired color is achieved.
- Spread the Mod Podge mixture across the mat in a thin medium layer and allow to dry.
- Use a scraper to remove the thin, colored Mod Podge piece from the blank.
- Use a die cutter, scissors, or cookie cutters to cut out shapes from the Mod Podge material.
Method Two
- Mix Mod Podge with a few drops of food coloring in a bottle. Shake.
- Place cookie cutters on a silicone mat.
- Squeeze the Mod Podge mixture into the cookie cutters until you have a thin-medium layer across the bottom (completely filling the cookie cutters).
- Let dry on the mat for 24 hours. Do not remove the cookie cutters.
- Once the clings are dry, pop them out of the cookie cutters.
To Use
- For both methods: exhale on your clings or warm them in your hands and then stick to glass or mirrored surfaces.

Notes
If you enjoyed this project, let me know in the comments! I also hope you’ll check out these other ideas:
Backpack Charms • Birdhouse Craft • Cardboard Dollhouse • Crafts for Boys • Crafts for Girls • DIY Checkers • DIY Pins • Egg Carton Art • Insect ID Chart • Kids Art Coasters • Mason Jar Night Light • Mod Podge Crafts for Kids • Mod Podge Slime • Paper Plate Dragon


ooooh ahhhhh! This is great Amy!So many possibilities especially for those of us who don’t have access to decal vinyl! Thanks so much for sharing on Craft Schooling Sunday.xoxoxoSara
Hey Aubrey!
Leading blanks are plastic with a coating so you can peel off the Mod Podge. I’m guessing that wax paper would work, or any thicker plastic.
Love it! I am dying to try this. How clever of you!
Can anyone tell me what a leading blank is and what it’s used for? Is there any thing else I could use for this project instead?
WOW! You nailed it! I have been wondering for YEARS “when is someone going to come up with DIY window clings?” and here you are! YOU DONE IT!
Excellent stuff. Cant wait try it out!
Wow! this is so awesome. My girls will love to do this! Great winter activity!!
Mod Podge does rock! Love this cling tutorial. I had no idea mod podge could do that!
p.s. i just read your post on ‘big girl panties’ over at crafterminds. great encouragement for newbies like me.
Wow this is awesome! Thanks 🙂
So Cool Amy!!Thanks for linking up! I featured your post today! Happy New Year!
Awesome! Just when I thought I knew everything I could do with ModPodge, you do this! So cool.