
Do you love Shrinky Dinks? This Shrinky Dink necklace was so easy! If you love Shrinky Dink jewelry, this is a fun project to try with Sharpies and stencils.
I’ve been on a DIY jewelry kick for a while, and I’ve had some shrink plastic in my stash for about six months that has been begging to be turned into something.
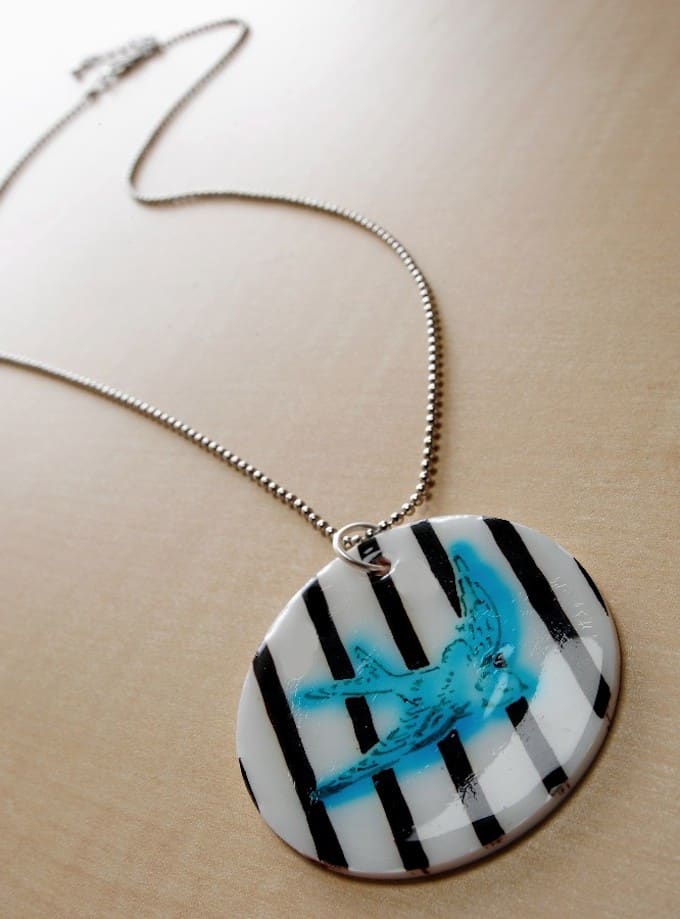
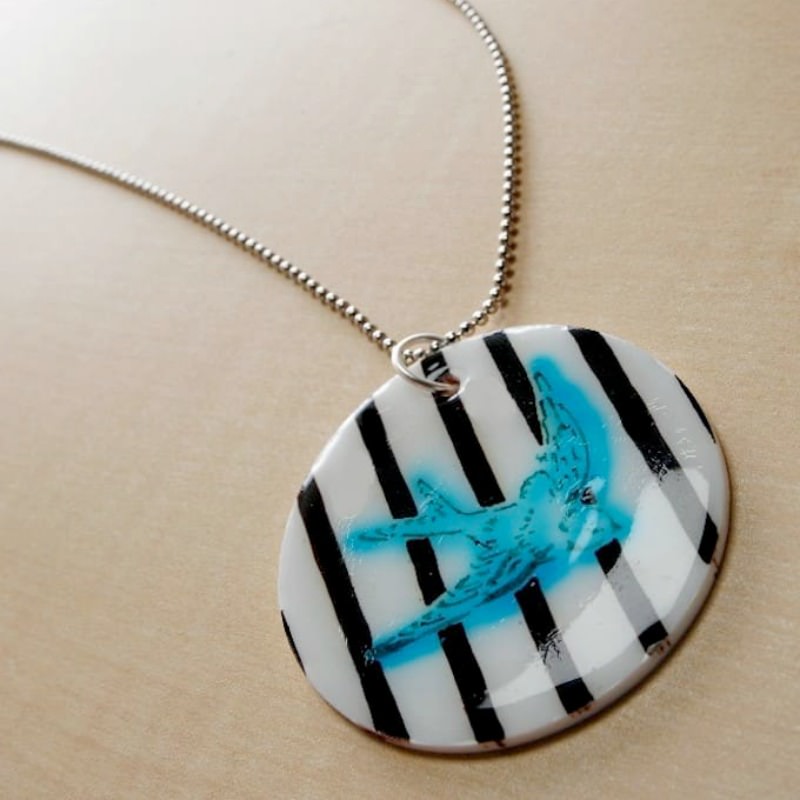
Combine these two things with some Dimensional Magic and you have a Shrinky Dink necklace! If you like making DIY necklaces, you’re going to love trying this project.
This Shrinky Dink jewelry project is actually a little bit of a CraftFail because it didn’t go as planned, but it might be okay (the ink blurred a bit).
I’m wondering what you think and I want you to let me know in the comments!
Important Things to Remember
Shrinky Dinks shrink to about 1/3 of their original size and get nine times thicker. It’s magic, people. The nice thing about Shrinky Dinks is that even though they get smaller and thicker, they’re still very lightweight.
You also need to remember to punch your holes before baking your Dink. If you don’t, you’ll have a heck of a time trying to get them punched afterwards.
I’m pretty sure the only way it would happen is if you used a drill. I learned from experience and after throwing a few Dinks in the garbage!
Are you ready to give this project a try? Get the printable how to below:

Shrinky Dink Necklace
Materials
- Shrinky Dinks
- Sharpie(s) Dark Brown and Teal, or colored pencils
Video
Instructions
- You will first need to cut a circle shape out of your Shrinky Dink material. I used a circle cutter and did about a 3 3/8" circle (it was completely random, I just made sure my stencil fit), but you can also trace a shape and cut it with scissors.

- Create your design on the Shrinky Dink material using Sharpies and stencils.
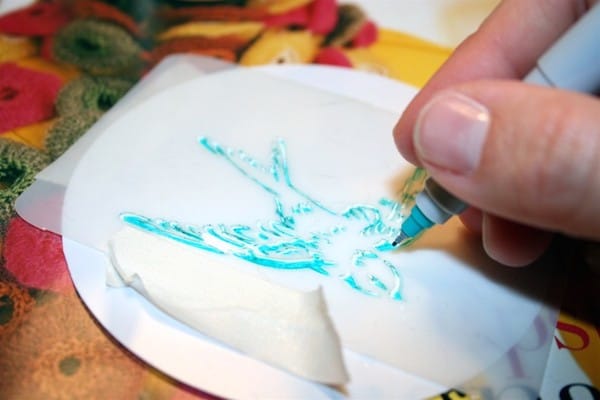
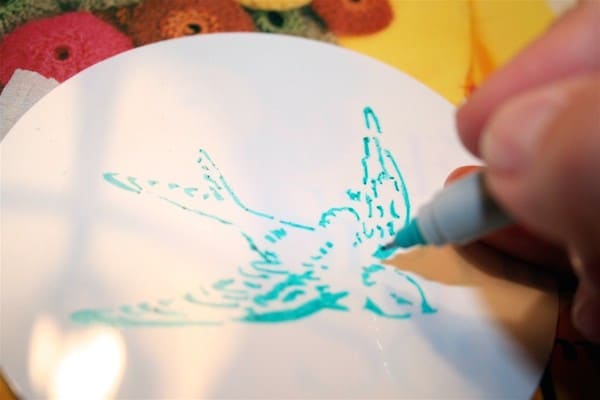
- After removing the stencil, go back and thicken any lines that might not have fully transferred with the stencil.
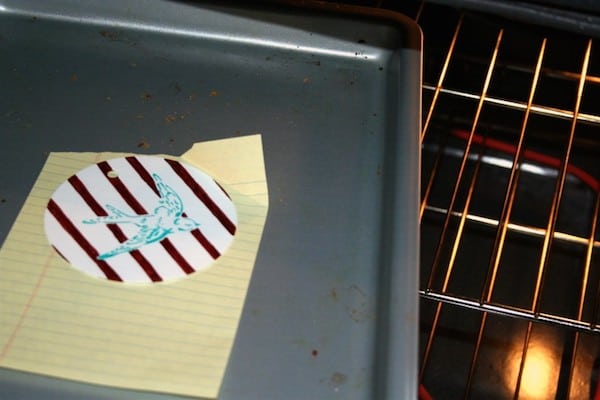
- Punch any holes BEFORE baking the Shrinky Dink sheet. Preheat the oven to 325 degrees Fahrenheit. Place the Shrinky Dink shape on a cookie sheet with aluminum foil.
- Put the cookie sheet in the oven for 1 – 3 minutes, watching the Dink shrink. If the item folds on itself, untwist it and flatten while still hot. Remove the cookie sheet from the oven and let your Shrinky Dinks cool before handling.
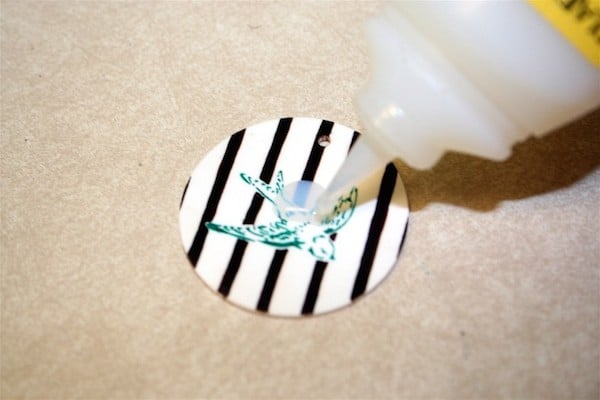
- Finish by putting Dimensional Magic on the pendant and allowing to dry.
Notes
- I’m wondering if I would’ve let the Sharpie dry a lot longer before baking if there would’ve been a difference in the blurring. Just thinking that maybe the Sharpie would’ve set more in the material somehow.
- It’s been recommended to me by several people that the Ruff n’ Ready sheets might help with the blurring. They are made to look frosted so have a textured side, which may take the ink better.
Also if you like handmade jewelry and accessories using Dinks, visit some projects from my friends below:


I like this also. I would not change a thing in it. Love the colors and the stripes and the swallow.
Thank you
I like the blurriness of the bird- looks intentionally cool! Anyway, to keep the design from blurring in the future, you might want to try painting a thin layer of elmer’s glue on top of the pendant (after it’s done cooking) to create a barrier and then apply to the Mod Podge Dimensional Magic. Hope that helps and keep up the great work!
This is awesome! My 5 yr old daughter got a pack of this for Christmas from my parents as a stocking stuffer. Gonna play with it with her tonight. I was born in 86 and actually didnt even know what this stuff was!
Awww. Don’t beat yourself up too much. This came out great, mistake or no. 😉 If you, or your readers, want to avoid future heartbreak, here’s a couple of hints and tricks I use. Get some spray fixative from the store and kit that bad boy before you modgepodge over it. Also, and this is a trick I LOVE, put your pan in the oven while you are pre-heating. Your pan will be hot when you put the dink on it to cook and that stops a LOT of the curling. It will make them a lot easier to deal with. Take the flat bottom of a glass and smush them as soon as they come out of the oven to make them as flat as possible. Hope that helps!
I have kept this tab open in my browser for weeks and finally tried making one of my own. I tried a second one with colored pencil. On the pencil version, the brown blurred, but not the blue! I still like both though. 🙂
I love the blurring! I did shrinky dinks with my 2.5 year old daughter the other day with sharpies. It was way different than I remember & my mom agreed. We had a princess jewelry kit & I was making plans to do some more that were not from a kit before we were done.
I think it looks great, love the bird drawing.
I have NO IDEA what dimensional magic is…
Hopping over from T&J…
I keep coming back to this article! I want to try this! (I can’t find Dimensional Magic anywhere in town. I keep asking over and over again at JoAnn’s, I think they might be getting annoyed with me.) Will have to buy some online.
I love the blurring of the bird, I think the whole project is beautiful!
I think its lovely…and I think the blurring gives it more character. If you didn’t tell anyone you hadn’t meant to do it we would never have thought any different. Lovely.
Great tutorial. Now I have to try it..
thank you
Happy St. Patrick’s Day
Judi
looks great, and would be wonderful paired with black and white polka dots……thanks so much for sharing on Craft Schooling Sunday, great to see you! xoxoxo Sara