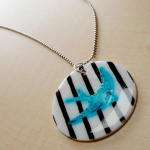
Shrinky Dink Necklace
Learn how to make a unique necklace using Shrinky Dinks, Mod Podge Dimensional Magic, and Sharpies.
Yield: 1 project
Cost: $10
Materials
- Shrinky Dinks
- Sharpie(s) Dark Brown and Teal, or colored pencils
Video
Instructions
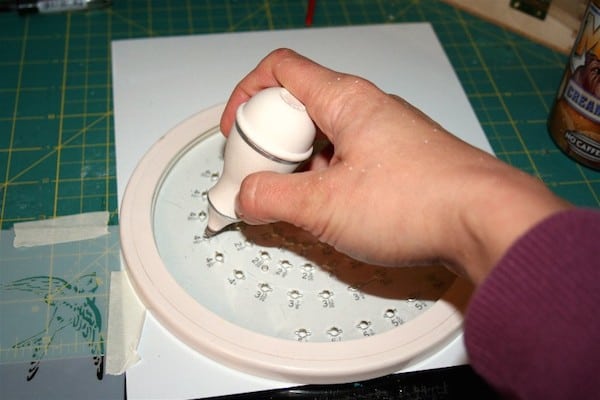
- You will first need to cut a circle shape out of your Shrinky Dink material. I used a circle cutter and did about a 3 3/8" circle (it was completely random, I just made sure my stencil fit), but you can also trace a shape and cut it with scissors.
- Create your design on the Shrinky Dink material using Sharpies and stencils.
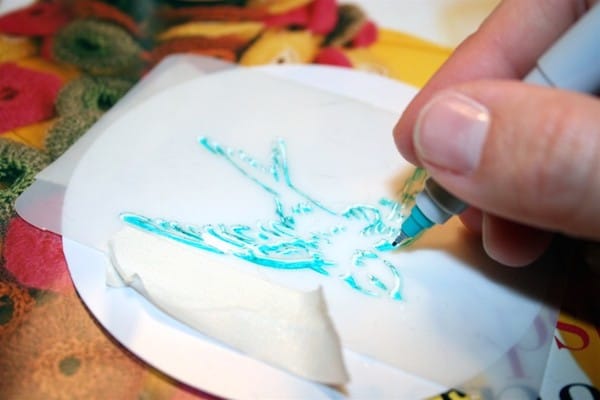
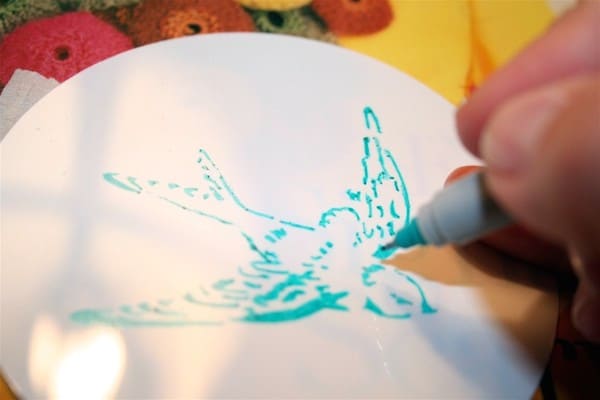
- After removing the stencil, go back and thicken any lines that might not have fully transferred with the stencil.
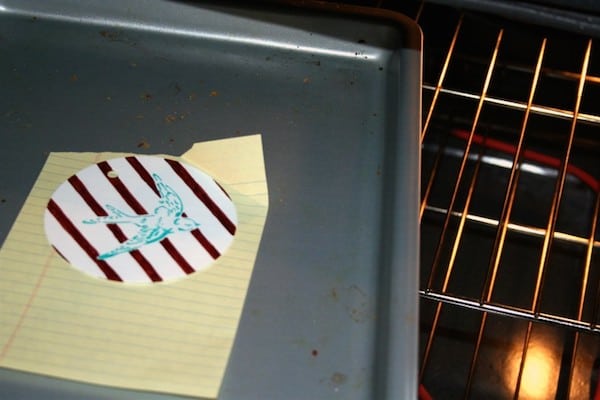
- Punch any holes BEFORE baking the Shrinky Dink sheet. Preheat the oven to 325 degrees Fahrenheit. Place the Shrinky Dink shape on a cookie sheet with aluminum foil.
- Put the cookie sheet in the oven for 1 - 3 minutes, watching the Dink shrink. If the item folds on itself, untwist it and flatten while still hot. Remove the cookie sheet from the oven and let your Shrinky Dinks cool before handling.
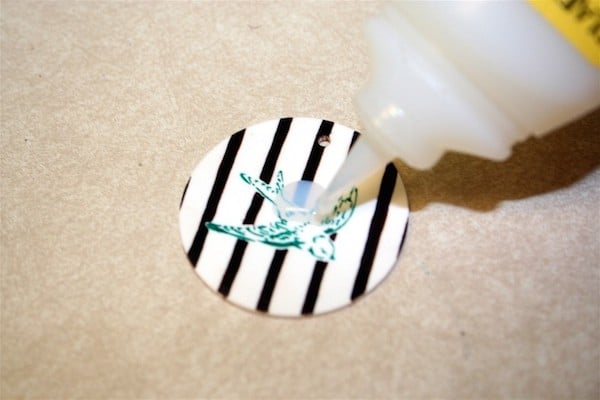
- Finish by putting Dimensional Magic on the pendant and allowing to dry.
Notes
Step 1: Remember that the design will shrink to 1/3 the size after cooking, so be sure to scale appropriately.
Step 5: The instructions say if it does fold on itself, you can untwist it and flatten it out while still hot. Luckily this didn't happen to me :0
Step 6: Notice in the photo that the Sharpie ink colors got much darker than they were originally.
I have two thoughts on the project now that it's done:
- I'm wondering if I would've let the Sharpie dry a lot longer before baking if there would've been a difference in the blurring. Just thinking that maybe the Sharpie would've set more in the material somehow.
- It's been recommended to me by several people that the Ruff n' Ready sheets might help with the blurring. They are made to look frosted so have a textured side, which may take the ink better.