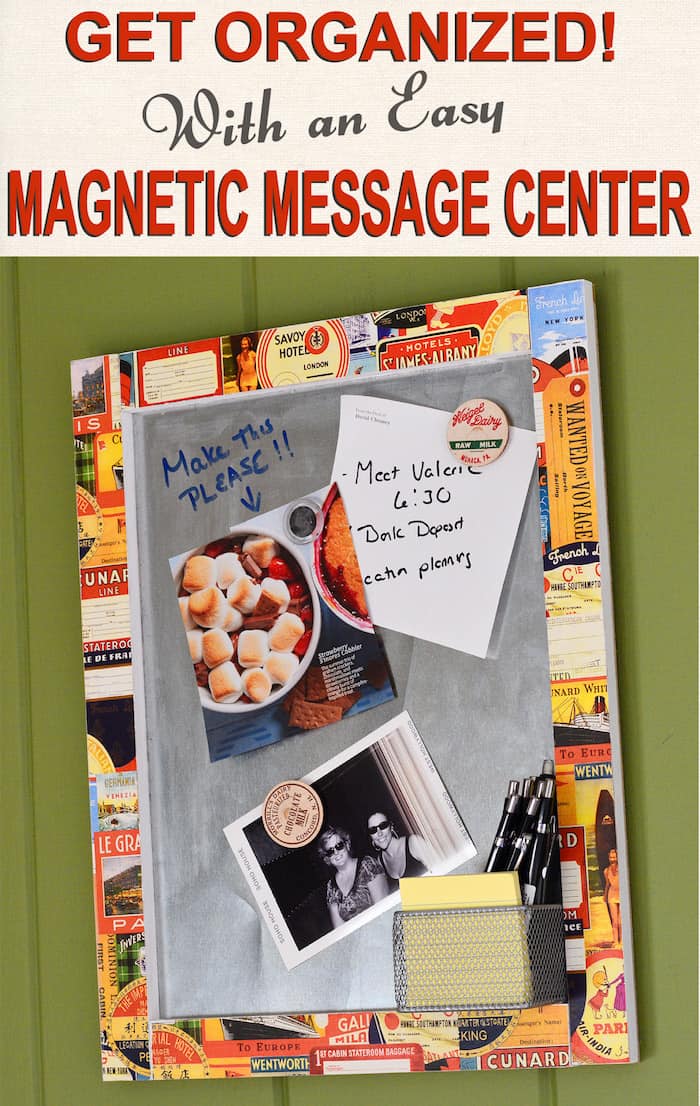
Use simple items from the hardware store to make a DIY magnetic board. Use this magnetic memo board for inspiration and as a message center. It also functions as a dry erase board.
Skills Required: Advanced Beginner. You’ll need to have some experience with tools, shopping the home improvement stores for weird supplies like tin snips, and Mod Podge.

Hi! It’s David from Cheltenham Road.
As I mentioned in my last project, I’m on a bit of a “Use What You’ve Got” kick. I’m trying to make use of all those random bits of stuff left over from years and years of project making.
But, of course, the trick is not to just use them up, but to make something useful – and with a busy Etsy shop one of my summer goals is simply to Get Organized! This where the wheels started turning.
Pinterest has been a life-saver for the virtual side of getting organized and remembering project ideas, but sometimes I have an actual, tangible, THING that needs to be stuck somewhere to remind or inspire me.
And hence my DIY magnetic board was born.
This memo board was very simple to make and came together fast (the two things I look for in a project!). I’m going to share the how-to with you below.
How to Make a Magnetic Board
I started out with these items:

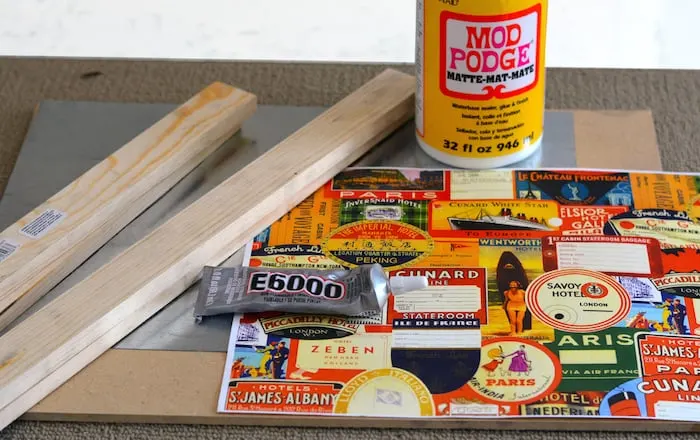
- MDF (medium density fiberboard) piece cut to 14.5″ x 18.5″
- Four strips of lattice molding (sometimes called “craft wood”) for the frame
- Decorative paper
- Metal flashing at least 12″ x 16″ (from the roofing department at Home Depot)
- E-6000 glue
- Matte Mod Podge
- White paint
- Paintbrush
- Hand saw or chop saw
- Tin snips or shears
- Pencil or Sharpie
- Scissors or craft knife and mat
- Screws and drill (optional)
As I mentioned before, I was using what was on hand for me. Keep in mind that for this DIY magnetic board, the “ingredients” can be almost anything – pallet wood, plywood, an old picture frame, etc.
Are you ready to start?
Using a handsaw, I cut the lattice molding down to two strips measuring 18.5 and two strips measuring 11.5. These pieces are for the memo board frame.
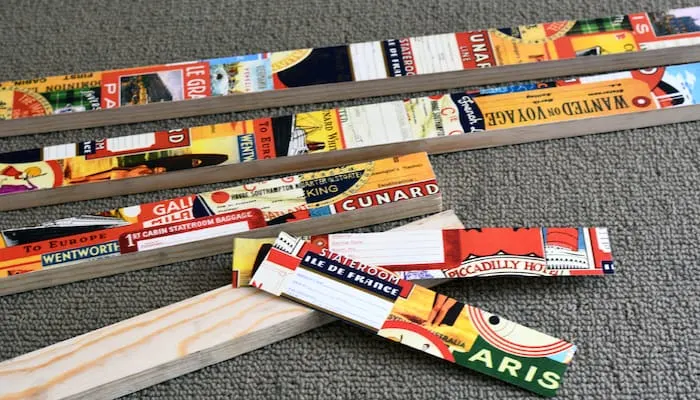
Next I cut my decorative paper down into 1.5″ wide strips and Mod Podged it onto the lattice molding in a patchwork style.
Apply Mod Podge to the frame with a paintbrush, smooth the paper down, and let dry for 15 – 20 minutes. Repeat until the entire frame is covered.
Let dry and then trim around the edges. Apply a top coat to the entire frame and let dry.
Tip: you can use other types of paper (rice paper, book pages, newspaper, tissue paper, napkins) and even fabric to cover the frame.

The next step of your DIY magnetic board is to cut the metal to the correct size. You’ll want to “sandwich” the metal between the MDF backer and the wood frame you just Mod Podged.
While the frame dried, I cut the flashing down to a 12″ x 16″ rectangle using the tin snips. It’s easy to mark with a Sharpie and then cut – you won’t see any lines on the tin.
On the MDF board, mark where the tin is going to go. Place it down on the MDF and then draw a line around it with a pencil or Sharpie.

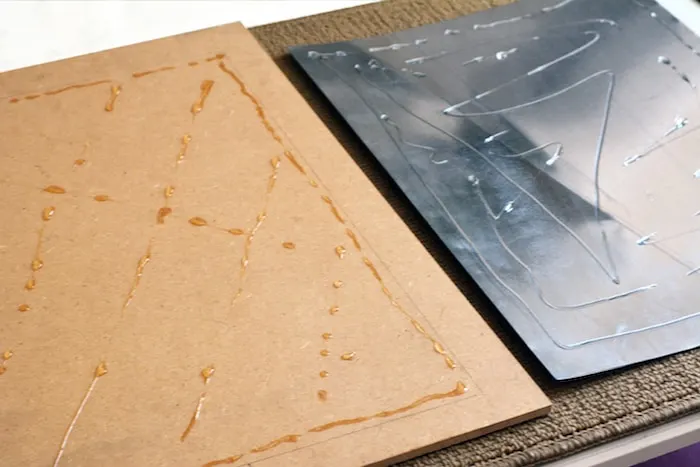
Place quite a bit of E-6000 on both the back of the flashing as well as on the MDF board (see above). Place the flashing down and then weight with heavy items (like books) while drying. Let dry for several hours.
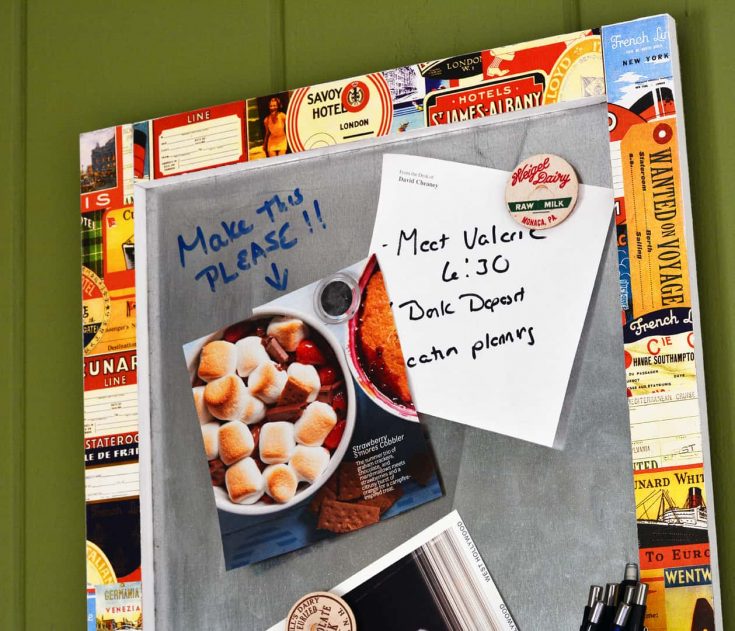
Once my frame edges were dry, I did a quick coat of white paint on the edges. I then glued them in place with E-6000 so the magnetic board frame juuust overlapped the metal (to create that “sandwich” effect).


I turned again to my trusty heavy books (where would I be without heavy books?) to weigh the whole thing down and make a tight seal.
After letting the glue dry overnight, a another quick coat of Mod Podge sealed the frame for durability.
I then used the screws and drill to add a hanger on the back and BAM! A Pinterest idea in the real world. You can hang on the wall with a regular picture hanger.
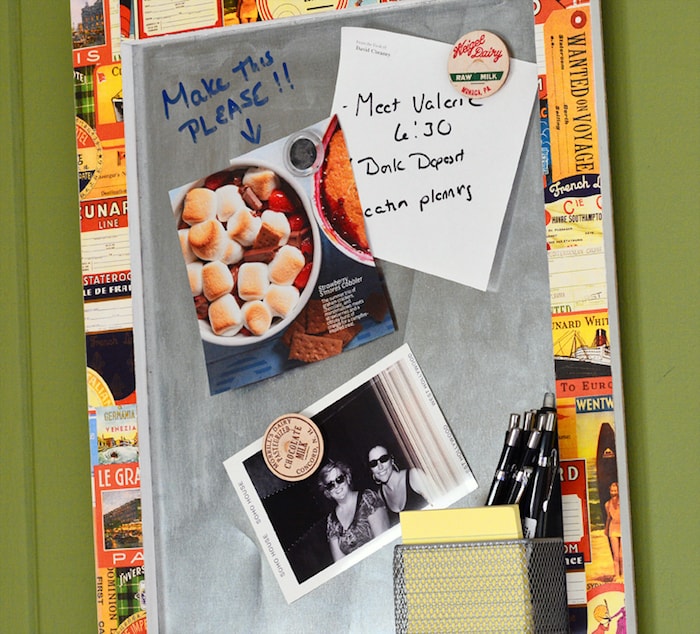

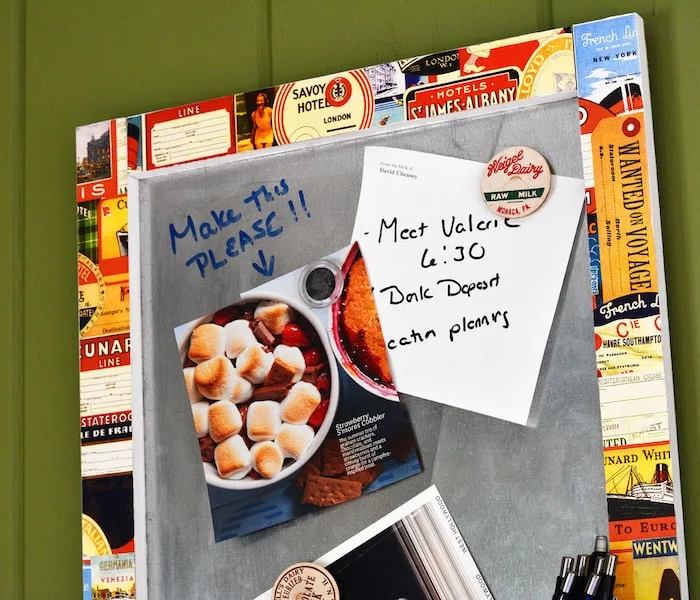
What’s great for me is that this DIY magnetic board is not only magnetic, but it also works as a dry erase board! Pretty cool, huh? Wouldn’t it look great in a kitchen?
Another option I considered was using this magnetic whiteboard. It’s more expensive than flashing, but it provides that white dry erase surface if you’re seeking it.

Notes and Thoughts on my DIY Magnetic Board:
- Follow the directions on the E-6000 glue closely to get a really strong bond.
- I’ve found that the glue makes a good, solid connection. For a little extra insurance you could use screws (screwing from the back side) to lock the frame in place. You can screw just outside the flashing.
- The metal flashing comes in larger sheets, so you’ll have a good amount leftover to make other boards if you wish. You can also ask the hardware store to cut down the flashing and see if they’ll do it for you.
- For a magnetic chalkboard, you can spray the metal (before you attach it) with chalkboard paint.
DIY Magnetic Board

Learn how to make a magnetic memo board with supplies from the hardware store! Customize the size and graphics for your decor.
Materials
- MDF piece cut to 14.5" x 18.5"
- Four strips of lattice molding for the frame
- Decorative paper
- Metal flashing at least 12" x 16"
- E-6000 glue
- Matte Mod Podge
- White paint
Tools
- Paintbrush
- Hand saw or chop saw
- Tin snips or shears
- Pencil or Sharpie
- Scissors or craft knife and mat
- Screws and drill (optional)
Instructions
- Using a hand saw or chop saw, cut the lattice molding down to two strips measuring 18.5" and two strips measuring 11.5".
- Cut my decorative paper down into 1.5" wide strips and Mod Podge it onto the lattice molding in a patchwork style. Smooth the paper down, and let dry for 15 - 20 minutes. Repeat until the entire frame is covered.
- Trim the excess paper around the edges using scissors or a craft knife.
- Cut the flashing down to a 12" x 16" rectangle using the tin snips. Mark with a Sharpie or pencil and then cut.
- On the MDF board, mark where the tin is going to go. Place it down on the MDF and then draw a line around it with a pencil or Sharpie.
- Place quite a bit of E-6000 on the back of the flashing as well as the MDF board. Place the flashing down and weight with heavy items while drying. Let dry for several hours.
- Add a quick coat of white paint on the frame edges. Let dry. Glue them in place with E-6000. Weight down until dry.
- After letting the glue dry overnight, seal with another coat of Mod Podge and let dry.
- Add a picture hanger to the back using the tools and hang.
Notes
Price varies greatly for this project - I actually didn't spend anything as I had all items on hand. I encourage you to visit the thrift store for your frame at minimum!
So now I’m totally together and totally organized. OK, maybe not totally but I’m much closer! I’ll keep you posted. And, as always, if you have any questions on how to make a DIY magnetic board, I’ll monitor the comments section and get back to you as quickly as possible. Thanks!