
Make DIY luggage tags using Mod Podge, cardboard, and fabric! A fun, easy way to personalize your suitcase and identify it fast. No sewing required.
Skills Required: None. Even if you’ve never crafted before, you can make this project! It’s one of the most basic crafts ever and just requires gluing and cutting.

If you are looking to meet someone who has had their fair share of luggage horror stories, I’m your girl. I’m always the one waiting when the carousel stops and all the bags have been passed out.
I can’t tell you how many times they’ve had to make a special trip to my place to drop it off (just call me Greg Focker). One time I even had the pleasure of having an airline attendant motion to a huge pile of luggage so that I could dig mine out myself.
I know I sound bitter, but I promise I’m not! It’s all part of the magic of traveling and flying.
One trick I’ve picked up over the years? Making my own DIY luggage tags. Not only do they help my suitcase stand out (especially if you, like me, have the ever-popular black roller bag), but they’re also an easy and fun craft that lets me add a personal touch to my travel gear.

These bag tags are perfect for beginners, and they’re a great way to use up fabric scraps. All you need is some Mod Podge, cardboard, and fabric to create a tag that’s both durable and stylish.
You can keep it simple with a Mod Podged fabric backing or go a step further and add a clear window for your contact info. Either way, these tags come together quickly and will make sure your bag is easy to spot on the carousel.
Let me show you how to make them two ways so you can customize your travel look. Get ready to never lose your luggage again (okay, maybe just spot it faster!).

Here’s the printable how to:

DIY Bag Tags
Equipment
- Computer and printer
Instructions
- Cut a base (2.75 x 4 inches) for your tag on cardboard or other thick cardstock. Cut two rectangles for the window piece if you are creating the version with it.

- Trace the cut cardboard tag onto your piece of fabric and cut the excess.

- Apply a layer of Mod Podge to the cardboard. Smooth the fabric flat onto one side and let dry briefly, then add another layer of Mod Podge on top. Let it dry.

- Once dry, trim the excess fabric. Use an awl to pierce through the fabric for the hole. You'll still have one blank side.

- To make a simple tag, print and cut the same shape with your details. Alternatively, you can write it. Mod Podge the tag with the printed information on the backside of your tag. Let it dry.

- Seal the both the front and back with another layer of Mod Podge and let it dry.

- To make one with a window: trace and cut another piece of fabric for the back of the tag (that is blank from step 4). Mod Podge the fabric piece onto the back of the tag and let it dry. Once dry, trim the excess fabric and use an awl to pierce through the fabric for the hole.

- Pick up the rectangle pieces from step 1. Trace and cut a piece of fabric for one of the pieces. Mod Podge the fabric onto the rectangle piece and let it dry.

- Once dry, trim the excess fabric around and inside the rectangle piece(s) (I'm showing two from two different tags here).

- Cut a thin plastic sheet (such as an acetate sheet) the same size as the rectangle pieces. Attach the three pieces together (one fabric covered window piece, acetate, than one blank window piece) with hot glue.

- Use hot glue to attach the window piece to the tag, leaving one end open to insert the paper. Then, insert a piece of paper with your address details.

Notes
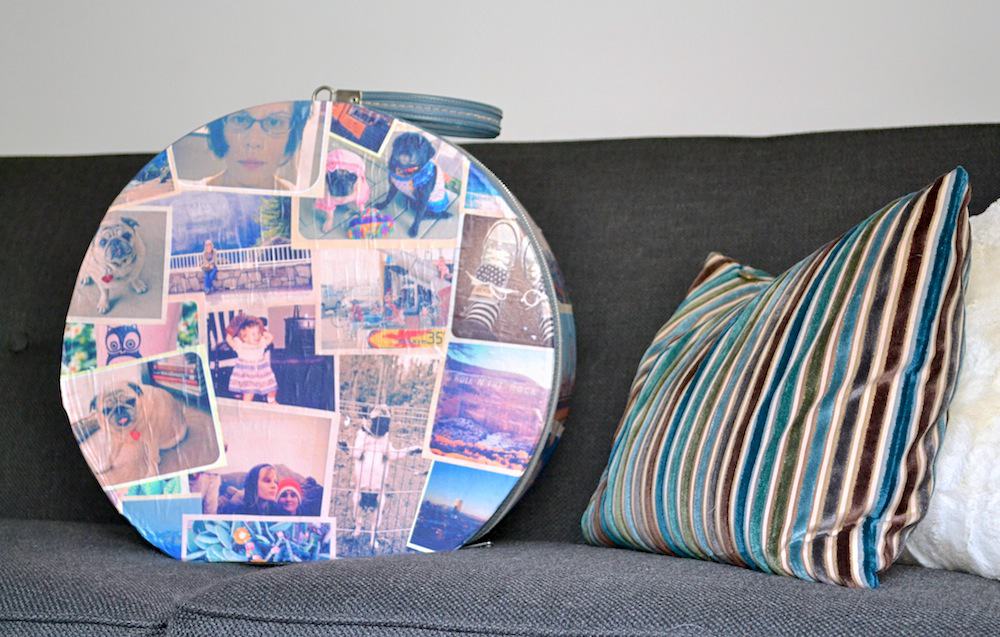
Oh, and if you love this luggage tag, you might want to try this DIY suitcase with photos! You can go all out and NO one will mistake your bag for theirs, I assure you.


What a great way to identify one’s luggage! This is so much more attractive than ordinary luggage tags.
There’s no mention of it, but would it be advisable to apply ModPodge over the fabric to provide more protection and durability?
Good point Lynn! Absolutely. A clear (brush on) sealer would make it last forever (even over the top of the Mod Podge).
No sew & easy directions