
DIY Bag Tags
Homemade luggage tags are easy with fabric and Mod Podge! Quick and budget-friendly bag identification.
Yield: 2 tags
Cost: $0
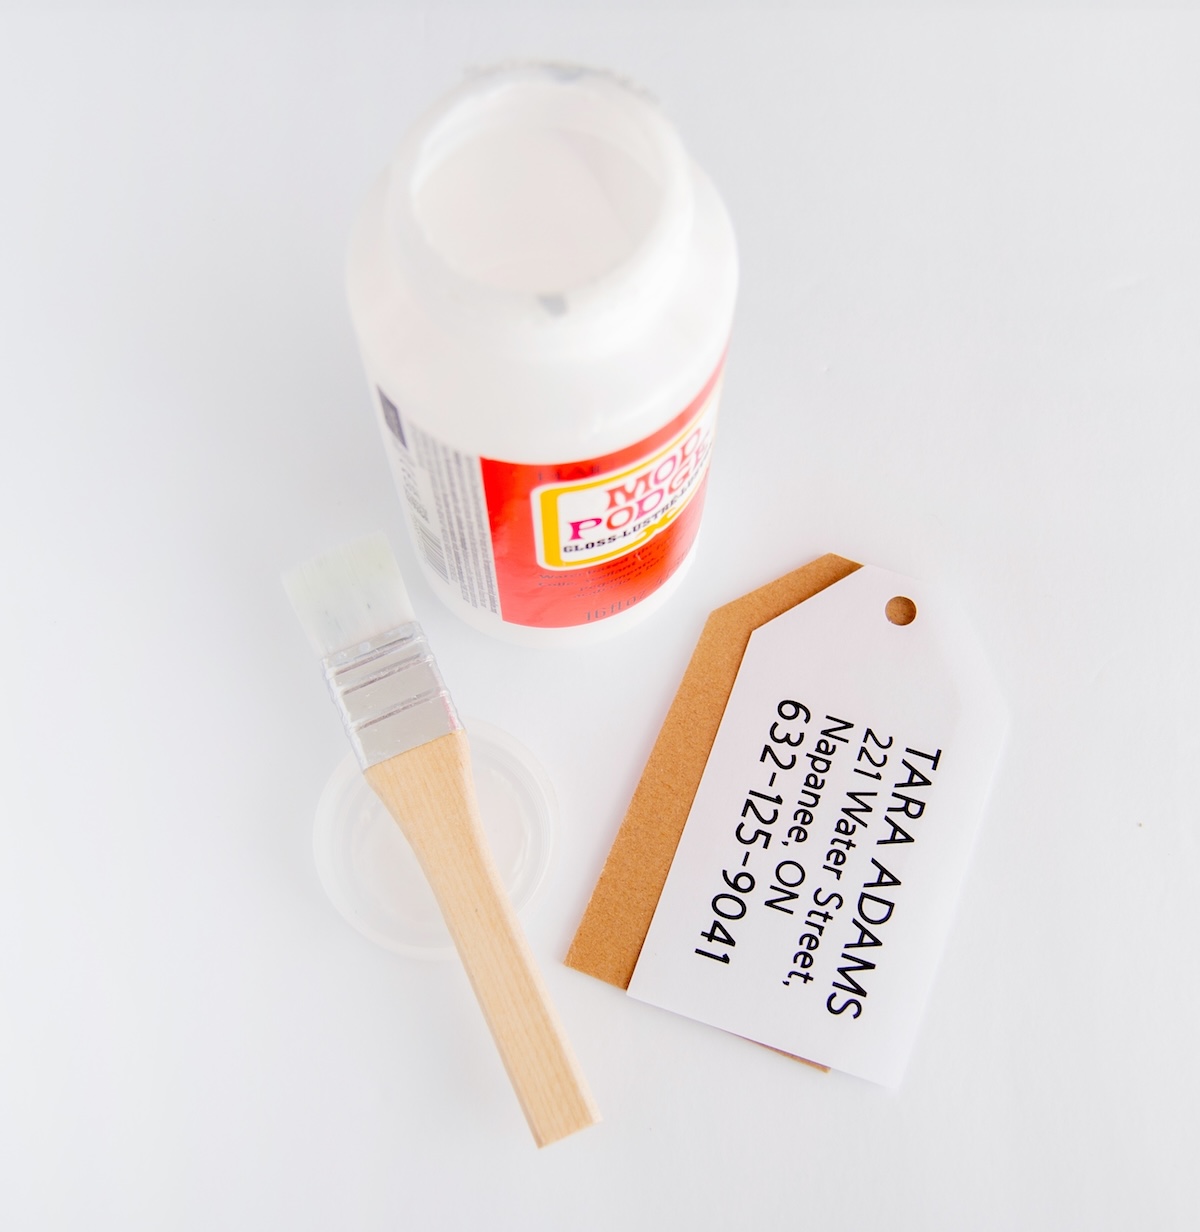
Equipment
- Computer and printer
Instructions
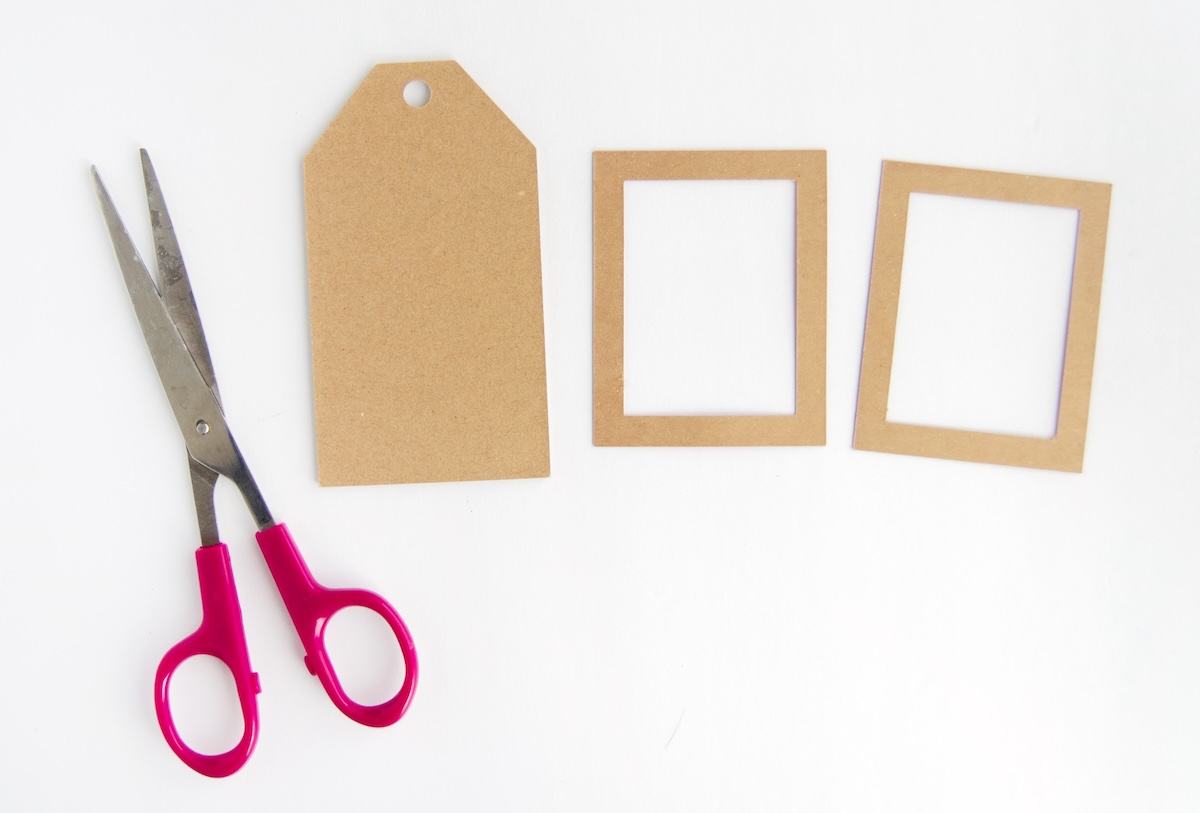
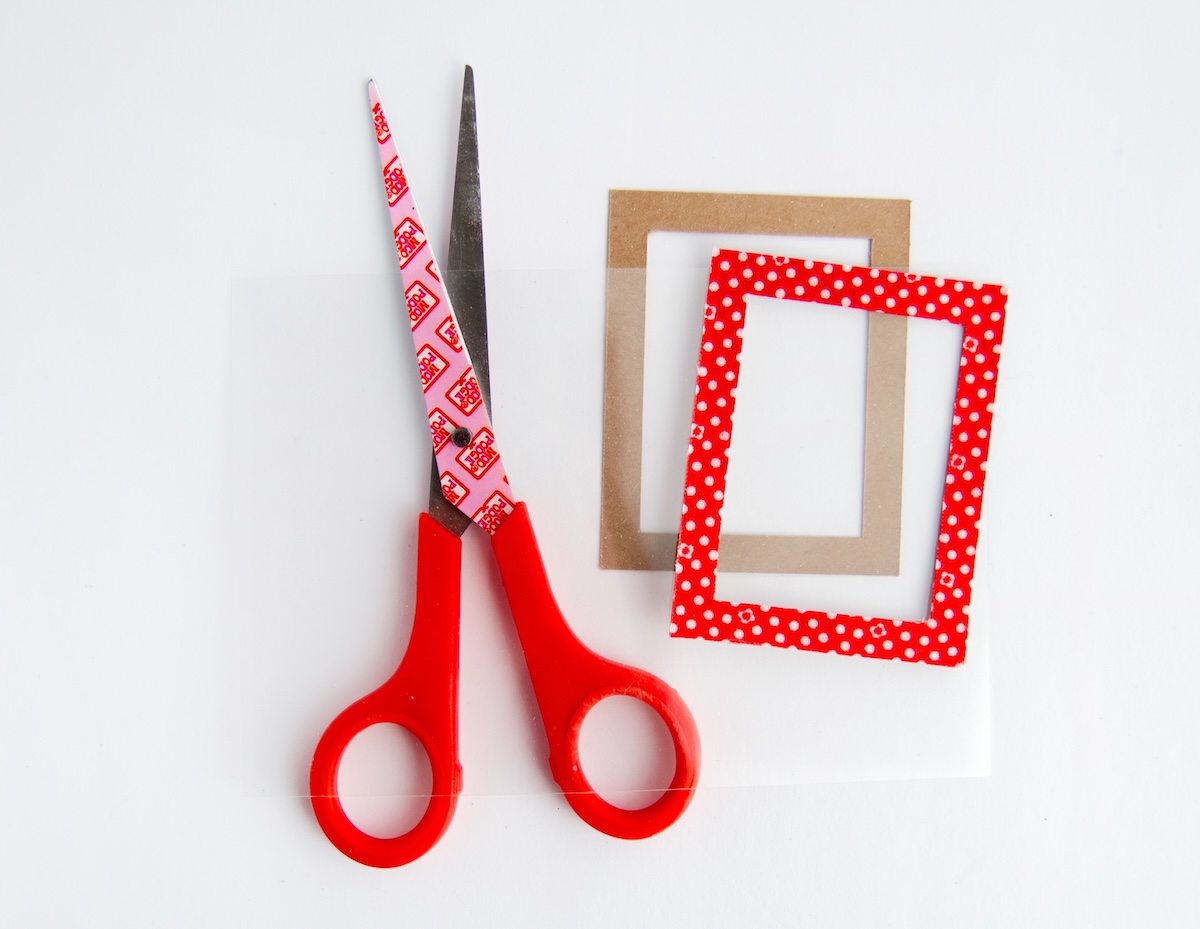
- Cut a base (2.75 x 4 inches) for your tag on cardboard or other thick cardstock. Cut two rectangles for the window piece if you are creating the version with it.
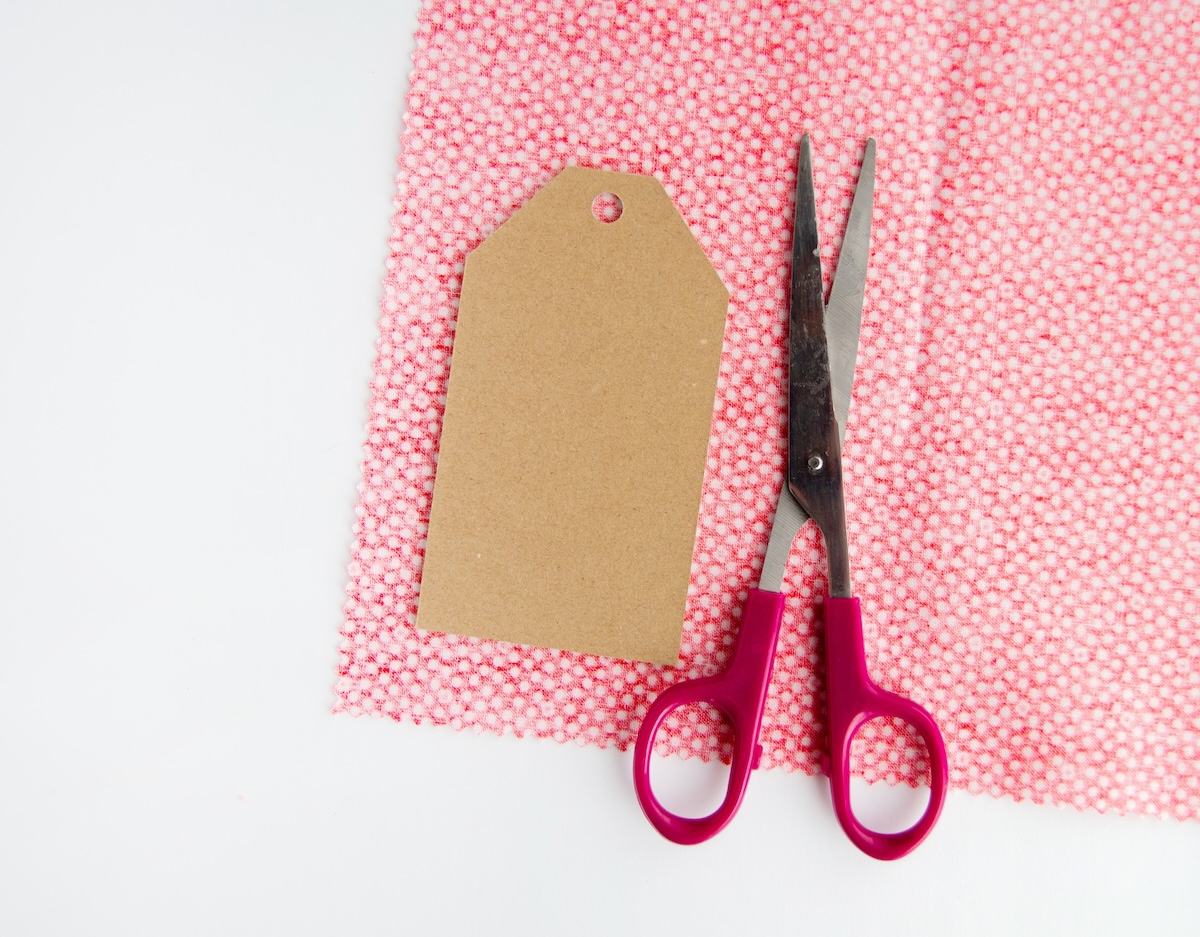
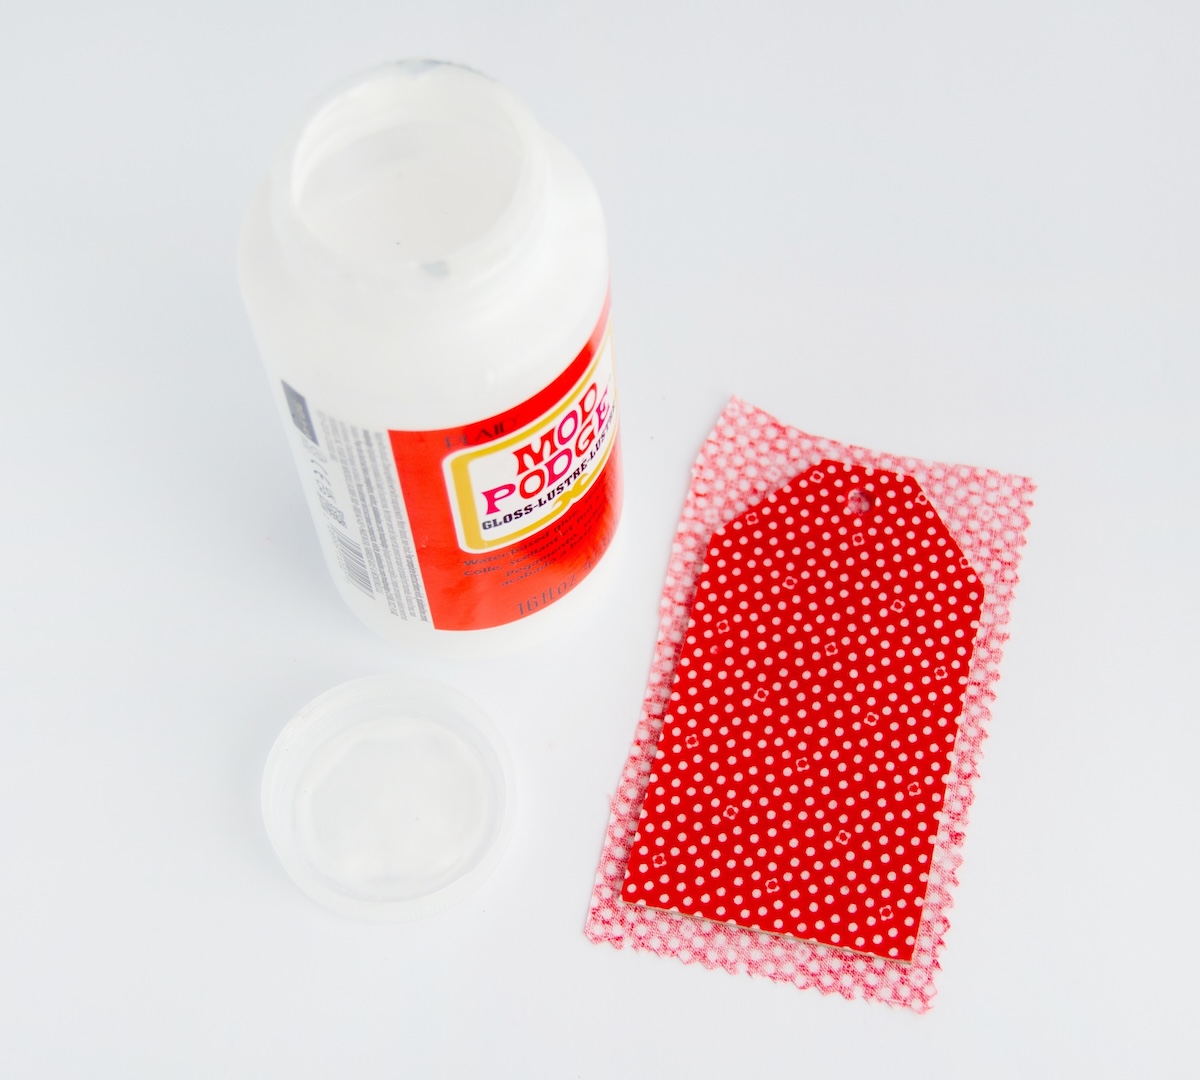
- Trace the cut cardboard tag onto your piece of fabric and cut the excess.
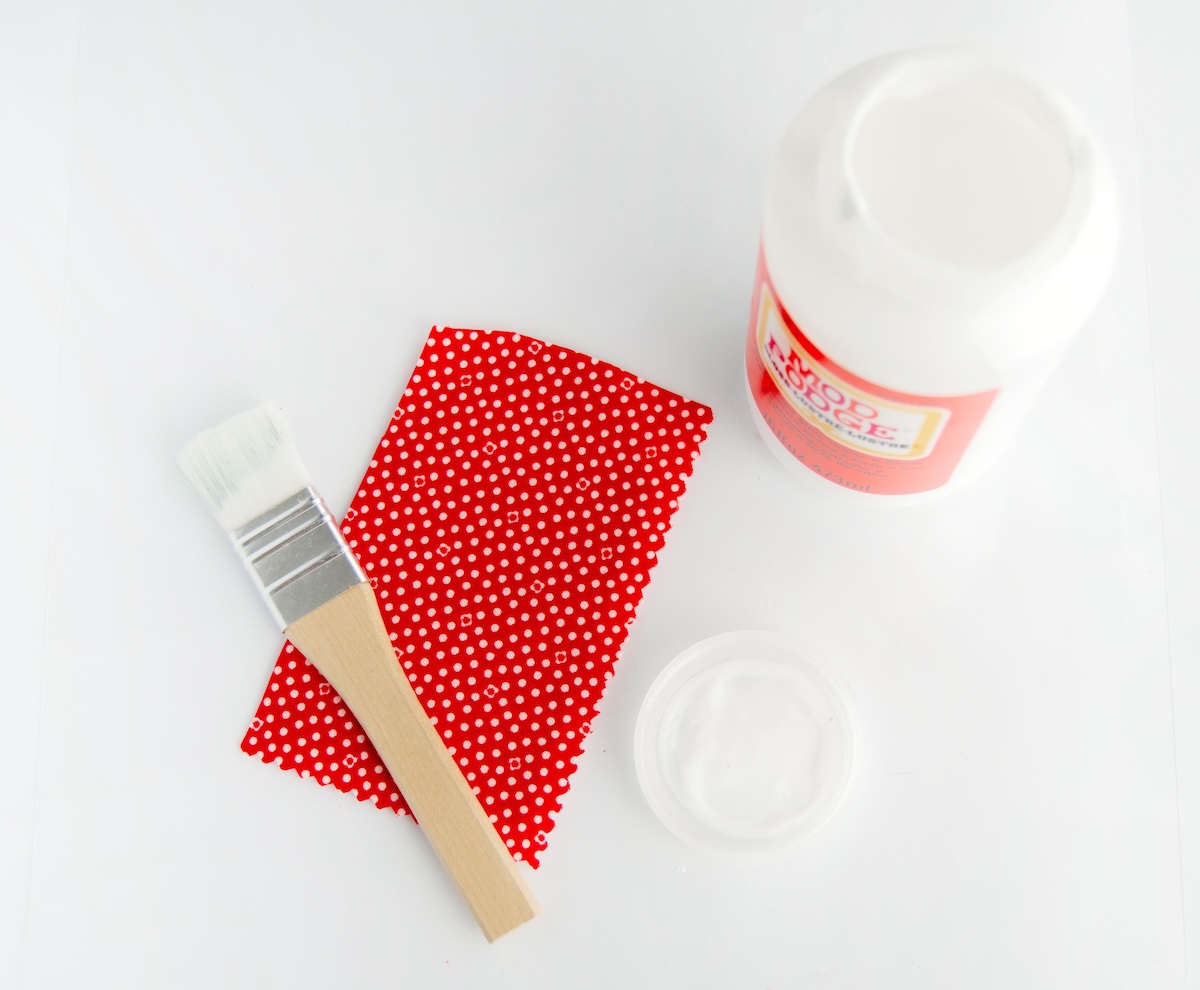
- Apply a layer of Mod Podge to the cardboard. Smooth the fabric flat onto one side and let dry briefly, then add another layer of Mod Podge on top. Let it dry.
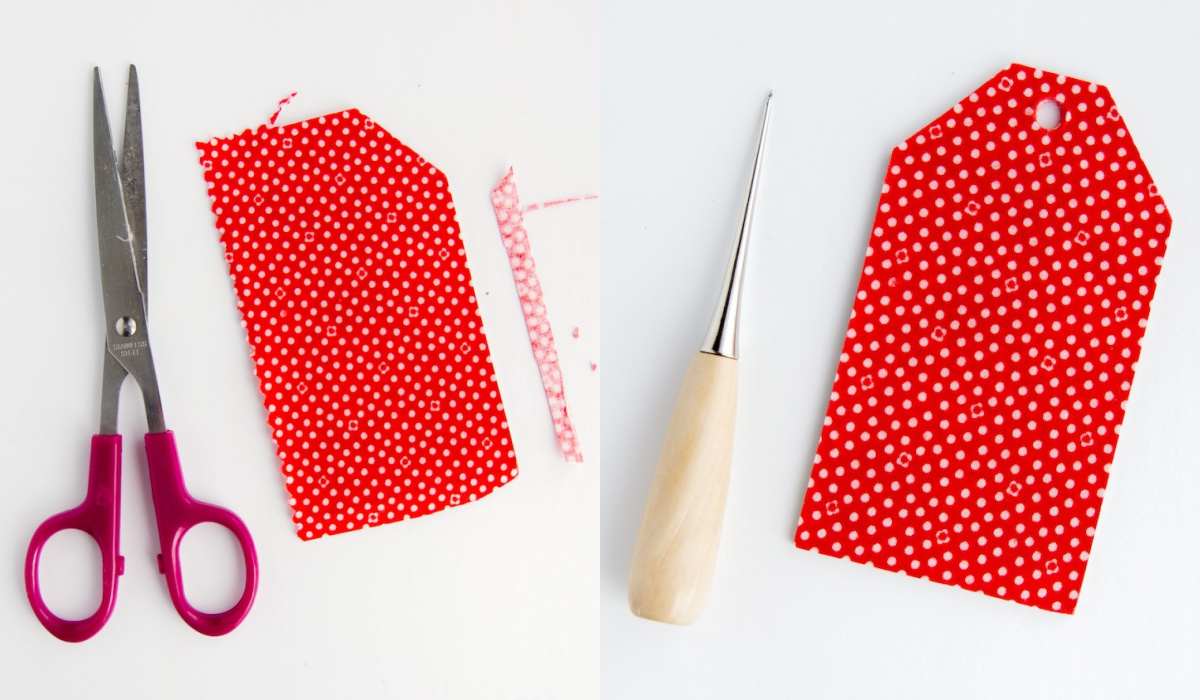
- Once dry, trim the excess fabric. Use an awl to pierce through the fabric for the hole. You'll still have one blank side.
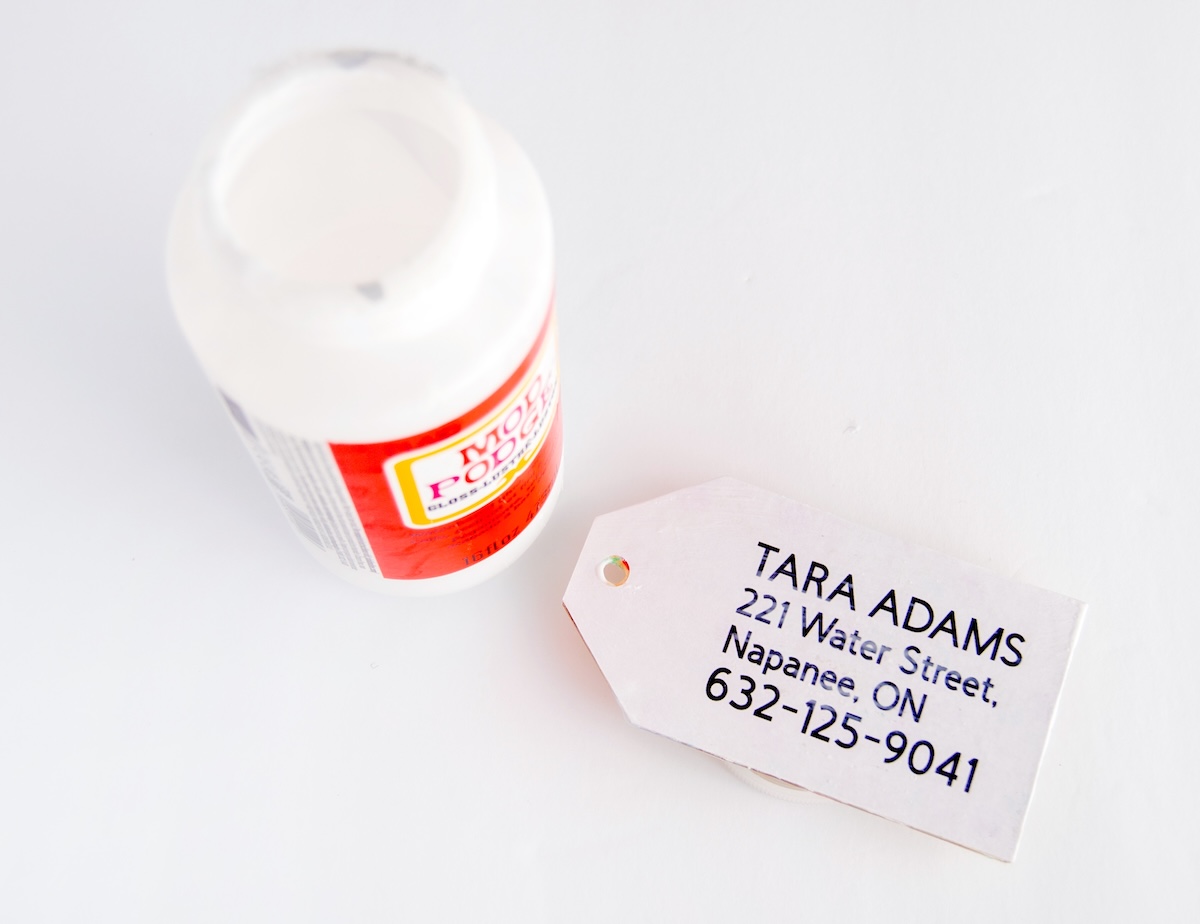
- To make a simple tag, print and cut the same shape with your details. Alternatively, you can write it. Mod Podge the tag with the printed information on the backside of your tag. Let it dry.
- Seal the both the front and back with another layer of Mod Podge and let it dry.
- To make one with a window: trace and cut another piece of fabric for the back of the tag (that is blank from step 4). Mod Podge the fabric piece onto the back of the tag and let it dry. Once dry, trim the excess fabric and use an awl to pierce through the fabric for the hole.
- Pick up the rectangle pieces from step 1. Trace and cut a piece of fabric for one of the pieces. Mod Podge the fabric onto the rectangle piece and let it dry.
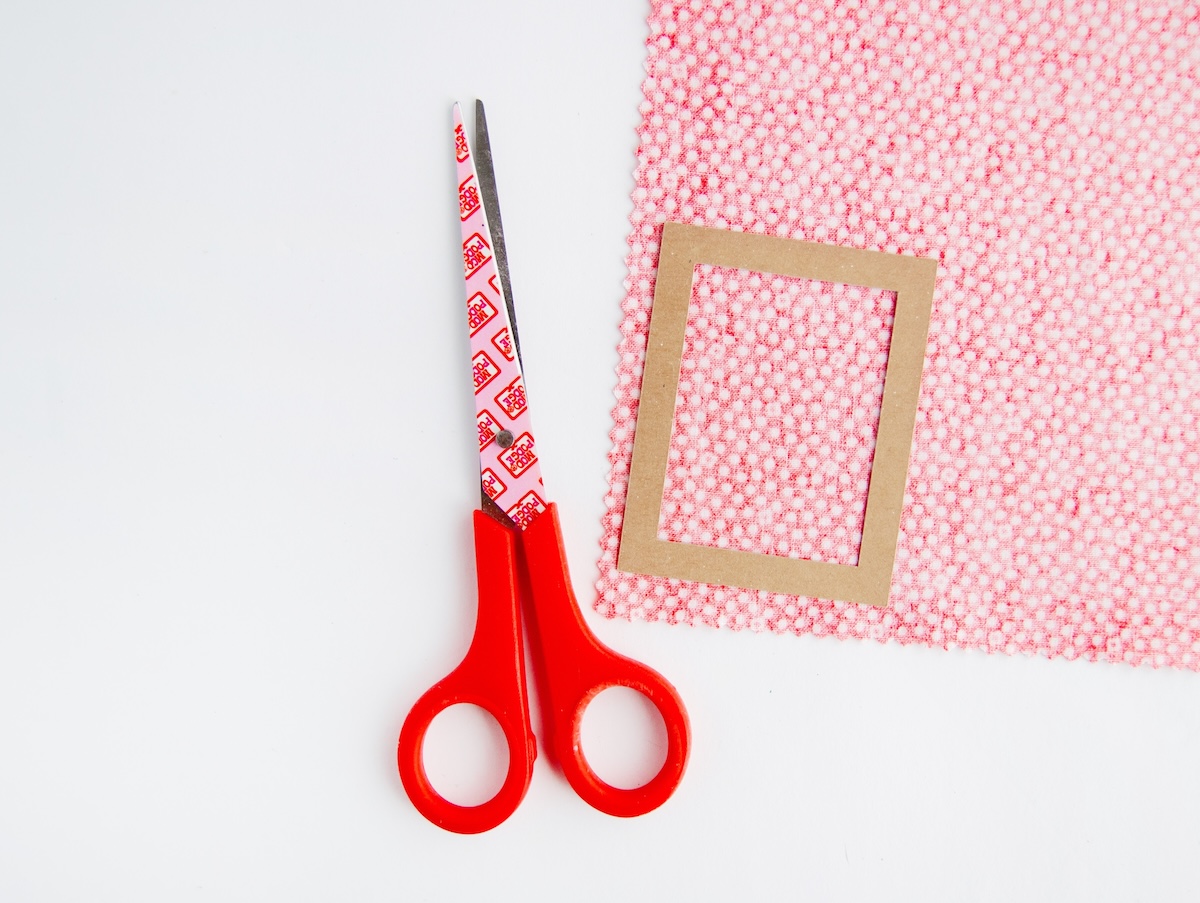
- Once dry, trim the excess fabric around and inside the rectangle piece(s) (I'm showing two from two different tags here).

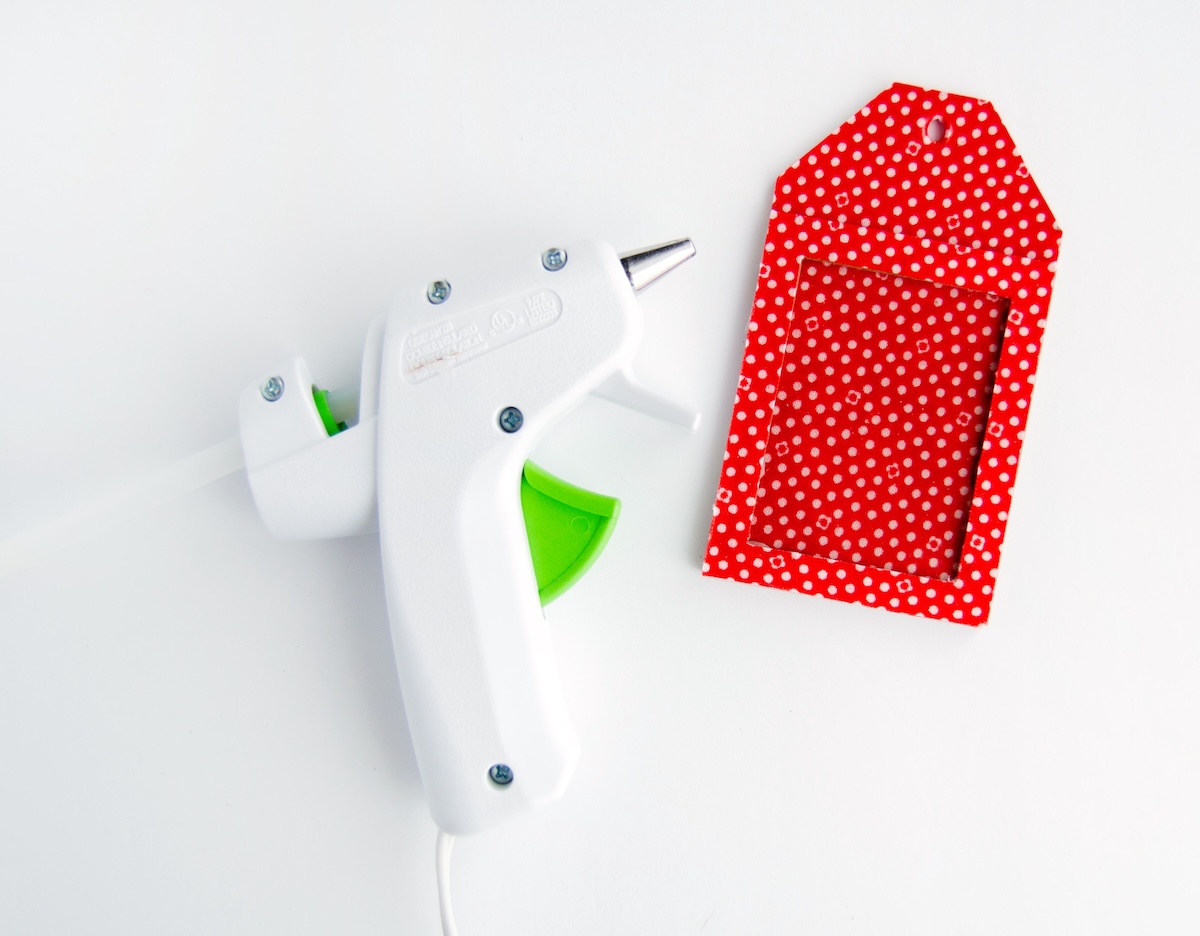
- Cut a thin plastic sheet (such as an acetate sheet) the same size as the rectangle pieces. Attach the three pieces together (one fabric covered window piece, acetate, than one blank window piece) with hot glue.
- Use hot glue to attach the window piece to the tag, leaving one end open to insert the paper. Then, insert a piece of paper with your address details.
Notes
I had all of the supplies on hand, meaning my project cost $0. You may have to purchase supplies.
Step 1: Use what you have on hand such as cereal or other boxes from the recycle bin.
Step 5: If you use inkjet, make sure the ink doesn't bleed by using the instructions here. You can also handwrite the address and then Mod Podge over it - learn more about which inks smear here.