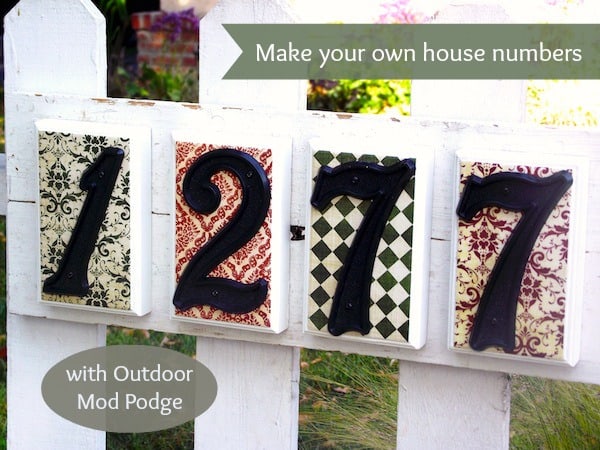
Use simple materials from Home Depot to make a custom DIY house number sign. It’s easy with your favorite scrapbook papers, paints, and Mod Podge!
Skills Required: Advanced Beginner. You should have prior experience with Mod Podge since the Outdoor formula is thicker (a little bit harder to work with). You’ll also be trimming paper to fit plinths which is a little tricky.
I have a difficult time figuring out what side of the street a house is supposed to be on. Is there a general rule for even or odd?
I can easily get to the general area of where I am supposed to go. However, when I finally arrive, I creep along trying to figure out why I can’t find house numbers. Sometimes there are in fives, sometimes fours . . . there appears to be no rules. Is it just me?
I really appreciate a clear house number sign so that I can figure out where I’m going. Thank goodness for Man Podger David and of course, Outdoor Mod Podge – because now you make one yourself with simple materials from Home Depot. This would also be great for your garden too! Here’s David with the tutorial.
I live in Los Angeles, I don’t have a GPS and, honestly . . . I get lost a lot.
I’m always driving around hunting for street numbers while trying to simultaneously keep my eyes on the road but I’m a terrible multi-tasker.
Recently, while wandering aisles at Home Depot (it’s what I do), I was inspired to make some house numbers that would be fun, decorative and easy to see.
I found these cool plinth block molding pieces (at the really cool price of $2.78 each). There were also some inexpensive house numbers ($1.89 each) and a piece of scrap wood in their left-over pile near in the lumber cutting area.
Once I added some scrapbook paper and Mod Podge from my stash, I was all set. This project will cost approximately $20 – $24 depending on how many numbers are in your address.
Here’s how this house number plaque is made.
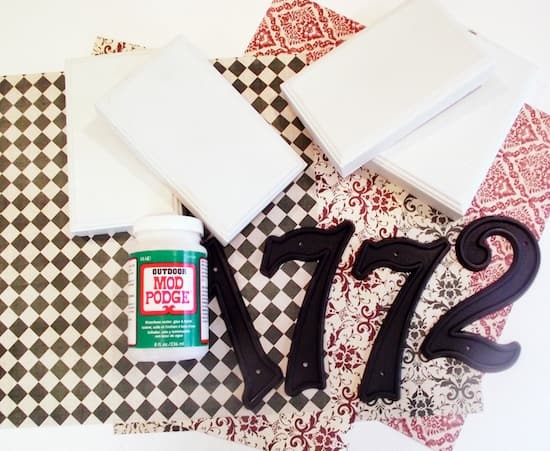
DIY House Number Plaque
Gather These Supplies
- Outdoor Mod Podge
- Plinth molding – or one small wood plaque per number
- House numbers
- Scrap wood cut to size and painted white (not pictured)
- Scrapbook paper
- Paintbrush
- Spray sealer (not pictured)
- Screws
- Drill and drill bit
- Scissors or craft knife
Cut the scrapbook paper to fit the raised section on the plinth. One easy way of doing this is using tissue paper to make a template.
Place the tissue paper on top of the plinth and rub a pencil on the edges. Tape the tissue paper to the back of the scrapbook paper and cut out.
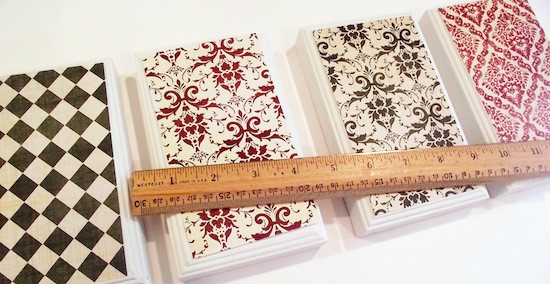
After the paper is cut out, attach it to the plinths using Outdoor Mod Podge. Spread a medium layer of Mod Podge onto the surface of the plinth, then place the paper down and smooth thoroughly with your hands or a brayer.
Wipe away excess Mod Podge that comes out the sides with your brush.
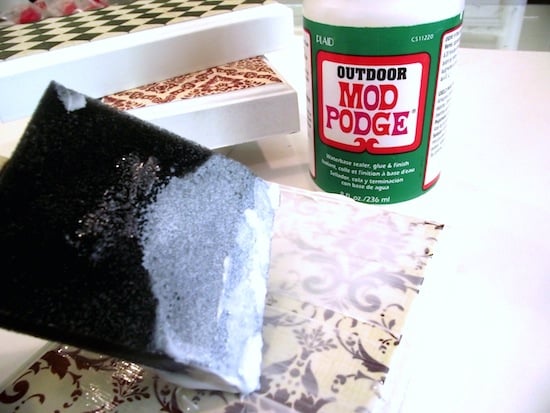
Let your house number sign dry for about 20 minutes, then seal the tops of the paper with additional Outdoor Mod Podge. At this point it was late, so I let the project dry overnight.
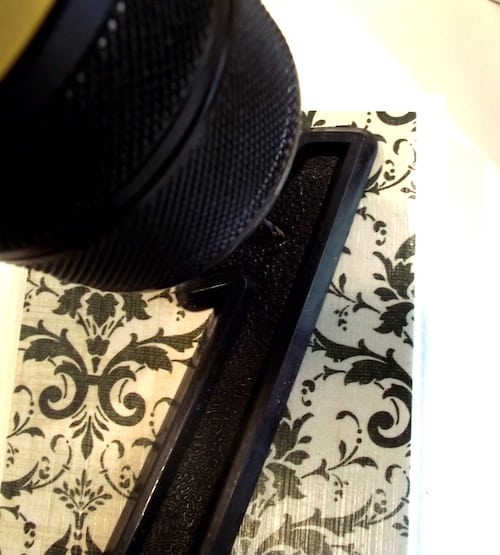
Lay the numbers on the plinths and space them as you would them to display. Drill pilot holes, then attach the numbers using the screws provided in the kit.
Attach the number blocks to the scrap wood by screwing them in from the back.
For a little extra protection (for the MDF plinths and the scrap wood), seal the house number plaque with a couple of light coats of a spray-on polyurethane (see note below).
I attached the house number sign to my fence (again screwing it in from the back).
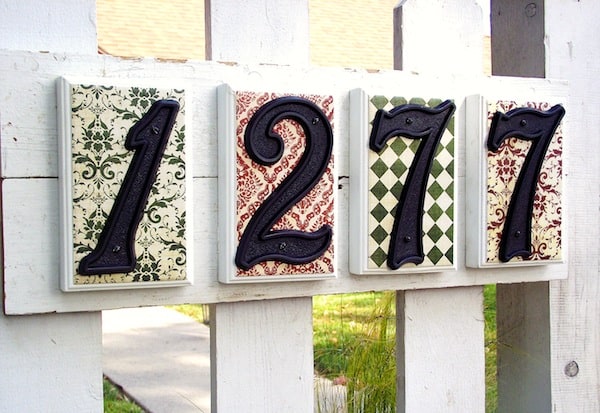
Now people can find my house . . . even if I can’t find theirs! It fits really well with my farmhouse style. I’d love to know what you think of this project in the comments.
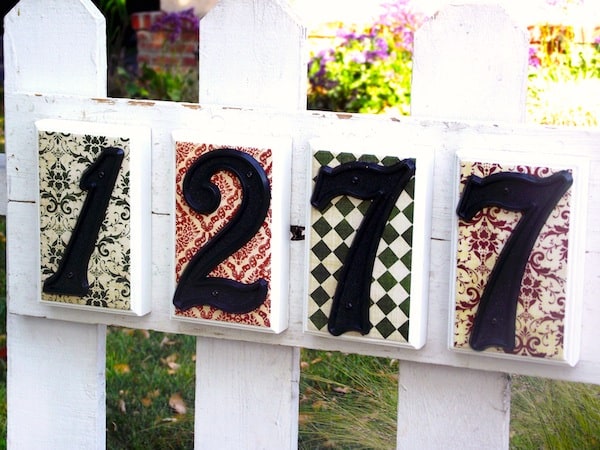
Notes: I live in Los Angeles where rain and snow aren’t too much of a concern. My plinths are made from MDF, but if I were in a more weather-prone area I would opt for the maple wood plinths. They only cost $3.80 and would hold up better!
House Number Sign
Equipment
- Scissors or craft knife and mat
Materials
- Mod Podge Outdoor
- Plinth molding
- House numbers
- Scrap wood cut to size painted white
- Scrapbook paper
- Clear acrylic spray sealer
- Screws
Instructions
- Cut the scrapbook paper to fit the raised section on each plinth. Create a template if needed (see Notes).
- Attach the paper to the plinths using Outdoor Mod Podge. Spread a medium layer onto the surface then place the paper down and smooth thoroughly. Let dry for 20 minutes.
- Seal the tops of the paper with Mod Podge and let dry.
- Lay the numbers on the plinths and space them out. Drill pilot holes, then attach the numbers using the screws provided in each kit.
- Attach the number blocks to the scrap wood by screwing them in from the back.
- For a little extra protection seal the house number plaque with a couple of light coats of a spray-on polyurethane.
- Attach the sign to your house or to a fence using screws to finish.
Notes
- Creating a template with tissue paper: place the tissue paper on top of the plinth and rub a pencil on the edges. Tape the tissue paper to the back of the scrapbook paper and cut out.
- Scrap wood is easy to find at the home improvement store or lumberyard. Sometimes they will even cut it to size for you!
If you like this house number sign, I’d love for you to check out these other projects:




Here in the Phoenix area, the even numbers are on the North & East sides of the street. I can only remember because “E” & “N” are in the word “even.”
I love this idea! I have been looking for a way to add house numbers to my landscape. Now that I know there is such a thing as outdoor mod podge, I can’t wait to make these!
I love this idea! We are working on some outdoor changes to our house and, honestly, the numbers on the house are a big problem! This would be a great solution.
I love this. I can’t wait to try!
What a great way to personalize the outside of your home!
Another great idea to add to my list:)
What a great idea!!! I hate it when the house numbers aren’t visible, too!
Love it!