Learn to craft a DIY faux leather journal cover with paper bags and Mod Podge in this easy, step-by-step guide. Fun and creative!
Skills Required: None. If the project is wrinkled – well it’s supposed to be. There’s a lot of flexibility with this project, so you can do it with no crafting experience.
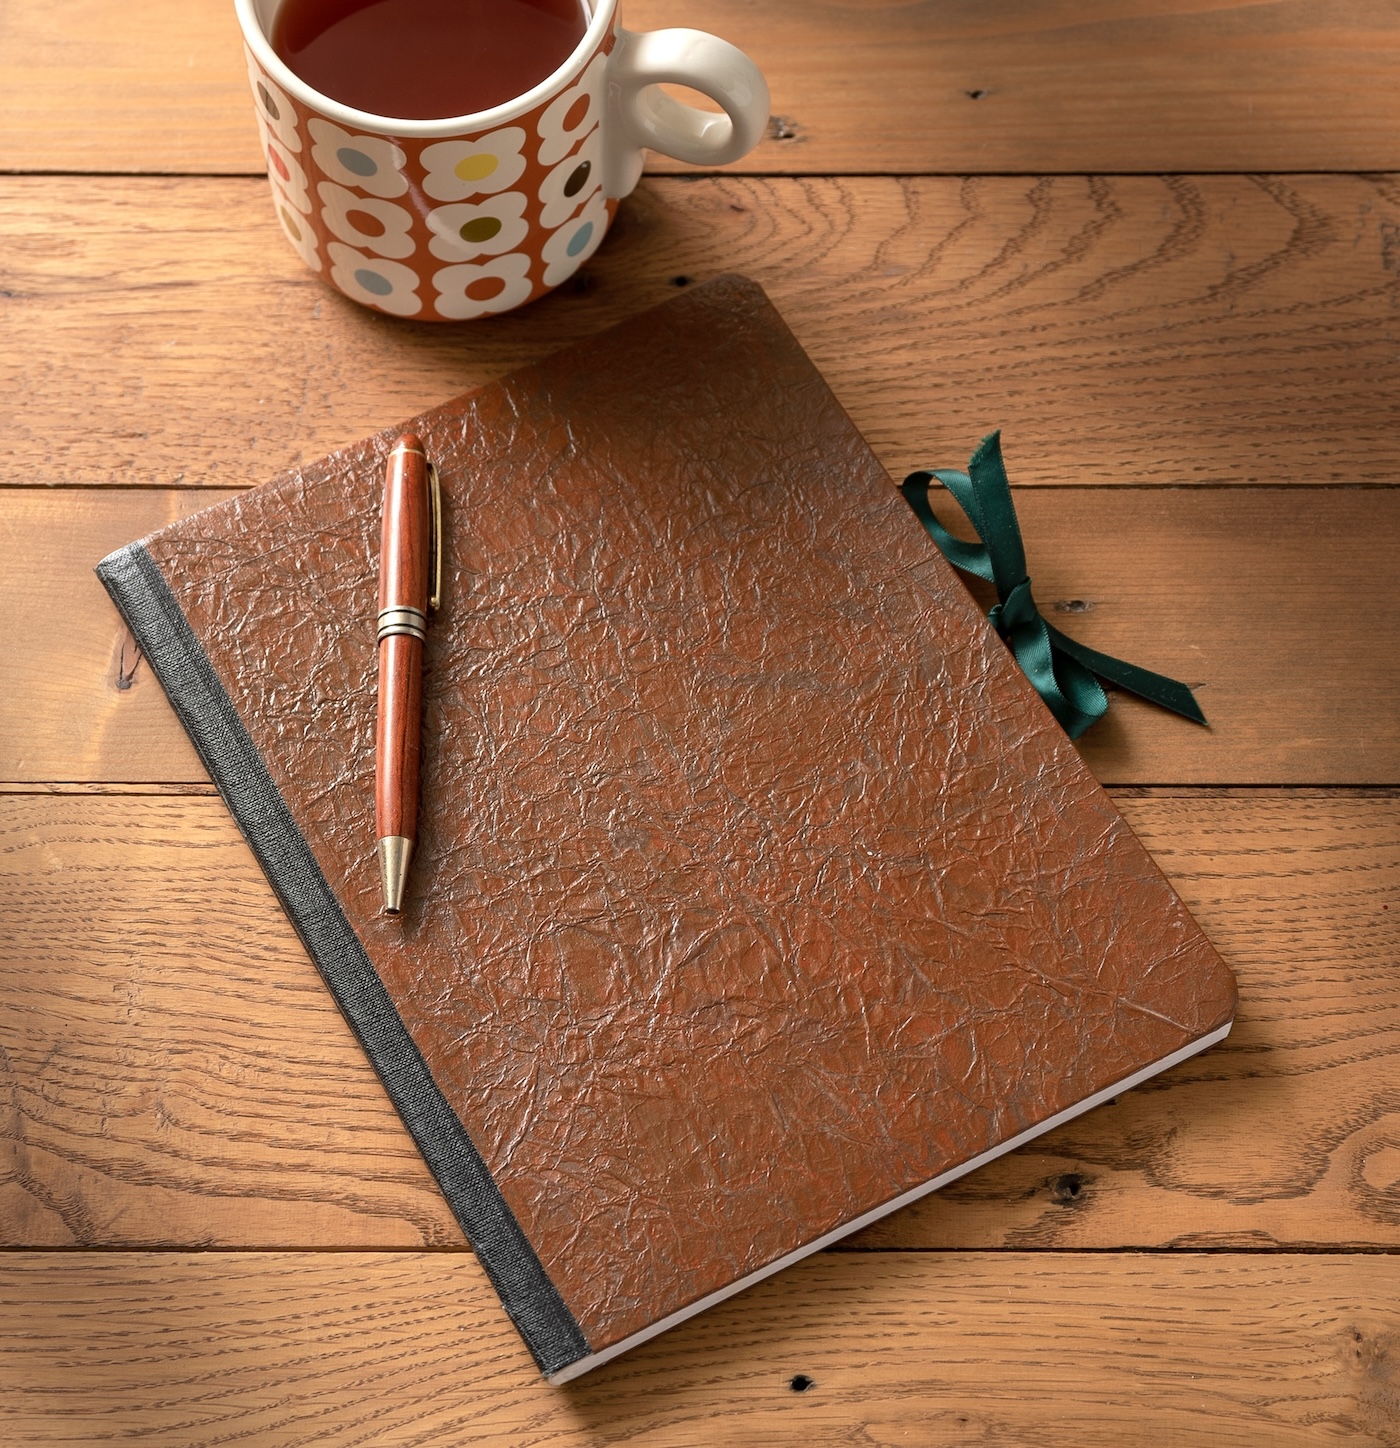
There’s a timeless beauty of leather that evokes a sense of class and craftsmanship that’s hard to beat. But what if I told you that you could create that same sophisticated look with items you probably have lying around at home?
Yes, it’s true! In this decoupage adventure, we’re going to transform ordinary paper bags into a DIY faux leather journal cover that will turn heads and start conversations.
Imagine sitting at a cafe, sipping your favorite drink, and jotting down notes or sketching in a journal that looks like it was crafted from fine leather. But here’s the secret – it wasn’t!
You made it yourself with a bit of crafty magic and some help from our trusty friend, Mod Podge. It’s a perfect project for those who love the look of leather but prefer a more affordable and ethical alternative.
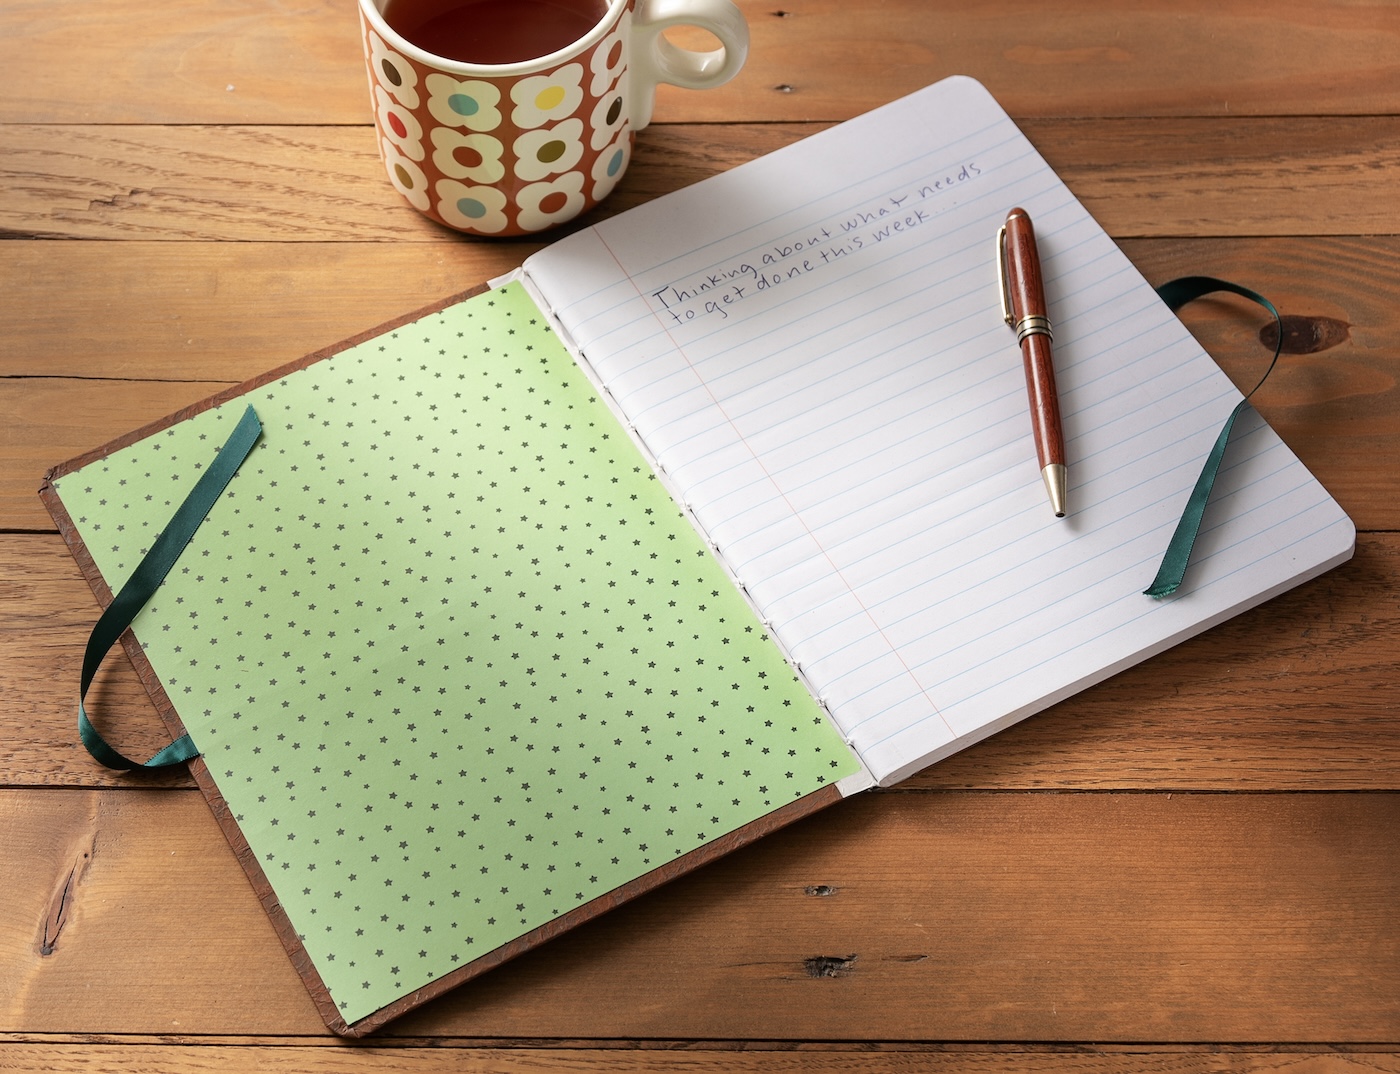
Today, I’m going to walk you through how to make a journal cover that’s not only chic but also incredibly fun to create. We’ll start with a simple notebook and use common supplies like paper bags, acrylic paint, and, of course, Mod Podge to achieve that rich, leather-like texture.
Here’s how we’ll do it: We’ll crumple and paint the paper bags to mimic the intricate details of leather, then seal them onto your journal with layers of decoupage medium for durability and finish.
So, roll up your sleeves, gather your materials, and get ready to embark on a crafting journey that will leave you with a faux leather journal so beautiful, it’ll be hard to believe you made it yourself!
This would also make a great handmade gift idea for someone special – plus I love that you can customize the inside.
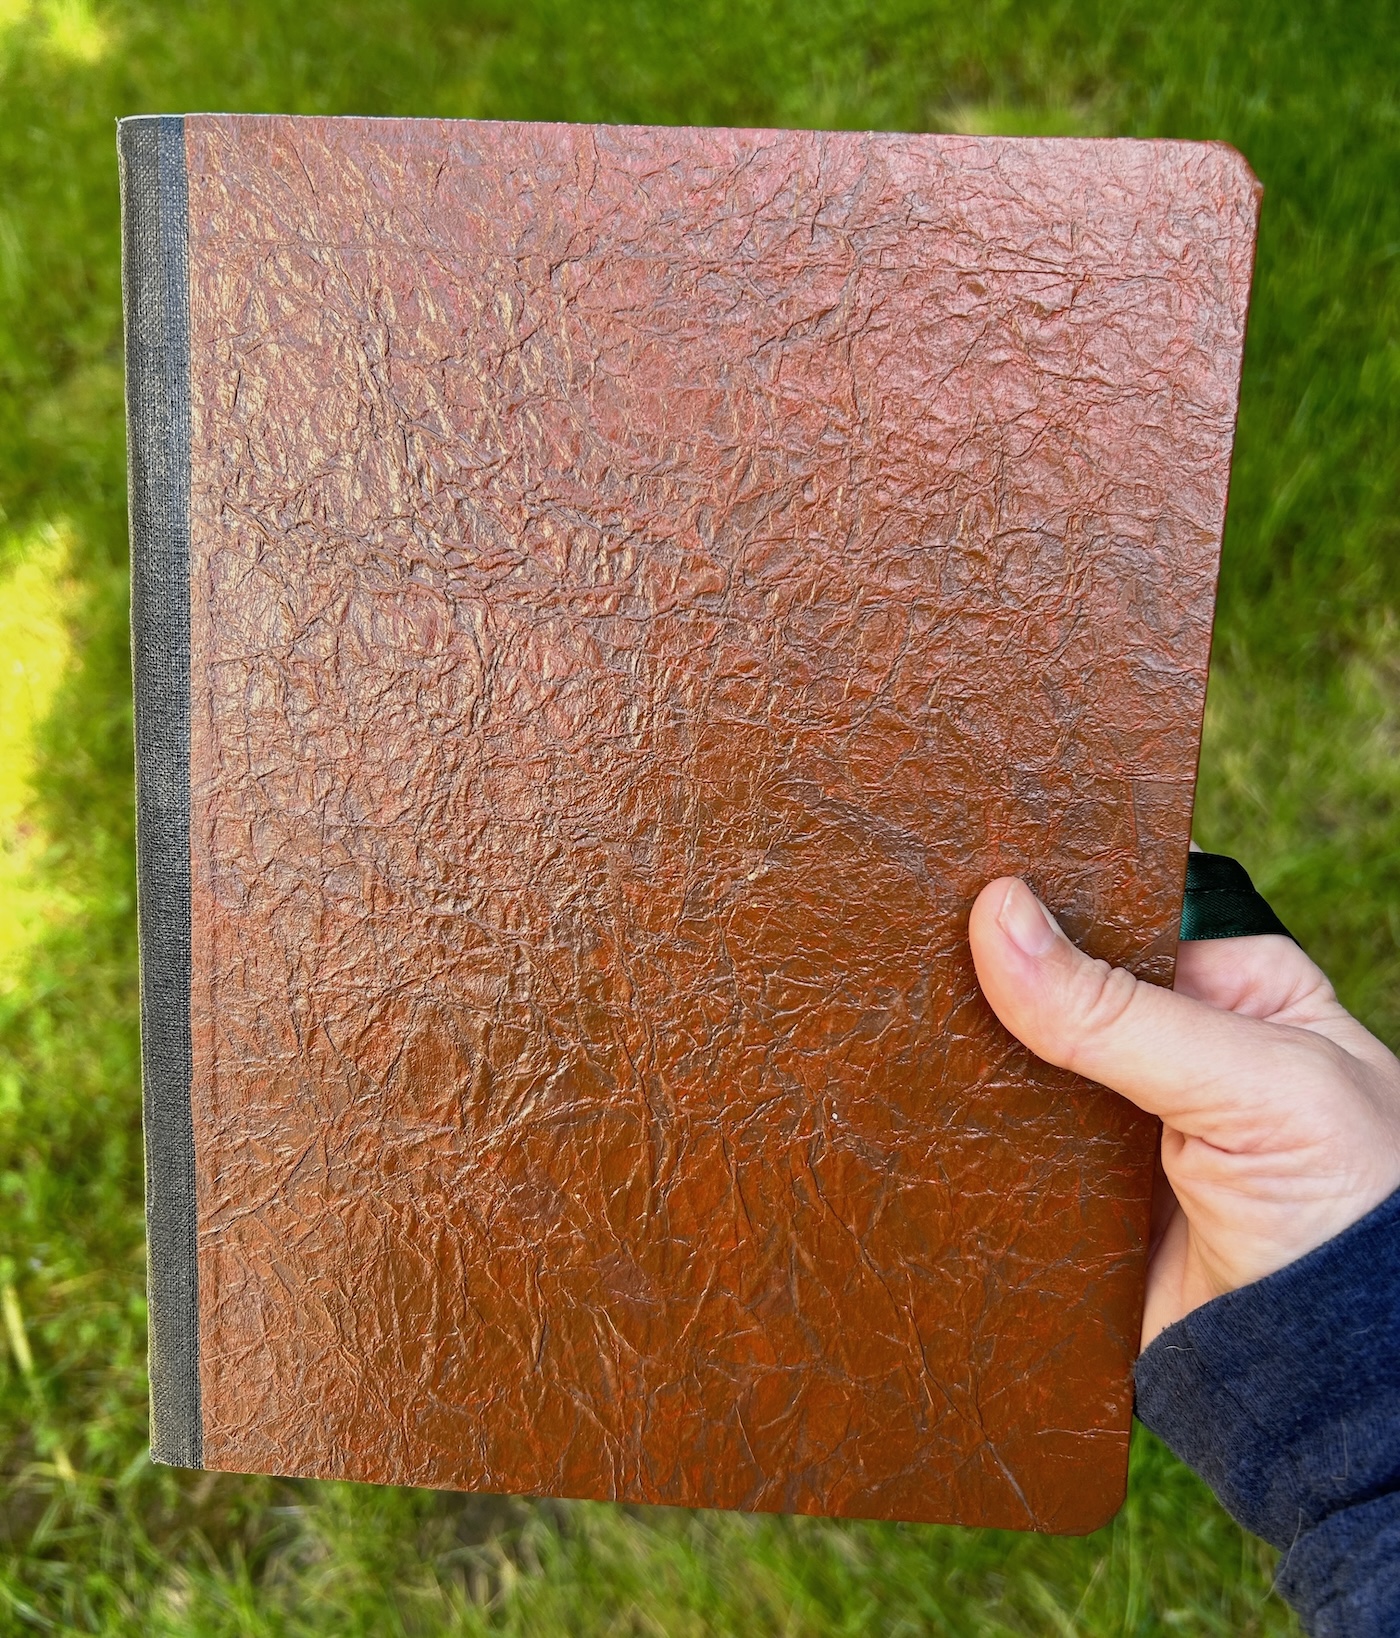
Let’s turn those ordinary materials into an extraordinary journal that captures your style and spirit. Ready to create something wonderful? Here’s what you’re going to need.
Gather These Supplies
- Notebook – perfect bound versus spiral
- Paper bags
- Mod Podge (any formula – I used Gloss but Matte or Satin would be fine)
- Acrylic paint in two shades of brown (darker and lighter)
- Paintbrush
- Scissors
- Pencil
- Ruler
- Craft glue
- Sponge
- Scrapbook paper
- Ribbon – 18”
- Craft knife and mat (optional)
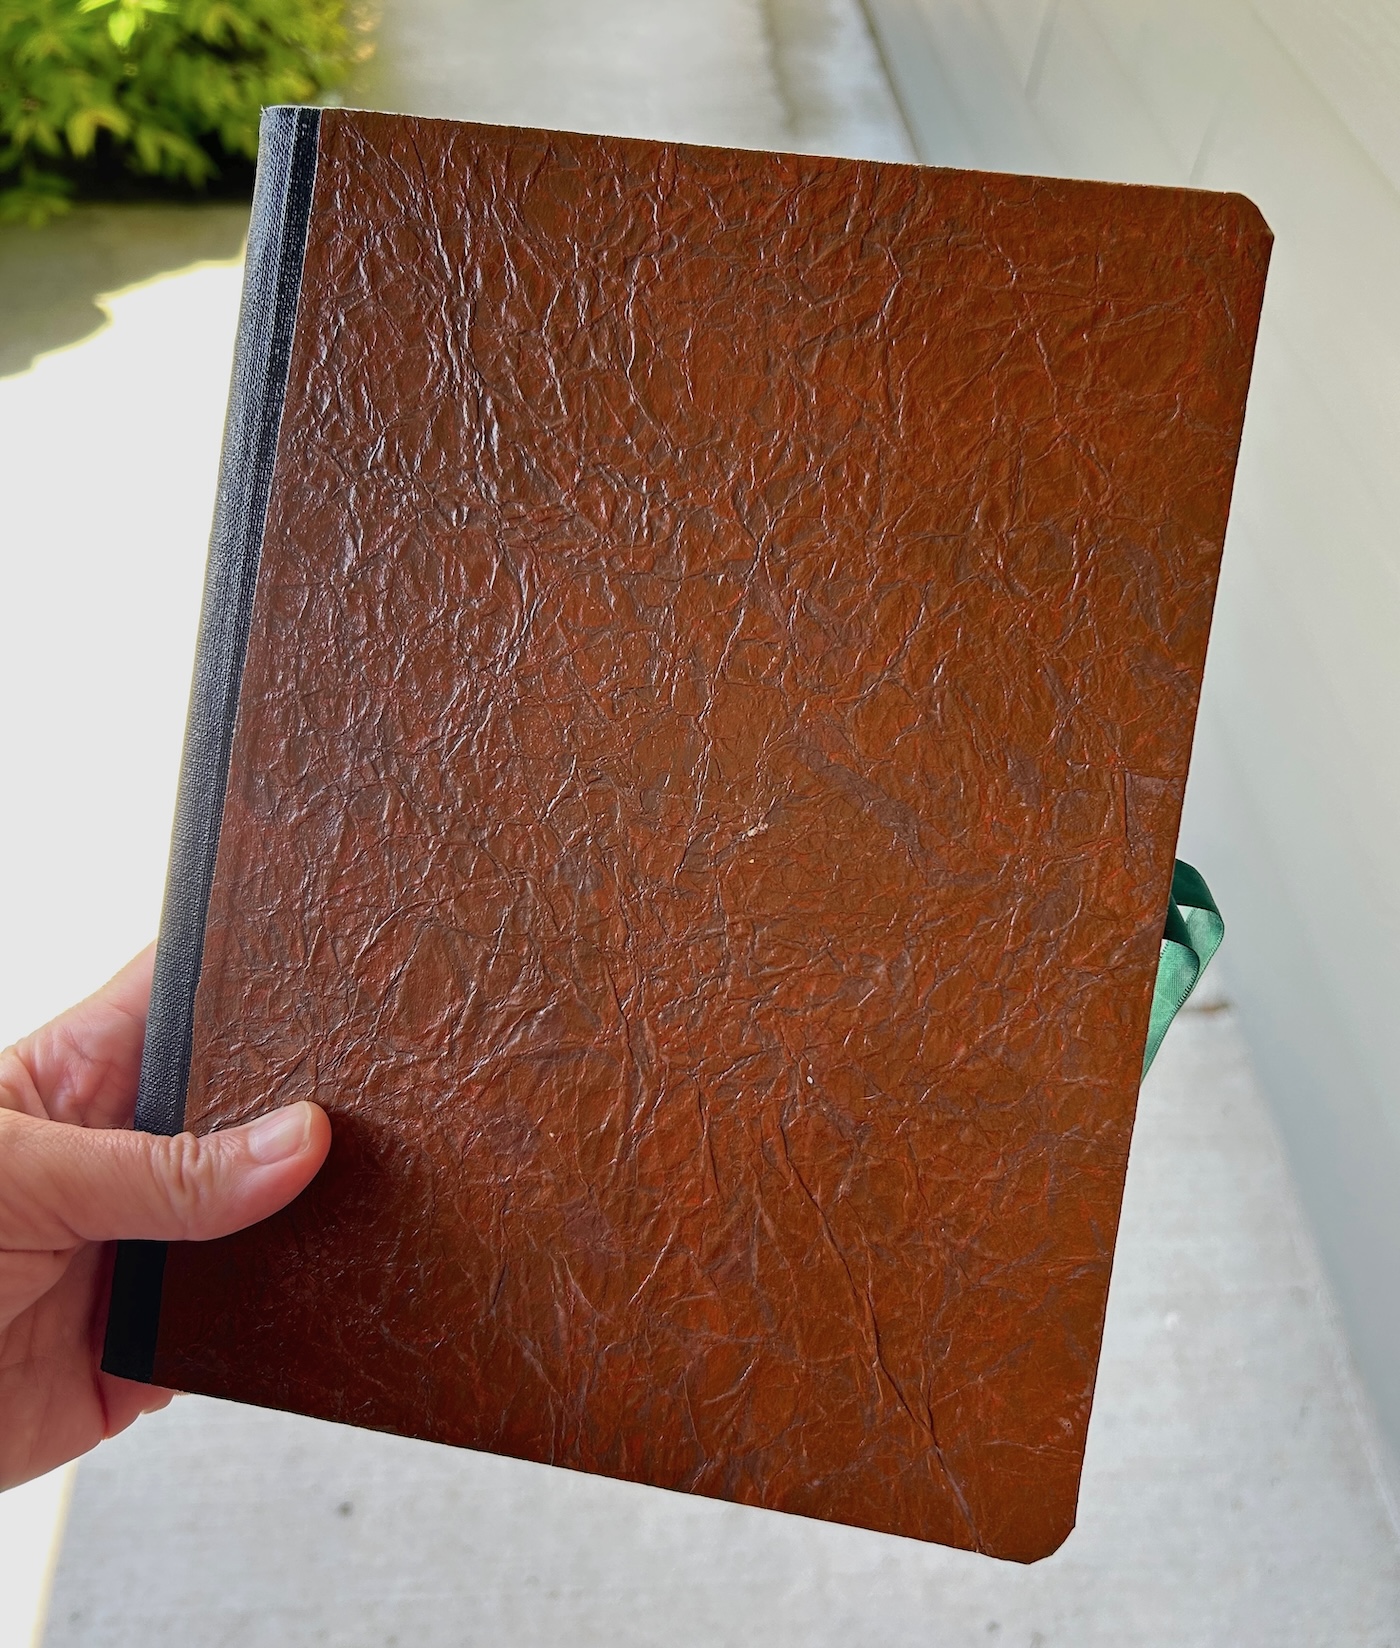
Get the printable how to card for this project below:
DIY Faux Leather Journal
Equipment
- Sponge
Materials
- 1 Notebook perfect bound versus spiral
- Paper bags
- Mod Podge Gloss
- Acrylic paint two shades of brown, darker and lighter
- Craft glue
- Scrapbook paper
- Ribbon 18”
Instructions
- Measure the front and back cover of the notebook using a ruler.
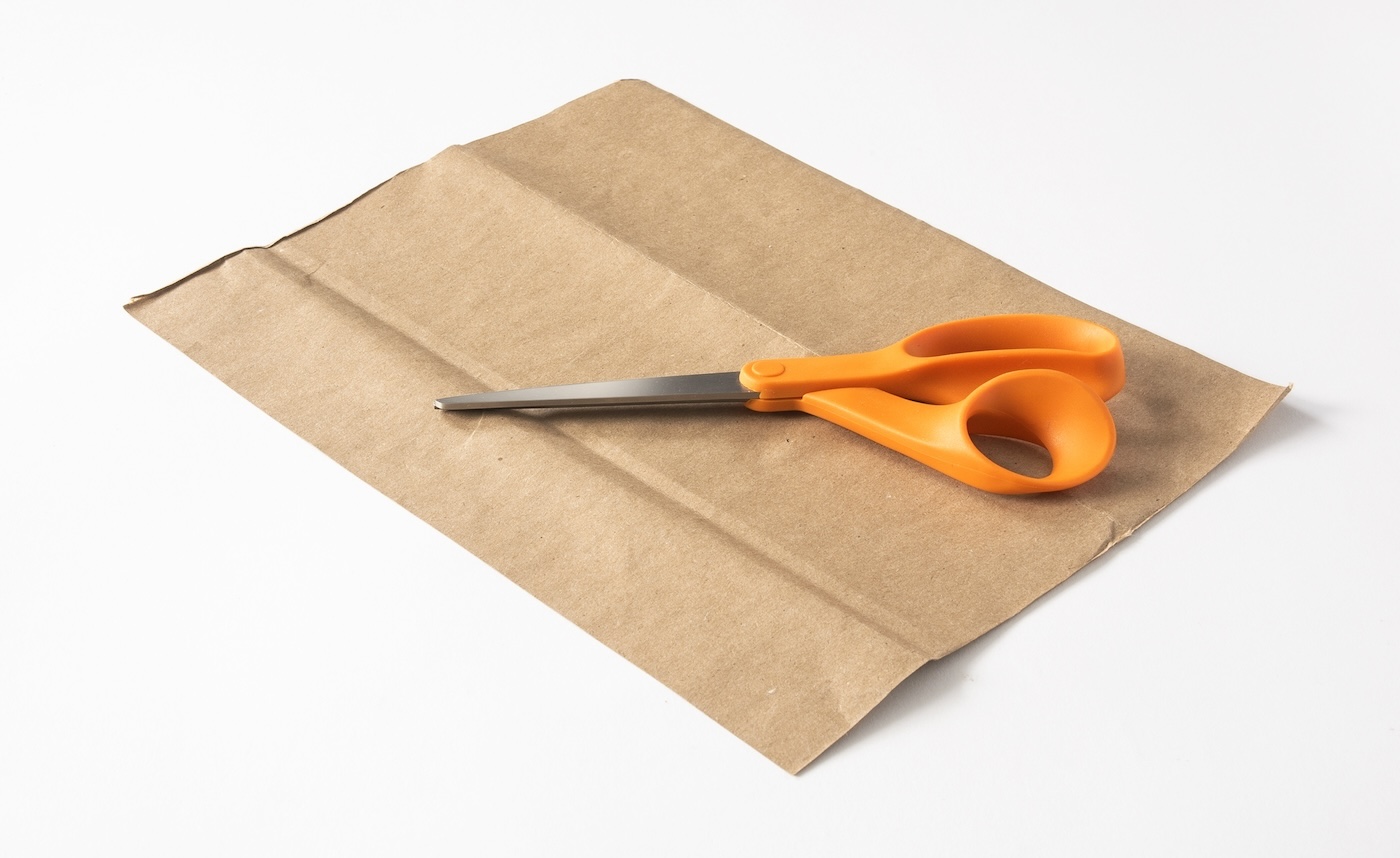
- Cut paper bag pieces that are approximately 1-inch larger on both sides than your notebook.
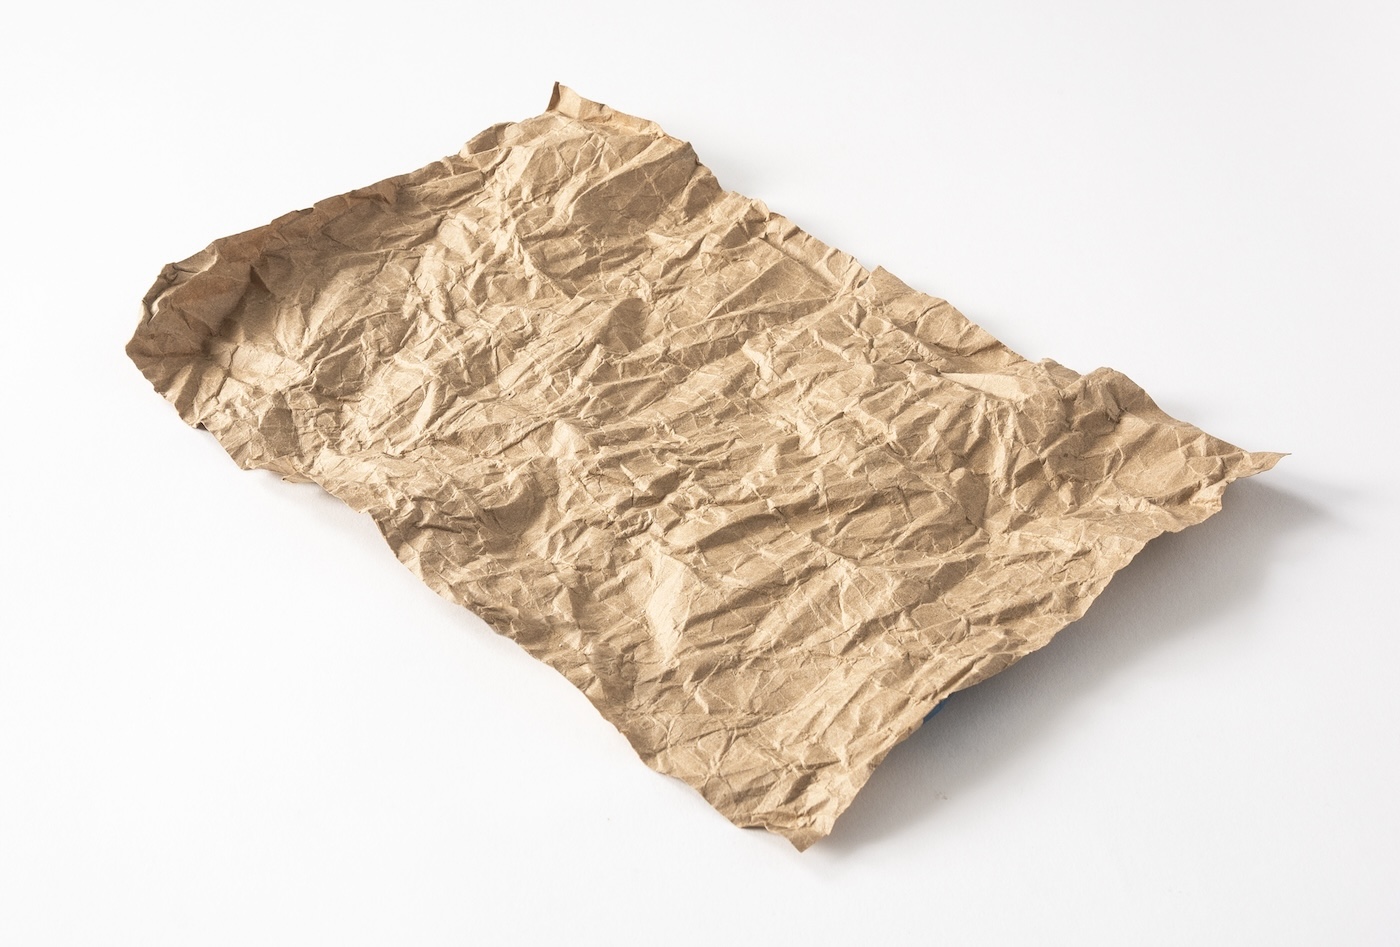
- Crumple both pieces of paper bag in your hands, creating wrinkles. Then, smooth out the paper and repeat. You want to create lots of wrinkles without tearing the paper.
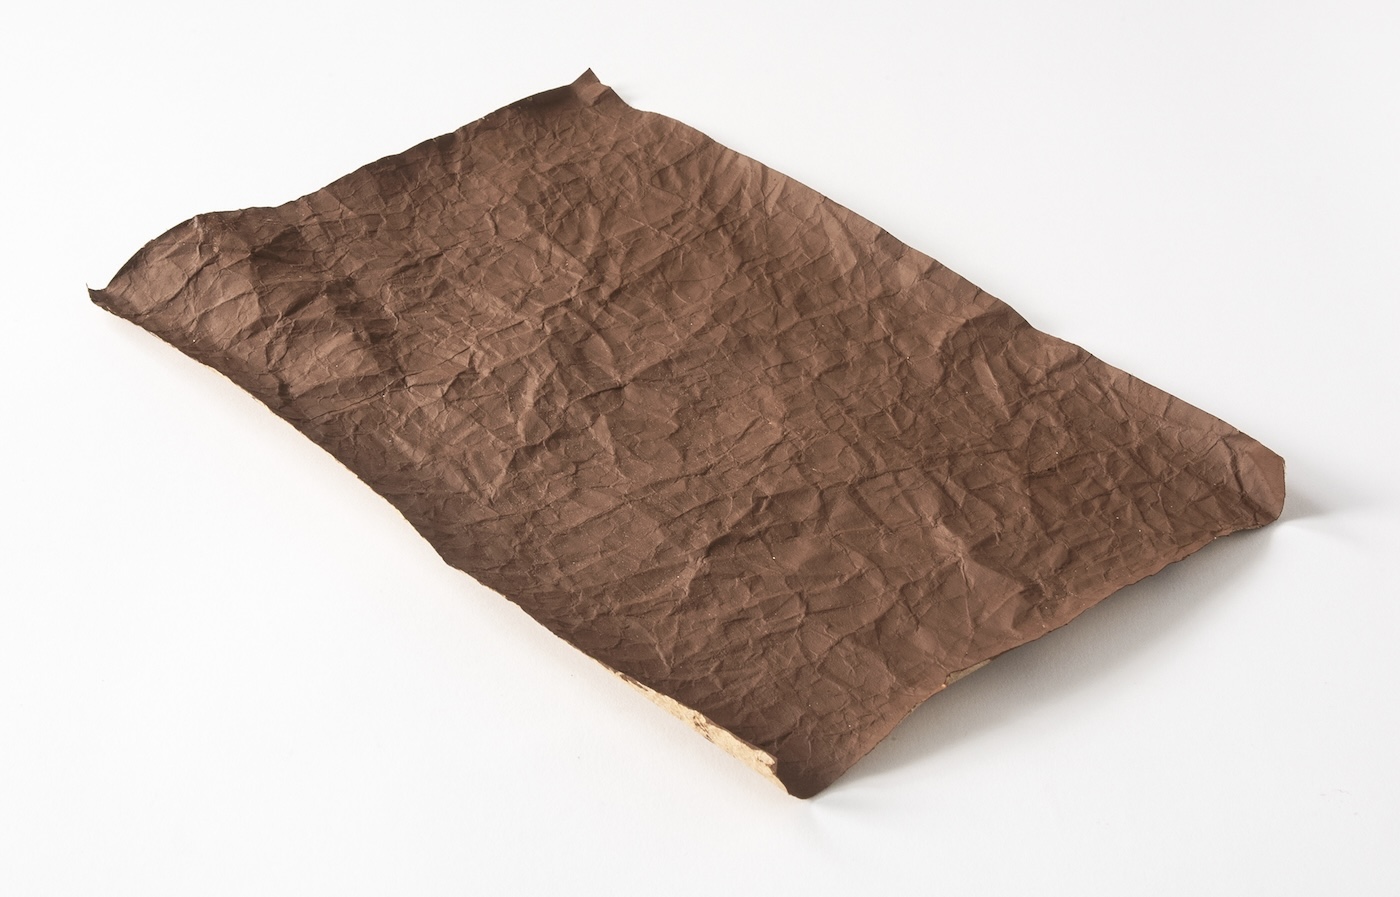
- Paint both pieces of paper with the darker brown. Completely cover and let dry.
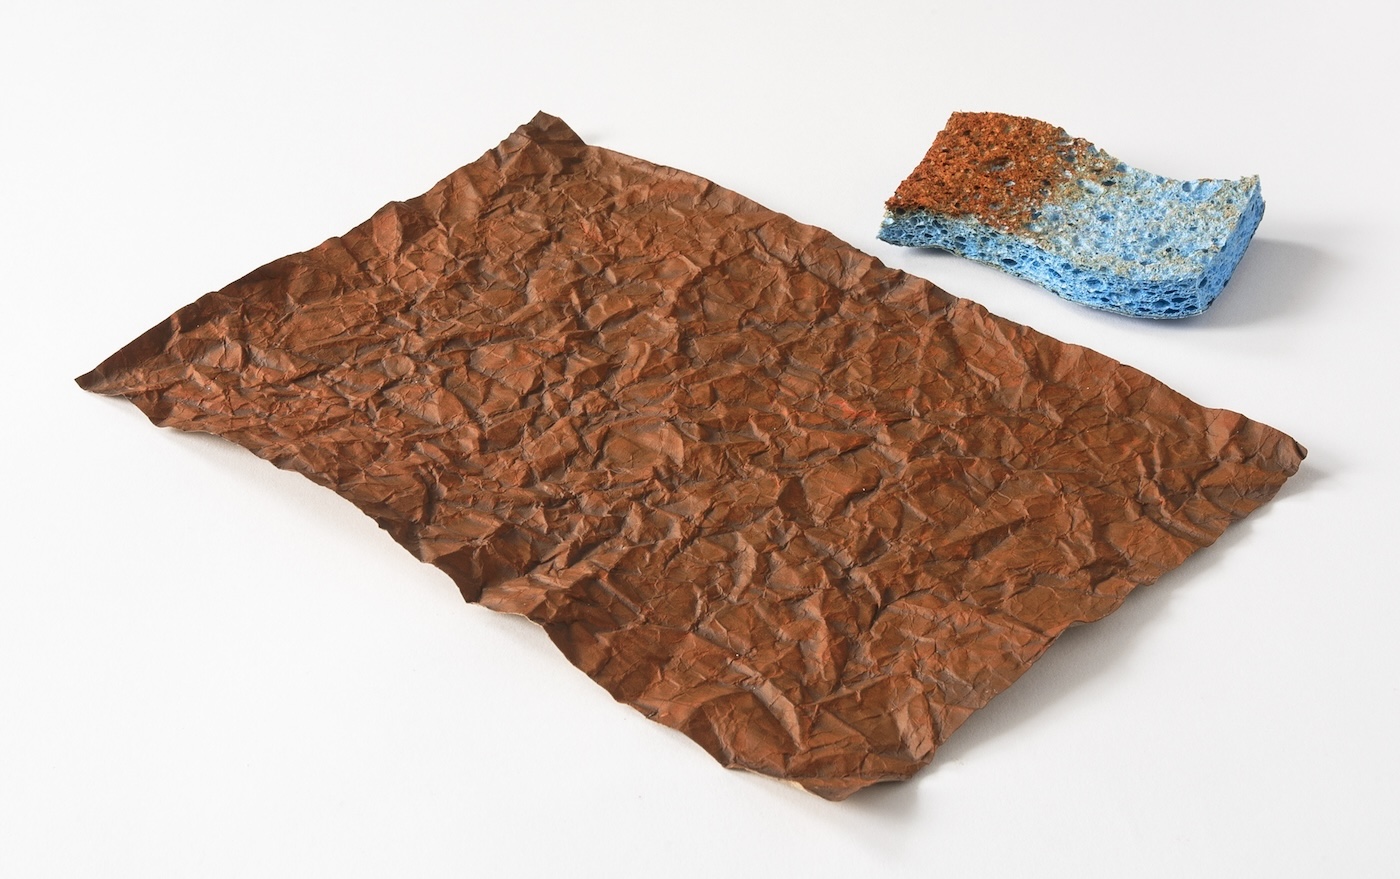
- Place some lighter brown paint down on a paper plate and dip your sponge lightly. Remove some of the paint. Run the sponge gently over the top of the paper, creating contrast. Do with both pieces of paper and let dry.
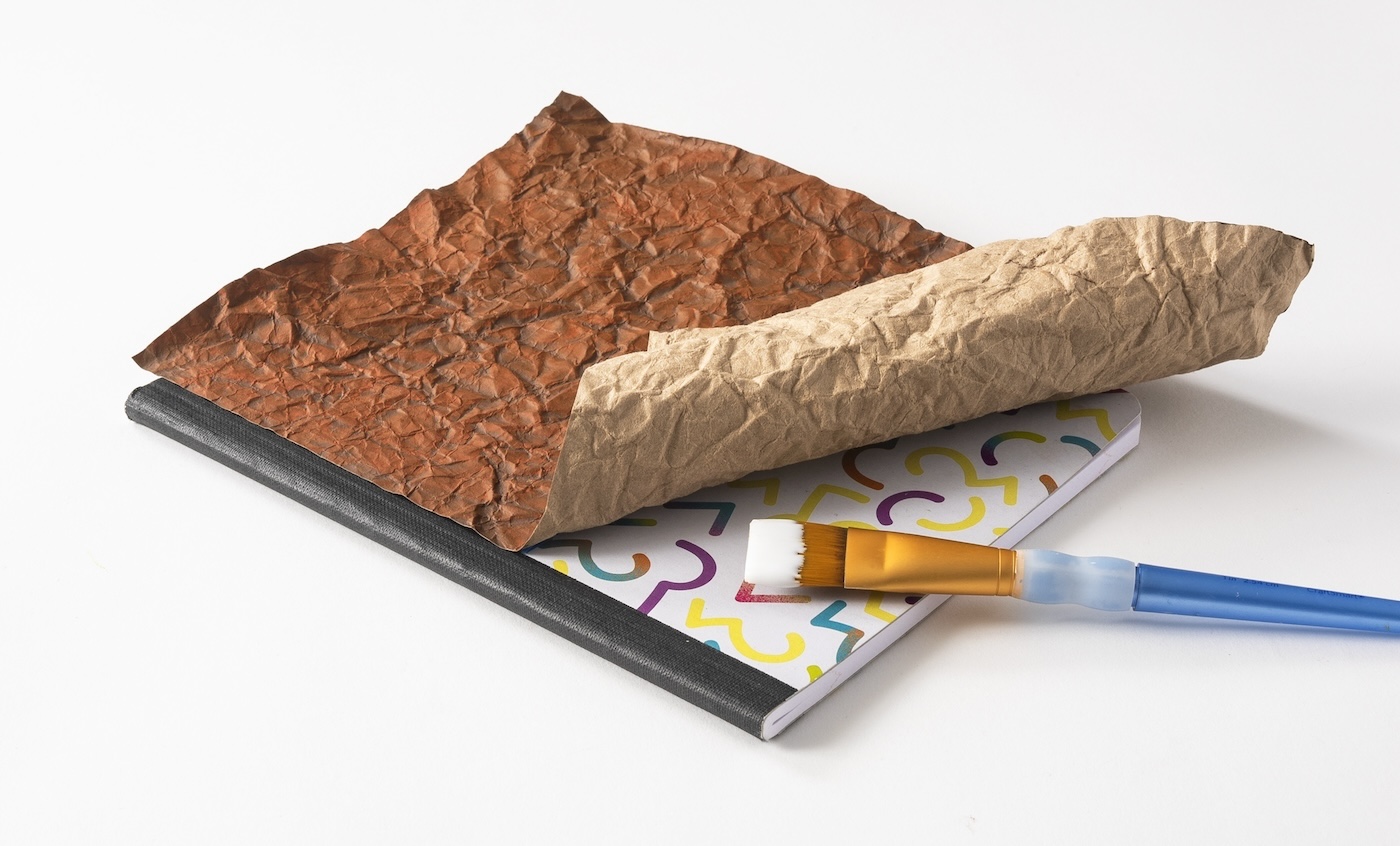
- Apply decoupage medium to the front cover of the book. Smooth one of the paper bag sheets down onto the cover and smooth, folding down over the edges. Let dry for 15 to 20 minutes. Repeat on the back cover.
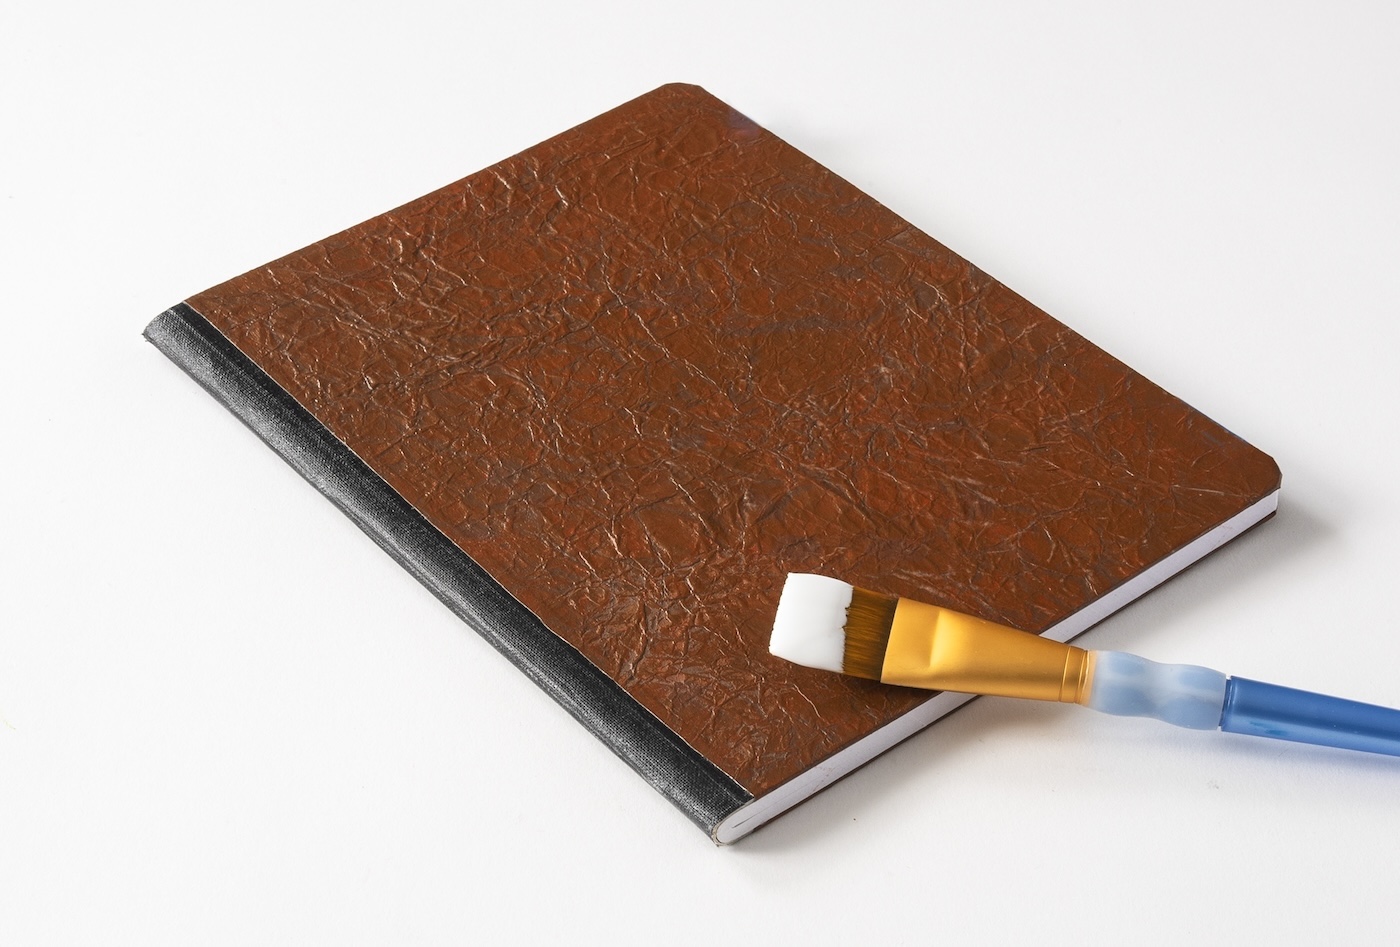
- Add a topcoat of decoupage medium to the top of the front cover. Let dry and repeat on the back cover.
- Cut two pieces of scrapbook paper that fit the inside of the front and back covers, using the ruler and scissors or craft knife and mat.
- Cut two equal lengths of ribbon around 9 inches each. Glue one piece to the inside of the front cover and one piece to the inside back cover. Let dry.
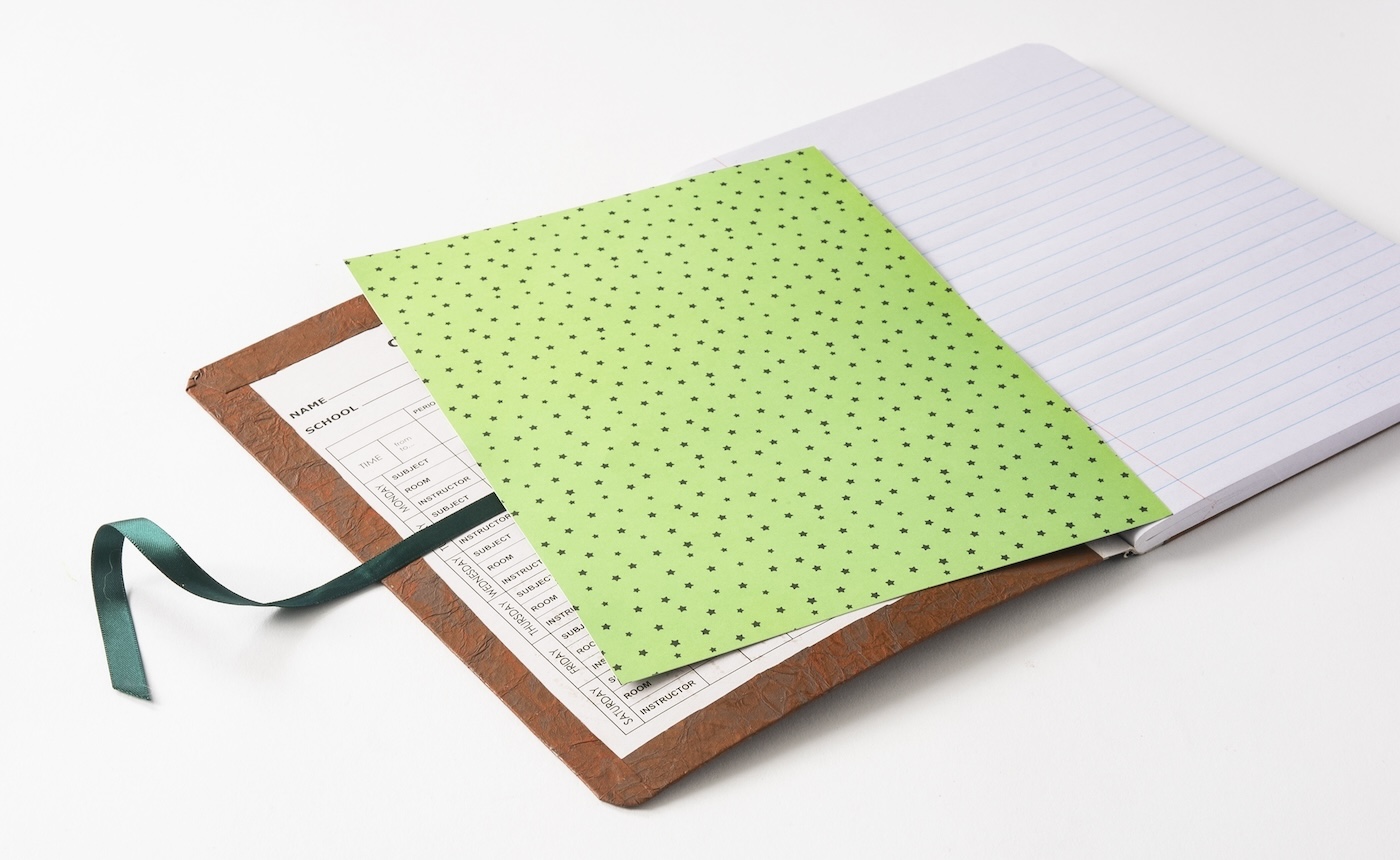
- Apply decoupage medium to the inside cover and smooth one of the pieces of scrapbook paper down on top. Let dry. Repeat on the inside back cover. Let dry 24 hours before using.
If you enjoyed learning how to make faux leather with paper bags, let me know in the comments! Please also check out these other ideas:




Learned quite a bit. Thanks