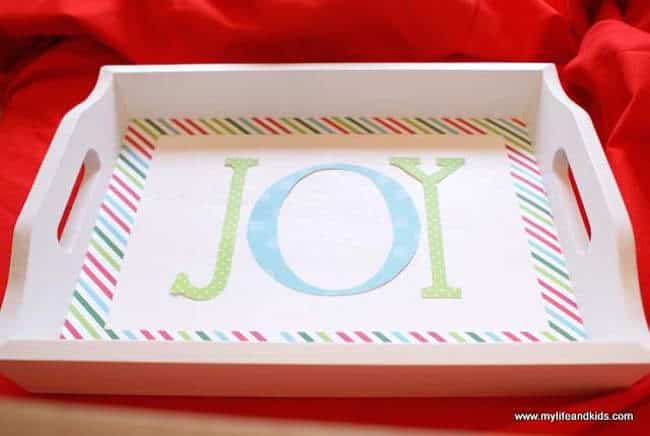
This joyful DIY Christmas tray is SO easy to make for the holidays! Great for displaying cookies for Santa or other Christmas decor.
Skills Required: Beginner. You’ll be using smaller pieces of paper in this project, so wrinkles aren’t as much of a concern.
Hi, my name is Anna, and I blog at My Life and Kids. I’m thrilled to be visiting Mod Podge Rocks today!
I had three kids in three years and whew has my life changed! Just a few years ago I had a job I loved, a house in the city, and a social life.
Now I stay home with my three kids, I live in the suburbs, I wear mom jeans, AND I drive a minivan! In my spare time, I blog about it all at My Life and Kids.
Today, I’m going to share one of my favorite holiday projects with you: my joy{ful} Mod Podge Christmas tray. Here’s how I made this wood Christmas craft.
Decorate a Christmas Tray
Here’s What You’ll Need:
- Wooden Tray
- Scrapbook Paper
- Mod Podge Gloss
- Craft Brush

I was {overly} excited to see that my local craft store carries wooden trays that are already painted white!
Mine just happened to be on sale for $8.99 – but the regular price is $14.99 – and you can always find a 40% off coupon. If you don’t want a white tray, they also have smaller, bare-wood trays for $2.99 each.

I used my massive stash of scrapbook paper to cut a decorative border for the tray. Then I printed the letters J – O – Y onto white computer paper and traced them onto my scrapbook paper and cut them out.
I probably could have printed them directly onto the scrapbook paper, but I didn’t think of that. Maybe next time.
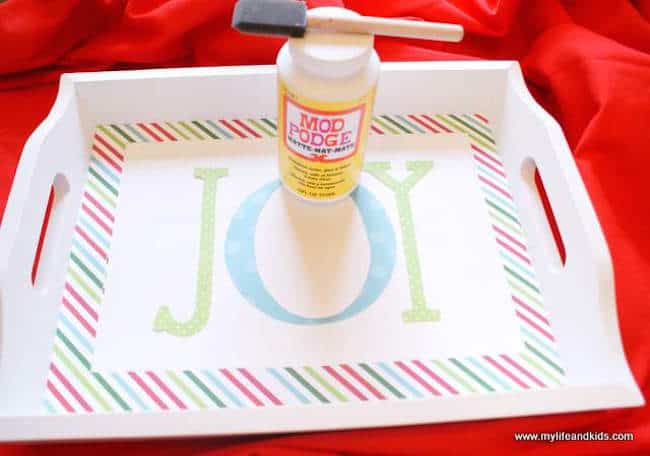
Once I had everything positioned the way I wanted it in my DIY Christmas tray, I used Mod Podge to apply the items. First I used a foam craft brush to paint Mod Podge over the entire tray.
Then I put my scrapbook paper in place and put a coat of Mod Podge over the entire tray again – being sure to smooth out any wrinkles along the way.
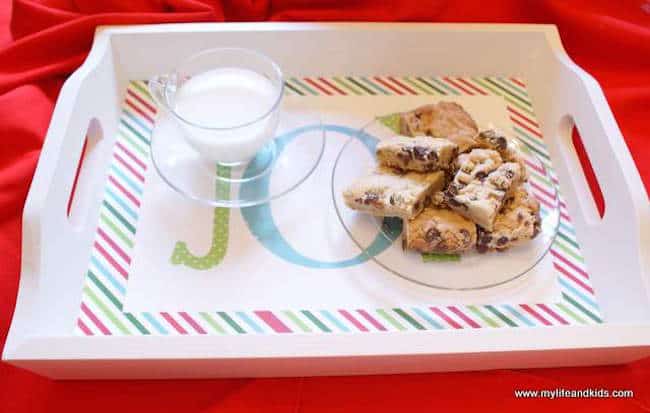
This year, Santa’s cookies will be served in style on my brand spankin’ new DIY Christmas tray! Well – let’s be honest. I scarfed down every last one of those cookies within minutes of taking this picture.
However – I’m sure I can show some restraint on Christmas Eve {at least until my kids go to bed}.
DIY Christmas Tray
Materials
- Wooden tray
- Acrylic paint optional
- Scrapbook paper
- Mod Podge Gloss
Instructions
- If necessary, paint your tray with acrylic paint. Let dry.
- Create a template on the computer by typing "JOY" onto a word document and changing it to the font of your choice. Make sure the letters have some thickness.
- Trace the letters onto scrapbook paper using the pencil; cut out.
- Apply Mod Podge to the tray. Place the letters down on top and smooth. Let dry for 15 – 20 minutes.
- Cut strips of scrapbook paper to fit the four inner sides of the tray. Use the ruler to measure for size, making the strips about 1/2" wide or more.
- Apply the strips to the inside of the tray using Mod Podge. Smooth out; let dry for 15 – 20 minutes.
- Apply Mod Podge to the entire inside of the tray and let dry. Repeat.
- Let dry for 24 hours before using.
Thanks so much for having me, Amy!
If you visit my blog, you can learn how I made my Mod Podge Christmas Trees, my secret to a happy marriage (please don’t tell my husband!), how I handled the MEAN comment I got on my blog, my answer when people ask, “Do you like staying home?” AND why my mom has to use the coffee shop drive thru.
I’d also love for you to visit these other exciting tray and Christmas crafts – you’re going to enjoy these ideas:





Thanks so much for having me Amy! Such fun! 🙂
Anna
I am a first time Mod Podger and I used your idea to make a tray for my soon to be in-laws with a collage background and their family initial. Thanks so much for the idea. It turned out perfect!
Cute idea!
you go momma! I admire your stamina!! Thanks for sharing your great ideas!!
Beautiful tray!!! How cute for the holidays!!! Thanks for the inspiration, I’m going to make a couple of these too! So fun for gifts!
I really like your tray. Do come and share it at our linky party, at https://finecraftguild.com/party-3/ Our readers would love to find this. It’s adorable.
Love this! Be cute for Santa’s cookies on Christmas Eve.