Decorate this DIY butterfly jewelry box with your favorite papers and Mod Podge; it makes the perfect Mother’s Day craft for the mom who has everything!
Skills Required: Beginner. You’ll want to have some crafting experience so that you’re able to paint, cut paper, Mod Podge, and manipulate the clay without trouble.
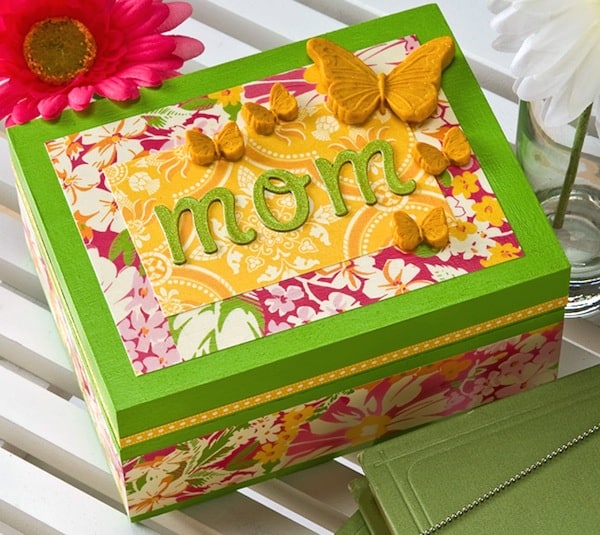
My mom is hard to shop for. Does anyone else have a mom like that? I think she would deny it, but she really buys everything she wants for herself. So I have to default to handmade for gifts every year.
One thing my mom does have a lot of is jewelry – so I decided to make her a butterfly jewelry box to help organize it all. I customized it to the colors that she likes, and even added a few clay butterflies because she likes those too (and I wanted to play with clay).
Do you want to customize a jewelry box with decoupage? It’s so easy! Learn how below.
Butterfly DIY Jewelry Box
Gather These Supplies
- Unfinished wood box
- Martha Stewart Acrylic Paint – Green Curry
- Mod Podge Matte
- Coordinating scrapbook materials – 5” x 7” designer paper sheets, adhesive letters, ribbon
- Fimo Effect clay – Gold Glitter
- Flower garden silicone mold
- Paper cutter or craft knife and ruler
- Knife
- Craft glue
- Paint brush
- Pencil
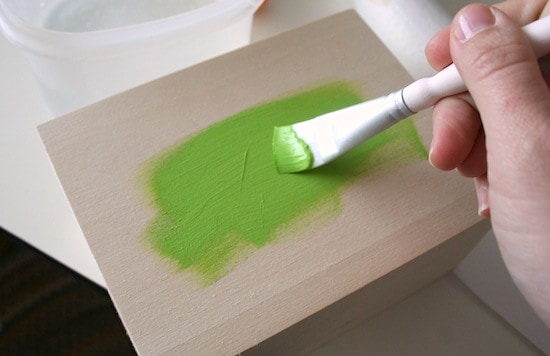
Paint your butterfly jewelry box with the paint color of your choice. Give several coats and let it dry.
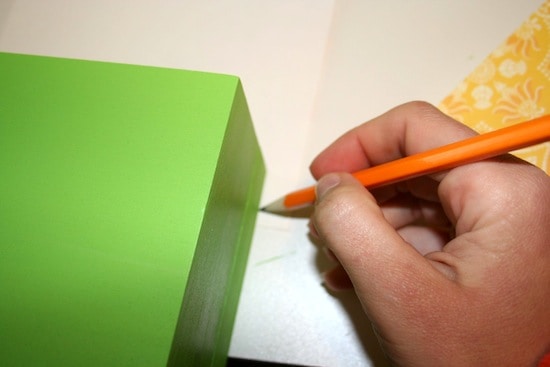
Trace the top of your box on a piece of scrapbook paper (on the back). You’ll also want to trace and/or measure the sides so you know what paper you need for those.
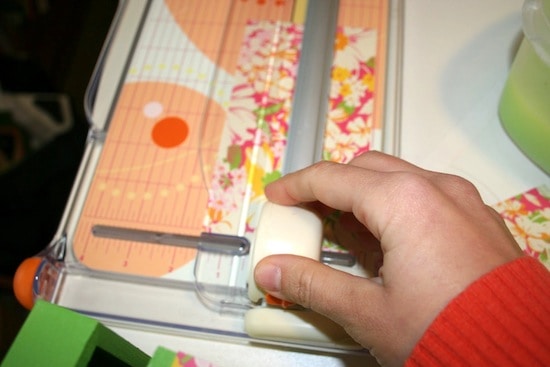
Trim your papers to fit your butterfly jewelry box. I cut papers to fit the sides exactly, and I cut the paper for the top to fit a little bit inside of the border so some of the paint would show.
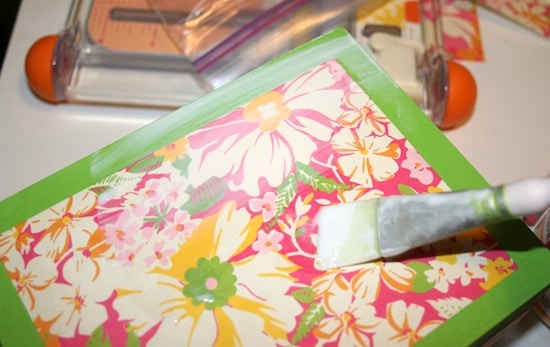
Add Mod Podge to the top of the box and smooth your paper down. Let dry for 15 – 20 minutes and then Mod Podge over the top. Repeat with the sides.
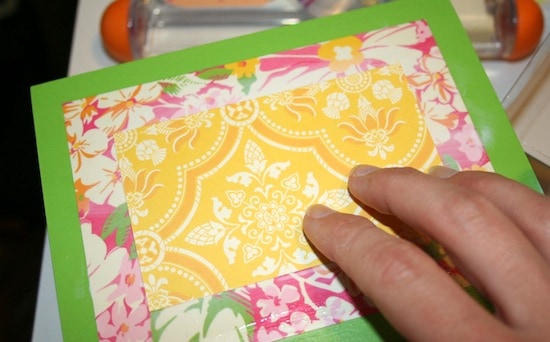
I added a piece of coordinating paper to the top in the same way. Set the box aside to let dry.
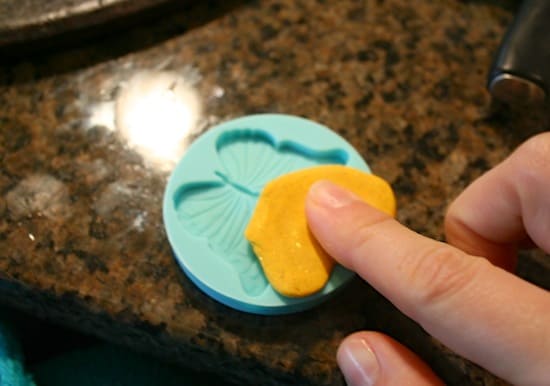
Now it’s time to make your clay butterflies. I had no idea what I was doing, but I thought it would be fun to use these Martha Stewart silicone molds to make butterflies for the top. So I warmed up the clay with my hands and smooshed it inside the molds.
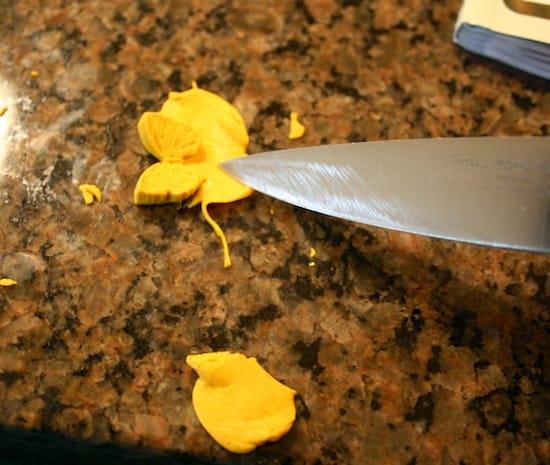
Then I carefully removed the clay from the molds and used a sharp knife to trim around the edges. Make sure to do this on a cutting surface. Then you are going to bake in the oven according to the instructions.
After you are done baking, glue them (and the other embellishments) to the top with craft glue. Let dry.
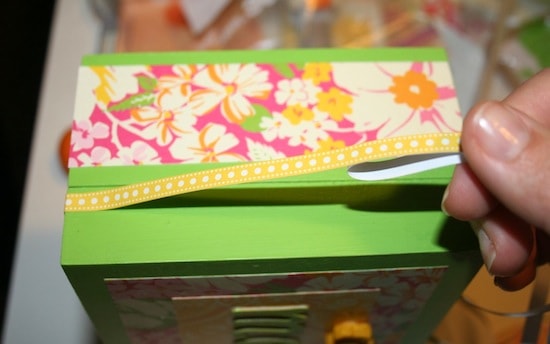
Once my box was done, I realized it needed a little something fancy around the top edge because it looked kind of plain. So I added a thin strip of adhesive paper tape that coordinated with my paper pattern. Much better.

The end result of this butterfly jewelry box is that mom loves it – of course, it was made by me. Ha!
If you enjoyed this simple jewelry box decorating project, I’d love for you to check out these other ideas as well:




I’m just like your mom. 🙂 I generally buy what I want when I want it. And so my daughter does the same as you – she gives me handmade gifts. But, for the record, I can tell you that I LOVE my daughter’s handmade gifts much more than anything she would buy me, and I’m sure your mom does as well. I treasure her gifts because I know that they are from the heart, and took much more time than a simple shopping trip. So keep making those Mother’s Day gifts – they are much appreciated!
I love this! A perfect gift for mother’s day. Aside from the fact that this is soooo cute, nothing beats a gift that is made from the heart. <3 Thank you for this idea! I might have to make one for my mom too. 🙂